『cs231n』作业3问题4选讲_图像梯度应用强化
Posted 叠加态的猫
tags:
篇首语:本文由小常识网(cha138.com)小编为大家整理,主要介绍了『cs231n』作业3问题4选讲_图像梯度应用强化相关的知识,希望对你有一定的参考价值。
【注】,本节(上节也是)的model是一个已经训练完成的CNN分类网络。
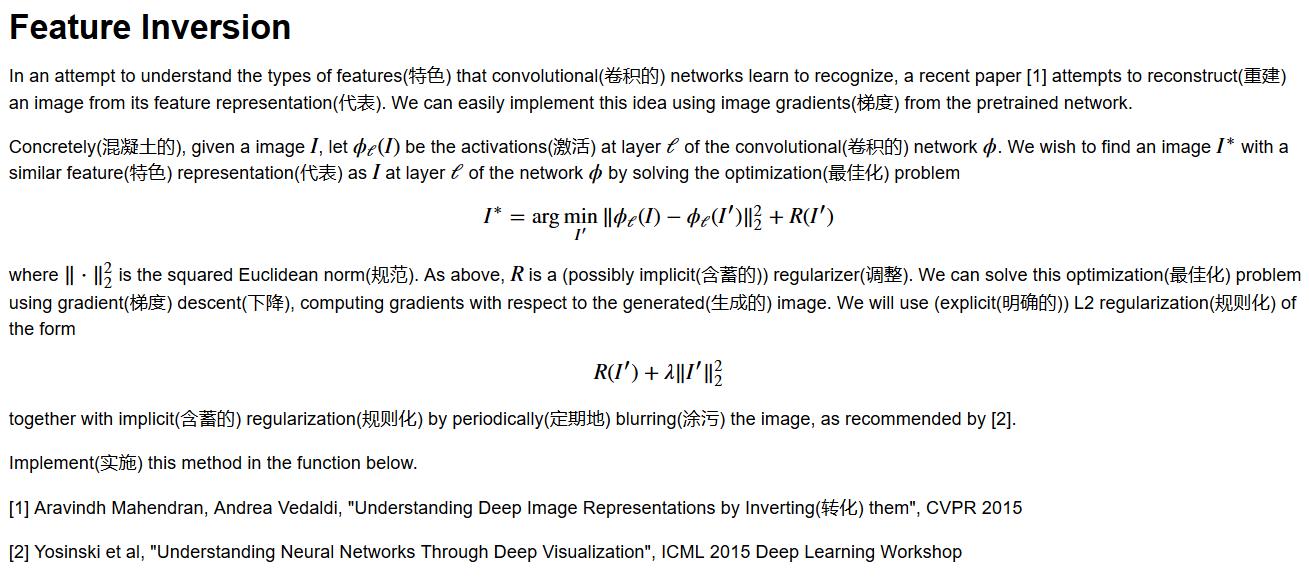
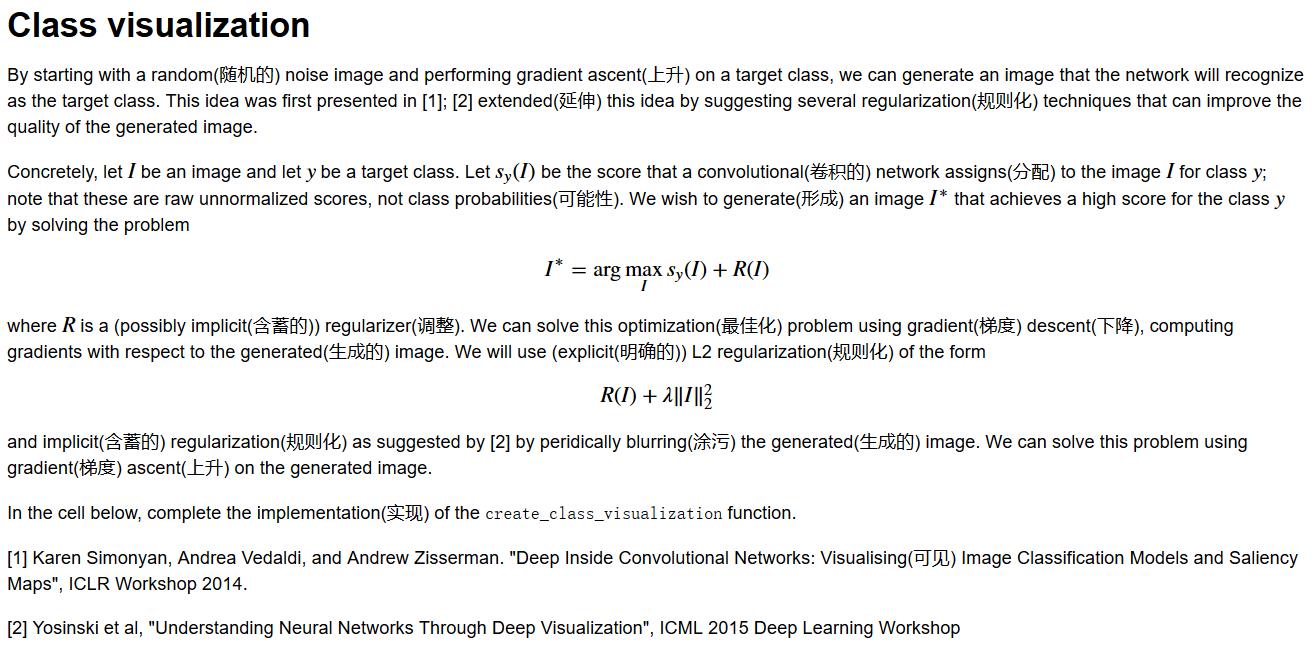
随机数图片向前传播后对目标类优化,反向优化图片本体
def create_class_visualization(target_y, model, **kwargs):
  """
  Perform optimization over the image to generate class visualizations.

  Inputs:
  - target_y: Integer in the range [0, 100) giving the target class
  - model: A PretrainedCNN that will be used for generation

  Keyword arguments:
  - learning_rate: Floating point number giving the learning rate
  - blur_every: An integer; how often to blur the image as a regularizer
  - l2_reg: Floating point number giving L2 regularization strength on the image;
    this is lambda in the equation above.
  - max_jitter: How much random jitter to add to the image as regularization
  - num_iterations: How many iterations to run for
  - show_every: How often to show the image
  """

  learning_rate = kwargs.pop(\'learning_rate\', 10000)
  blur_every = kwargs.pop(\'blur_every\', 1)
  l2_reg = kwargs.pop(\'l2_reg\', 1e-6)
  max_jitter = kwargs.pop(\'max_jitter\', 4)
  num_iterations = kwargs.pop(\'num_iterations\', 100)
  show_every = kwargs.pop(\'show_every\', 25)

  X = np.random.randn(1, 3, 64, 64)                                    # 64*64 image
  for t in xrange(num_iterations):                                     # 迭代次数
    # As a regularizer, add random jitter to the image
    ox, oy = np.random.randint(-max_jitter, max_jitter+1, 2)           # 随机抖动生成
    X = np.roll(np.roll(X, ox, -1), oy, -2)                            # 抖动,注意抖动不是随机噪声

    dX = None
    ############################################################################
    # TODO: Compute the image gradient dX of the image with respect to the     #
    # target_y class score. This should be similar to the fooling images. Also #
    # add L2 regularization to dX and update the image X using the image       #
    # gradient and the learning rate.                                          #
    ############################################################################
    scores, cache = model.forward(X, mode=\'test\')
    loss, dscores = softmax_loss(scores, target_y)
    dX, grads = model.backward(dscores, cache)
    dX = dX - 2*l2_reg*X                                               # add L2 regularization to dX
    X = X + learning_rate*dX                                           # update the image X using the image gradient and the learning rate

    ############################################################################
    #                             END OF YOUR CODE                             #
    ############################################################################

    # Undo the jitter
    X = np.roll(np.roll(X, -ox, -1), -oy, -2)                          # 还原抖动

    # As a regularizer, clip the image
    X = np.clip(X, -data[\'mean_image\'], 255.0 - data[\'mean_image\'])    #

    # As a regularizer, periodically blur the image
    if t % blur_every == 0:
      X = blur_image(X)

    # Periodically show the image
    if t % show_every == 0:
      plt.imshow(deprocess_image(X, data[\'mean_image\']))
      plt.gcf().set_size_inches(3, 3)
      plt.axis(\'off\')
      plt.show()
  return X
1.L2正则化参数是可训练的参数,所以这里就是图片的全部像素
2.更新X的时候,需要对目标I(图片)求导,所以有L2正则化偏导数项
3.抖动和之前常接触的噪声是不同的,是指图像行列(单行单列非图像整体)随机平移随机个单位,且在最后需要还原
蜘蛛类图像重建:


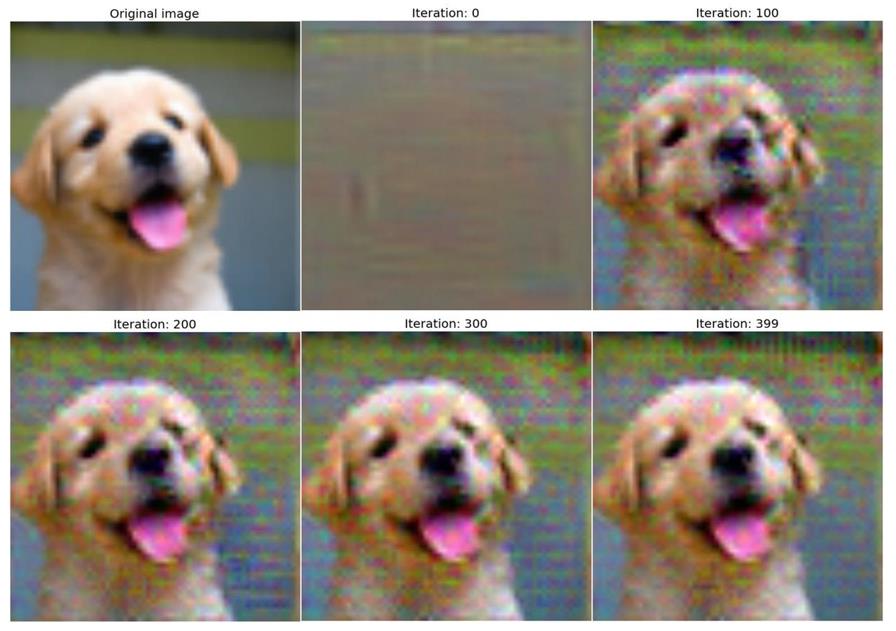
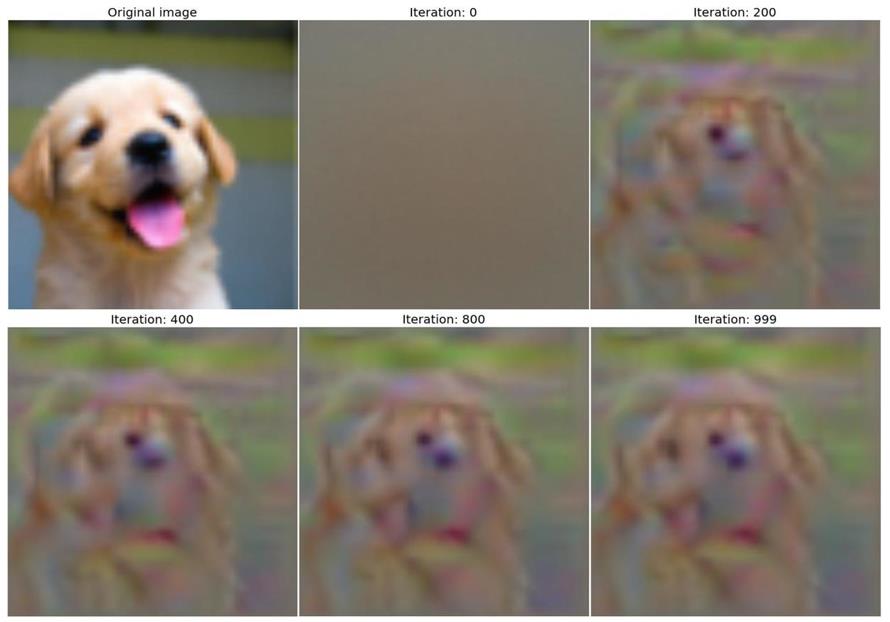
随机数图片向前到指定层,对标准图片的特征图计算距离,反向传播优化原图片
def invert_features(target_feats, layer, model, **kwargs):
  """
  Perform feature inversion in the style of Mahendran and Vedaldi 2015, using
  L2 regularization and periodic blurring.

  Inputs:
  - target_feats: Image features of the target image, of shape (1, C, H, W);
    we will try to generate an image that matches these features
  - layer: The index of the layer from which the features were extracted
  - model: A PretrainedCNN that was used to extract features

  Keyword arguments:
  - learning_rate: The learning rate to use for gradient descent
  - num_iterations: The number of iterations to use for gradient descent
  - l2_reg: The strength of L2 regularization to use; this is lambda in the
    equation above.
  - blur_every: How often to blur the image as implicit regularization; set
    to 0 to disable blurring.
  - show_every: How often to show the generated image; set to 0 to disable
    showing intermediate reuslts.

  Returns:
  - X: Generated image of shape (1, 3, 64, 64) that matches the target features.
  """
  learning_rate = kwargs.pop(\'learning_rate\', 10000)
  num_iterations = kwargs.pop(\'num_iterations\', 500)
  l2_reg = kwargs.pop(\'l2_reg\', 1e-7)
  blur_every = kwargs.pop(\'blur_every\', 1)
  show_every = kwargs.pop(\'show_every\', 50)

  X = np.random.randn(1, 3, 64, 64)
  for t in xrange(num_iterations):
    ############################################################################
    # TODO: Compute the image gradient dX of the reconstruction loss with      #
    # respect to the image. You should include L2 regularization penalizing    #
    # large pixel values in the generated image using the l2_reg parameter;    #
    # then update the generated image using the learning_rate from above.      #
    ############################################################################
    feats, cache = model.forward(X, end=layer, mode=\'test\')   # Compute the image gradient dX
    loss = np.sum((feats - target_feats)**2) + l2_reg*np.sum(X**2)    # L2 regularization
    dfeats = 2*(feats - target_feats)
    dX, _ =  model.backforward(dfeats, cache)
    dX += 2 * l2_reg * X
    X -= learning_rate * dX
    ############################################################################
    #                             END OF YOUR CODE                             #
    ############################################################################

    # As a regularizer, clip the image
    X = np.clip(X, -data[\'mean_image\'], 255.0 - data[\'mean_image\'])

    # As a regularizer, periodically blur the image
    if (blur_every > 0) and t % blur_every == 0:
      X = blur_image(X)

    if (show_every > 0) and (t % show_every == 0 or t + 1 == num_iterations):
      plt.imshow(deprocess_image(X, data[\'mean_image\']))
      plt.gcf().set_size_inches(3, 3)
      plt.axis(\'off\')
      plt.title(\'t = %d\' % t)
      plt.show()
小狗图片浅层特征重建:

小狗图片深层特征重建,可以看出来特征更为抽象:


目标图片向前传播到指定层,把feature map作为本层梯度反向传播回来,优化原图片
def deepdream(X, layer, model, **kwargs):
  """
  Generate a DeepDream image.

  Inputs:
  - X: Starting image, of shape (1, 3, H, W)
  - layer: Index of layer at which to dream
  - model: A PretrainedCNN object

  Keyword arguments:
  - learning_rate: How much to update the image at each iteration
  - max_jitter: Maximum number of pixels for jitter regularization
  - num_iterations: How many iterations to run for
  - show_every: How often to show the generated image
  """

  X = X.copy()

  learning_rate = kwargs.pop(\'learning_rate\', 5.0)
  max_jitter = kwargs.pop(\'max_jitter\', 16)
  num_iterations = kwargs.pop(\'num_iterations\', 100)
  show_every = kwargs.pop(\'show_every\', 25)

  for t in xrange(num_iterations):
    # As a regularizer, add random jitter to the image
    ox, oy = np.random.randint(-max_jitter, max_jitter+1, 2)   # 随机抖动值生成
    X = np.roll(np.roll(X, ox, -1), oy, -2)                    # 随机抖动

    dX = None
    ############################################################################
    # TODO: Compute the image gradient dX using the DeepDream method. You\'ll   #
    # need to use the forward and backward methods of the model object to      #
    # extract activations and set gradients for the chosen layer. After        #
    # computing the image gradient dX, you should use the learning rate to     #
    # update the image X.                                                      #
    ############################################################################
    feats, cache = model.forward(X, end=layer, mode=\'test\')   # Compute the image gradient dX
    dX, grads = model.backward(feats, cache)
    X += learning_rate*dX
    ############################################################################
    #                             END OF YOUR CODE                             #
    ############################################################################

    # Undo the jitter
    X = np.roll(np.roll(X, -ox, -1), -oy, -2)

    # As a regularizer, clip the image
    mean_pixel = data[\'mean_image\'].mean(axis=(1, 2), keepdims=True)
    X = np.clip(X, -mean_pixel, 255.0 - mean_pixel)

    # Periodically show the image
    if t == 0 or (t + 1) % show_every == 0:
      img = deprocess_image(X, data[\'mean_image\'], mean=\'pixel\')
      plt.imshow(img)
      plt.title(\'t = %d\' % (t + 1))
      plt.gcf().set_size_inches(8, 8)
      plt.axis(\'off\')
      plt.show()
  return X
迭代次数少的图片没什么效果,迭代次数多的图片贼鸡儿恶心(密控退散图,效果不开玩笑的... ...),不放示例图了,想看的自己搜DeepDream吧,网上图片一堆一堆。Ps,我一直很怀疑这个deepdream这东西除了看起来比较‘玄幻’外到底有什么实际意义... ...
以上是关于『cs231n』作业3问题4选讲_图像梯度应用强化的主要内容,如果未能解决你的问题,请参考以下文章
『cs231n』作业1问题1选讲_通过代码理解K近邻算法&交叉验证选择超参数参数
CS231n笔记3--Gradient Descent与Backward Propagation
