Ubuntu18.04下安装配置AndroidStudio软件图文教程
Posted 疾风铸境
tags:
篇首语:本文由小常识网(cha138.com)小编为大家整理,主要介绍了Ubuntu18.04下安装配置AndroidStudio软件图文教程相关的知识,希望对你有一定的参考价值。
运行环境:操作系统为Ubuntu18.04,android-studio版本为2022.1.1.19-linux,Java版本为jdk8,安装路径/opt/android-studio/,当前用户为xqf222,sdk下载路径默认为/home/xqf222/Android/Sdk
详细步骤和指令如下:
1.安装JDK8:
按组合键Ctrl+Alt+T打开终端命令窗口,
- 输入安装JDK8的命令:sudo apt-get install openjdk-8-jdk
- 查询已安装版本:java -version
- 修改环境变量:sudo gedit /etc/profile,新增内容如下:
export JAVA_HOME=/usr/lib/jvm/java-8-openjdk-amd64
export JRE_HOME=/usr/lib/jvm/java-8-openjdk-amd64/jre
export PATH=$PATH:$JAVA_HOME/bin - 刷新环境变量source /etc/profile

2.下载AndroidStudio安装包:
- 下载网址:Download Android Studio & App Tools - Android Developers
- 下载完成后,到Android Studio安装包的下载目录空白处,点击鼠标右键选择打开终端菜单,之后输入解压命令:tar -zxf android-studio-2022.1.1.19-linux.tar.gz
-
解压完成之后,在下载目录下会生成android-studio目录,移动android-studio文件夹到/opt目录下,执行命令:sudo mv android-studio /opt
-
执行修改权限命令:
sudo chmod -R 777 /usr/lib/dconf
sudo chmod -R 777 /opt/android-studio
sudo chmod -R 777 /home/xqf222/Android/Sdk
sudo chown xqf222 -R /dev/kvm
-
创建启动项文件:sudo vim /usr/share/applications/studio.desktop,内容如下:
[Desktop Entry]
Name=AndroidStudio
Comment=AndroidStudio
Exec=/opt/android-studio/bin/studio.sh
Icon=/opt/android-studio/bin/studio.png
Terminal=false
Type=Application
-
拷贝快捷方式到桌面:cp /usr/share/applications/studio.desktop /home/xqf222/桌面
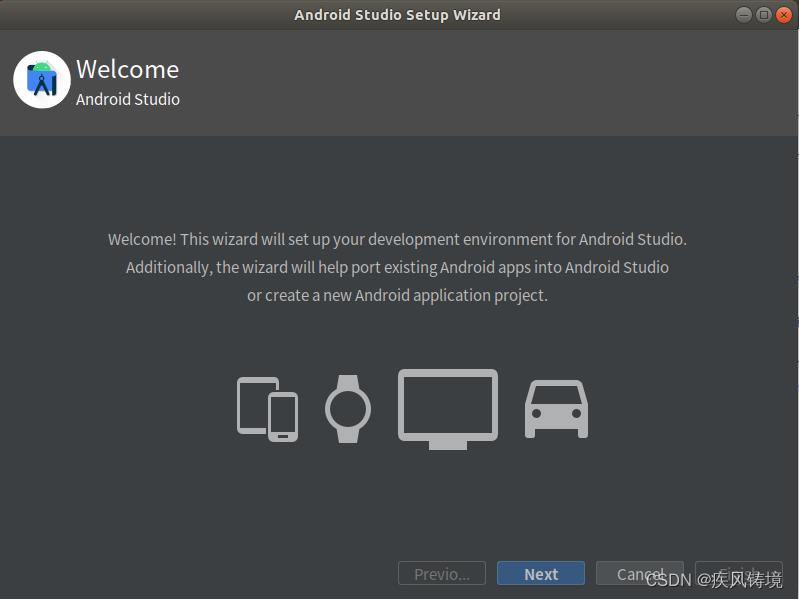
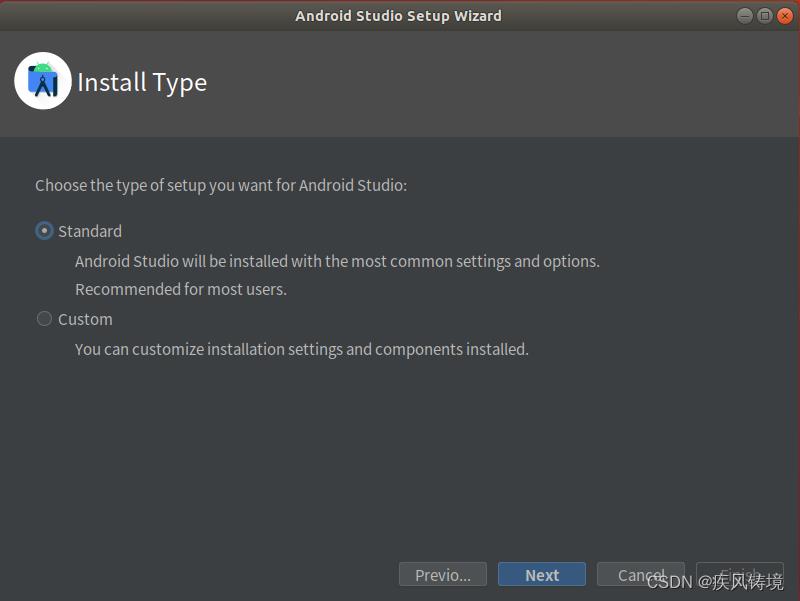
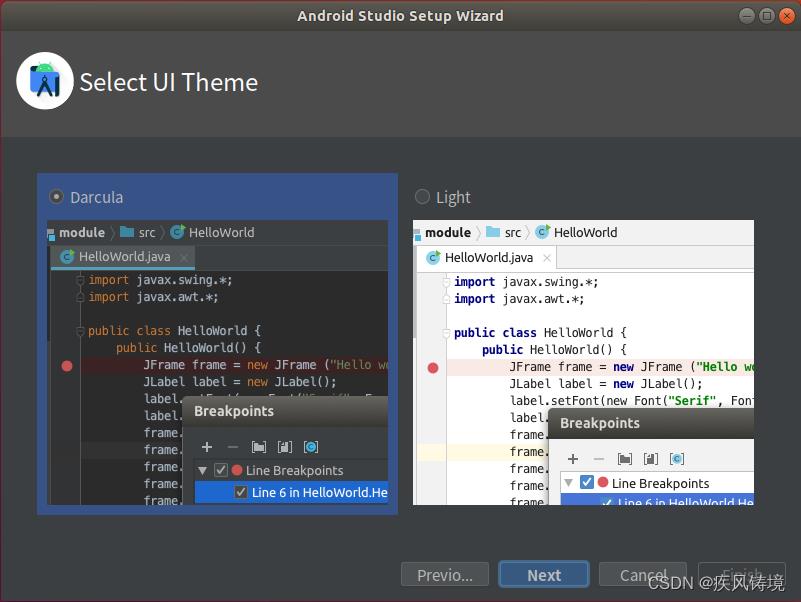
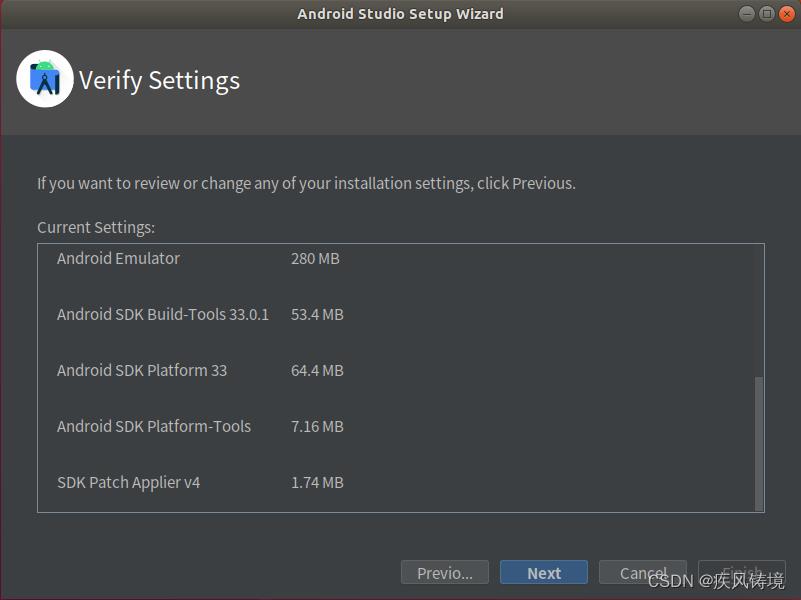
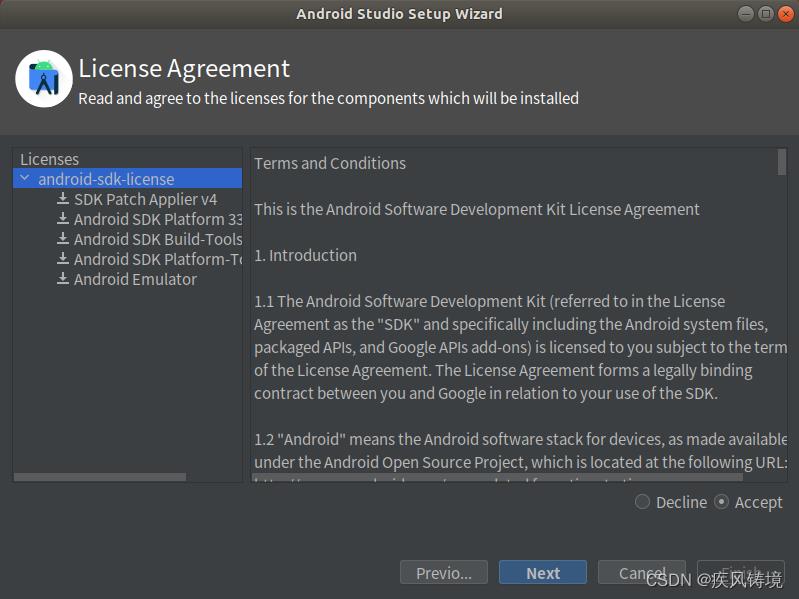
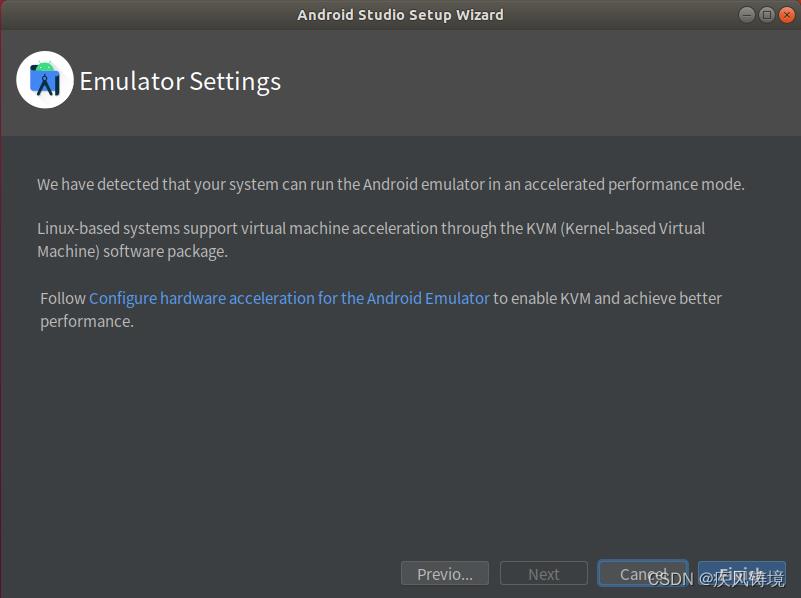
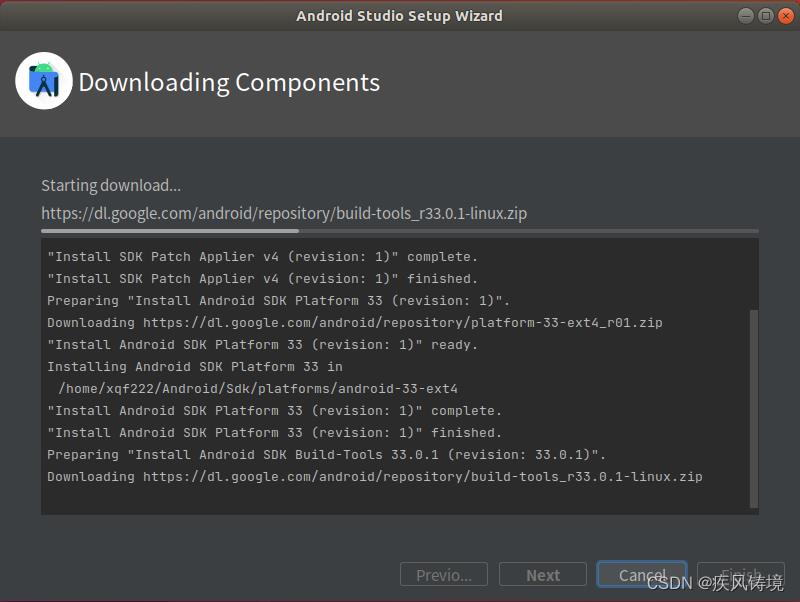
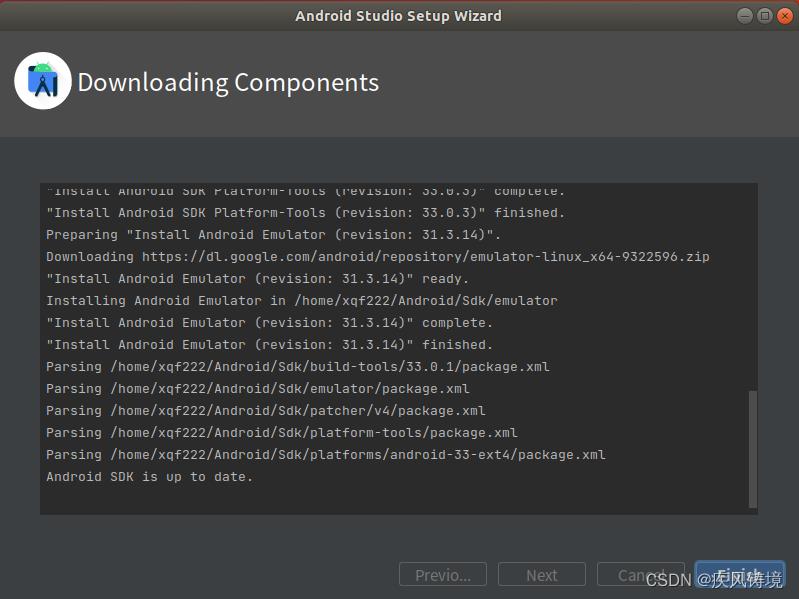
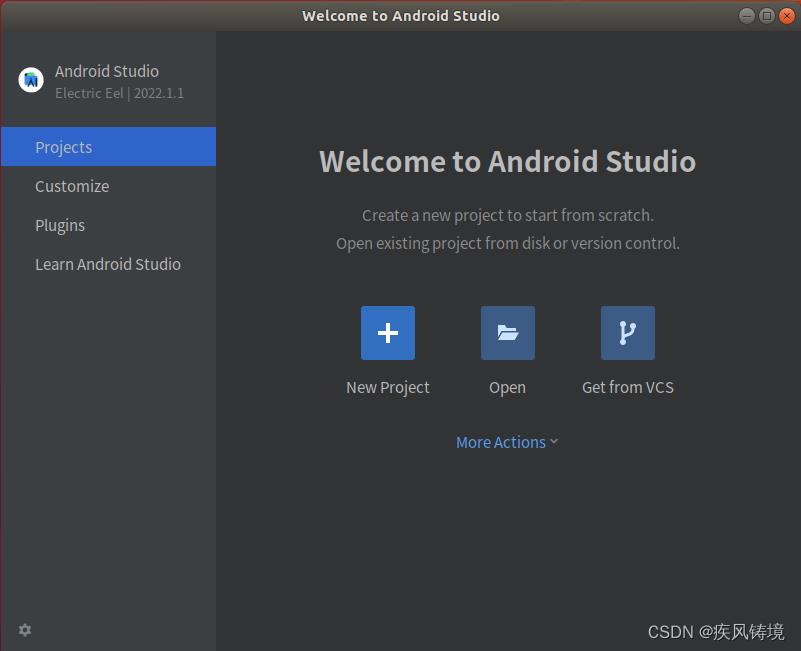
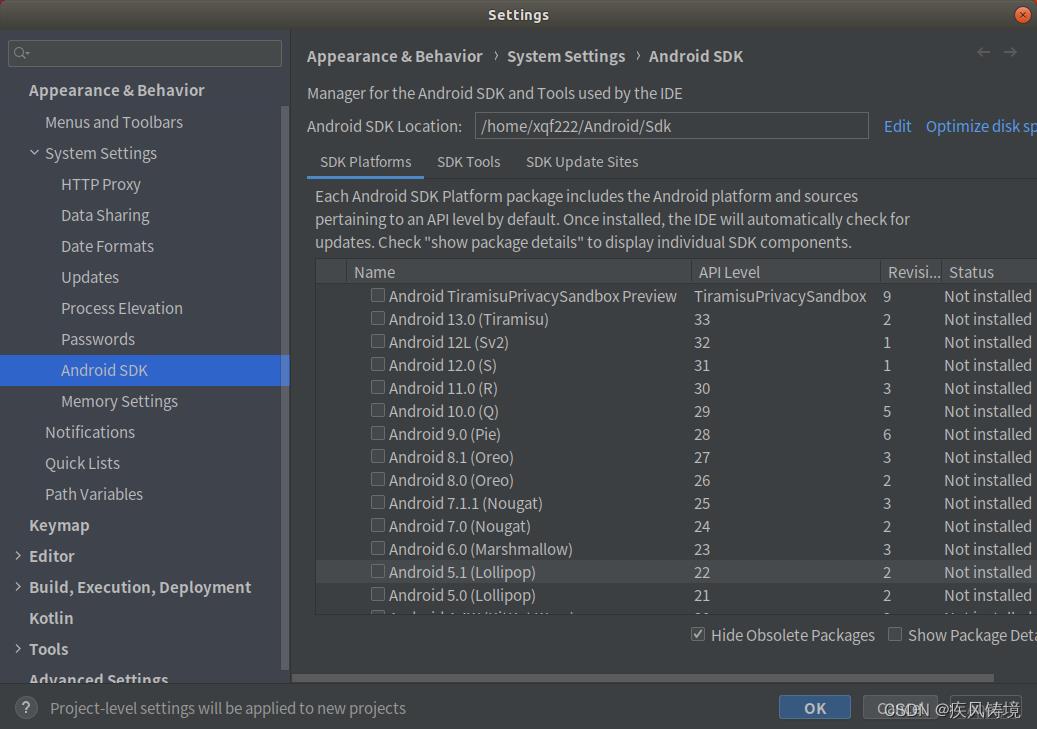
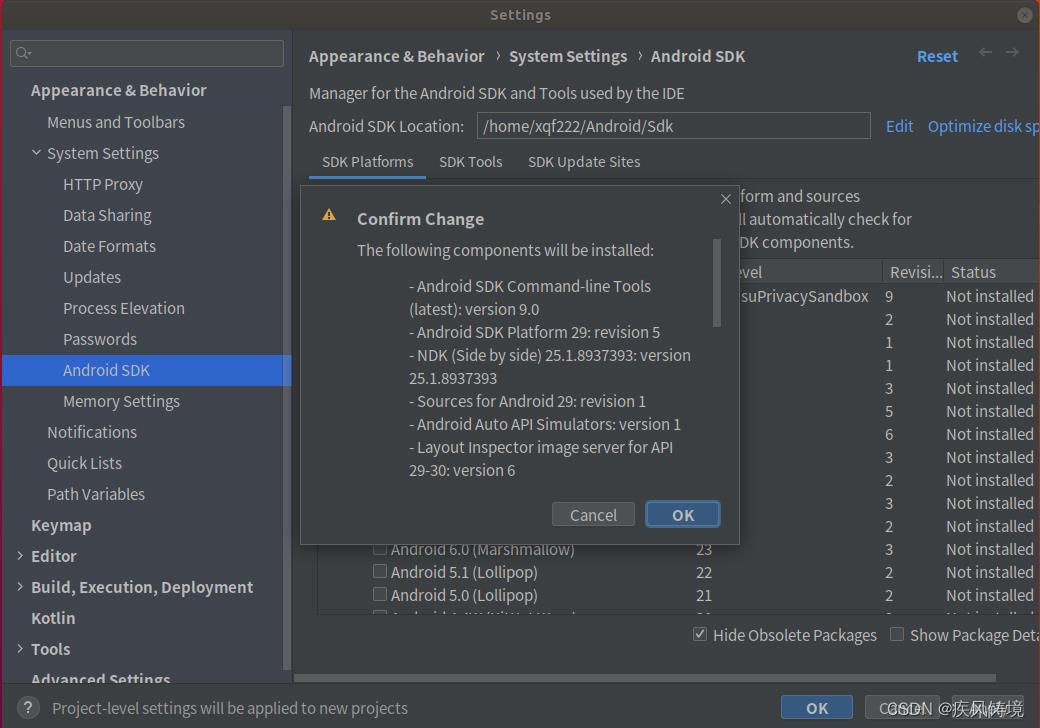
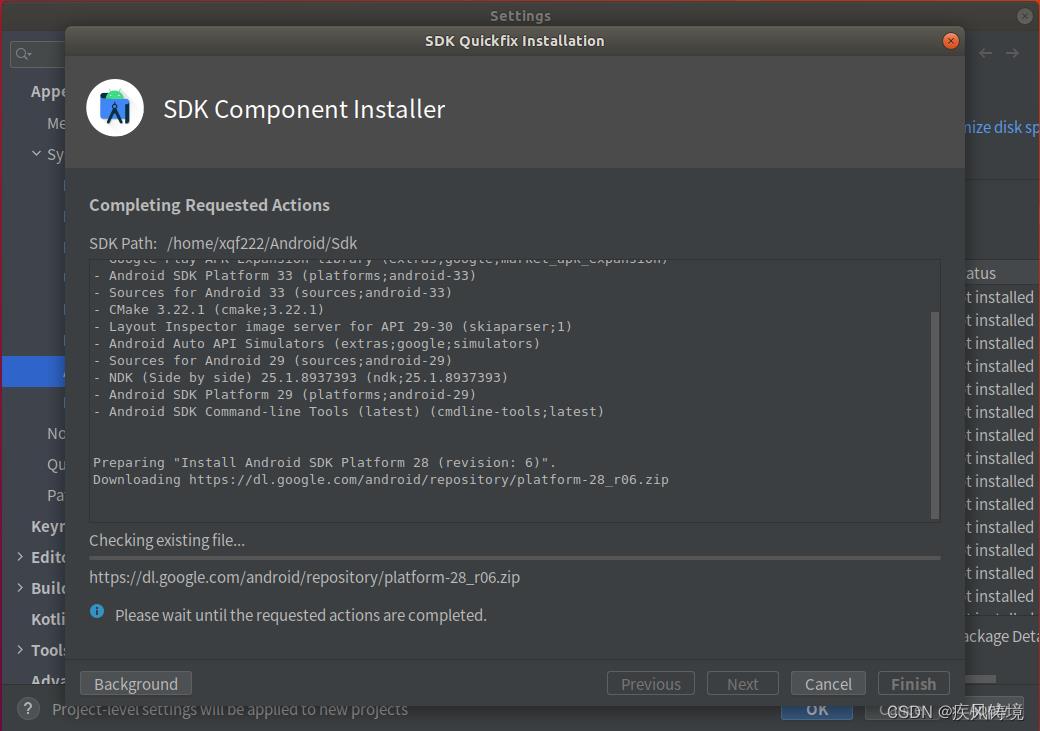
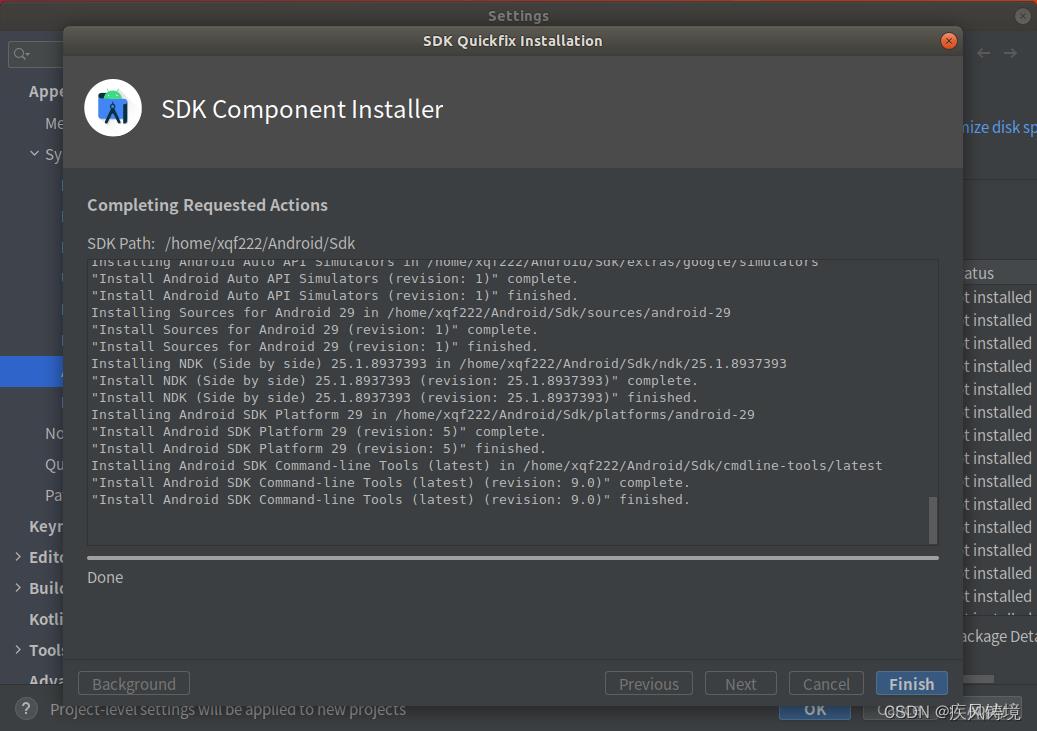
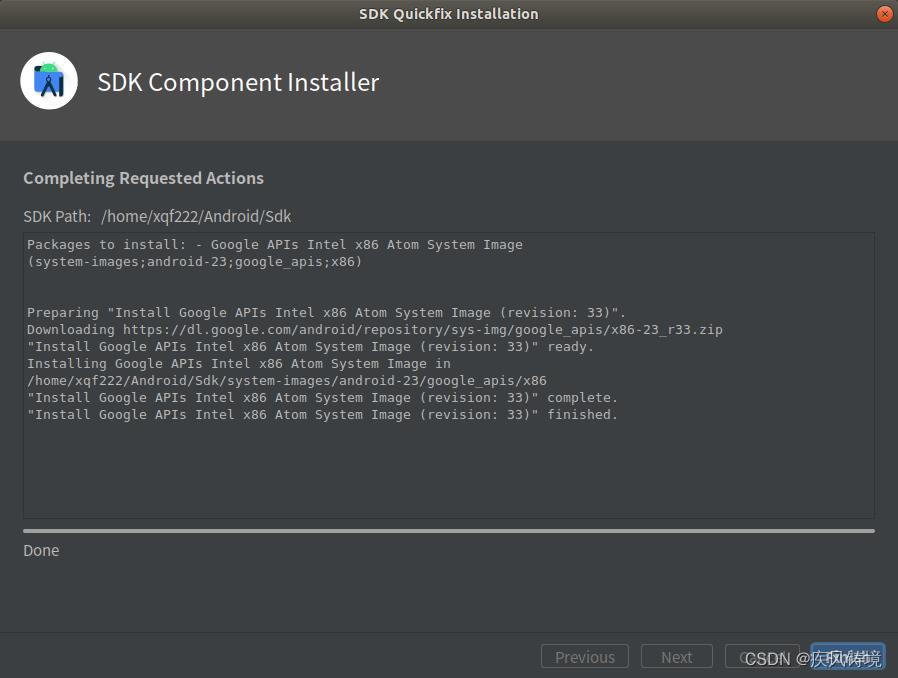
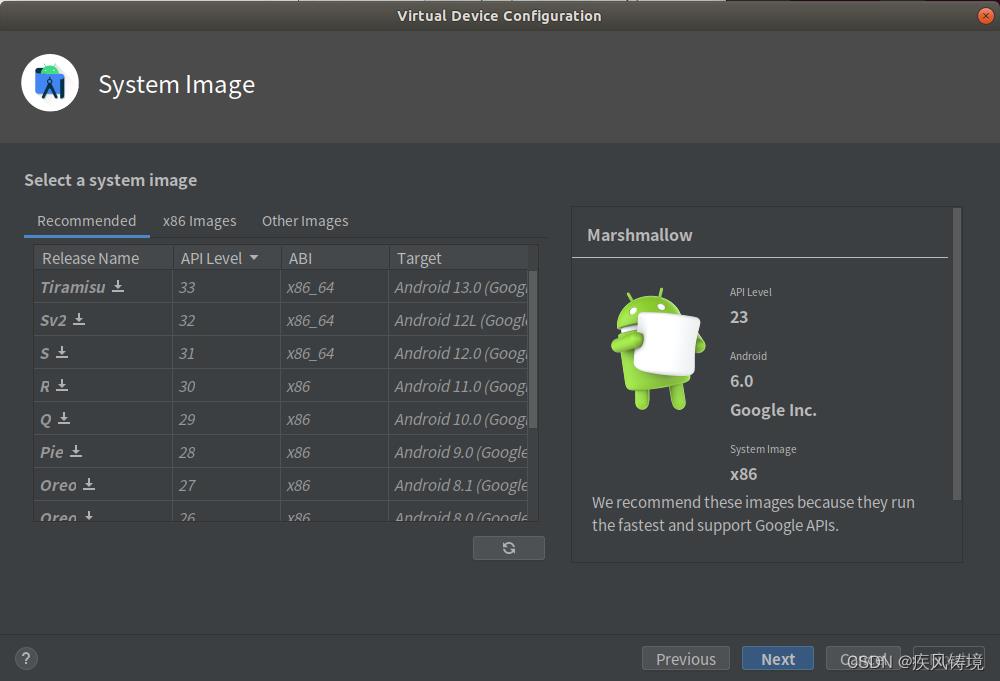
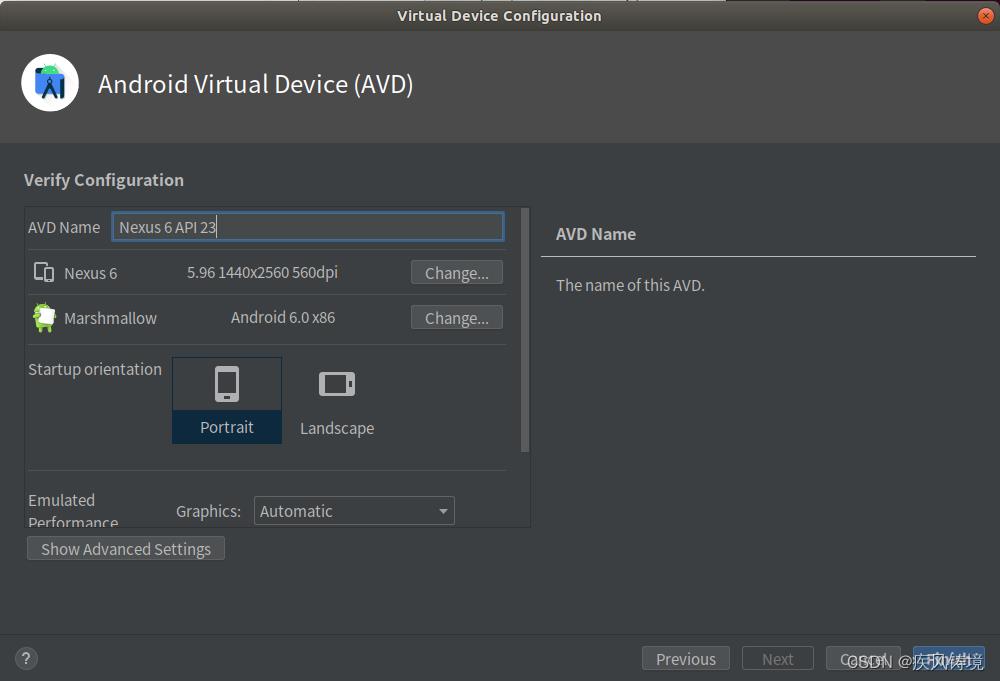
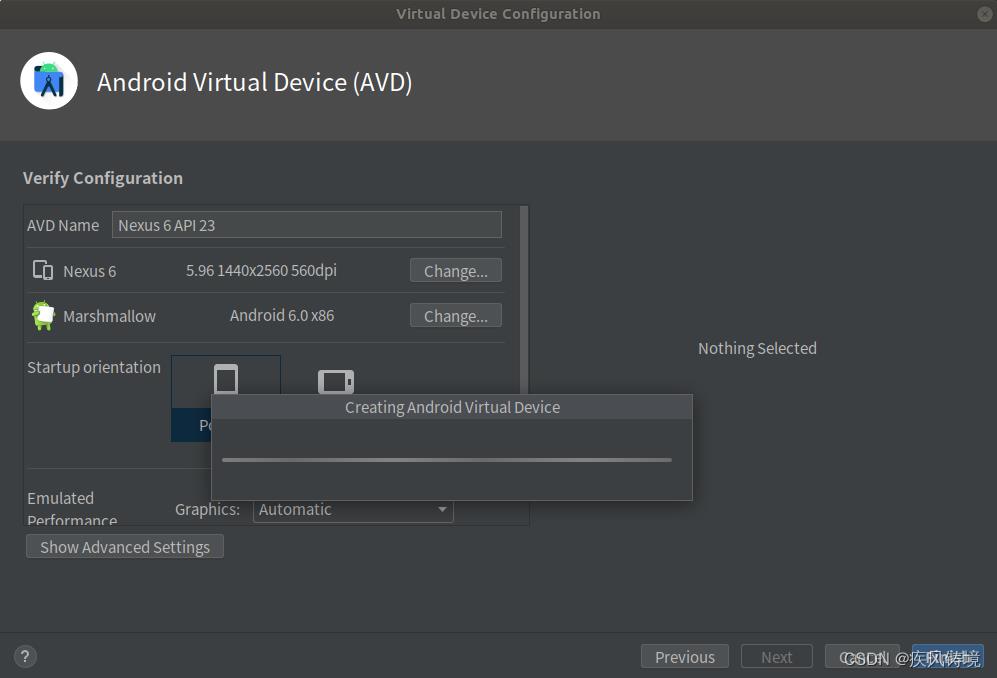
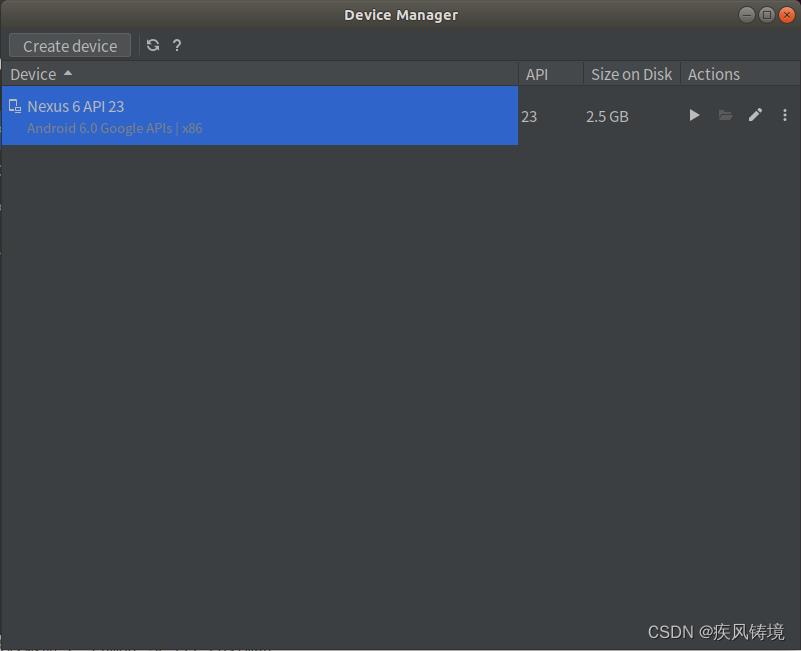
3.运行AndroidStudio软件,下载配置SDK和NDK:
4.修改环境变量:
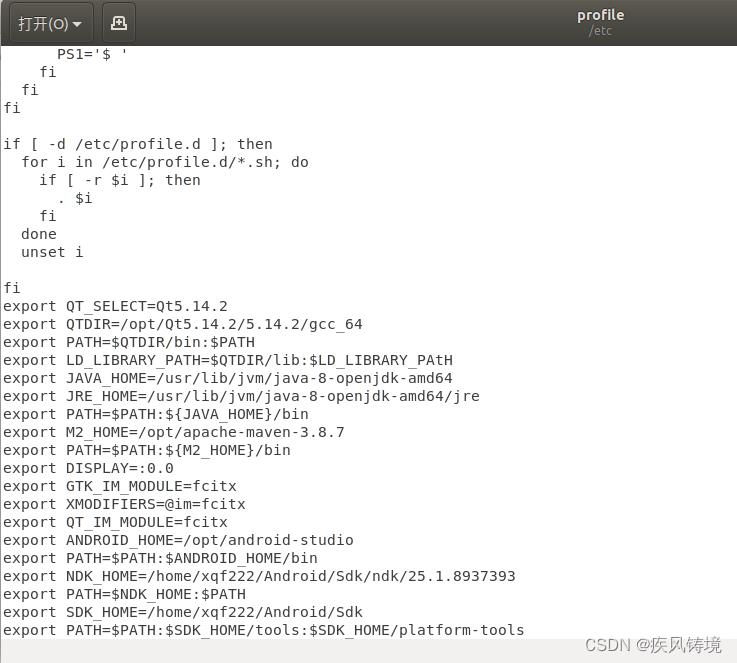
终端命令中执行:sudo gedit /etc/profile,追加内容如下:
export ANDROID_HOME=/opt/android-studio
export PATH=$PATH:$ANDROID_HOME/bin
export NDK_HOME=/home/xqf222/Android/Sdk/ndk/25.1.8937393
export PATH=$NDK_HOME:$PATH
export SDK_HOME=/home/xqf222/Android/Sdk
export PATH=$PATH:$SDK_HOME/tools:$SDK_HOME/platform-tools
保存后在终端命令中执行刷新环境变量指令:source /etc/profile
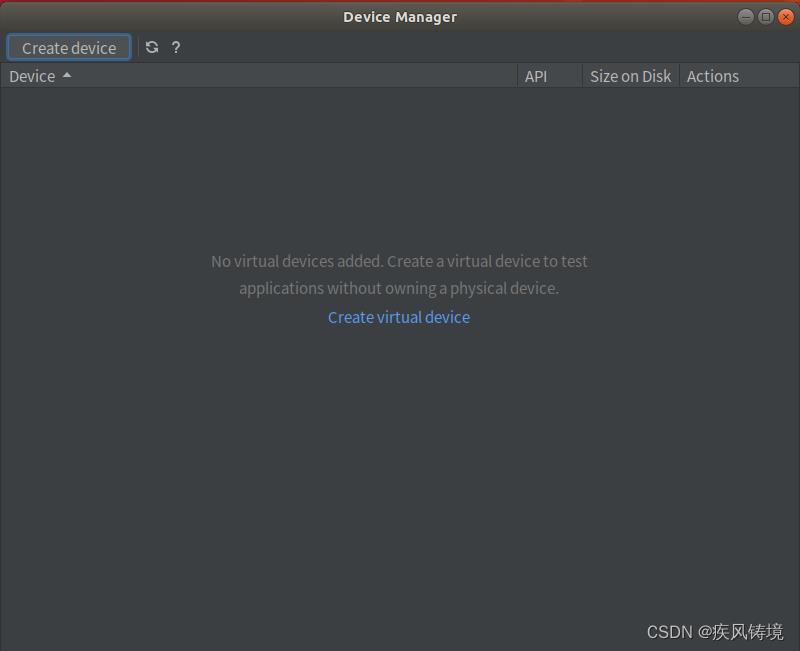
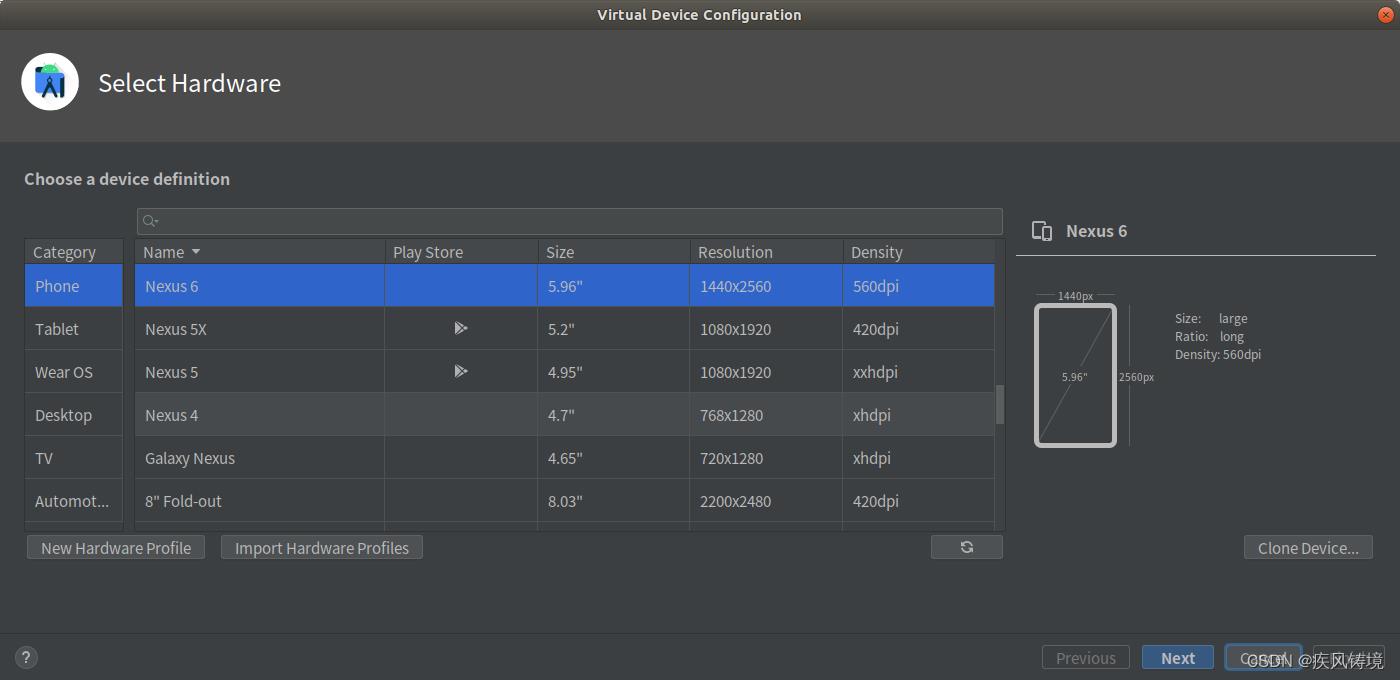
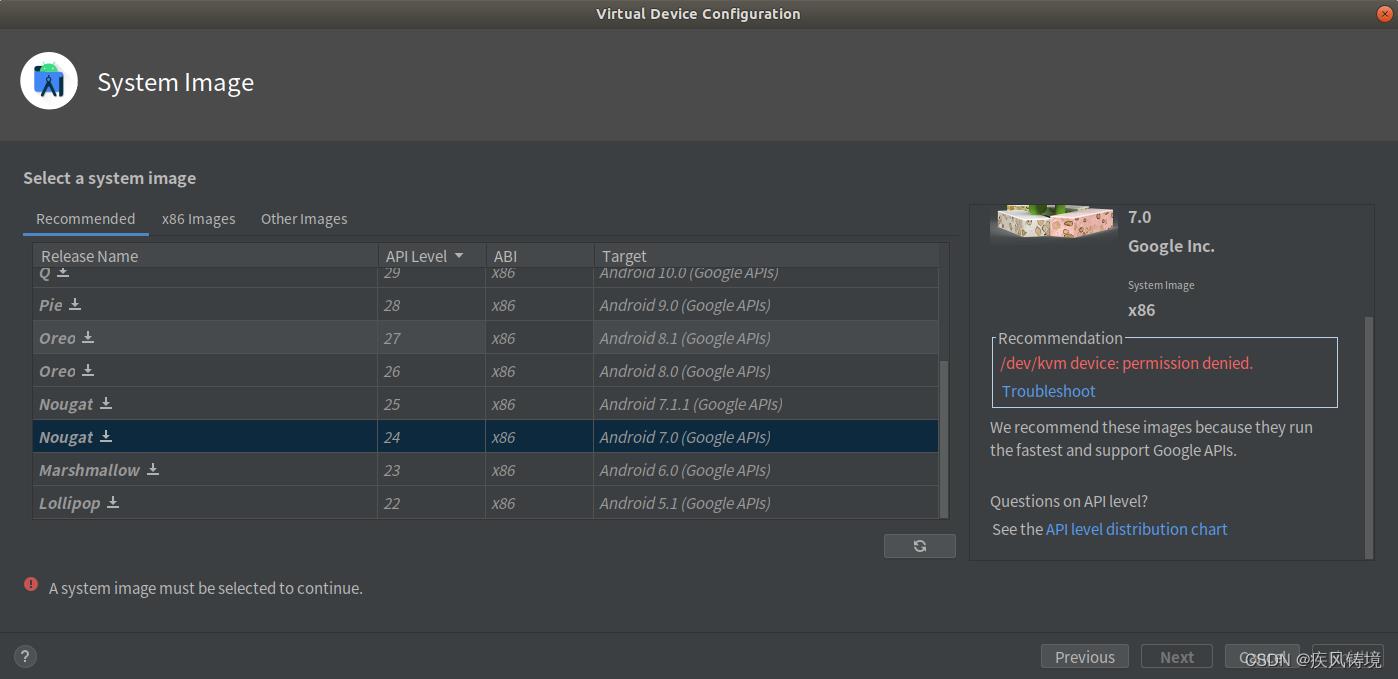
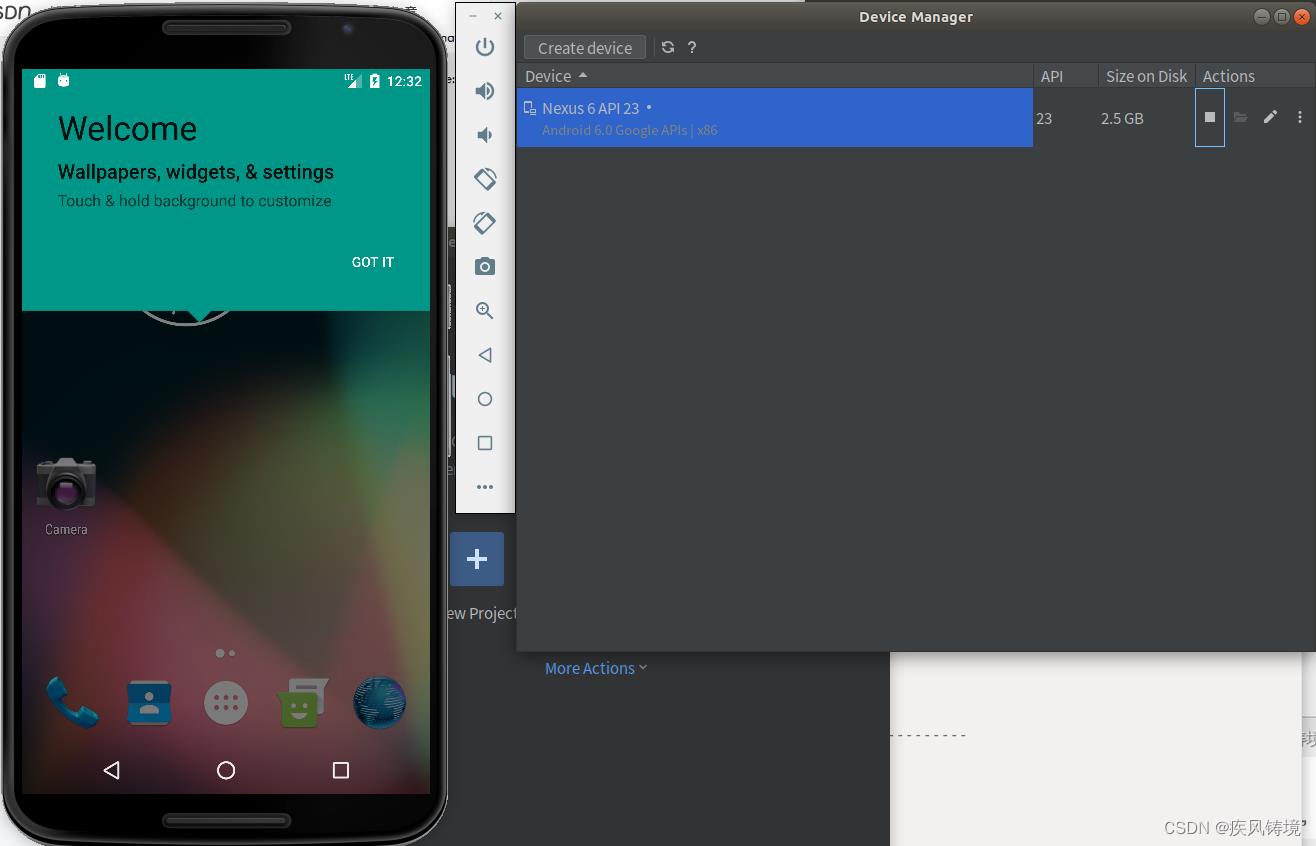
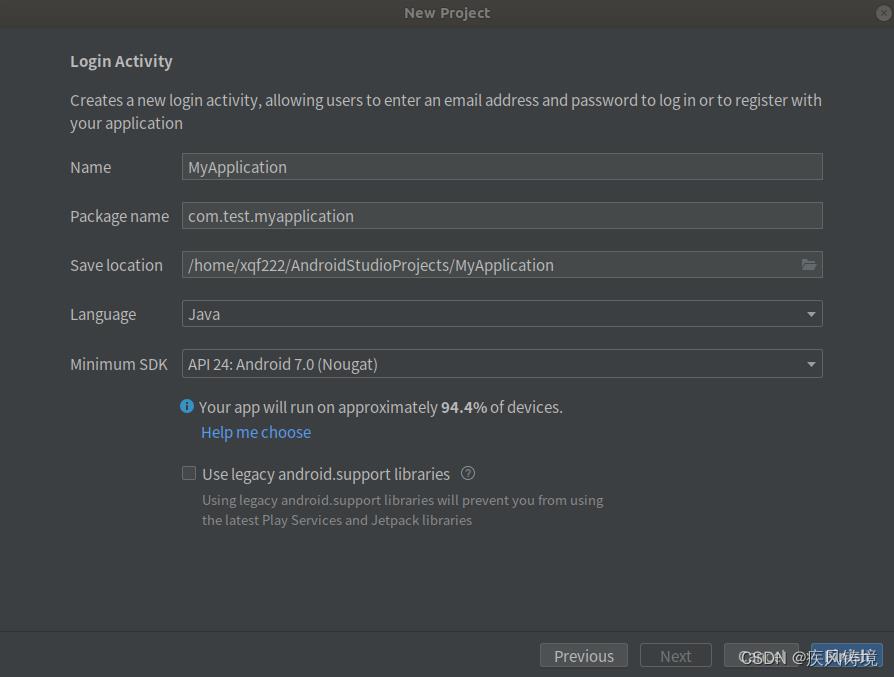
5.开始菜单或者桌面上找到studio快捷方式,打开运行AndroidStudio软件,新建项目测试即可。
Ubuntu16.04下LAMP环境的安装与配置
Ubuntu16.04下LAMP环境的安装与配置
最近做个实验需要用到Ubuntu环境的靶场,所以这里介绍下Ubuntu环境下LAMP的安装与配置,话不多说,我们gkd!
1.Apache2的安装
首先确保机器已经进行了sudo apt-get update && sudo apt-get upgrade,如果速度慢请换源,这里我使用的是清华源。
-
sudo apt-get install apache2,安装信息省略,一般安装结束之后apache会自动开启。
-
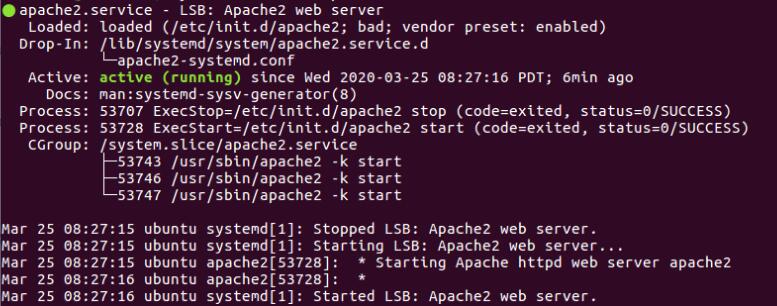
systemctl status apache2,查看此时状态,如下所示,可能会有一处错误:

-
这个错误的解决办法是修改/etc/apache2/apache2.conf这个文件,在文件的最后加上一句ServerName localhost:80(80是端口号,可以修改)
然后重启Apache,systemctl restart apache2
-
现在再查看apache的状态,应该是这样子的
-
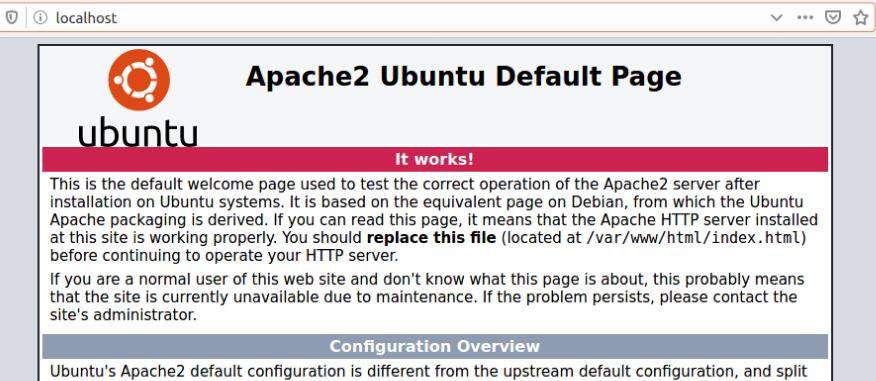
本地浏览器中输入localhost或者外网访问本机的IP地址,都应该出现下面这个界面,这表示安装成功啦!!!!
2.Mysql的安装
-
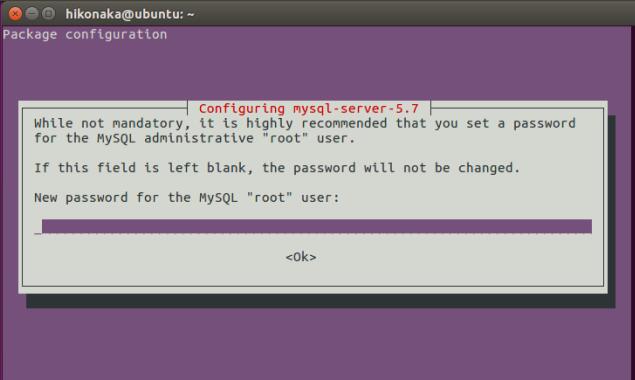
sudo apt-get install mysql-server,安装信息省略,一般安装结束之后mysql会自动开启。
-
它会提示让你输入root用户的密码,这里你正常输入自己的密码就ok了
-
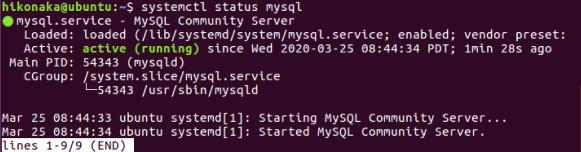
systemctl status mysql,查看mysql现在的状态,这就表示mysql安装成功啦,你可以mysql -u root -p,进入看一看。
3.php的安装
-
sudo apt-get install php,安装信息省略。
-
php -v,查看当前php的版本,如果出现如下所示的结果,表示安装正确

4.最后
到现在为止,LAMP环境的配置成功了,但是还有一些别的操作,如果你想让Apache现在可以提供php界面,那么是需要libapache2-mod-php包的,现在可以进行一次测试。
在/var/www/html文件夹下创建一个index.php文件,随便写一点东西。如果在浏览器的地址栏输入类似localhost/index.php,发现输出都是空白页,日志里也没有报错,也证明了php安装和运行正常,那么可以试着输入命令如下
sudo apt-get install libapache2-mod-php,然后重启apache2,这样php就可以正常显示了。
以上是关于Ubuntu18.04下安装配置AndroidStudio软件图文教程的主要内容,如果未能解决你的问题,请参考以下文章
Ubuntu18.04下安装配置AndroidStudio软件图文教程
Ubuntu 18.04 下 PostgreSQL 10 的安装与基础配置
Win10+WSL2+Ubuntu 18.04(WSL下)+VS Code(Win10下)+TexLive 2019(Ubuntu下)安装和配置
Ubuntu 18.04 LTS 环境下 SAC 安装及配置
Ubuntu 18.04 版本下安装ROS 系统
ubuntu18.04下neo4j的安装