Apm飞控学习笔记-AC_PosControl位置控制-Cxm
Posted CHENxiaomingming
tags:
篇首语:本文由小常识网(cha138.com)小编为大家整理,主要介绍了Apm飞控学习笔记-AC_PosControl位置控制-Cxm相关的知识,希望对你有一定的参考价值。
在上一篇的Copter.cpp中运行的位置控制器的介绍,这篇相对较多较为复杂而且代码量大所以分段解释
在libraries\\AC_AttitudeControl\\AC_PosControl.cpp:下
首先是水平位置控制器
void AC_PosControl::run_xy_controller(float dt)
EKF选择
AP::ahrs_navekf().getEkfControlLimits(ekfGndSpdLimit, ekfNavVelGainScaler);这个估计应该是选择对应姿态和位置估计系统 (EKF), 在APM中有三种
官方的解释是一种 AP_NavEKF2 库中的一个 24 状态扩展卡尔曼滤波器,用于估计以下状态
- 态度(四元数)
- 速度(北、东、下)
- 位置(北、东、下)
- 陀螺偏置偏移 (X,Y,Z)
- 陀螺比例因子 (X,Y,Z)
- Z 加速度偏差
- 地球磁场(北、东、下)
- 体磁场 (X,Y,Z)
- 风速(北,东)
2. 当前位置获取
Vector3f curr_pos = _inav.get_position(); 这里注意APM内写了特别多的重载函数需要仔细查询对应的调用是那个查询一下_inav就可以找到了最后跳转到libraries\\AP_InertialNav\\AP_InertialNav_NavEKF.cpp
const Vector3f &AP_InertialNav_NavEKF::get_position(void) const

    return _relpos_cm;
其中_relpos_cm 就是返回的当前位置而当前位置又是通过以下的来同样在libraries\\AP_InertialNav\\AP_InertialNav_NavEKF.cpp文件内
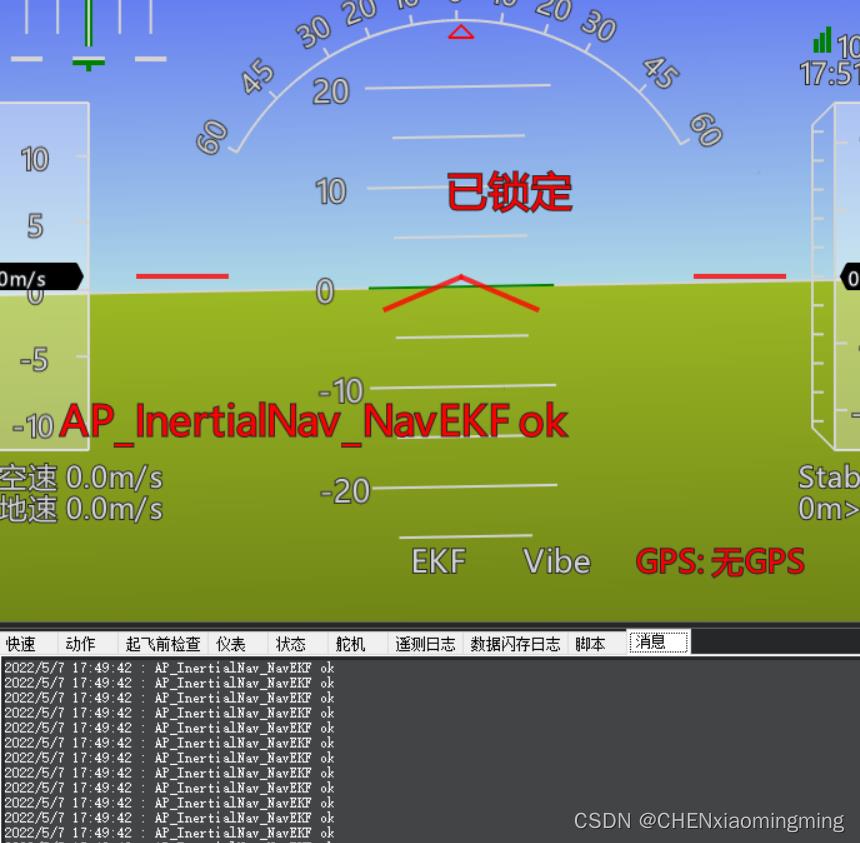
但是目前还没找到这个文件的在那里启动的 目前感觉应该是在主函数loop里面调用的位置控制器的启动的为了确定我们在这个函数中添加了地面站消息打印 gcs().send_text(MAV_SEVERITY_CRITICAL, //地面站消息发送
"AP_InertialNav_NavEKF ok");
在自稳模式下也调用了这个即使是无GPS情况下

void AP_InertialNav_NavEKF::update(bool high_vibes)

    // get the NE position relative to the local earth frame origin
    Vector2f posNE;
    if (_ahrs_ekf.get_relative_position_NE_origin(posNE))
        _relpos_cm.x = posNE.x * 100; // convert from m to cm
        _relpos_cm.y = posNE.y * 100; // convert from m to cm


    // get the D position relative to the local earth frame origin
    float posD;
    if (_ahrs_ekf.get_relative_position_D_origin(posD))
        _relpos_cm.z = - posD * 100; // convert from m in NED to cm in NEU


    // get the velocity relative to the local earth frame
    Vector3f velNED;
    if (_ahrs_ekf.get_velocity_NED(velNED))
        // during high vibration events use vertical position change
        if (high_vibes)
            float rate_z;
            if (_ahrs_ekf.get_vert_pos_rate(rate_z))
                velNED.z = rate_z;


        _velocity_cm = velNED * 100; // convert to cm/s
        _velocity_cm.z = -_velocity_cm.z; // convert from NED to NEU

             gcs().send_text(MAV_SEVERITY_CRITICAL,  //地面站消息发送
                "AP_InertialNav_NavEKF ok");
当前的位置被保存到了_relpos_cm中,具体这么获得的我们跳转到libraries\\AP_AHRS\\AP_AHRS_NavEKF.cpp文件中的get_relative_position_NE_origin()中,害真的是一套嵌一套我们接着看 这个函数的作用是 以米为单位写一个相对地面位置估计到原点
bool AP_AHRS_NavEKF::get_relative_position_NE_origin(Vector2f &posNE) const

    switch (active_EKF_type())
    case EKF_TYPE_NONE:
        return false;

    case EKF_TYPE2:
    default:
        bool position_is_valid = EKF2.getPosNE(-1,posNE);
        return position_is_valid;


    case EKF_TYPE3:
        bool position_is_valid = EKF3.getPosNE(-1,posNE);
        return position_is_valid;


#if CONFIG_HAL_BOARD == HAL_BOARD_SITL
    case EKF_TYPE_SITL:
        Location loc;
        get_position(loc);
        posNE = get_home().get_distance_NE(loc);
        return true;

#endif
这里的active_EKF_type()就不细说了这个这个是判断当前用的是那个EKF来确认数据的选择
这个active_EKF_type()内容也很大改天深入研究一下
getPosNE(posNE) 返回 ekf 高度和垂直加速度的补充滤波器计算出的值 单位为米
现在就弄清楚了我们的当前位置是这么来的了,下面是将单位转换成厘米
        _relpos_cm.x = posNE.x * 100; // convert from m to cm
        _relpos_cm.y = posNE.y * 100; // convert from m to cm
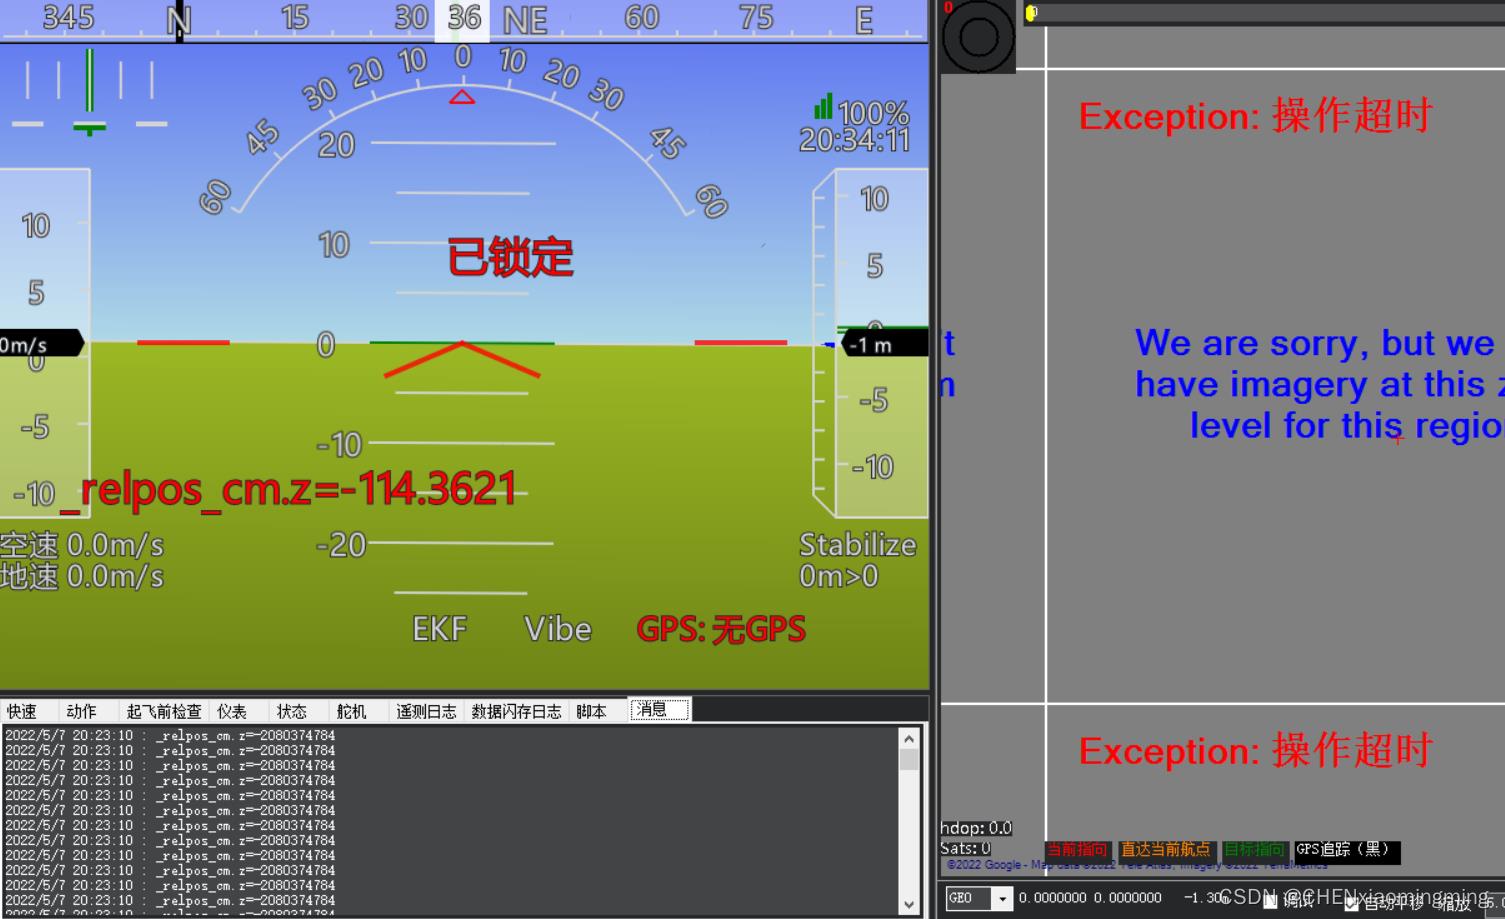
我们将高度写入地面站显示能成功输出

在这一步这里当前位置就已经能够成功获取和提取了
终于..
现在回到libraries\\AC_AttitudeControl\\AC_PosControl.cpp
为什么要获取当前位置是因为需要计算位置误差,
位置误差=期望位置-当前位置:
        _pos_error.x = _pos_target.x - curr_pos.x;
        _pos_error.y = _pos_target.y - curr_pos.y;
我们需要飞行到期望位置所以已经求得位置的误差所以只需要
当前位置+位置误差=期望位置
注意这里需要判断是否超出最大的约束 _leash
        if (limit_vector_length(_pos_error.x, _pos_error.y, _leash))
            _pos_target.x = curr_pos.x + _pos_error.x;
            _pos_target.y = curr_pos.y + _pos_error.y;
期望速度=位置误差*Kp
_vel_target = sqrt_controller(_pos_error, kP, _accel_cms);我们来看看这个当前速度是这么来的:
Vector3f AC_PosControl::sqrt_controller(const Vector3f& error, float p, float second_ord_lim)

    if (second_ord_lim < 0.0f || is_zero(second_ord_lim) || is_zero(p))
        return Vector3f(error.x * p, error.y * p, error.z);


    float linear_dist = second_ord_lim / sq(p);
    float error_length = norm(error.x, error.y);
    if (error_length > linear_dist)
        float first_order_scale = safe_sqrt(2.0f * second_ord_lim * (error_length - (linear_dist * 0.5f))) / error_length;
        return Vector3f(error.x * first_order_scale, error.y * first_order_scale, error.z);
     else
        return Vector3f(error.x * p, error.y * p, error.z);
加上我们的速度前馈
 _vel_target.x += _vel_desired.x;
    _vel_target.y += _vel_desired.y;
到这一部分我们的当前位置,位置误差,当前速度,期望速度 都已经计算完成了,还差速度误差
获取当前速度
       _vehicle_horiz_vel.x = _inav.get_velocity().x;
        _vehicle_horiz_vel.y = _inav.get_velocity().y;
速度误差=期望速度-当前速度
    _vel_error.x = _vel_target.x - _vehicle_horiz_vel.x;
    _vel_error.y = _vel_target.y - _vehicle_horiz_vel.y;
调用PID控制器 传入了速度误差
_pid_vel_xy.set_input(_vel_error);
void set_input(const Vector3f &input) set_input(Vector2f(input.x, input.y));
然后调出pid:
    _pid_vel_xy.set_input(_vel_error);

 vel_xy_p = _pid_vel_xy.get_p();

    // update i term if we have not hit the accel or throttle limits OR the i term will reduce
    // TODO: move limit handling into the PI and PID controller
    if (!_limit.accel_xy && !_motors.limit.throttle_upper)
        vel_xy_i = _pid_vel_xy.get_i();
     else
        vel_xy_i = _pid_vel_xy.get_i_shrink();


    // get d
    vel_xy_d = _pid_vel_xy.get_d();
最后校准和互补数据传递给控制器
 //  加速度校准速度误差
    accel_target.x = (vel_xy_p.x + vel_xy_i.x + vel_xy_d.x) * ekfNavVelGainScaler;
    accel_target.y = (vel_xy_p.y + vel_xy_i.y + vel_xy_d.y) * ekfNavVelGainScaler;

    // reset accel to current desired acceleration
    //将加速度复位到所需的当前加速度
    if (_flags.reset_accel_to_lean_xy)
        _accel_target_filter.reset(Vector2f(accel_target.x, accel_target.y));
        _flags.reset_accel_to_lean_xy = false;


    // filter correction acceleration
    //滤波器校正加速度
    _accel_target_filter.set_cutoff_frequency(MIN(_accel_xy_filt_hz, 5.0f * ekfNavVelGainScaler));
    _accel_target_filter.apply(accel_target, dt);

    // pass the correction acceleration to the target acceleration output
    _accel_target.x = _accel_target_filter.get().x;
    _accel_target.y = _accel_target_filter.get().y;

    // Add feed forward into the target acceleration output
    //向目标加速度输出中加入前馈
    _accel_target.x += _accel_desired.x;
    _accel_target.y += _accel_desired.y;

    // the following section converts desired accelerations provided in lat/lon frame to roll/pitch angles

    // limit acceleration using maximum lean angles
    float angle_max = MIN(_attitude_control.get_althold_lean_angle_max(), get_lean_angle_max_cd());
    float accel_max = MIN(GRAVITY_MSS * 100.0f * tanf(ToRad(angle_max * 0.01f)), POSCONTROL_ACCEL_XY_MAX);
    _limit.accel_xy = limit_vector_length(_accel_target.x, _accel_target.y, accel_max);

    // update angle targets that will be passed to stabilize controller
    //更新后的数据传递给控制器
    accel_to_lean_angles(_accel_target.x, _accel_target.y, _roll_target, _pitch_target);
_roll_target, _pitch_target 就是 get_roll() get_pitch() 所调用的位置数据
通过attitude_control->input_euler_angle_roll_pitch_euler_rate_yaw() 姿态控制实现位置控制
END
以上是关于Apm飞控学习笔记-AC_PosControl位置控制-Cxm的主要内容,如果未能解决你的问题,请参考以下文章