Java 微服务之 SpringCloud快速入门day01 Eureka注册中心快速入门
Posted 蓝盒子bluebox
tags:
篇首语:本文由小常识网(cha138.com)小编为大家整理,主要介绍了Java 微服务之 SpringCloud快速入门day01 Eureka注册中心快速入门相关的知识,希望对你有一定的参考价值。
一、Eureka注册中心简介
1、认识Eureka
首先我们来解决第一问题,服务的管理。
问题分析
在刚才的案例中,user-service对外提供服务,需要对外暴露自己的地址。而consumer(调用者)需要记录服务提供者的地址。
将来地址出现变更,还需要及时更新。这在服务较少的时候并不觉得有什么,但是在现在日益复杂的互联网环境,一个项目肯定会拆分出十几,甚至数十个微服务。
此时如果还人为管理地址,不仅开发困难,将来测试、发布上线都会非常麻烦,这与DevOps的思想是背道而驰的。
网约车
这就好比是网约车出现以前,人们出门叫车只能叫出租车。一些私家车想做出租却没有资格,被称为黑车。而很多人想要约车,但是无奈出租车太少,不方便。私家车很多却不敢拦,而且满大街的车,谁知道哪个才是愿意载人的。一个想要,一个愿意给,就是缺少引子,缺乏管理啊。
此时滴滴这样的网约车平台出现了,所有想载客的私家车全部到滴滴注册,记录你的车型(服务类型),身份信息(联系方式)。这样提供服务的私家车,在滴滴那里都能找到,一目了然。
此时要叫车的人,只需要打开APP,输入你的目的地,选择车型(服务类型),滴滴自动安排一个符合需求的车到你面前,为你服务,完美!
Eureka做什么?
Eureka就好比是滴滴,负责管理、记录服务提供者的信息。服务调用者无需自己寻找服务,而是把自己的需求告诉Eureka,然后Eureka会把符合你需求的服务告诉你。
同时,服务提供方与Eureka之间通过“心跳”机制进行监控,当某个服务提供方出现问题,Eureka自然会把它从服务列表中剔除。
这就实现了服务的自动注册、发现、状态监控。
2、原理图
基本架构
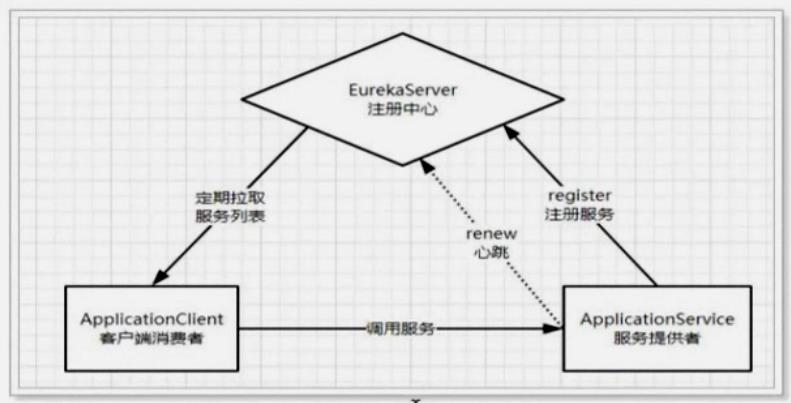
Eureka:就是服务注册中心(可以是一个集群),
对外暴露自己的地址提供者:启动后向Eureka注册自己信息(地址,提供什么服务)
消费者:
向Eureka订阅服务,Eureka会将对应服务的所有提供者地址列表发送给消费者,
并且定期更新心跳(续约):提供者定期通过http方式向Eureka刷新自己的状态
二、Eureka入门案例:编写Eureka相关代码
1、编写EurekaServer
接下来我们创建一个项目,启动一个EurekaServer

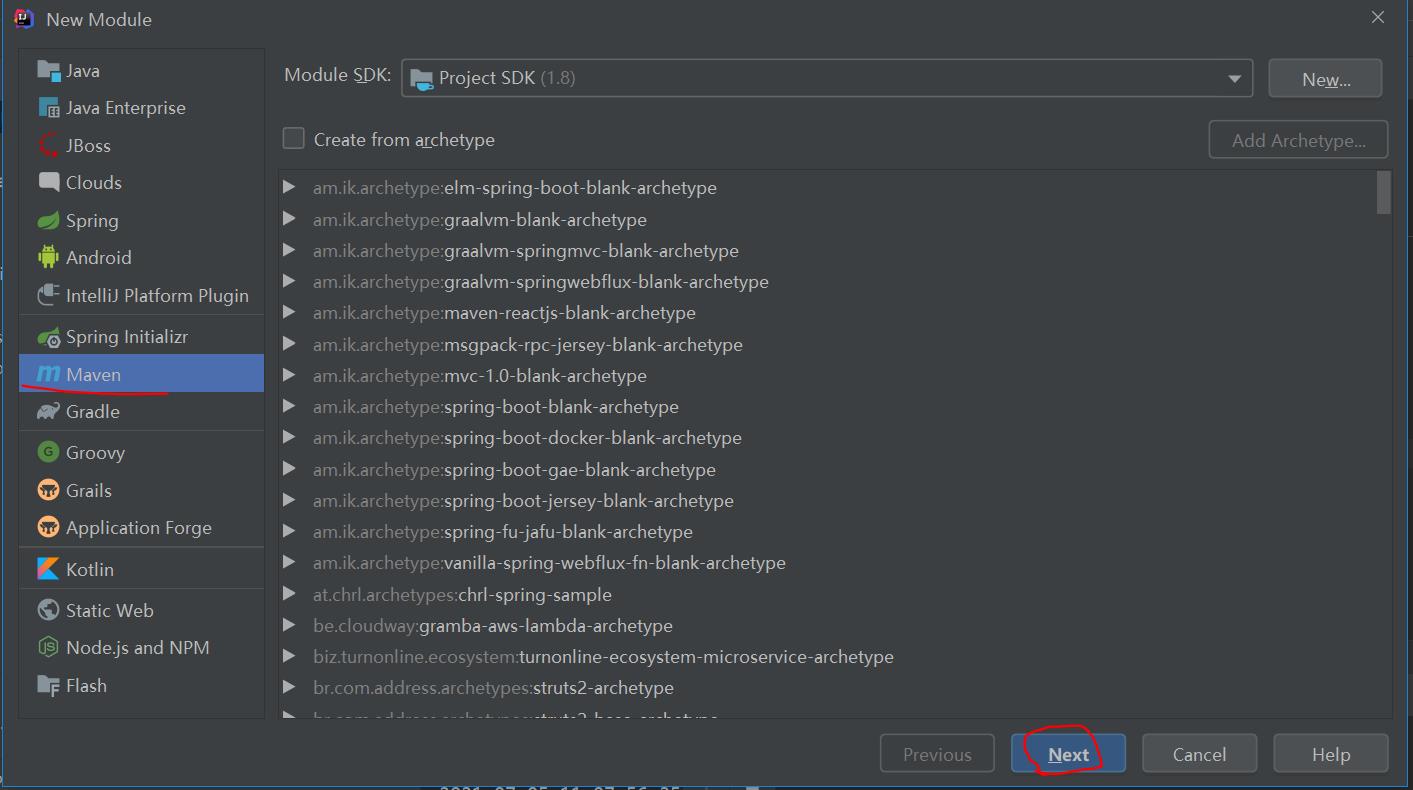
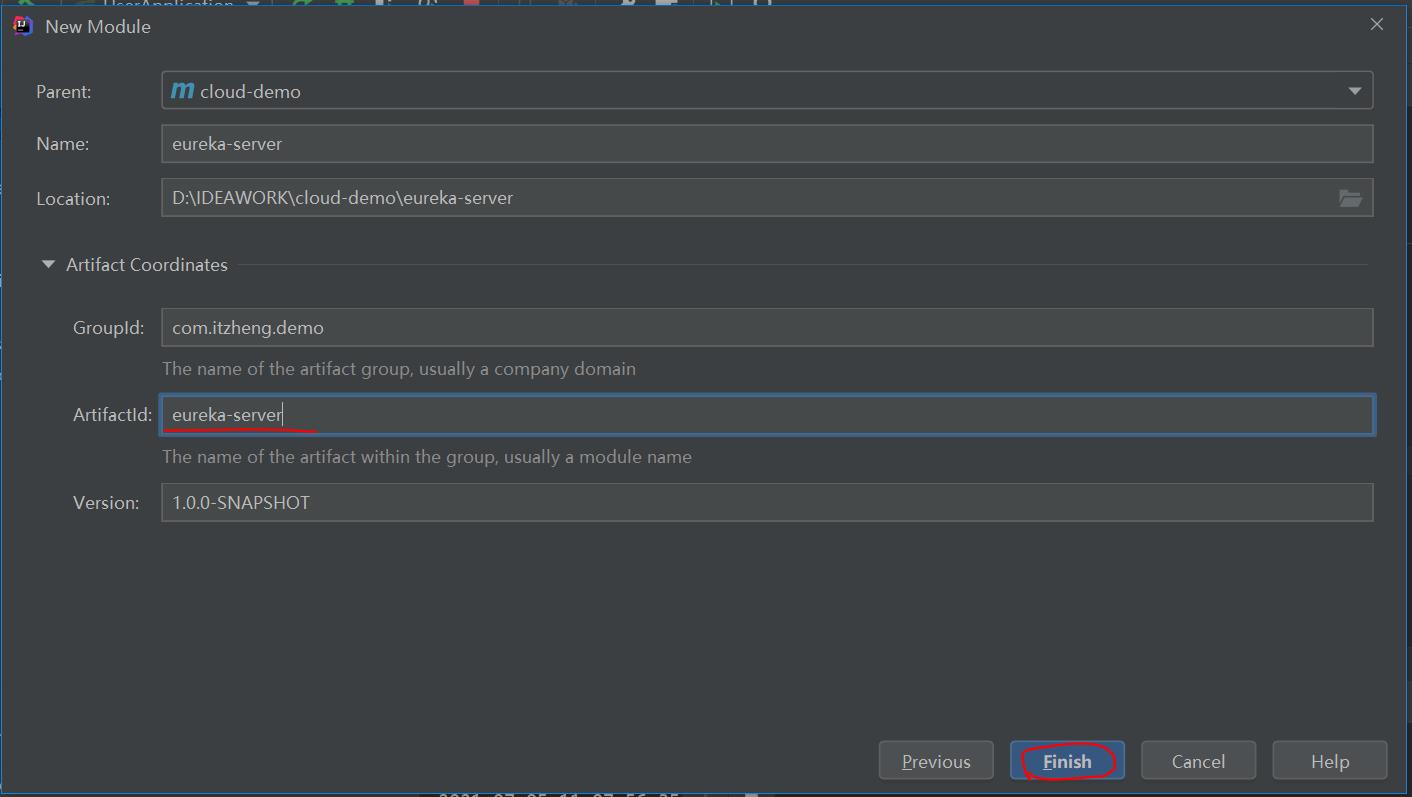

   <dependencies>

        <dependency>
            <groupId>org.springframework.cloud</groupId>
            <artifactId>spring-cloud-starter-netflix-eureka-server</artifactId>
            <version>2.0.1.RELEASE</version>
        </dependency>

    </dependencies>
2、编写启动器
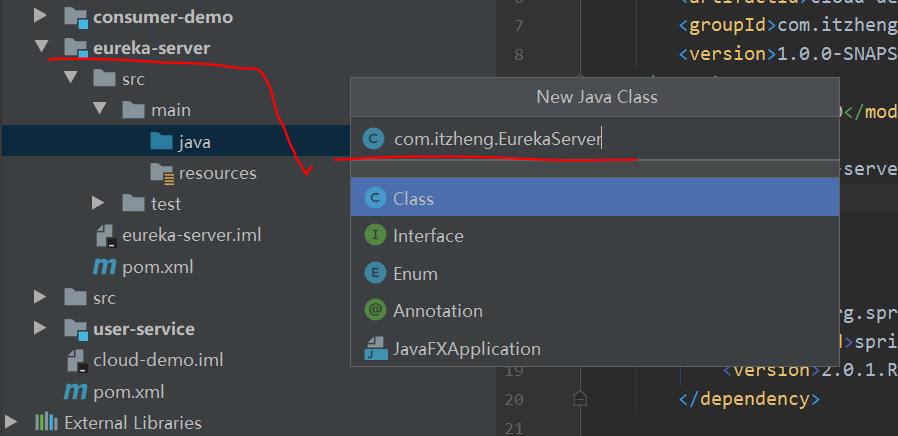
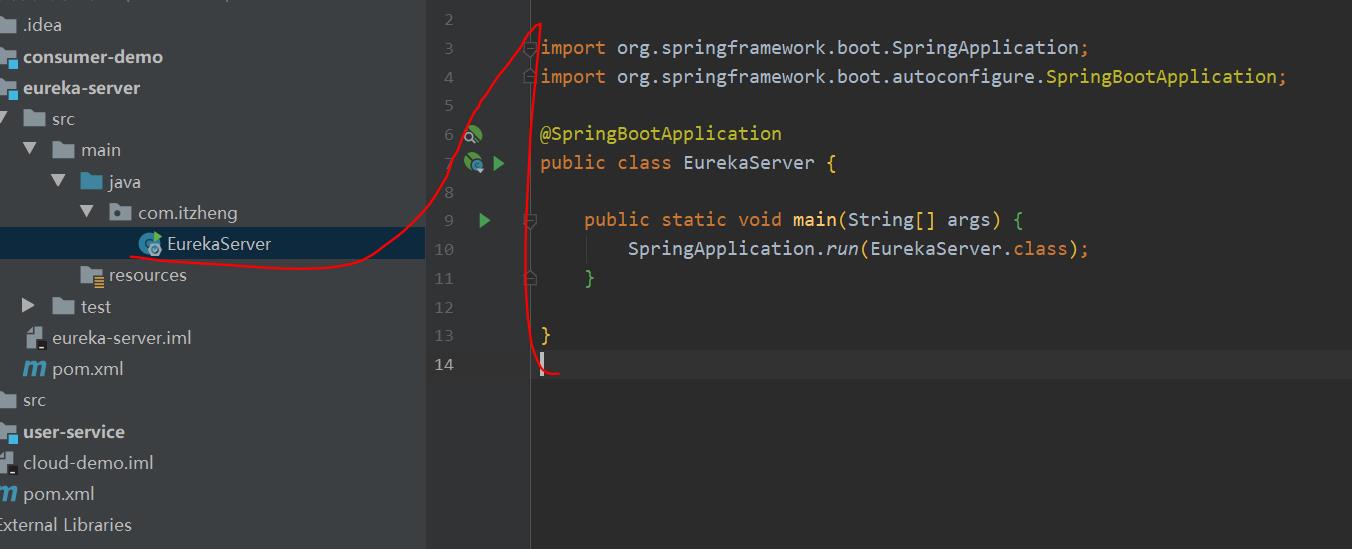
package com.itzheng;

import org.springframework.boot.SpringApplication;
import org.springframework.boot.autoconfigure.SpringBootApplication;

@SpringBootApplication
public class EurekaServer {

    public static void main(String[] args) {
        SpringApplication.run(EurekaServer.class);
    }

}
3、完善配置文件:在resources:application.yml
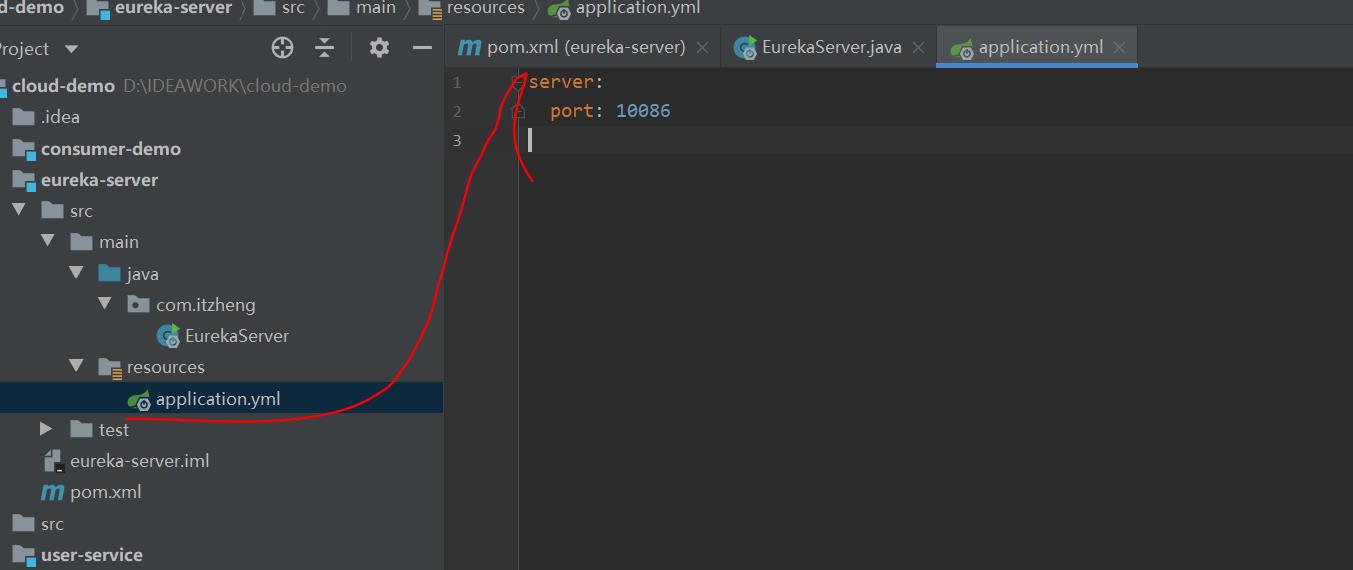
server:
  port: 10086
4、完善EurekaServer

@EnableEurekaServer
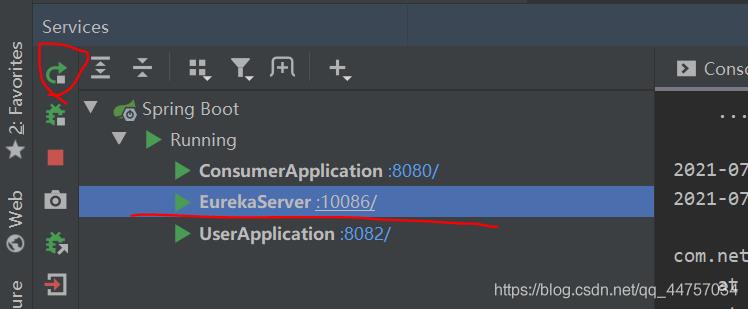
5、启动EurekaServer
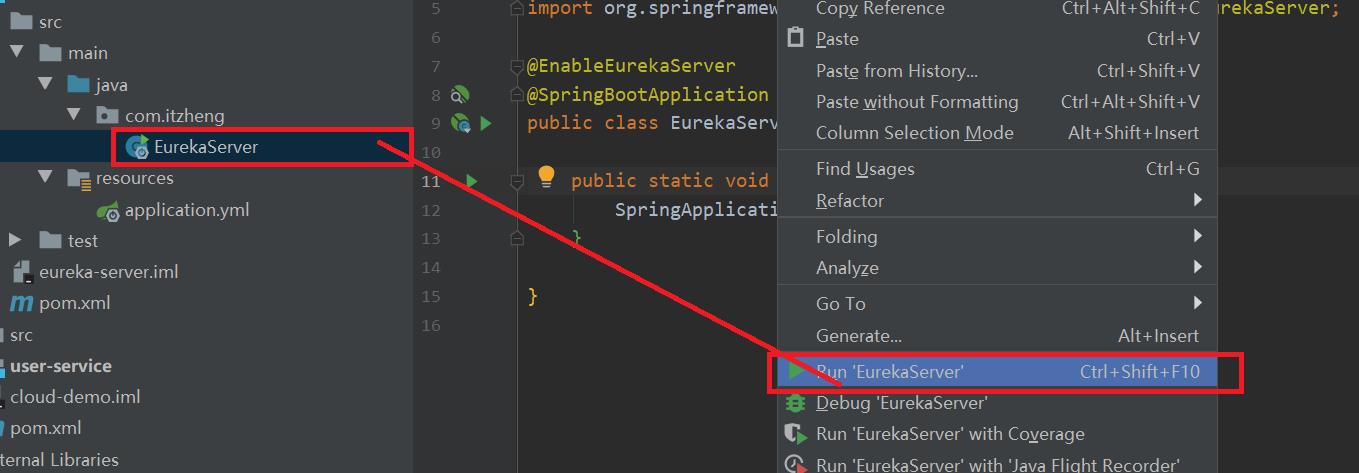
6、点击访问EurekaServer:http://localhost:10086/

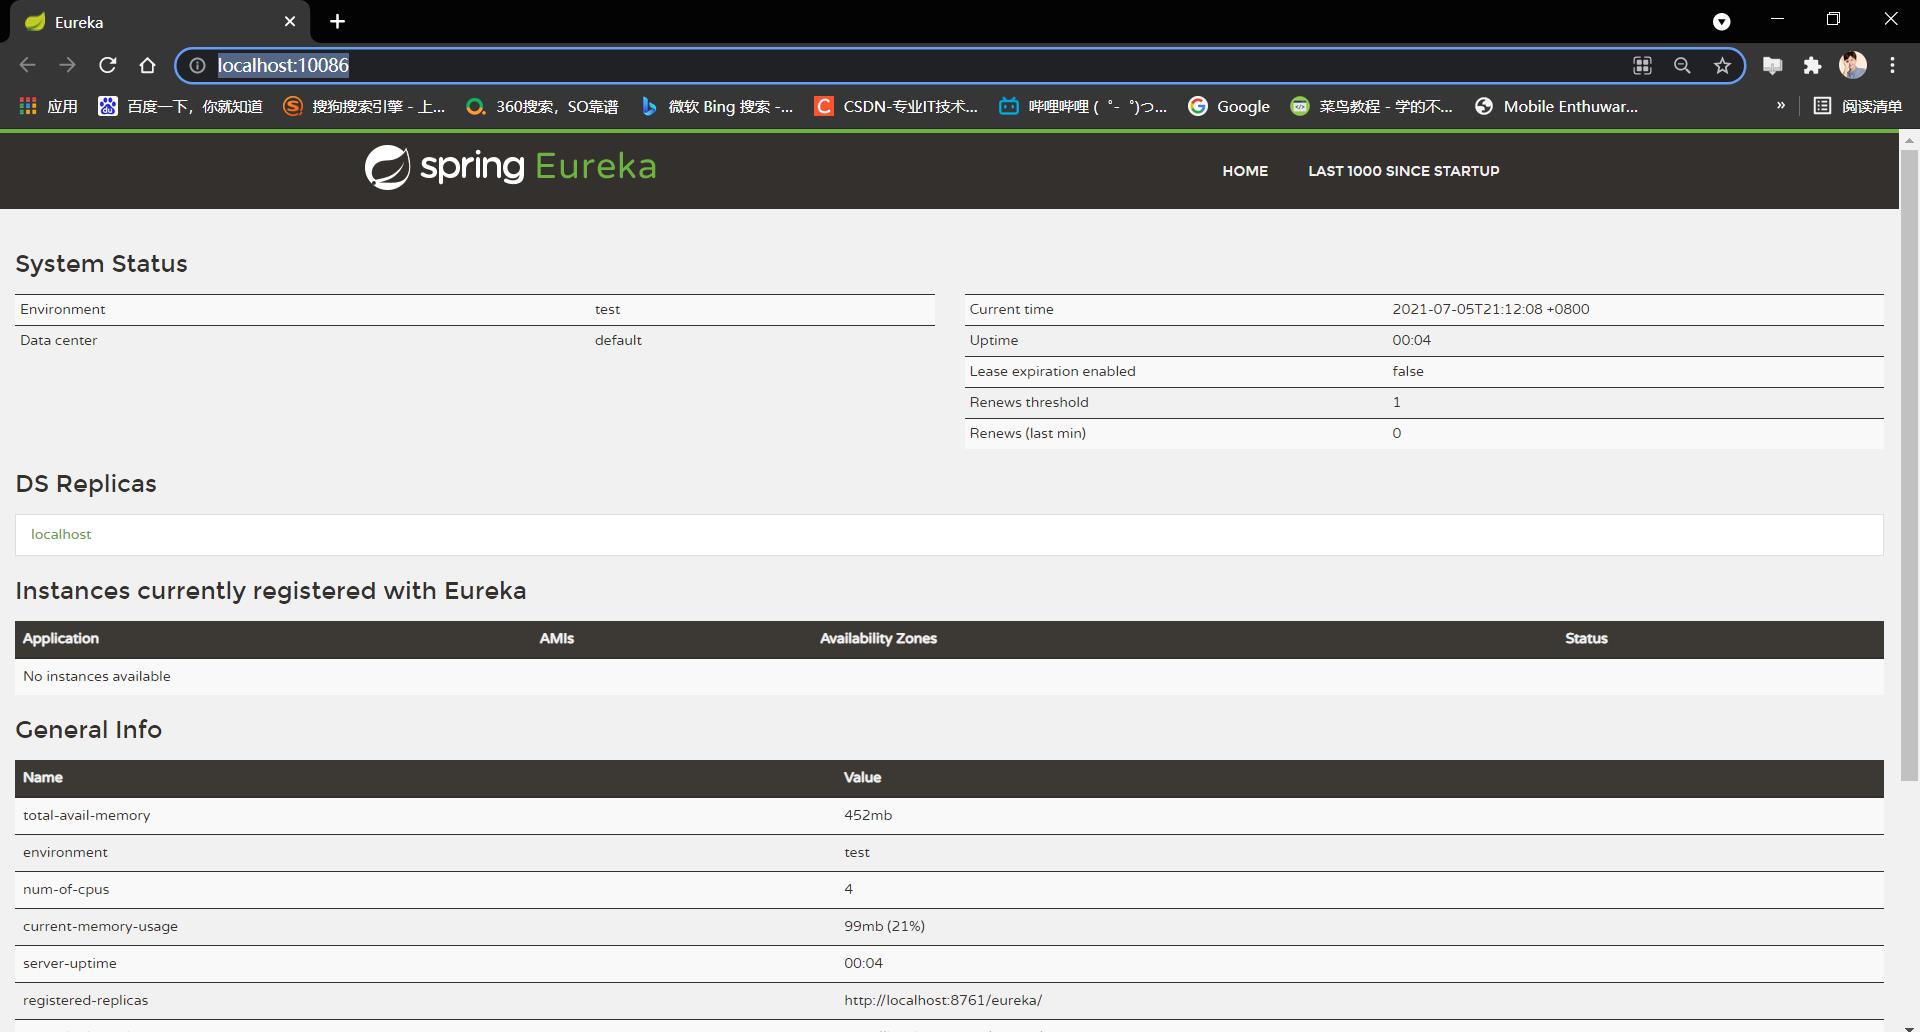
发现控制台报错
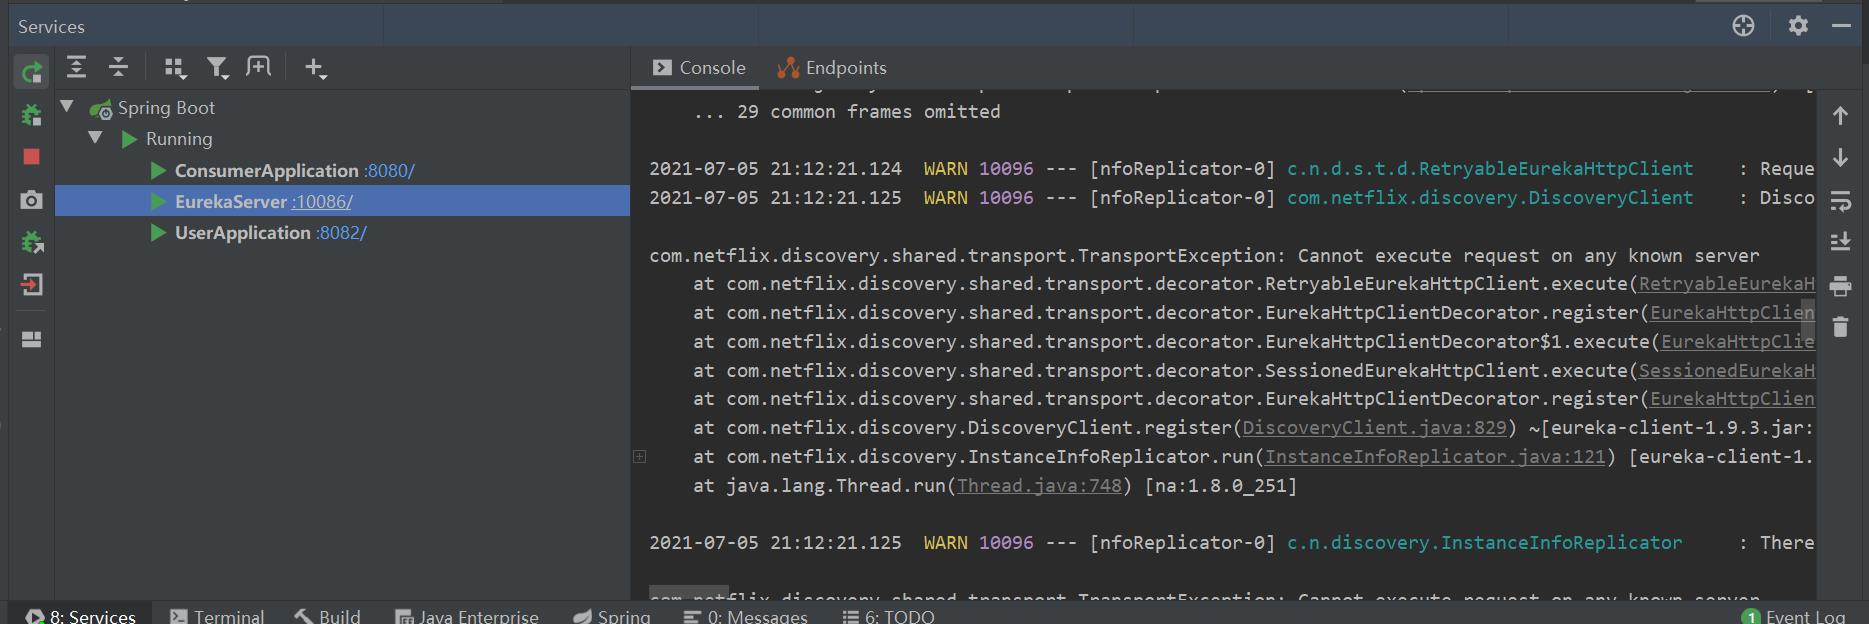
7、需要设置服务地址:后会自动注册

server:
  port: 10086
eureka:
  client:
    service-url:
      defaultZone: http://127.0.0.1:10086/eureka
重新运行
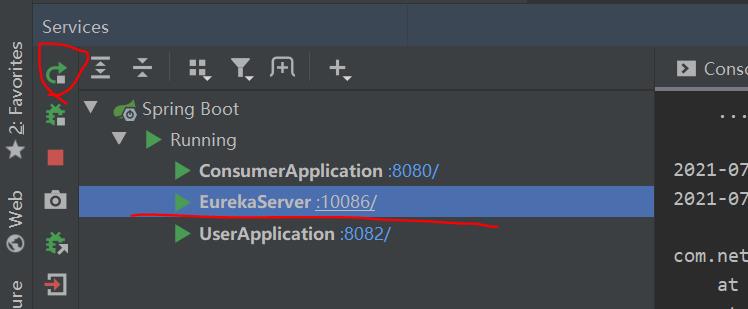
运行没有异常

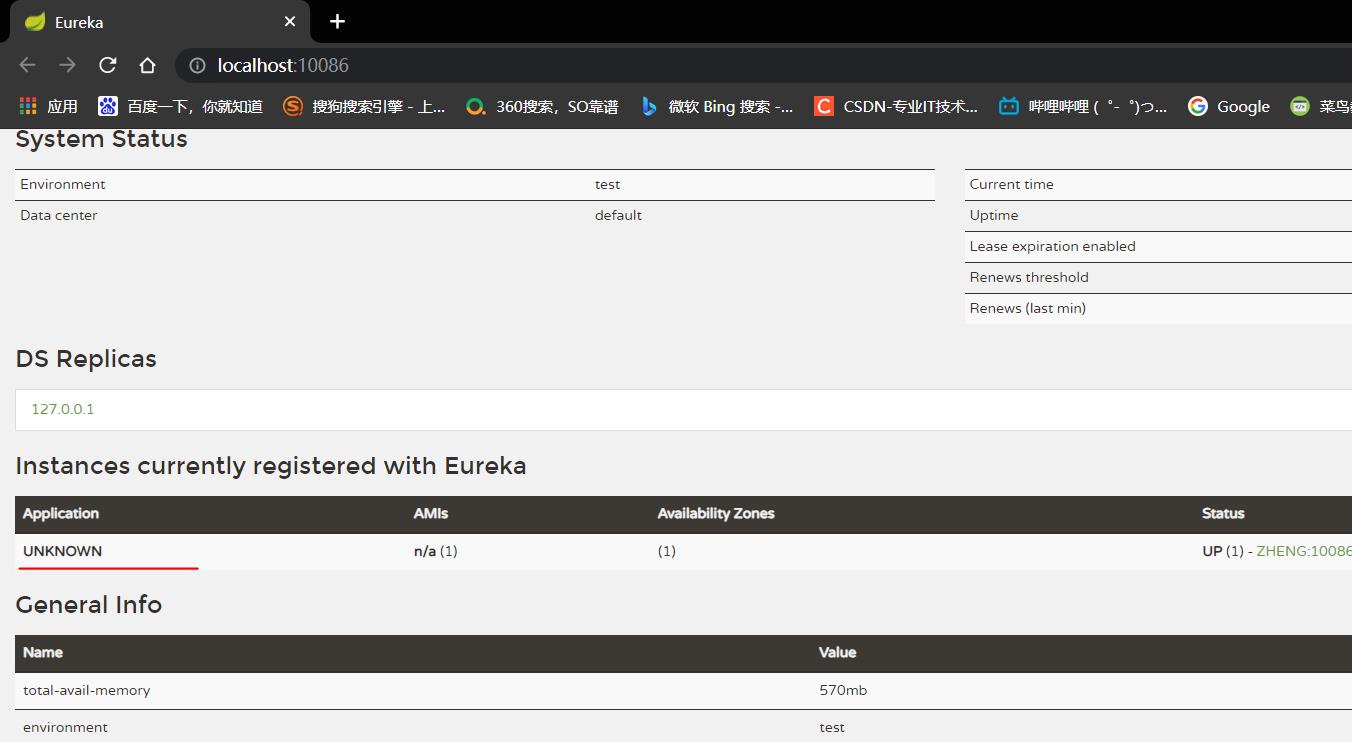
访问:http://localhost:10086/
发现服务没有名称
8、设置访问名称:完善application.yml
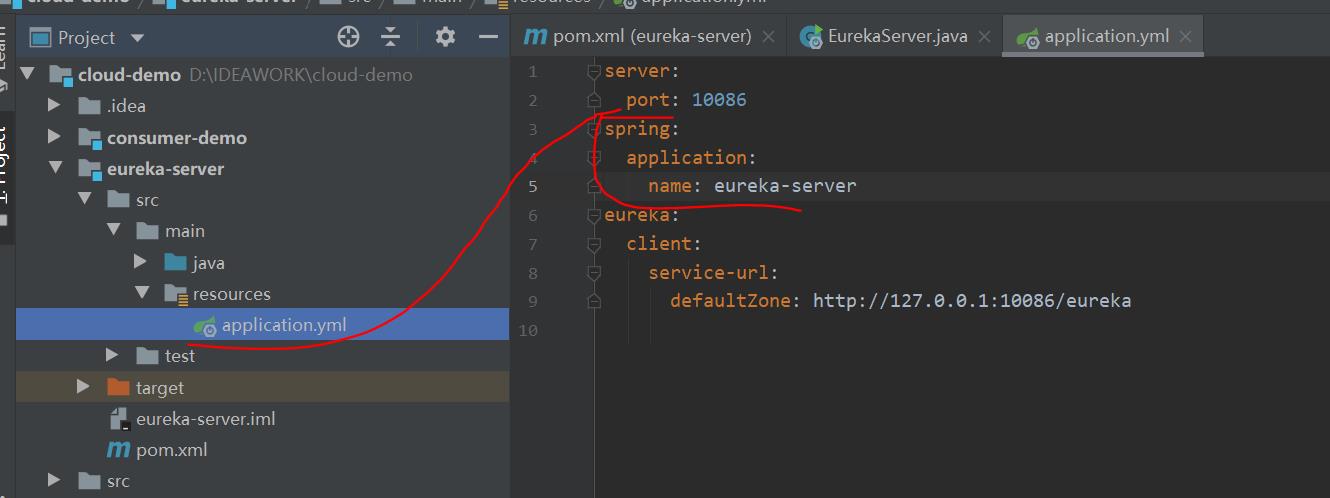
server:
  port: 10086
spring:
  application:
    name: eureka-server
eureka:
  client:
    service-url:
      defaultZone: http://127.0.0.1:10086/eureka
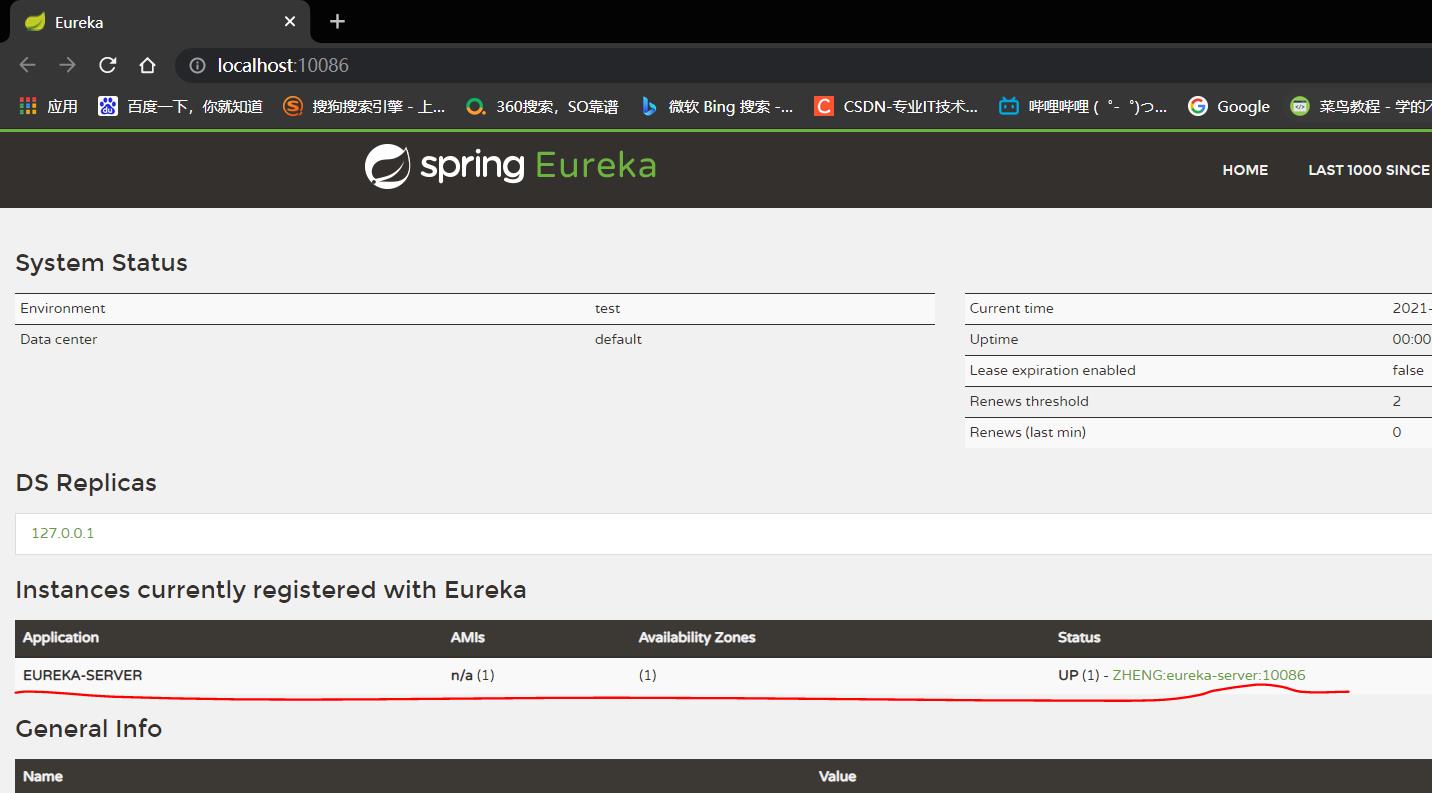
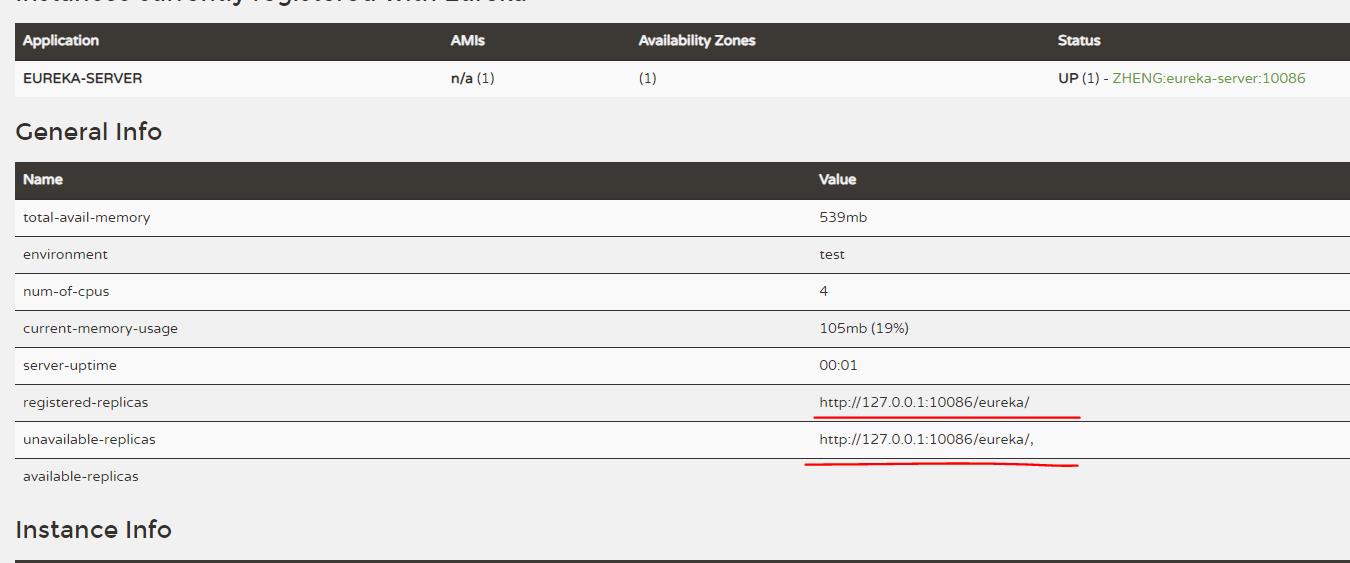
重新运行项目
http://localhost:10086/
三、user-service使用Eureka :服务的提供方
1、在user-service当中的pom.xml当中引入Eureka

<dependency>
            <groupId>org.springframework.cloud</groupId>
            <artifactId>spring-cloud-starter-netflix-eureka-client</artifactId>
            <version>2.0.1.RELEASE</version>
</dependency>
2、完善UserApplication,设置注册中心

package com.itzheng;

import org.springframework.boot.SpringApplication;
import org.springframework.boot.autoconfigure.SpringBootApplication;
import org.springframework.cloud.client.discovery.EnableDiscoveryClient;
import tk.mybatis.spring.annotation.MapperScan;

@EnableDiscoveryClient
@SpringBootApplication
@MapperScan("com.itzheng.user.mapper")
public class UserApplication {

    public static void main(String[] args) {
        SpringApplication.run(UserApplication.class);
    }

}
3、在user-service当中的resources配置Eureka
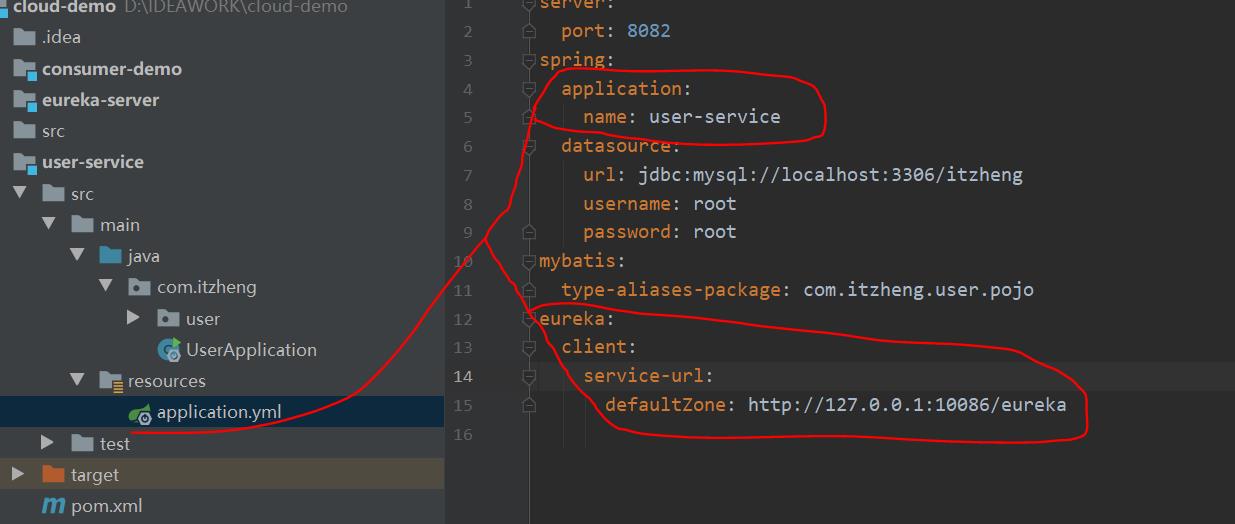
server:
  port: 8082
spring:
  application:
    name: user-service
  datasource:
    url: jdbc:mysql://localhost:3306/itzheng
    username: root
    password: root
mybatis:
  type-aliases-package: com.itzheng.user.pojo
eureka:
  client:
    service-url:
      defaultZone: http://127.0.0.1:10086/eureka
从新运行项目
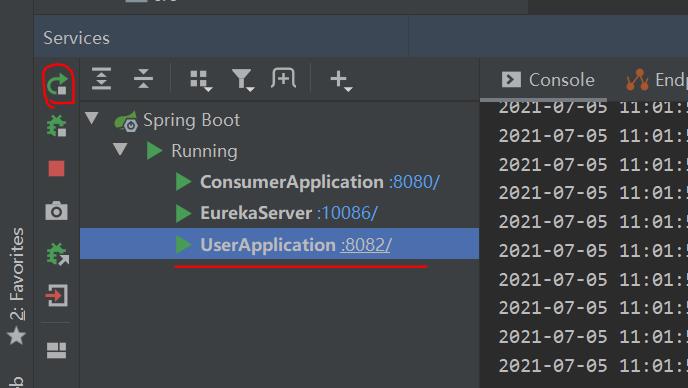
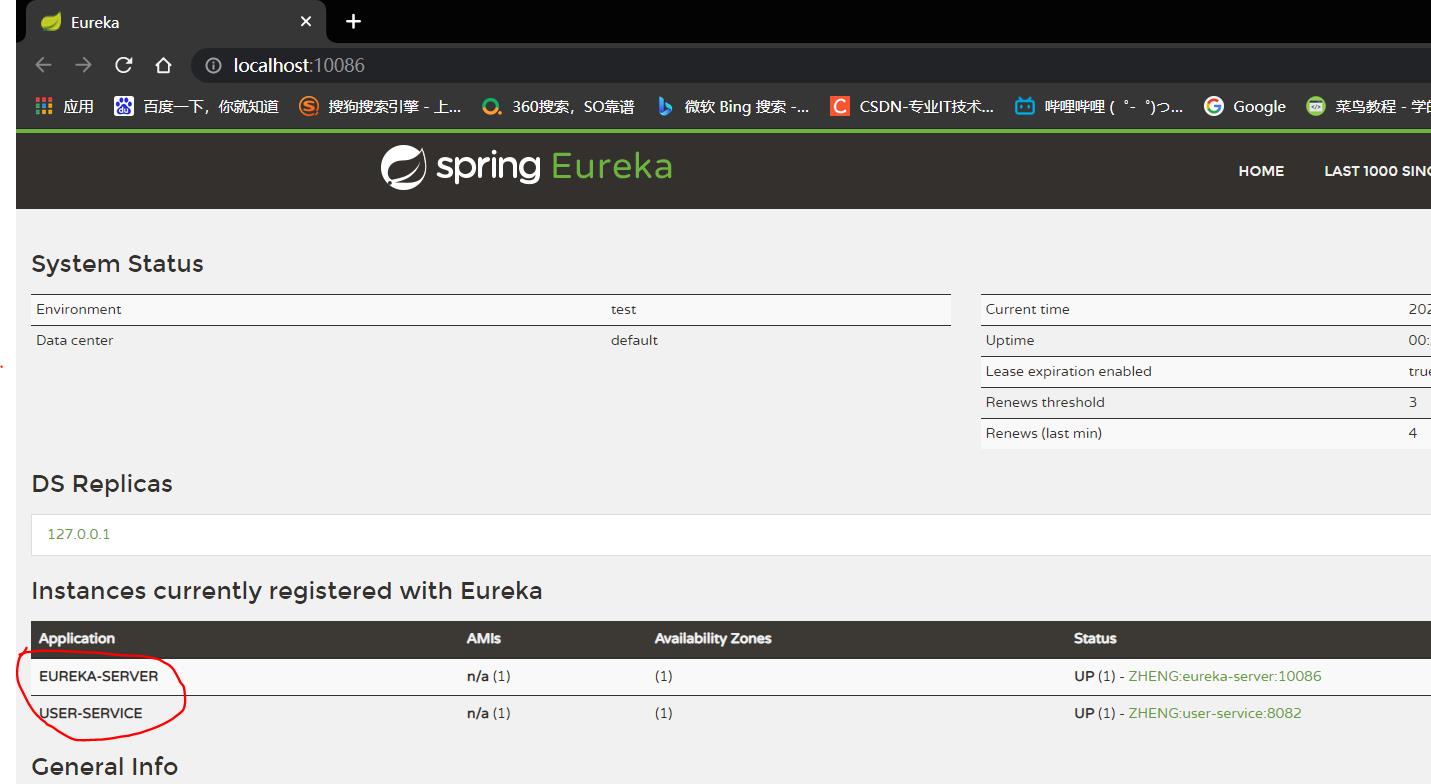
4、Eureka :http://localhost:10086/ 发现多注册一个服务
三、consumer-demo注册Eureka :服务的使用方,consumer动态拉去服务列表
1、在consumer-demo的pom.xml当中
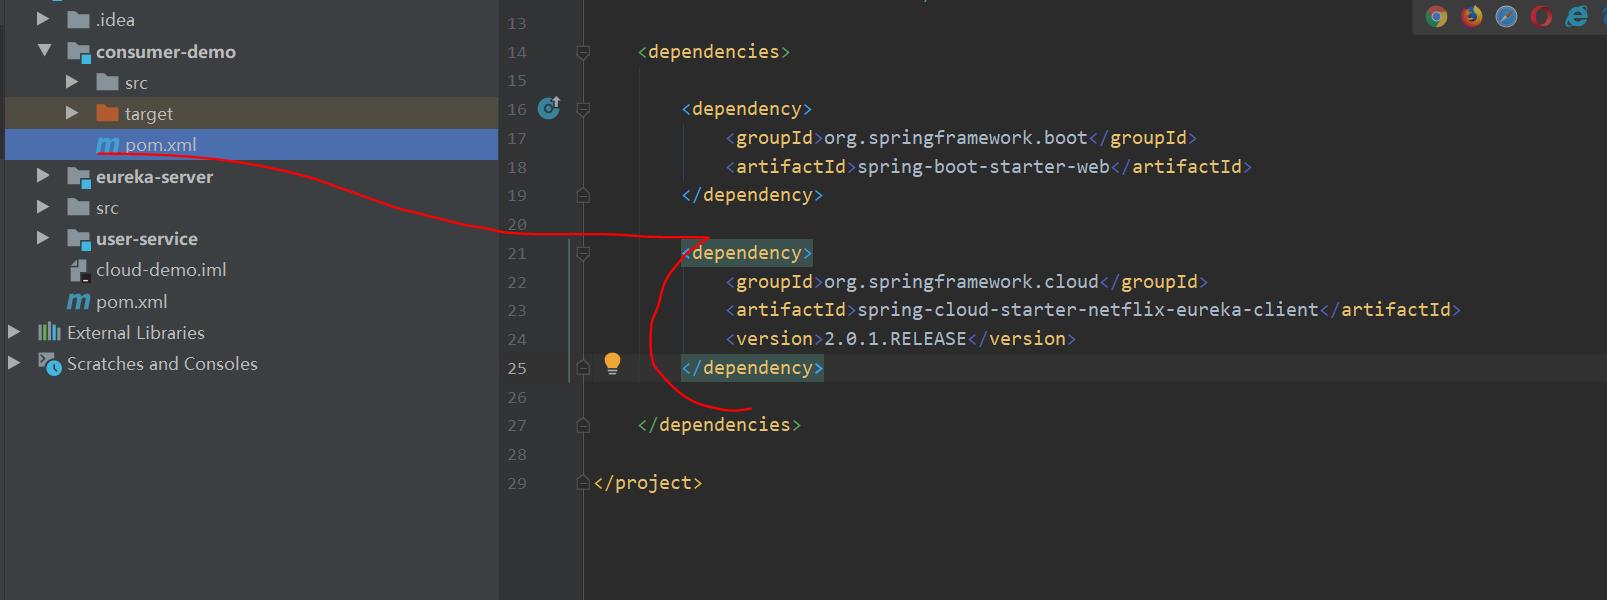
        <dependency>
            <groupId>org.springframework.cloud</groupId>
            <artifactId>spring-cloud-starter-netflix-eureka-client</artifactId>
            <version>2.0.1.RELEASE</version>
        </dependency>
2、完善ConsumerApplication添加注解
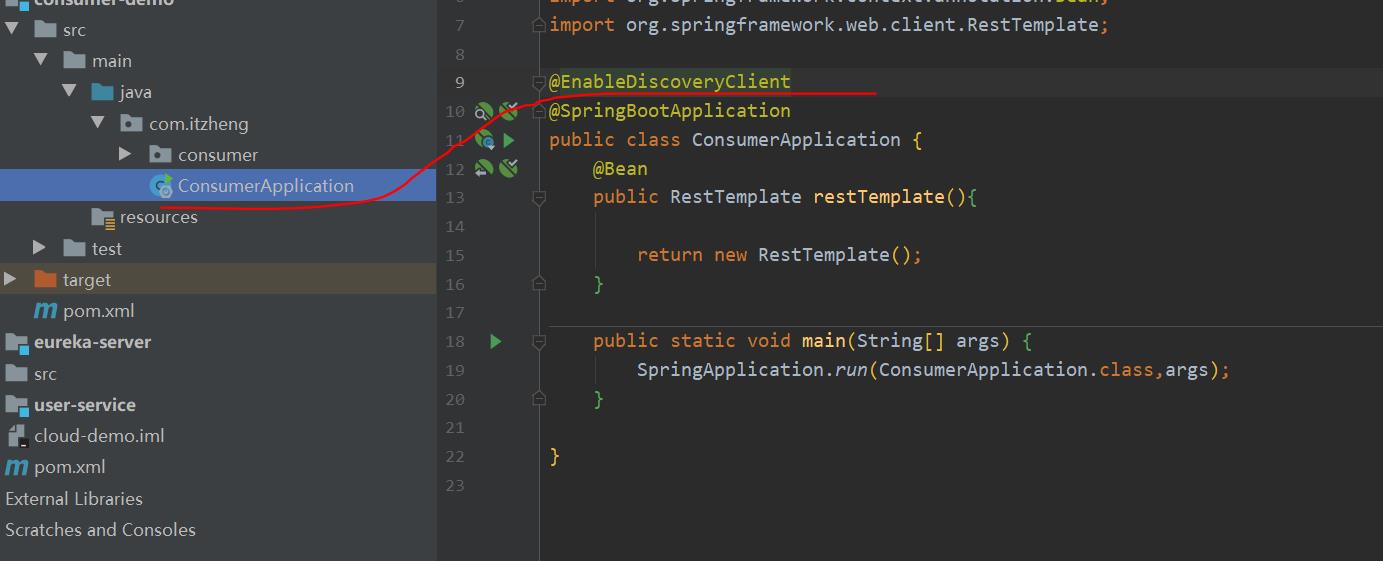
@EnableDiscoveryClient
3、添加配置
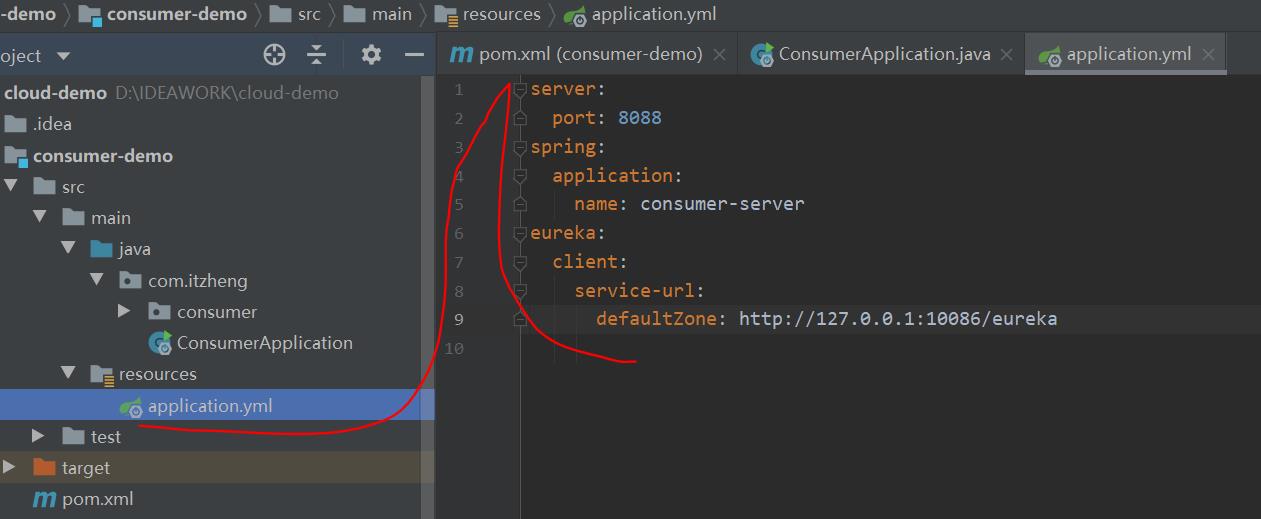
server:
  port: 8088
spring:
  application:
    name: consumer-server
eureka:
  client:
    service-url:
      defaultZone: http://127.0.0.1:10086/eureka
4、完善ConsumerController,根据服务id获取实例以及IP和端口并访问
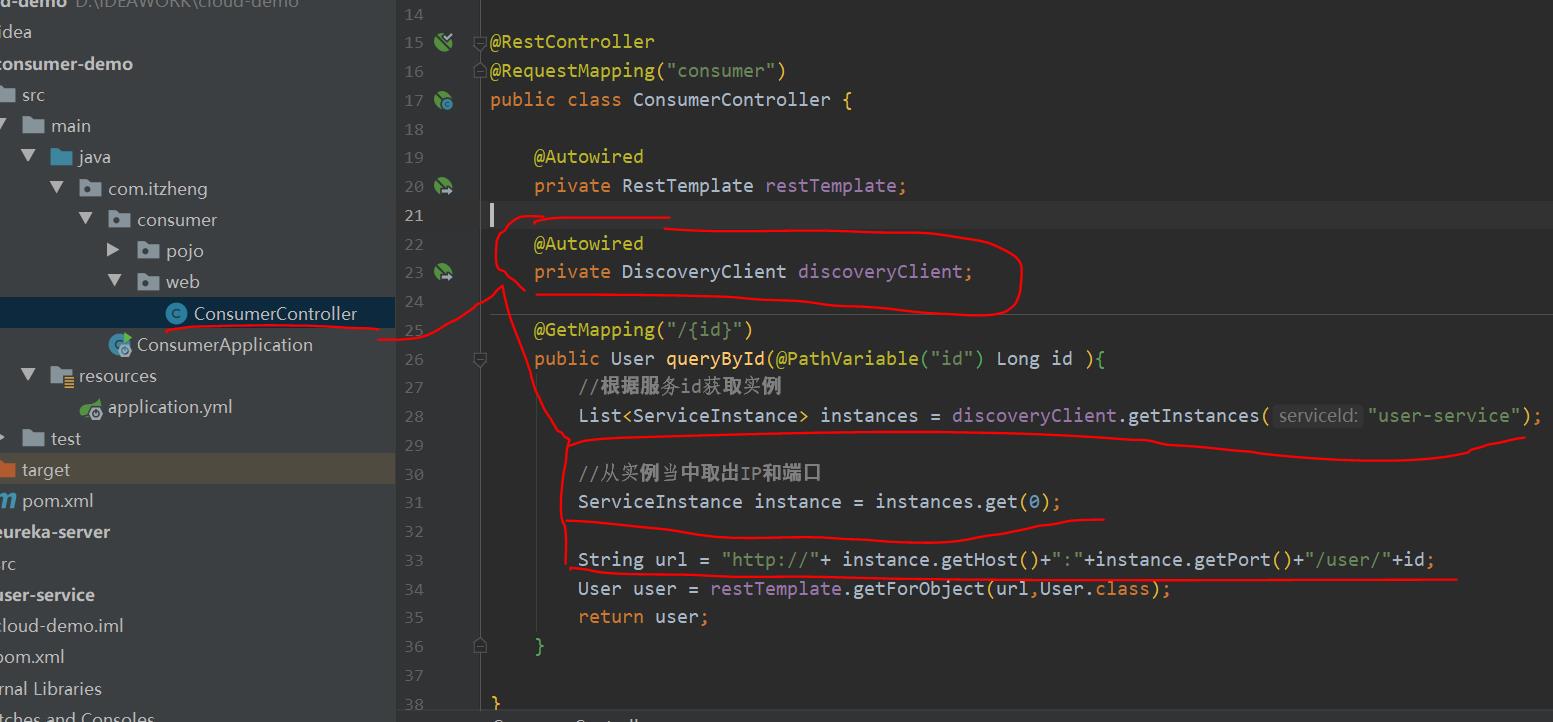
package com.itzheng.consumer.web;

import com.itzheng.consumer.pojo.User;
import org.springframework.beans.factory.annotation.Autowired;
import org.springframework.cloud.client.ServiceInstance;
import org.springframework.cloud.client.discovery.DiscoveryClient;
import org.springframework.web.bind.annotation.GetMapping;
import org.springframework.web.bind.annotation.PathVariable;
import org.springframework.web.bind.annotation.RequestMapping;
import org.springframework.web.bind.annotation.RestController;
import org.springframework.web.client.RestTemplate;

import java.util.List;

@RestController
@RequestMapping("consumer")
public class ConsumerController {

    @Autowired
    private RestTemplate restTemplate;

    @Autowired
    private DiscoveryClient discoveryClient;

    @GetMapping("/{id}")
    public User queryById(@PathVariable("id") Long id ){
        //根据服务id获取实例
        List<ServiceInstance> instances = discoveryClient.getInstances("user-service");

        //从实例当中取出IP和端口
        ServiceInstance instance = instances.get(0);

        String url = "http://"+ instance.getHost()+":"+instance.getPort()+"/user/"+id;
        User user = restTemplate.getForObject(url,User.class);
        return user;
    }

}
完善application.yml当中的ip访问地址
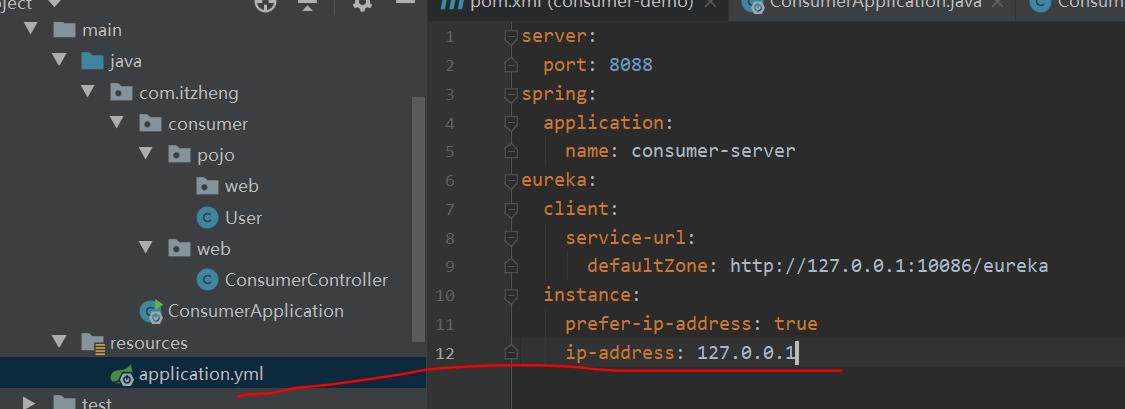
5、从新运行项目
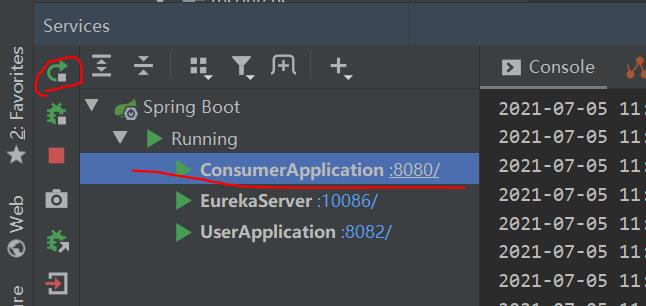
访问http://localhost:10086/
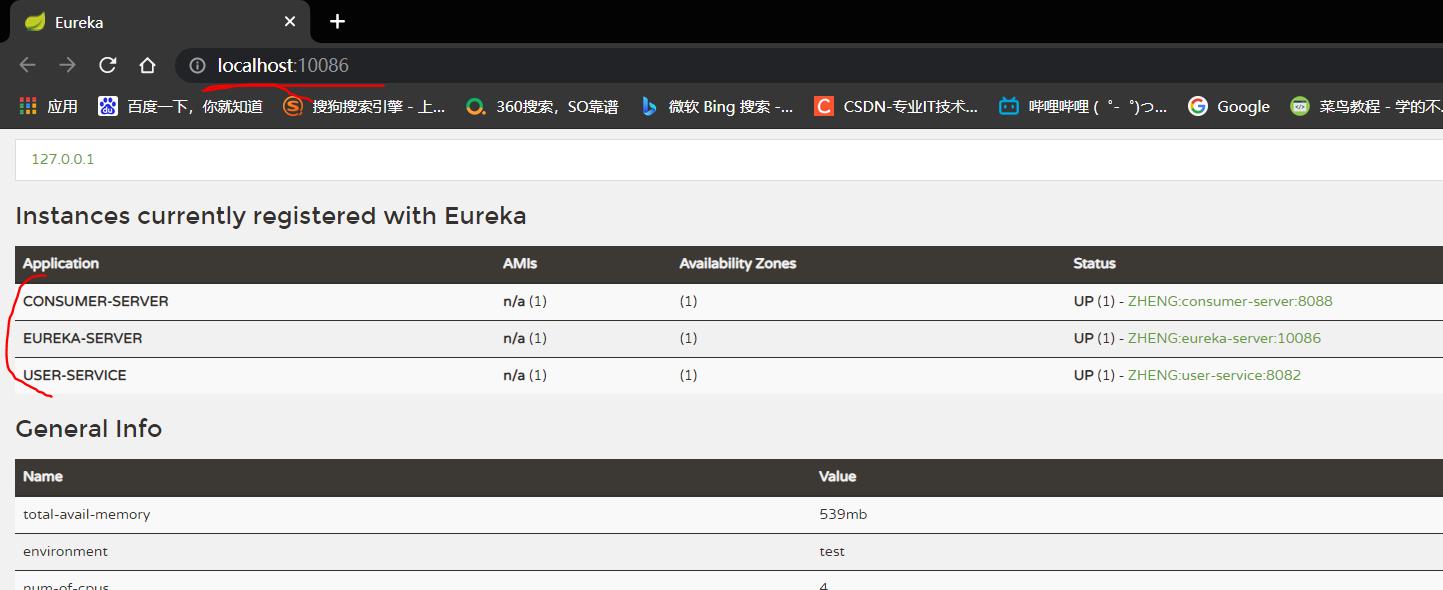
访问:http://localhost:8088/consumer/8

以上是关于Java 微服务之 SpringCloud快速入门day01 Eureka注册中心快速入门的主要内容,如果未能解决你的问题,请参考以下文章
Java 微服务之 SpringCloud快速入门day01 初始SpringCloud
Java 微服务之 SpringCloud快速入门day01 初始SpringCloud
Java 微服务之 SpringCloud快速入门day01 Eureka注册中心快速入门
Java 微服务之 SpringCloud快速入门day01 Eureka注册中心快速入门