Android MVVM框架使用记事本功能增强:视图类型批量删除搜索笔记
Posted 初学者-Study
tags:
篇首语:本文由小常识网(cha138.com)小编为大家整理,主要介绍了Android MVVM框架使用记事本功能增强:视图类型批量删除搜索笔记相关的知识,希望对你有一定的参考价值。
android MVVM框架使用(十二)记事本功能增强:视图类型、批量删除、搜索笔记
前言
在上一篇文章中完成了记事本基本功能,就是增删改查,本文对一些功能进行增强,对用户的体验就会更好。完成这一篇文章就可以实现下面的效果图
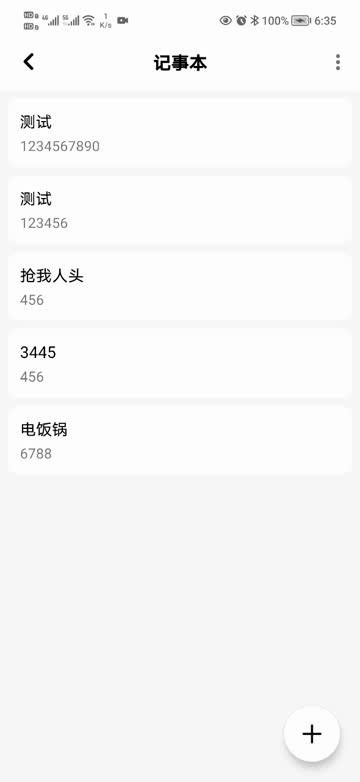
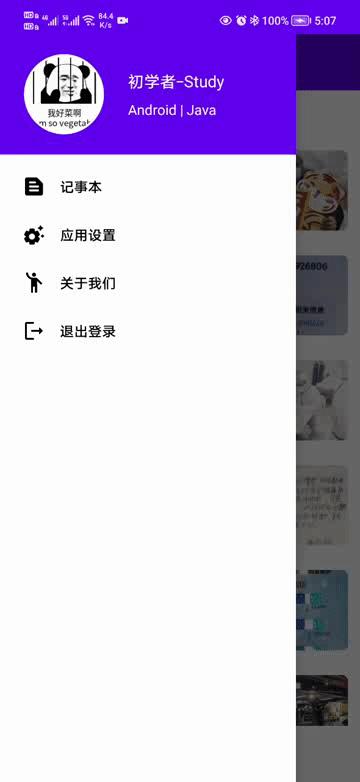
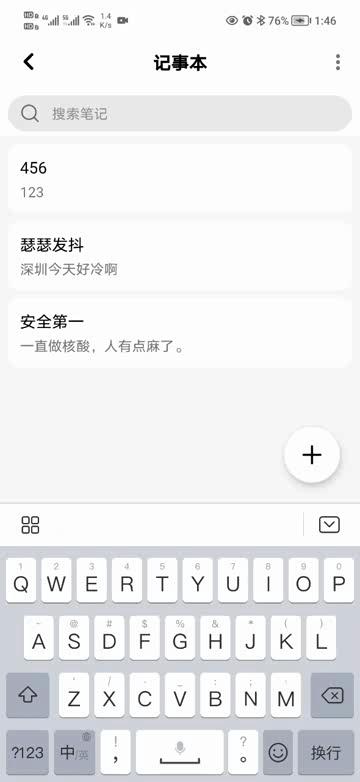
正文
功能一个一个来写,首先是视图类型,默认展示列表视图,增加一个宫格视图。
一、增加宫格视图
在menu包下创建notebook_settings.xml,里面的代码如下:
<?xml version="1.0" encoding="utf-8"?>
<menu xmlns:android="http://schemas.android.com/apk/res/android">
    <item
        android:id="@+id/item_view_type"
        android:title="宫格视图" />

</menu>
下面在NotebookActivity中新增变量
	//菜单Item
    private MenuItem itemViewType;

    @Inject
    MVUtils mvUtils;

使用ActionBar,设置菜单。因为有两种视图:列表视图和宫格视图,所以我们可以用一个缓存去处理,在Constant中增加一个常量:
	/**
     * 笔记页面视图方式
     */
    public static final String NOTEBOOK_VIEW_TYPE = "notebookViewType";
然后我们通过缓存的方式去显示哪种视图,修改代码如下图所示:
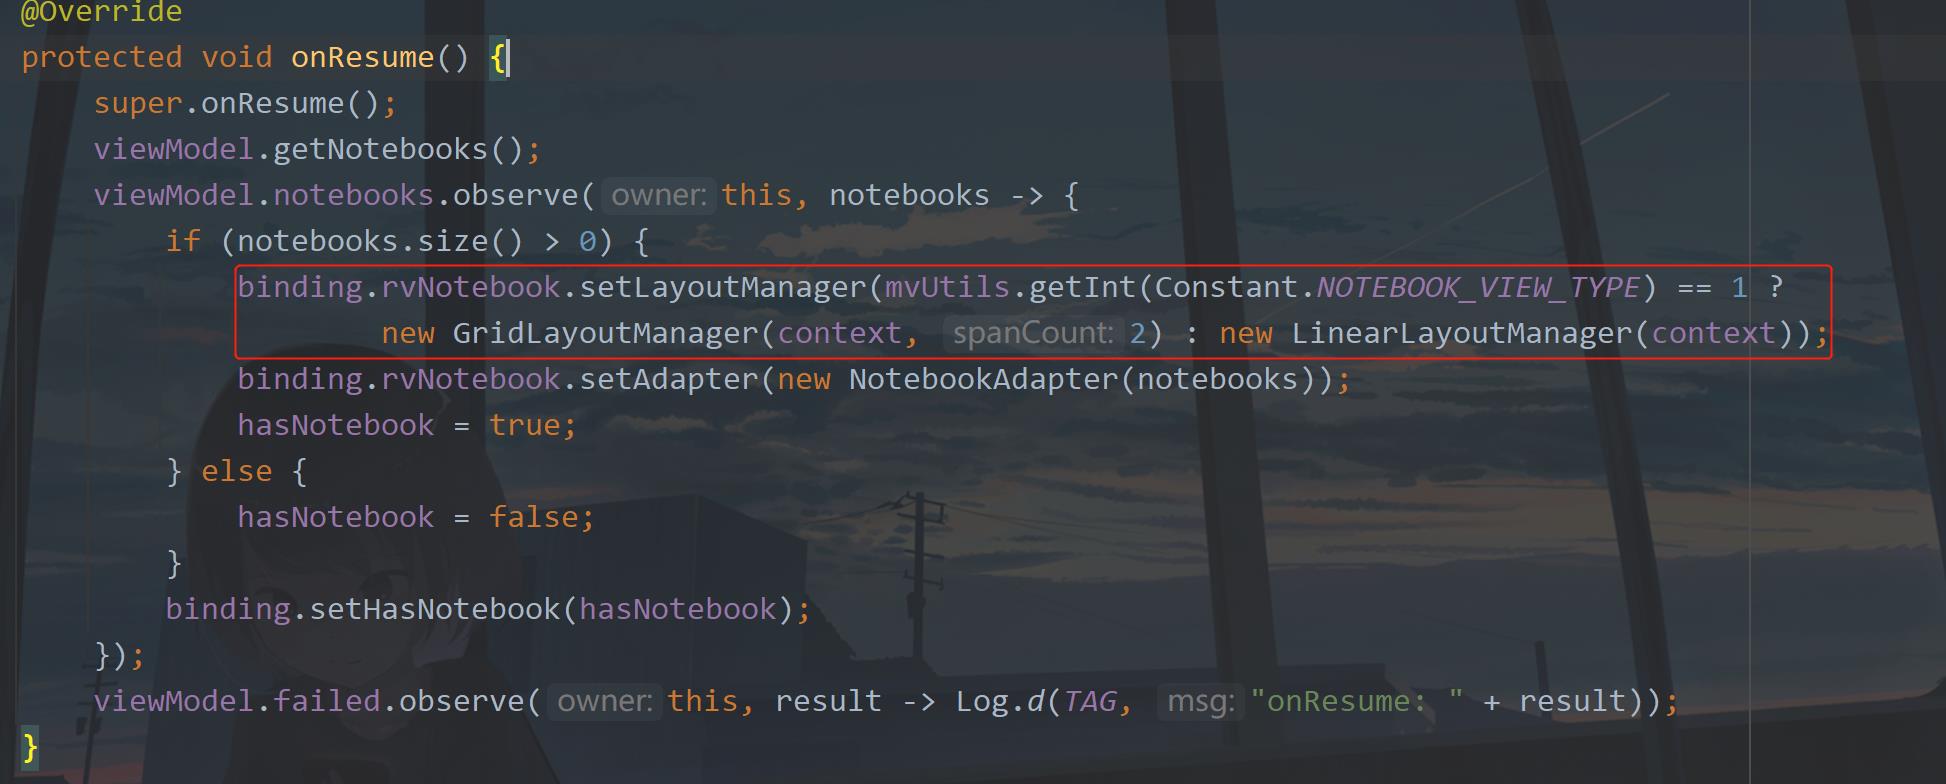
下面在NotebookActivity中创建菜单,代码如下:
	@Override
    public boolean onCreateOptionsMenu(Menu menu)
        getMenuInflater().inflate(R.menu.notebook_settings, menu);
        itemViewType = menu.findItem(R.id.item_view_type).setTitle(mvUtils.getInt(Constant.NOTEBOOK_VIEW_TYPE) == 1 ? "列表视图" : "宫格视图");
        return super.onCreateOptionsMenu(menu);
是一个item,根据不同的类型设置不同的item标题。
然后就是菜单item点击事件,增加代码如下:
	@Override
    public boolean onOptionsItemSelected(@NonNull MenuItem item)
        // 0 是列表视图 1 是宫格视图
        int viewType = mvUtils.getInt(Constant.NOTEBOOK_VIEW_TYPE);
        if (item.getItemId() == R.id.item_view_type) //视图方式
            if (viewType == 0)
                viewType = 1;
                itemViewType.setTitle("列表视图");
                binding.rvNotebook.setLayoutManager(new GridLayoutManager(context, 2));
             else
                viewType = 0;
                itemViewType.setTitle("宫格视图");
                binding.rvNotebook.setLayoutManager(new LinearLayoutManager(context));

            mvUtils.put(Constant.NOTEBOOK_VIEW_TYPE, viewType);

        return true;
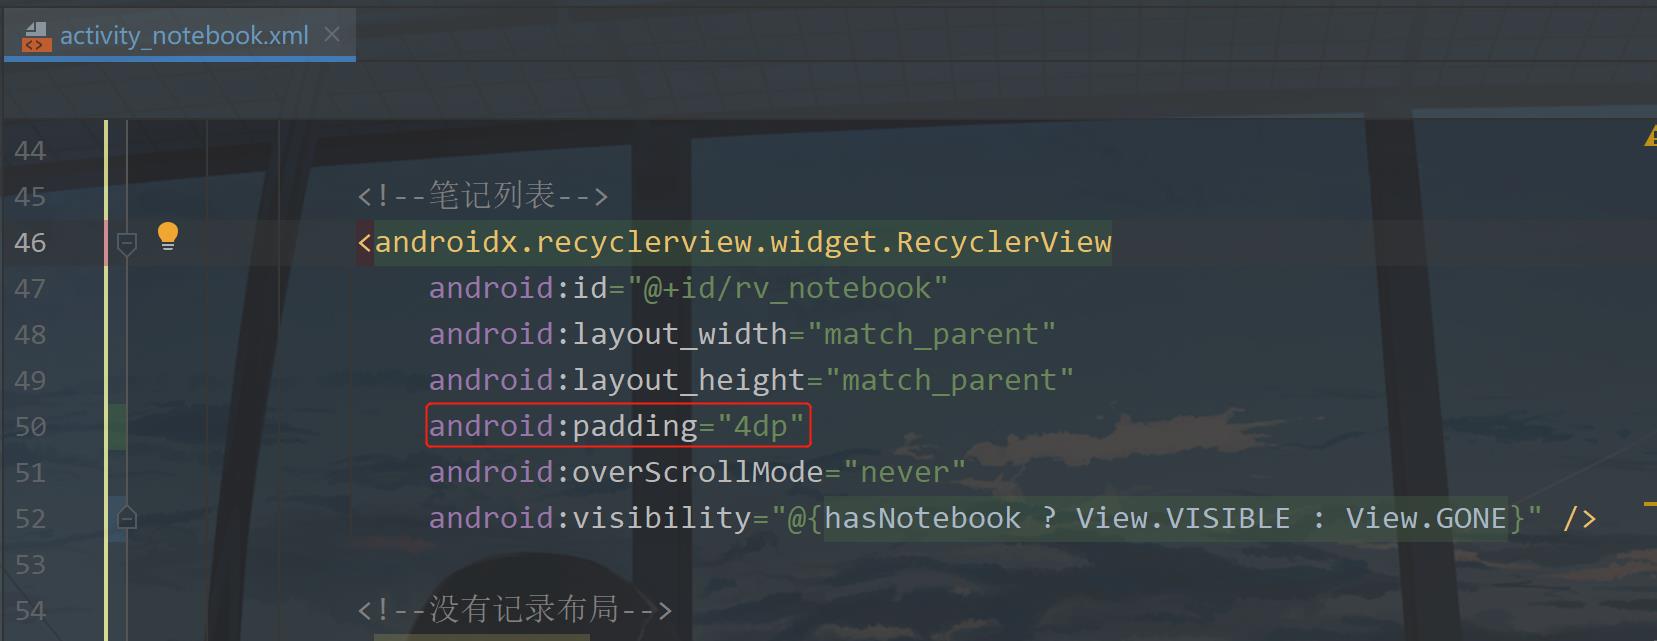
最后为了使item显示出来比较好看,需要修改一下布局,修改activity_notebook.xml中,如下图所示:
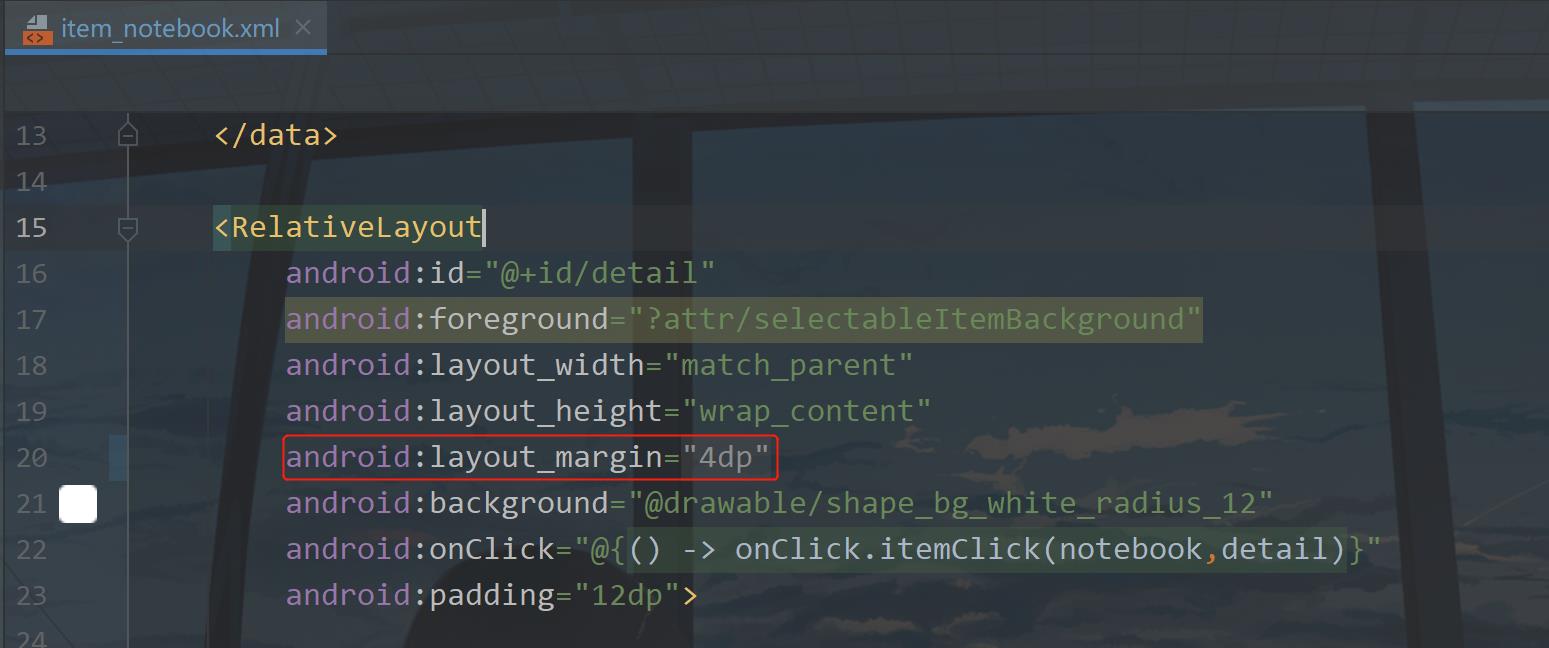
然后在item_notebook.xml中修改布局的边距
下面运行一下:

二、批量删除
现在虽说也有删除,是一个一个删,假如我有一天心情不好了,我有一百个笔记,一个一个删就不太友好,用户会疯狂叼程序员,什么玩意,一点都不够人性化,那么针对这一点我们也需要弄一个批量删除,这是很有必要的。那么怎么去做呢?首先要做的是UI上的变化,这是第一点。
① 菜单修改
菜单修改,首先是增加一个批量删除的入口,目前的菜单只有一个item,用于切换列表视图,这里在notebook_settings.xml中增加一个item,如下图所示:

然后回到NotebookActivity中,
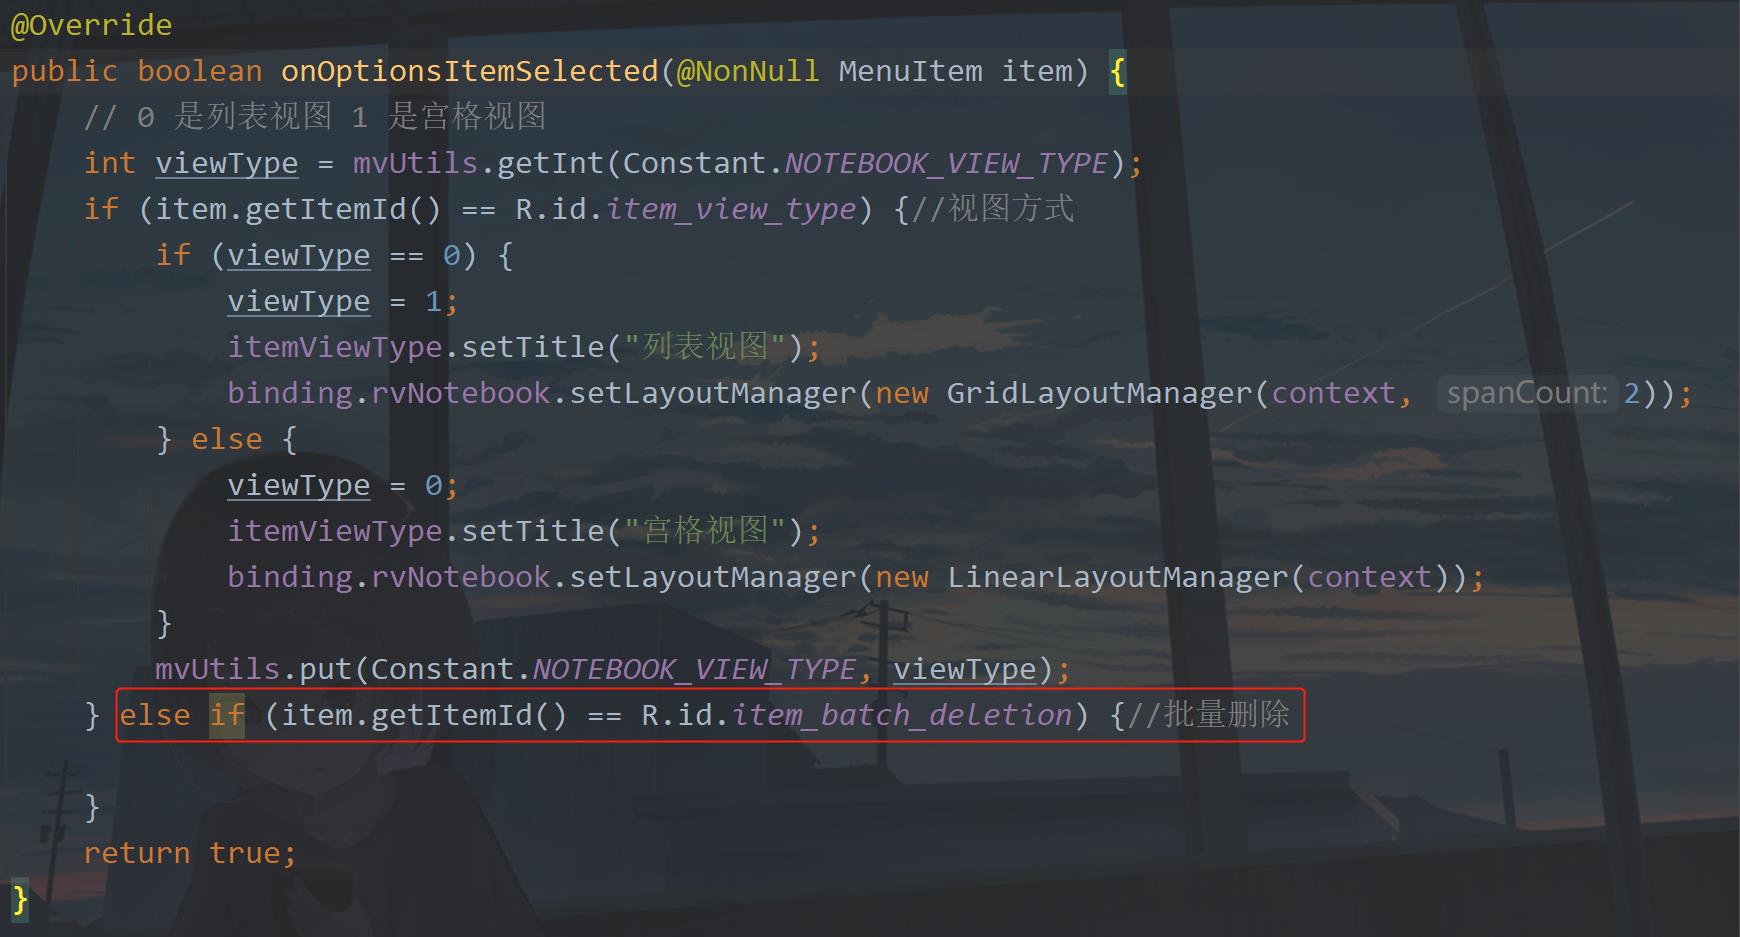
增加点击的处理,这里的点击之后就切换当前页面的模式,布局UI修改。
② UI修改
在activity_notebook.xml中增加data中的变量数据,因为需要通过xml去改变布局的图标,文字,文字颜色。
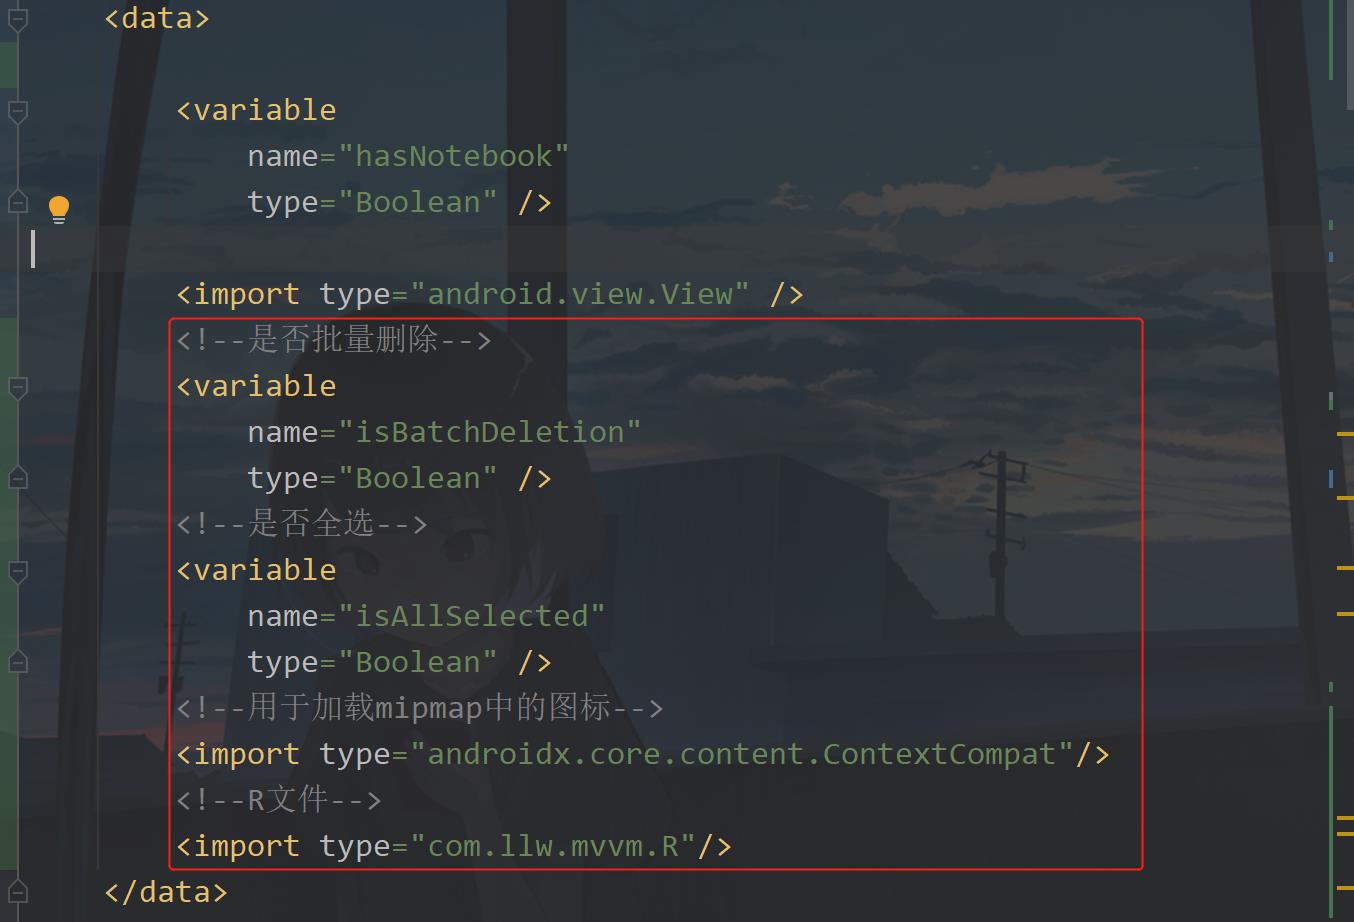
当触发批量删除时,首先修改标题:
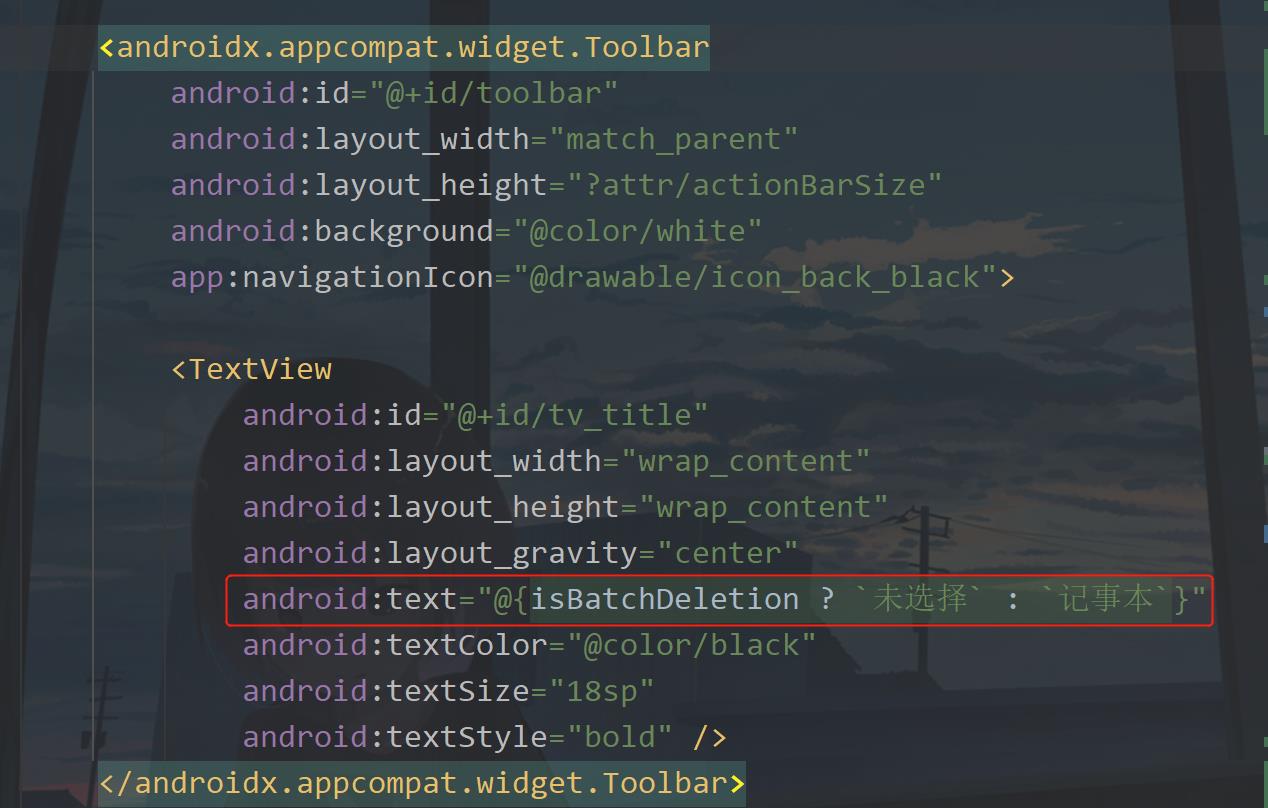
其次隐藏掉浮动按钮:
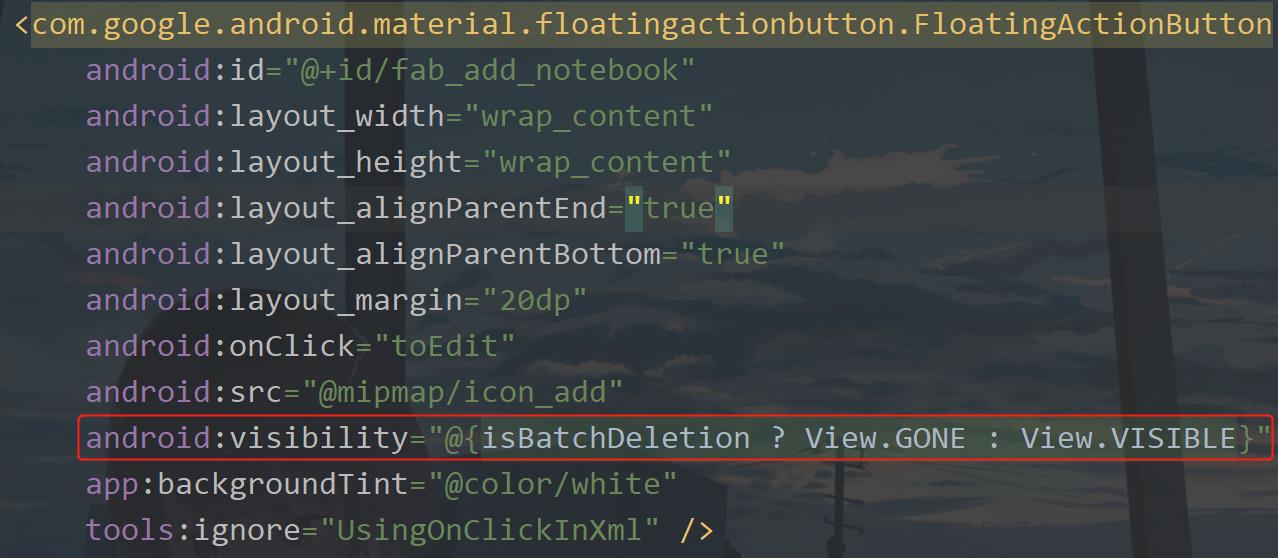
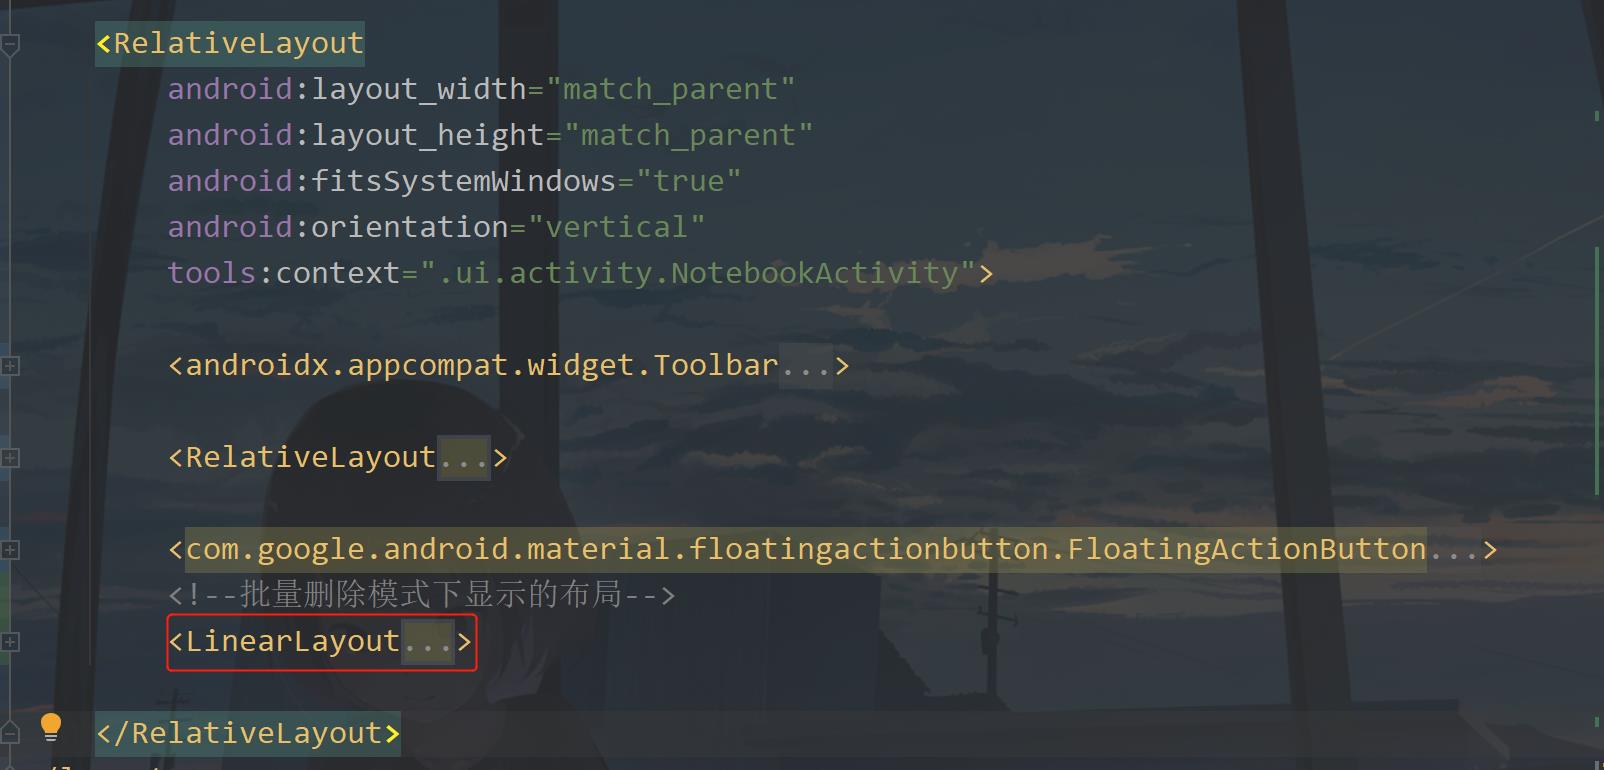
最后在页面底部增加一个布局,这个布局里面是删除和多选:
		<!--批量删除模式下显示的布局-->
        <LinearLayout
            android:layout_width="match_parent"
            android:layout_height="?attr/actionBarSize"
            android:layout_alignParentBottom="true"
            android:background="@color/white"
            android:gravity="center_vertical"
            android:visibility="@isBatchDeletion ? View.VISIBLE : View.GONE">

            <TextView
                android:id="@+id/tv_delete"
                android:layout_width="0dp"
                android:layout_height="wrap_content"
                android:layout_weight="1"
                android:drawableTop="@mipmap/ic_delete"
                android:gravity="center"
                android:text="删除"
                android:textColor="@color/black" />
            <TextView
                android:id="@+id/tv_all_selected"
                android:layout_width="0dp"
                android:layout_height="wrap_content"
                android:layout_weight="1"
                android:drawableTop="@isAllSelected ? ContextCompat.getDrawable(tvAllSelected.getContext(),R.mipmap.ic_all_selected) : ContextCompat.getDrawable(tvAllSelected.getContext(),R.mipmap.ic_all_select)"
                android:gravity="center"
                android:text="@isAllSelected ? `取消全选` : `全选`"
                android:textColor="@isAllSelected ? @color/purple_500 : @color/black" />
        </LinearLayout>
图标去我的源码中拿,添加位置如下图所示:
现在是页面修改完了,还有item的布局中也需要改动,打开item_notebook.xml,增加变量数据代码:
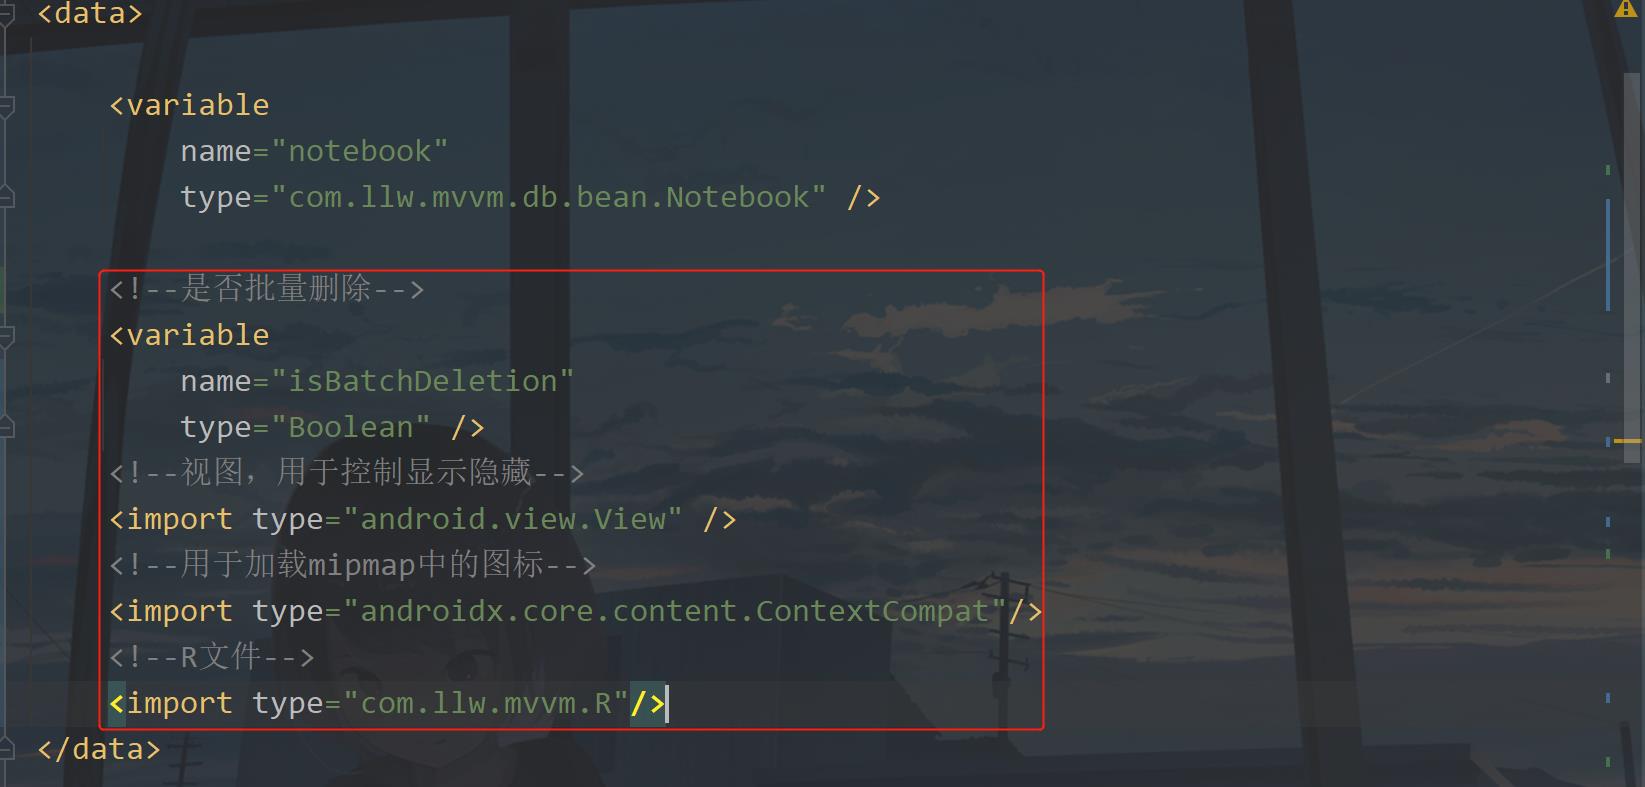
这里你会看到我把这个item的点击事件去掉了,这部分代码我将会挪到NoteActivity中,因此这里要修改一下item_notebook.xml中的代码:
<?xml version="1.0" encoding="utf-8"?>
<layout xmlns:android="http://schemas.android.com/apk/res/android">

    <data>

        <variable
            name="notebook"
            type="com.llw.mvvm.db.bean.Notebook" />

        <!--是否批量删除-->
        <variable
            name="isBatchDeletion"
            type="Boolean" />
        <!--视图,用于控制显示隐藏-->
        <import type="android.view.View" />
        <!--用于加载mipmap中的图标-->
        <import type="androidx.core.content.ContextCompat"/>
        <!--R文件-->
        <import type="com.llw.mvvm.R"/>
    </data>

    <RelativeLayout
        android:layout_width="match_parent"
        android:layout_height="wrap_content"
        android:layout_margin="@dimen/dp_4"
        android:background="@drawable/shape_bg_white_radius_12"
        android:foreground="?attr/selectableItemBackground"
        android:padding="12dp">

        <TextView
            android:id="@+id/tv_title"
            android:layout_width="match_parent"
            android:layout_height="wrap_content"
            android:layout_toStartOf="@+id/iv_check"
            android:ellipsize="end"
            android:singleLine="true"
            android:text="@notebook.title"
            android:textColor="@color/black"
            android:textSize="16sp" />

        <TextView
            android:id="@+id/tv_content"
            android:layout_width="match_parent"
            android:layout_height="wrap_content"
            android:layout_below="@+id/tv_title"
            android:layout_marginTop="4dp"
            android:layout_toStartOf="@+id/iv_check"
            android:ellipsize="end"
            android:maxLines="3"
            android:text="@notebook.content"
            android:textSize="14sp" />

        <ImageView
            android:id="@+id/iv_check"
            android:layout_width="24dp"
            android:layout_height="24dp"
            android:layout_alignParentEnd="true"
            android:layout_centerVertical="true"
            android:layout_marginStart="6dp"
            android:src="@notebook.select ? ContextCompat.getDrawable(ivCheck.getContext(),R.mipmap.ic_selected) : ContextCompat.getDrawable(ivCheck.getContext(),R.mipmap.ic_select)"
            android:visibility="@isBatchDeletion ? View.VISIBLE : View.GONE" />
    </RelativeLayout>
</layout>
还是老样子,图标去我源码里面拿。
③ 适配器修改
item布局改完了,下面是NotebookAdapter适配器。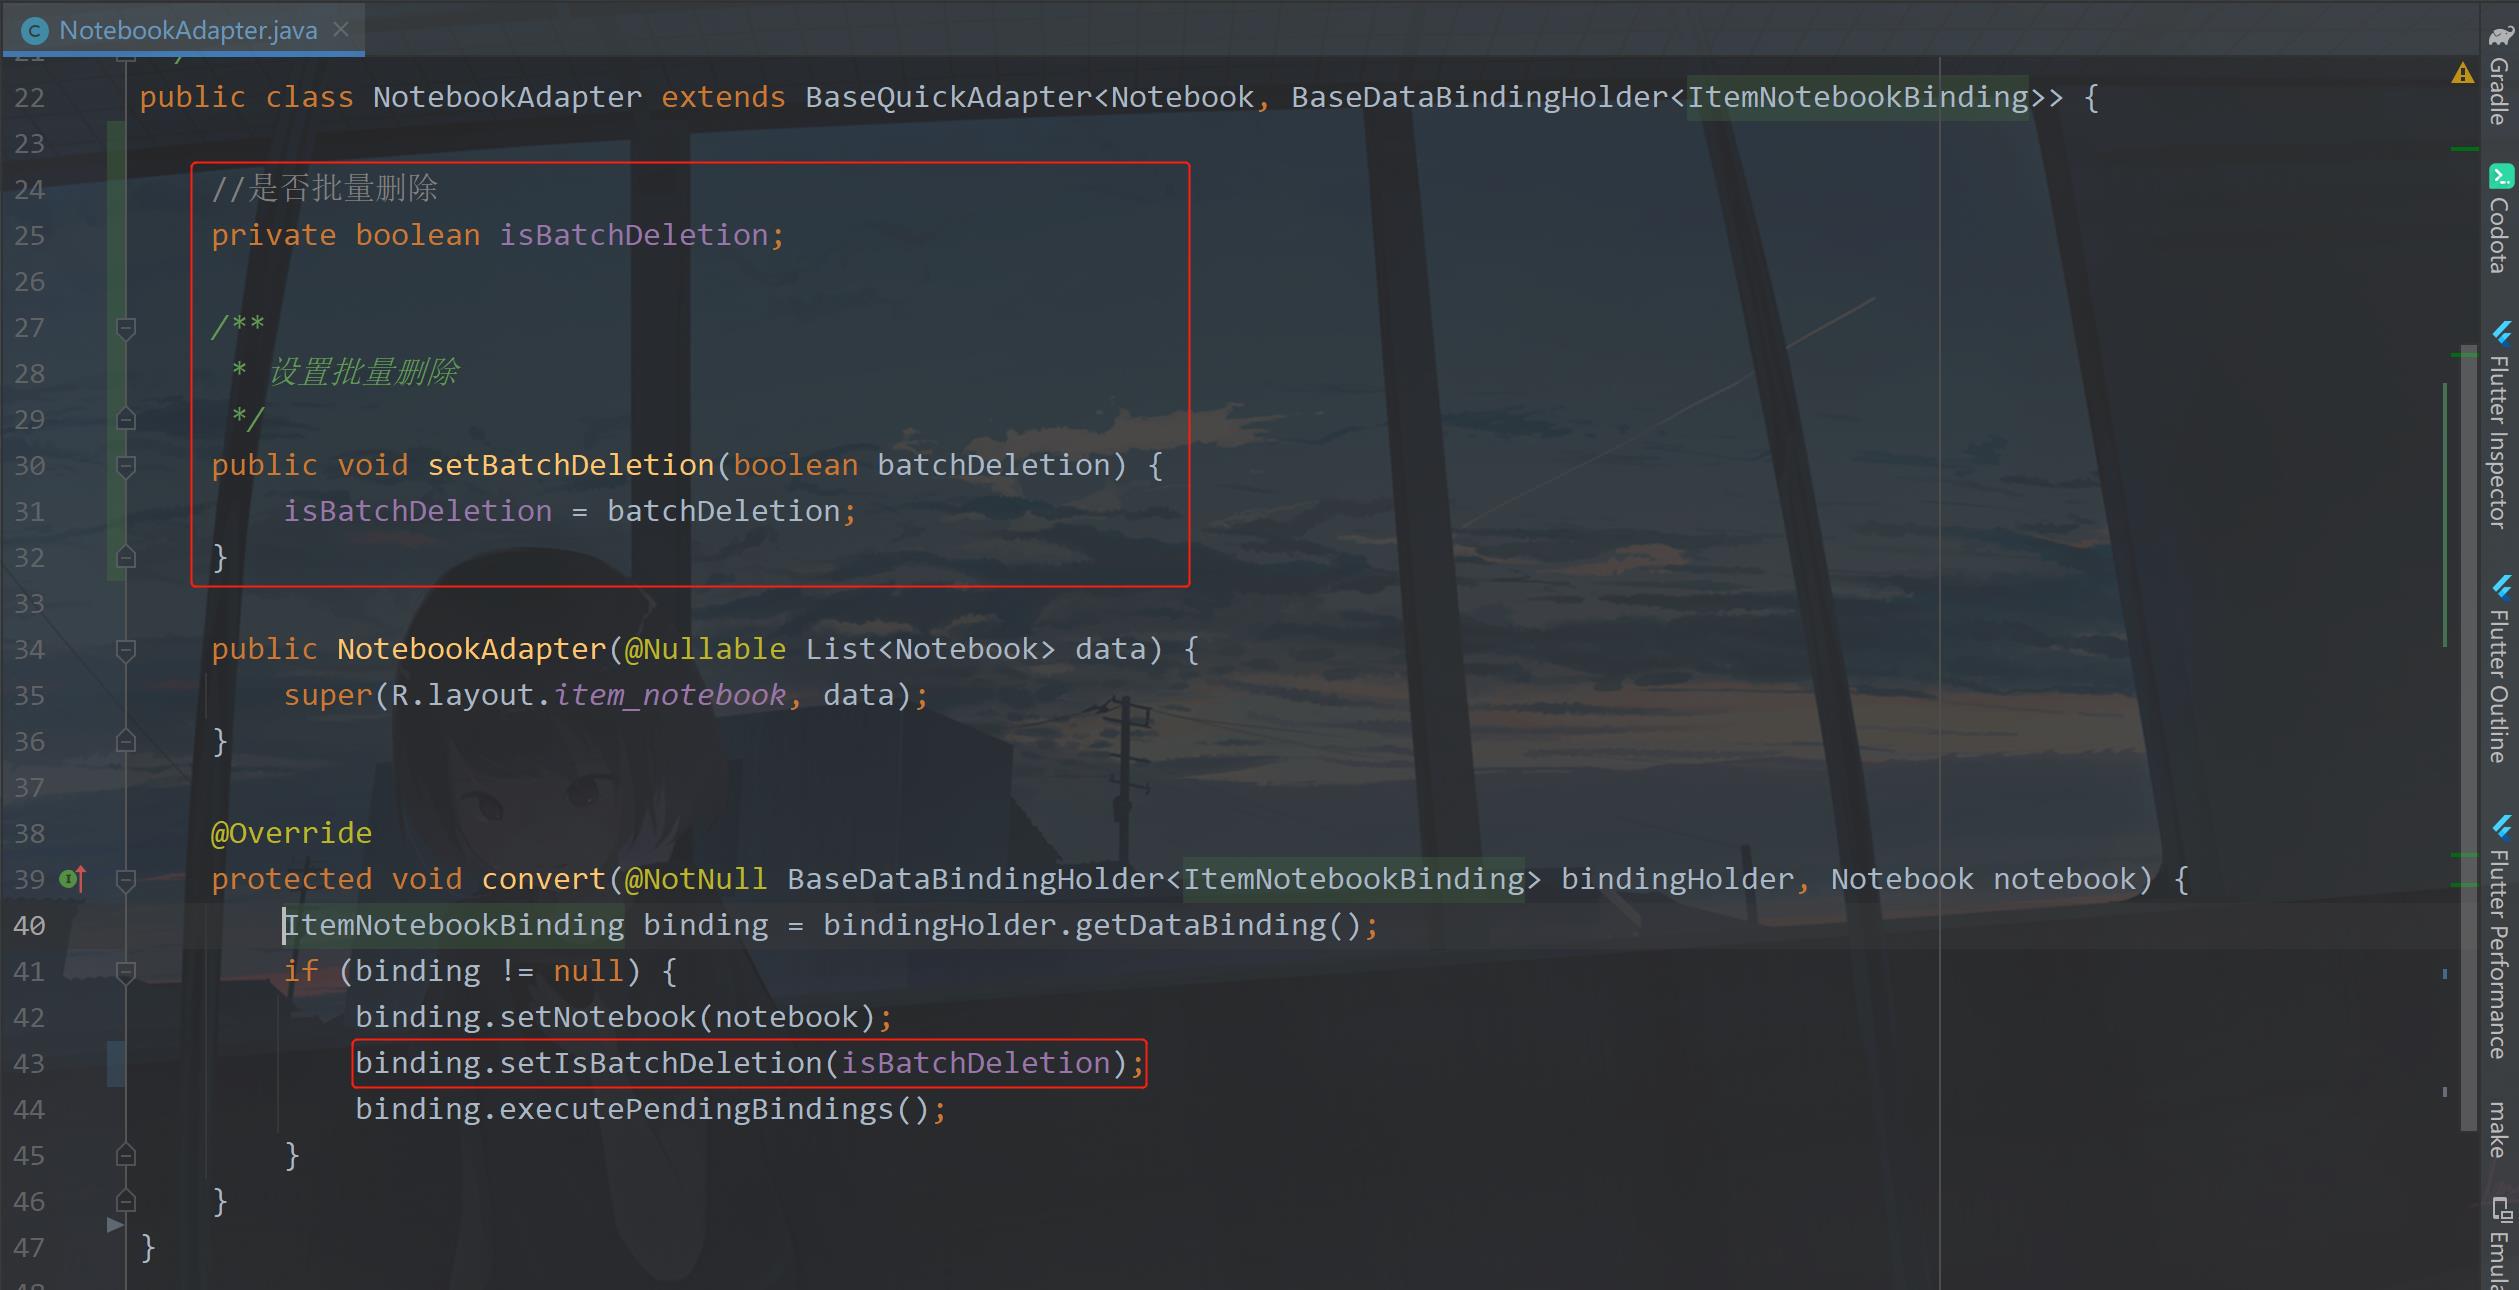
这里我去掉了之前写的点击事件内部类。
④ 修改删除方法
之前写的NotebookDao中的删除方法是删除单个笔记的,那如果要删除多个呢?这里我们改成动态参数就行了。

就在后面加三个点就行了,这个表示你一个笔记可以,多个笔记也行。下面修改NotebookRepository中的deleteNotebook方法的参数,

然后再修改NotebookViewModel中的deleteNotebook方法中的参数。

⑤ 列表处理
现在就只剩下NotebookActivity中的代码没写了,首先在NotebookActivity增加变量,代码如下:
	//笔记适配器
    private NotebookAdapter notebookAdapter;
    //笔记列表
    private final List<Notebook> mList = new ArrayList<>();
    //是否为批量删除
    private boolean isBatchDeletion = false;
    //是否全选
    private boolean isAllSelected;
实现页面的点击监听。

控件监听
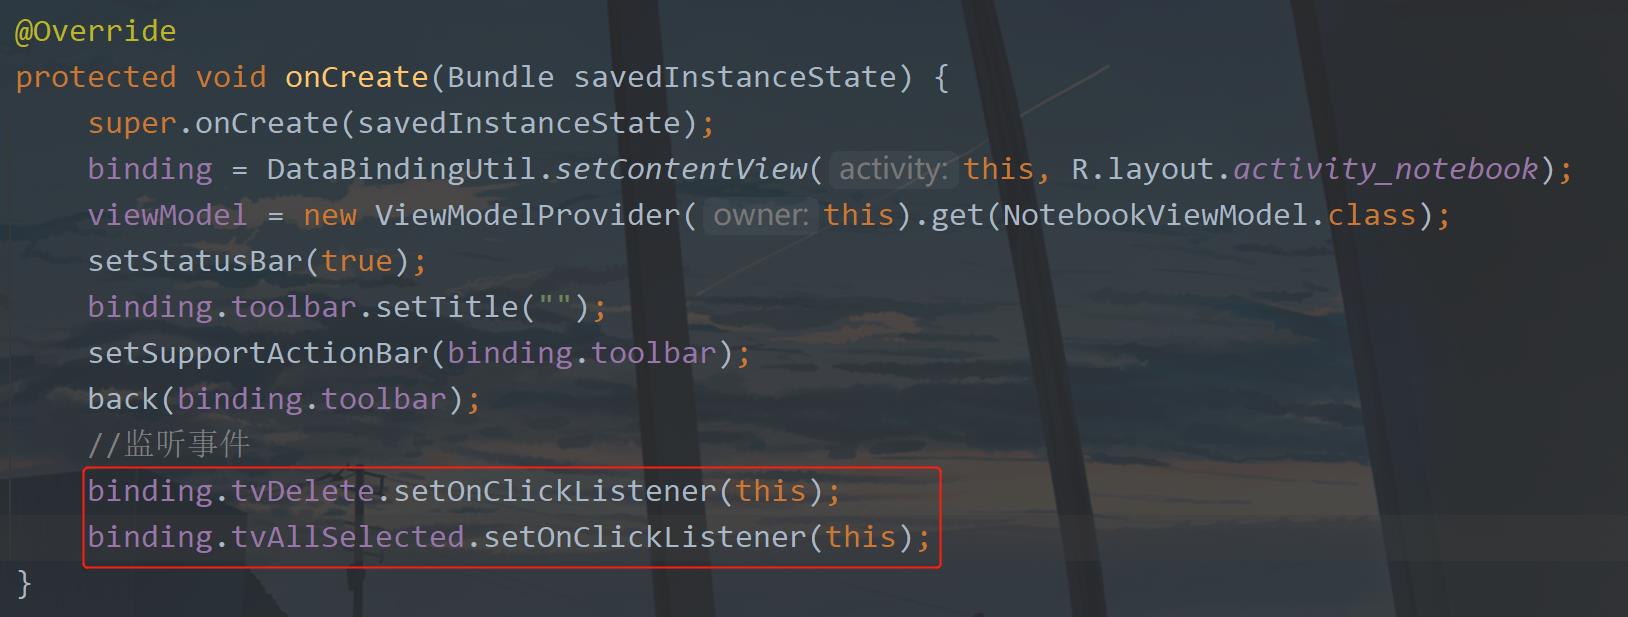
重写onClick方法。
	@Override
    public void onClick(View v)
        switch (v.getId())
            case R.id.tv_delete:

                break;
            case R.id.tv_all_selected:

                break;
            default:
                break;
这里针对页面中底部布局中的两个TextView的点击,一个用于删除,一个用于全选和取消全选。这两个按钮的处理事件先不管它,先弄别的,这里我们先修改一下onResume中的代码:
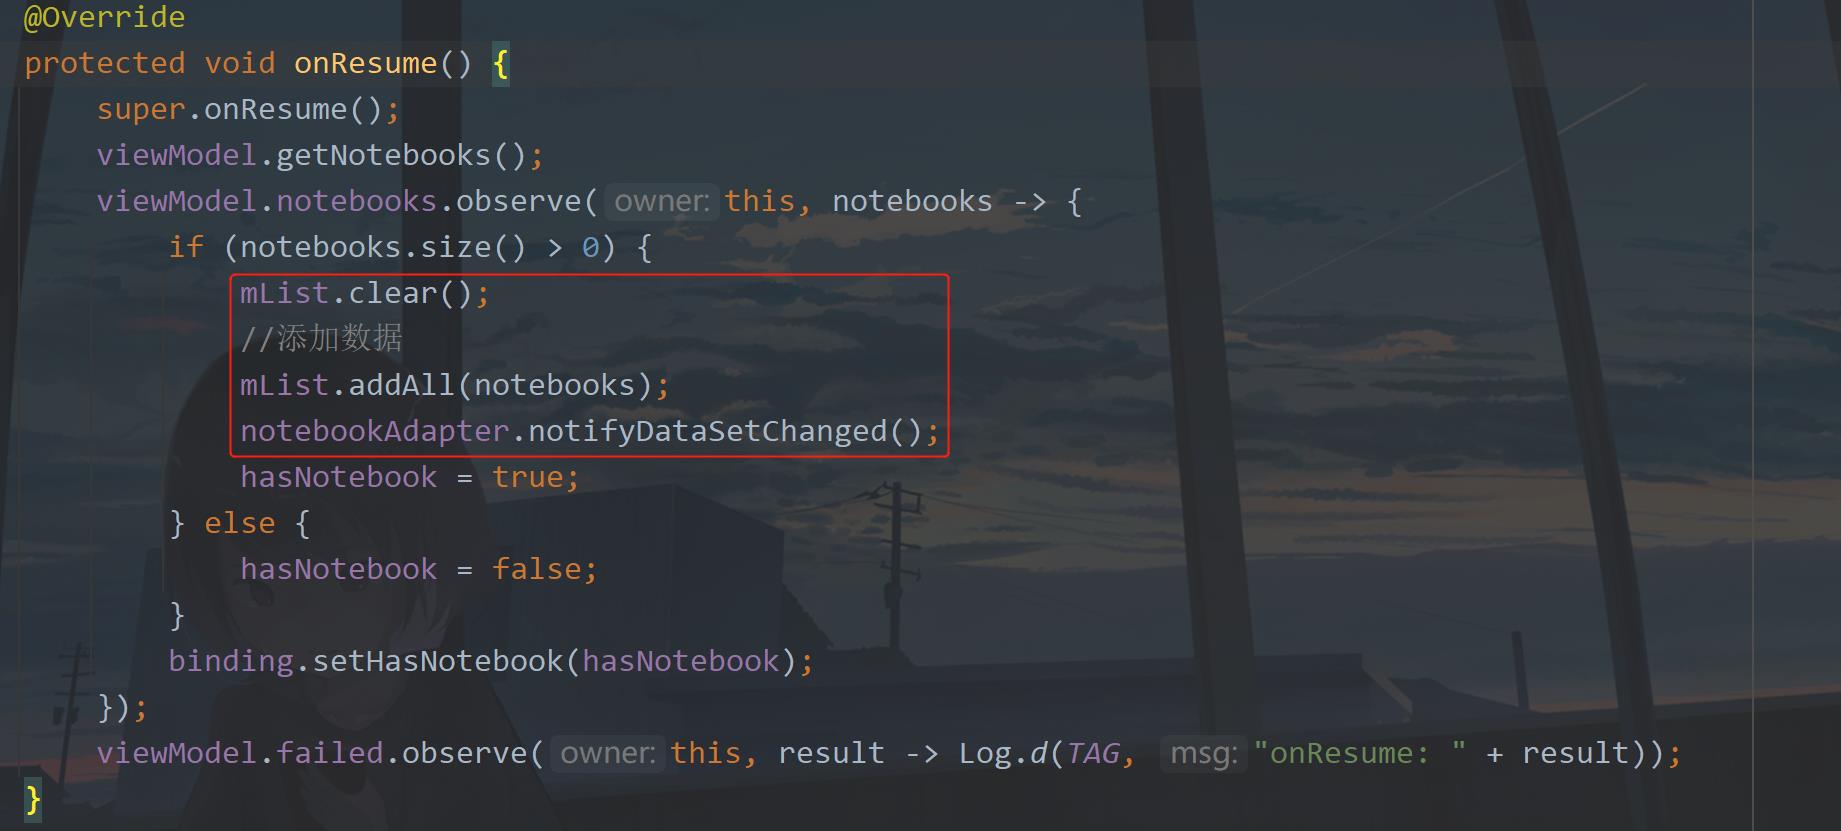
这里之前的代码,我写到一个方法里面去了,新建一个initList方法。
	/**
     * 初始化列表
     */
    private void initList()
        //适配器
        notebookAdapter = new NotebookAdapter(mList);
        //设置适配器
        binding.rvNotebook.setAdapter(notebookAdapter);
        binding.rvNotebook.setLayoutManager(mvUtils.getInt(Constant.NOTEBOOK_VIEW_TYPE) == 1 ?
                new GridLayoutManager(context, 2) : new LinearLayoutManager(context));
        //item点击事件
        notebookAdapter.setOnItemClickListener((adapter, view, position) ->
            if (isBatchDeletion)
                //选中设备
                mList.get(position).setSelect(!mList.get(position).isSelect());
                notebookAdapter.notifyDataSetChanged();
                //修改页面标题
                changeTitle();
             else
                Intent intent = new Intent(NotebookActivity.this, EditActivity.class);
                intent.putExtra("uid", mList.get(position).getUid());
                startActivity(intent);

        );
这里还有一个修改页面标题的方法,也就是说当你选择了笔记时会记录选择个数。
	/**
     * 修改标题
     */
    private void changeTitle()
        int selectedNum = 0;
        for (Notebook notebook : mList)
            if (notebook.isSelect())
                selectedNum++;


        Log.e(TAG, "changeTitle: " + selectedNum);
        binding.tvTitle.setText("已选择 "+ selectedNum +" 项");
        binding.setIsAllSelected(selectedNum == mList.size());
刚才的initList方法,在onCreate中调用。
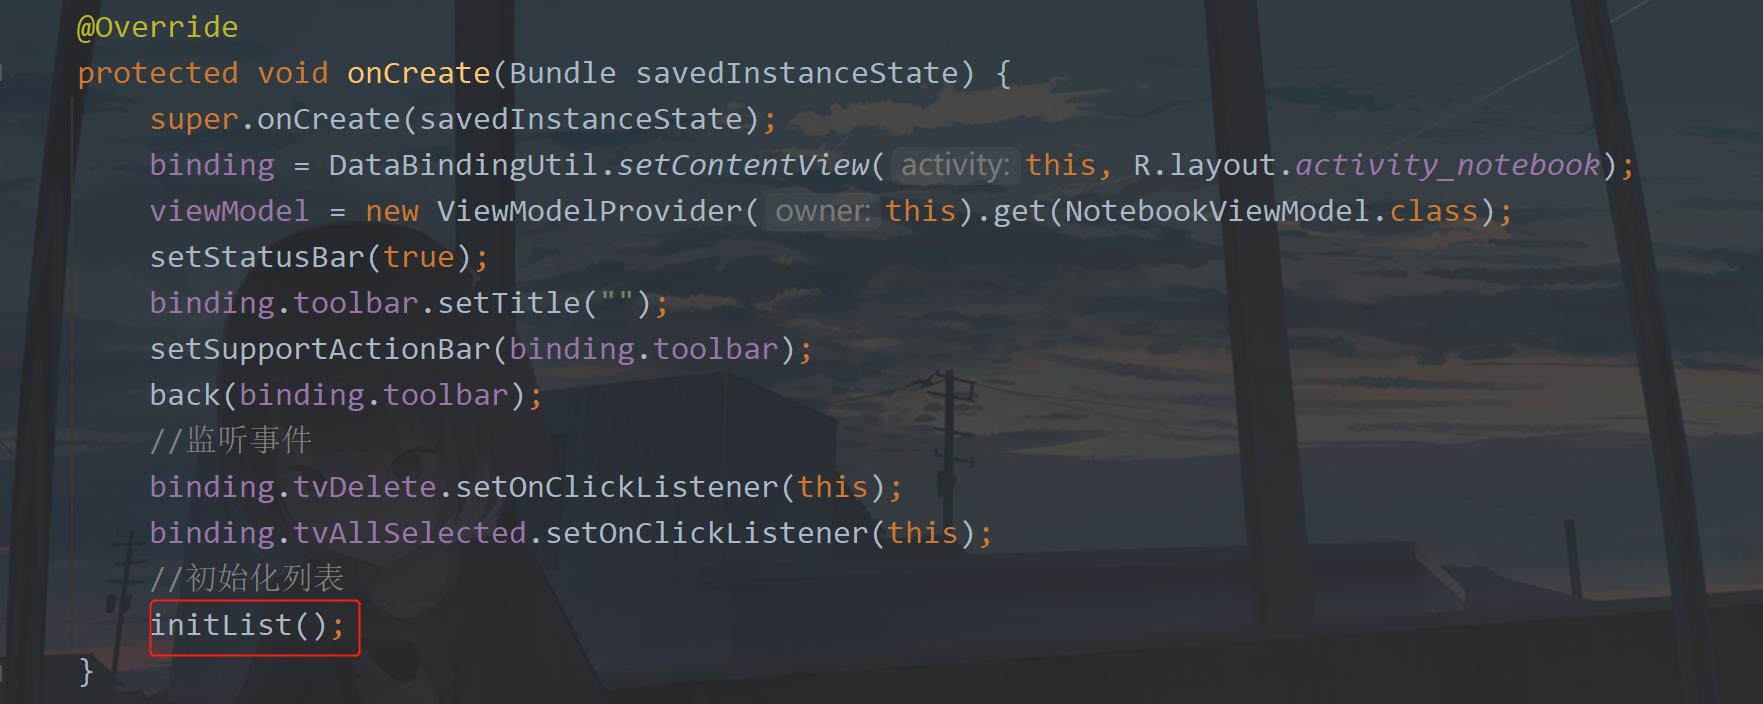
下面就是通过点击菜单的批量删除item时调用的方法,新增方法如下:
	/**
     * 设置批量删除模式
     */
    private void setBatchDeletionMode()
        //进入批量删除模式
        isBatchDeletion = !isBatchDeletion;
        //设置当前页面
        binding.setIsBatchDeletion(isBatchDeletion);
        if (!isBatchDeletion)
            //取消所有选中
            for (Notebook notebook : mList)
                notebook.setSelect(false);


        //设置适配器
        notebookAdapter.setBatchDeletion(isBatchDeletion);
        notebookAdapter.notifyDataSetChanged();
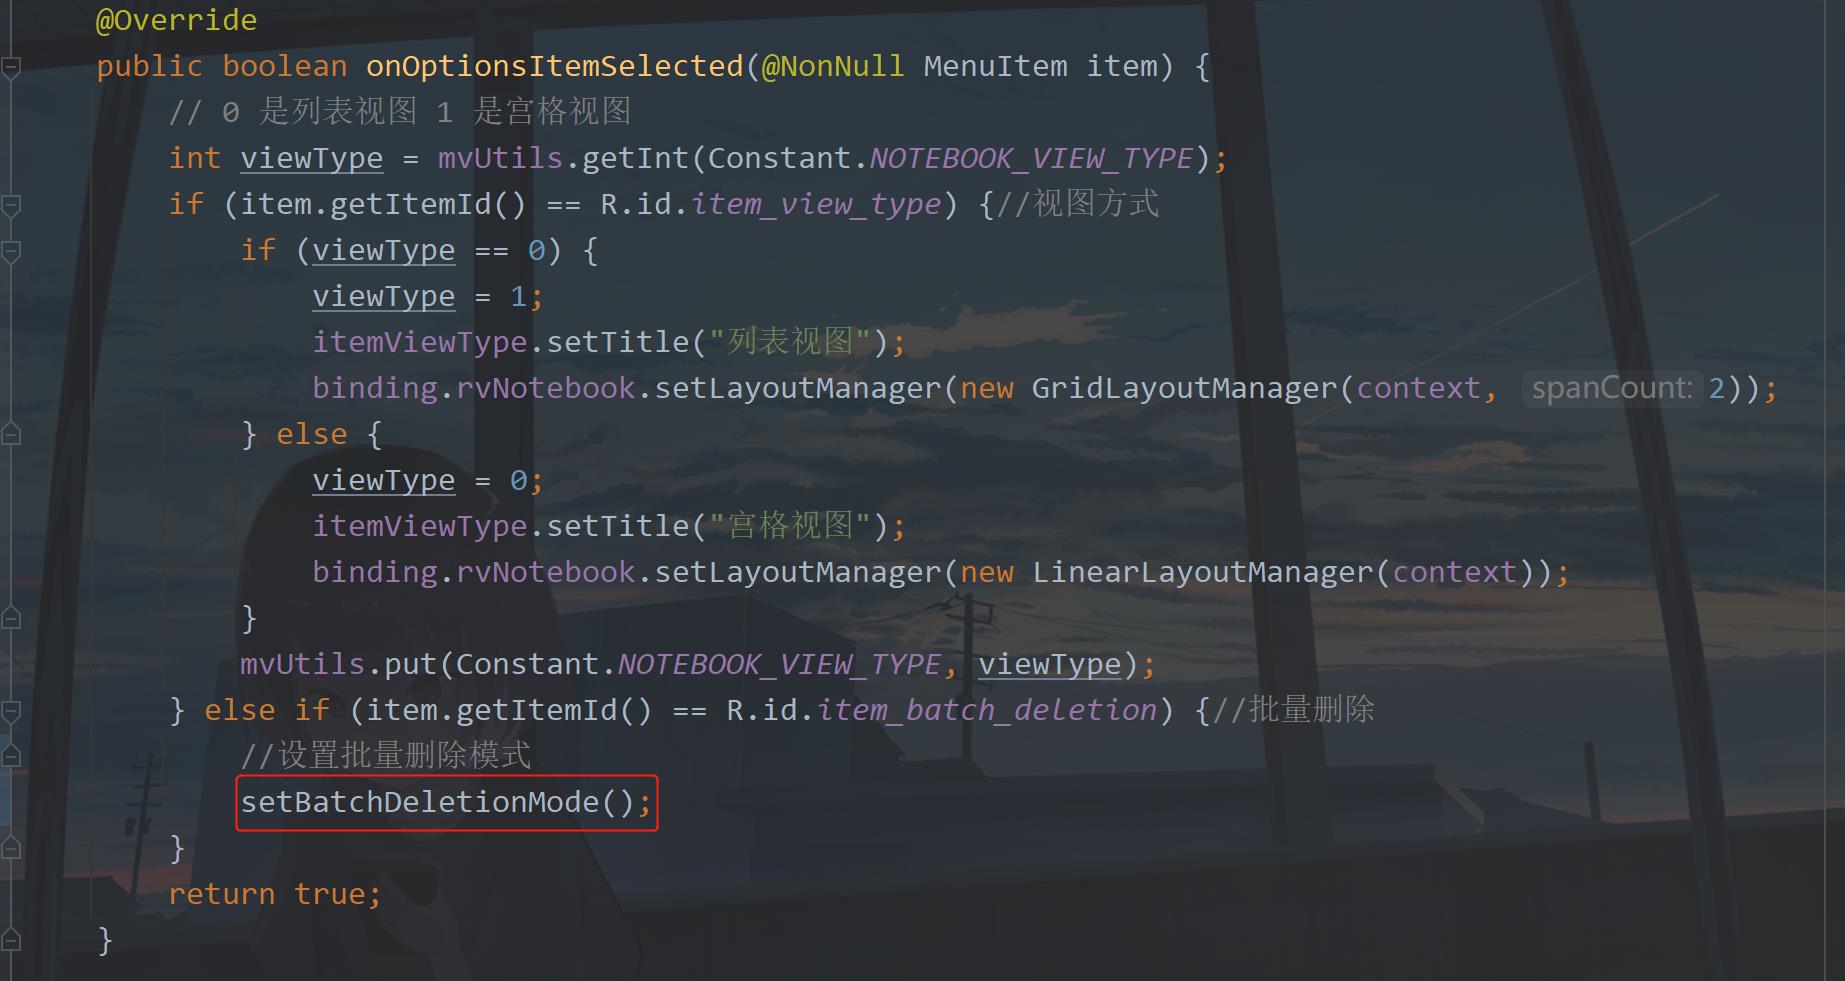
这个方法首先是改变当前的是否批量删除变量,然后设置到xml中,如果是false,则说明你退出了批量删除模式,则之前有过选中的笔记也要取消选中。最后设置适配器中的变化,再刷新适配器。方法调用的地方如下图所示:
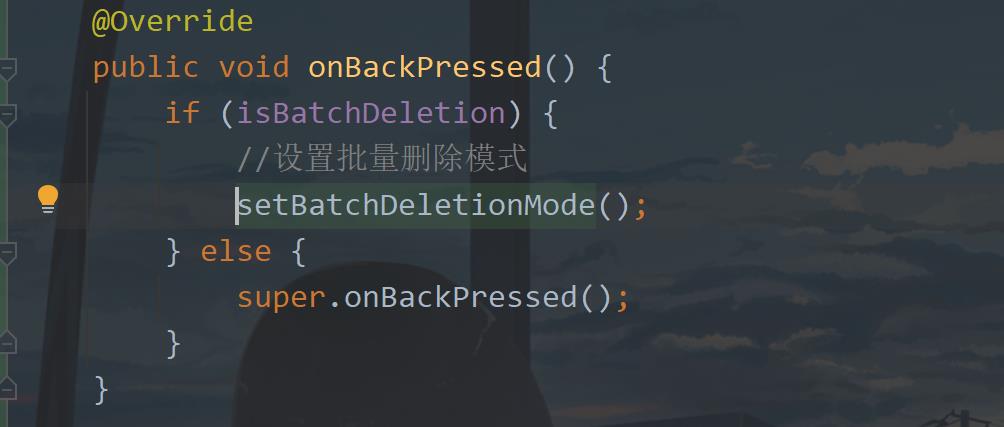
因为页面会进入到批量删除模式,如果这个时候页面返回了则也调用一下这个方法。
下面就是删除和全选/取消全选的方法要写一下了,首先是删除吧。
⑥ 删除笔记
因为是删除多个笔记,因此我们需要弹窗提示一下用户,新增代码如下:
	/**
     * 显示确认删除弹窗
     */
    private void showConfirmDelete()
        AlertDialog.Builder builder = new AlertDialog.Builder(this).setMessage("确定要删除所选的笔记吗?")
                .setPositiveButton("确定", (dialog, which) ->
                    dialog.dismiss();
                    List<Notebook> notebookList = new ArrayList<>();
                    //删除所选中的笔记
                    for (Notebook notebook : mList)
                        if (notebook.isSelect())
                            notebookList.add(notebook);


                    Notebook[] notebooks = notebookList.toArray(new Notebook[0]);
                    viewModel.deleteNotebook(notebooks);
                    //设置批量删除模式
                    setBatchDeletionMode();
                    //请求数据
                    viewModel.getNotebooks();
                )
                .setNegativeButton("取消", (dialog, which) -> dialog.dismiss());
        builder.create().show();
这里的方法主要就是将选择的笔记添加到列表中,然后列表再转笔记数组,数组可以作为动态参数传入到方法中。删除之后当然就要关闭这个批量删除模式,最后我们再查询一下数据库中的笔记。
⑦ 全选
/**
* 全选/取消全选
*/
private void allSelected()
isAllSelected Android MVVM框架使用(功能开发)记事本