Hexo NexT 博客后台管理指南
Posted 技术宅星云-博客园
tags:
篇首语:本文由小常识网(cha138.com)小编为大家整理,主要介绍了Hexo NexT 博客后台管理指南相关的知识,希望对你有一定的参考价值。
上篇文章讲到,将Hexo NexT 博客成功上传到GitHub 并绑定到我们自定义的域名下了。
但是却还是有个问题,那就是Hexo NexT 博客如何进行后台管理呢?
如果总是通过手动创建文件的方式,是非常痛苦的。
那么有没有什么更好的办法呢?
俗话说,天无绝人之路,方法自然还是有的。
解决方案:
通过Hexo Admin插件来解决这个问题
Hexo Admin 插件GitHub 首页:https://github.com/jaredly/hexo-admin
演示Demo:https://jaredforsyth.com/hexo-admin/
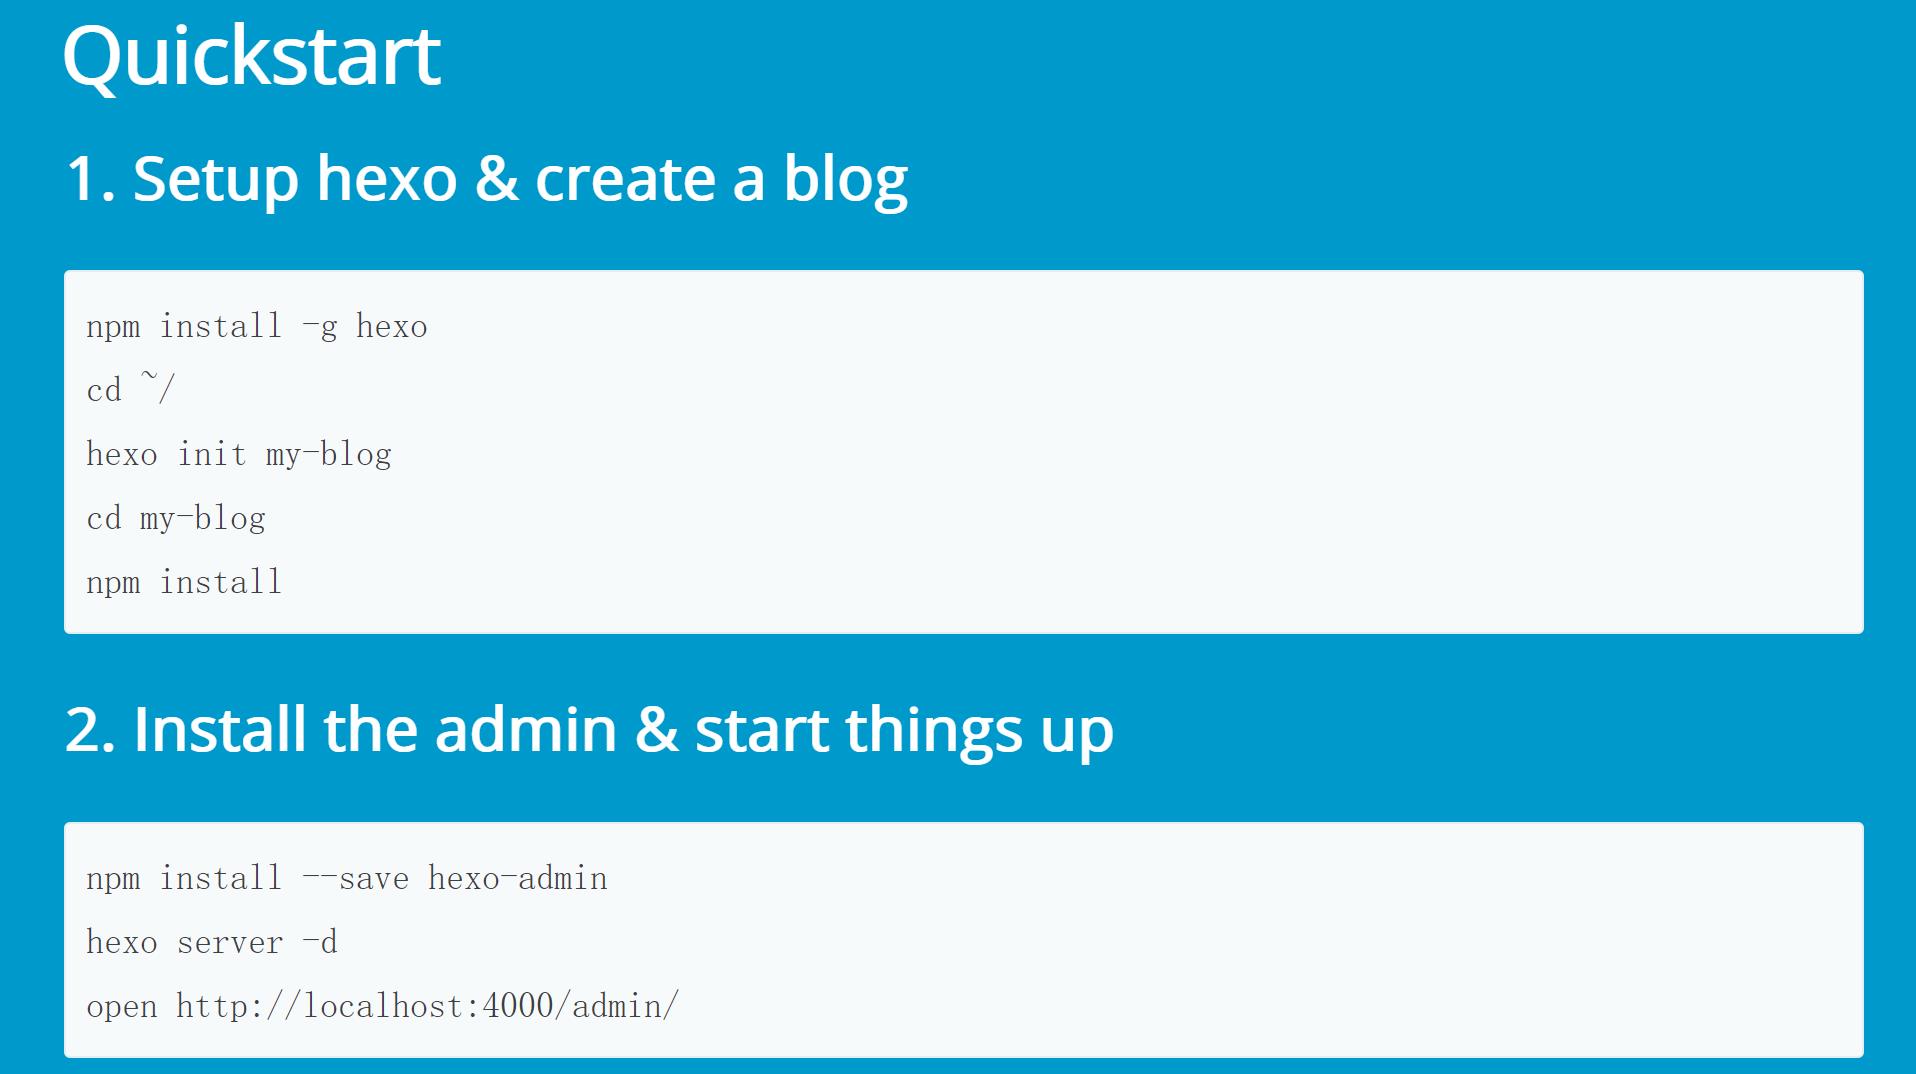
0x01 安装Hexo Admin 插件
0x02 hexo Admin 配置登录账号和密码
当你执行完成后,在本地打开这个网址
http://127.0.0.1:4000/admin/
Tips: 要注意我们只能在本地进行后台管理,无法在自己的域名下进行后台管理
打开之后我们可以看到后台管理界面
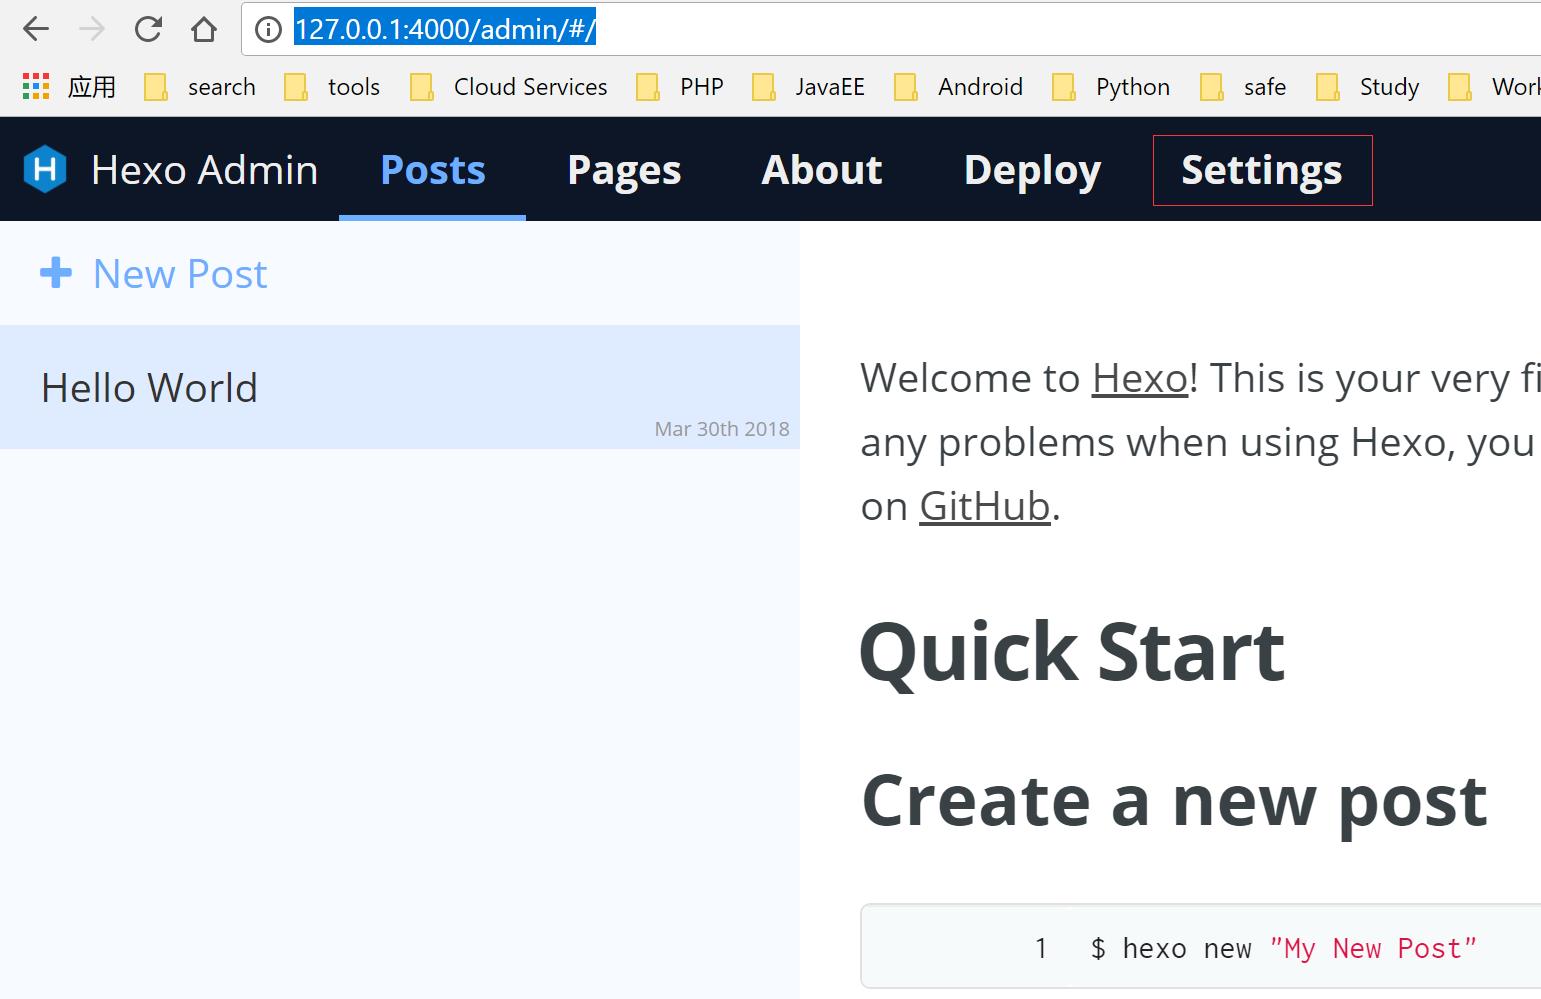
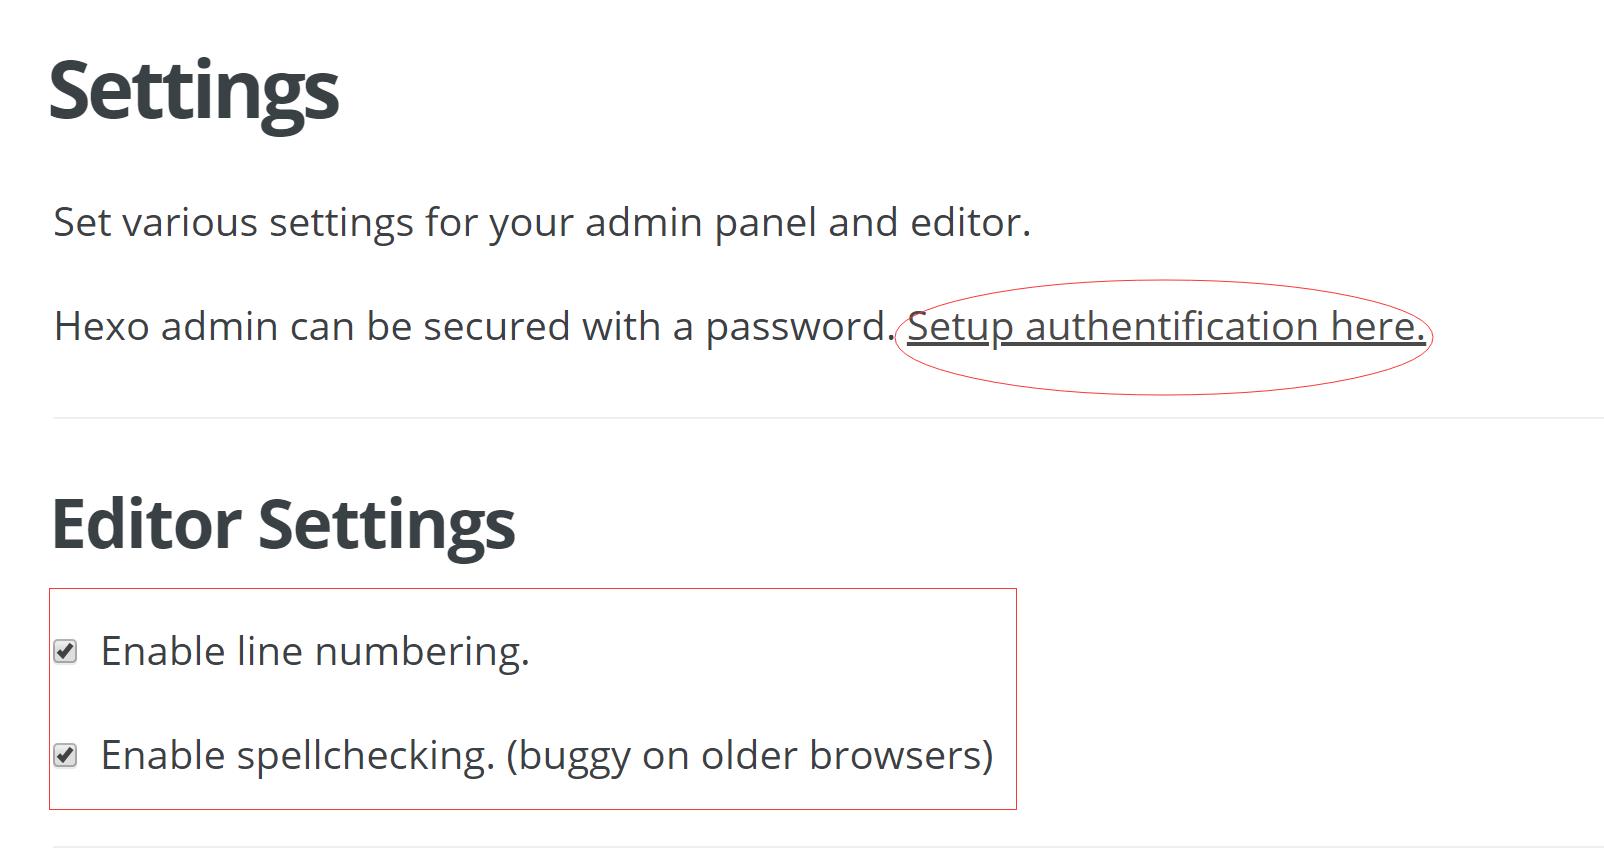
但是我们肯定还是想要设置一个登陆密码比较好,所以请点击 \'Settings\'. (如果不需要请跳过以下步骤)
我们这里把两个附加功能(行数和拼写检查)勾选上吧,然后点击这个‘Setup authentification here’ 链接
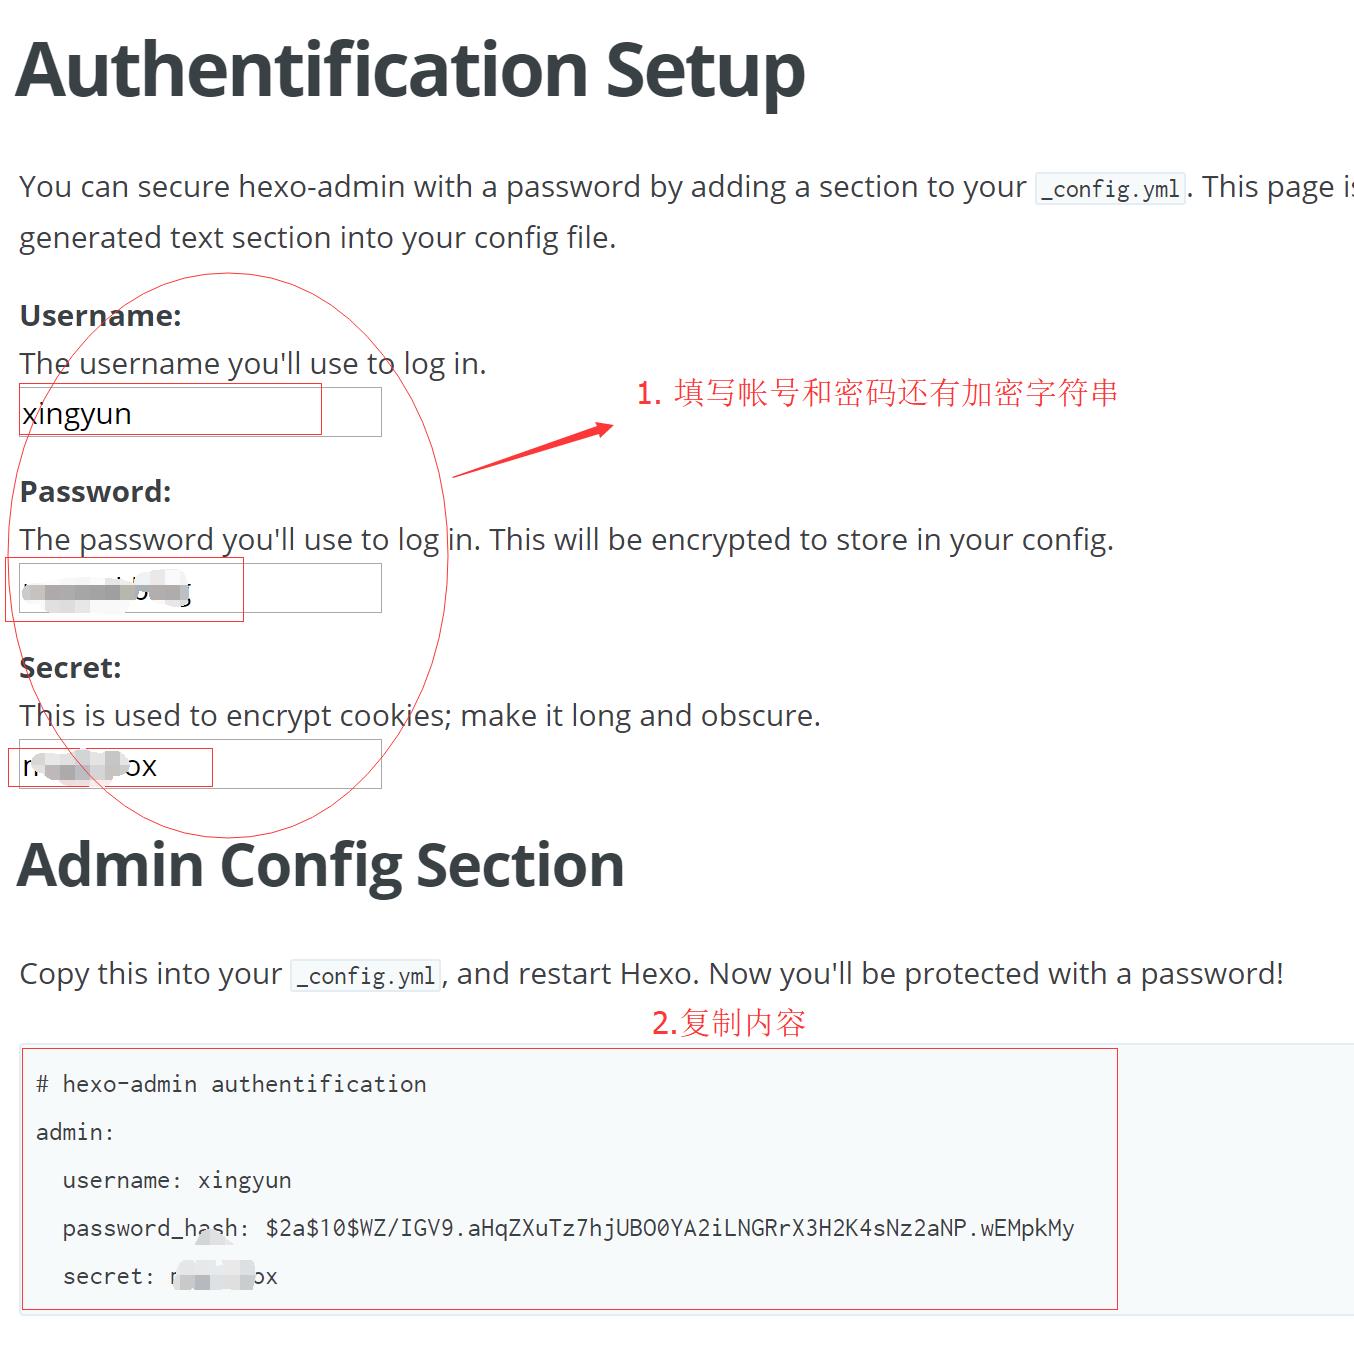
这里注意下我们要复制上面的信息到这个路径下的配置文件才得行。
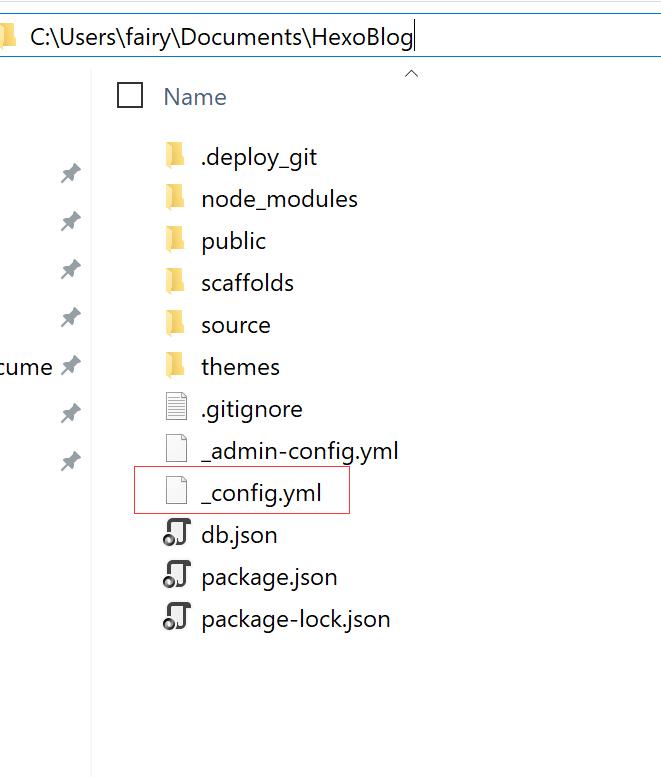
内容如下图所示:
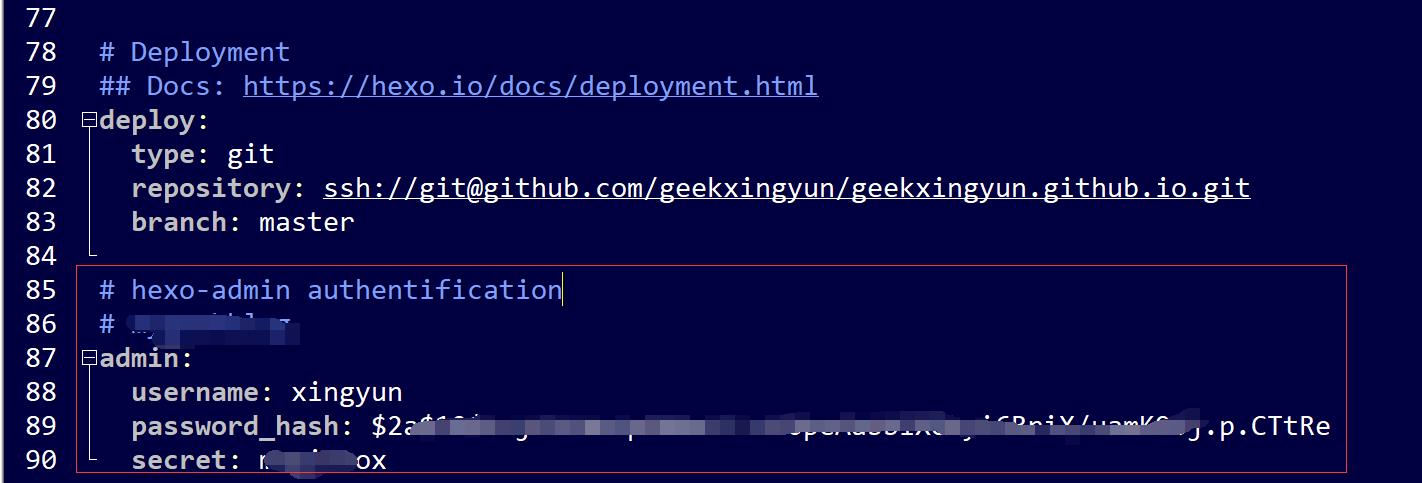
执行三道命令,重启我们的博客服务器
清理项目
hexo clean
重新构建项目
hexo generate
启动server
hexo server -d
Tips: 如果需要提交代码改动到GitHub上,请在构建项目命令后执行以下命令
hexo deploy
启动成功

当我们打开以下网址时候你会发现
http://127.0.0.1:4000/admin
程序会自动重定向到登陆页面
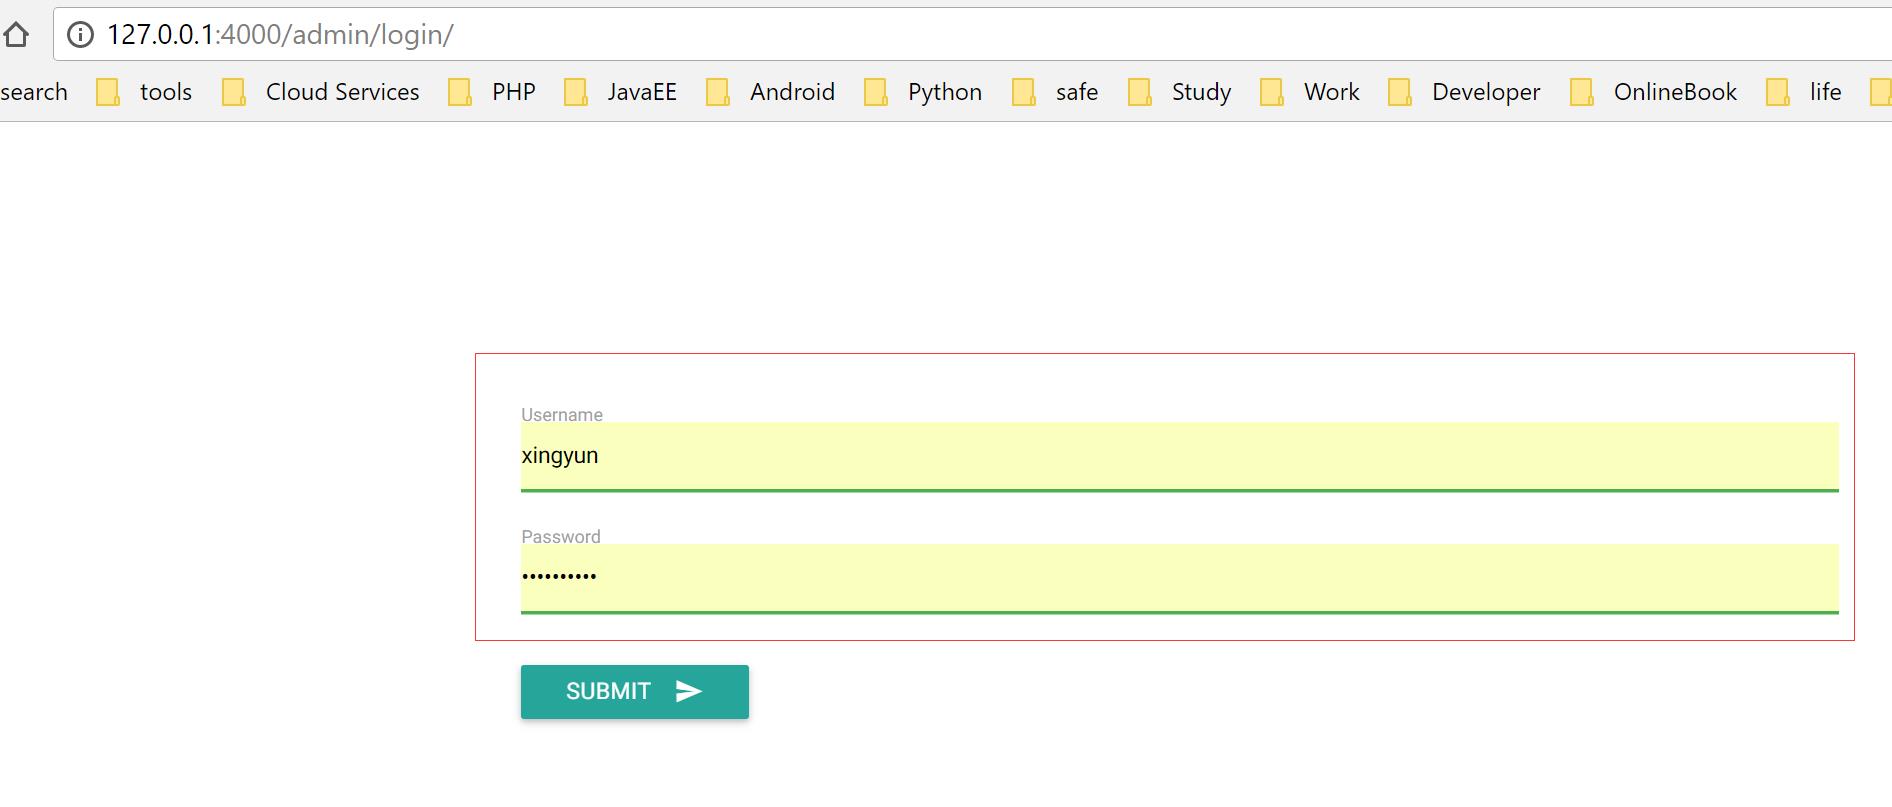
输入帐号密码才能登陆后台,反之不能。
0x03 创建多个分类导航
按说到这里可以结束,但是我还是不满足,我想要设置多个导航。
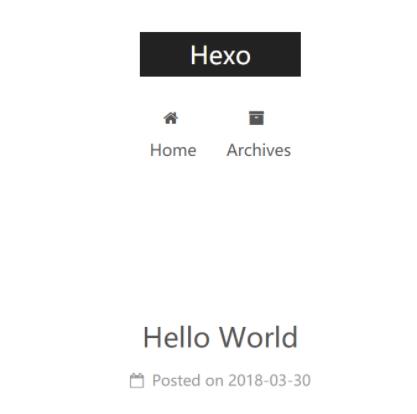
你可以看到上图中博客程序默认的只有首页和归档页面,那么如何添加一个新的导航分类呢?
首先我们需要修改配置文件
# ---------------------------------------------------------------
# Menu Settings
# ---------------------------------------------------------------

# When running the site in a subdirectory (e.g. domain.tld/blog), remove the leading slash from link value (/archives -> archives).
# Usage: `Key: /link/ || icon`
# Key is the name of menu item. If translate for this menu will find in languages - this translate will be loaded; if not - Key name will be used. Key is case-senstive.
# Value before `||` delimeter is the target link.
# Value after `||` delimeter is the name of FontAwesome icon. If icon (with or without delimeter) is not specified, question icon will be loaded.
menu:
  首页: / || home
  归档: /archives/ || archive
  分类: /categories/ || th
  标签: /tags/ || tags
  关于: /about/ || user
  #schedule: /schedule/ || calendar
  #sitemap: /sitemap.xml || sitemap
  #commonweal: /404/ || heartbeat
Tips: 这里要注意这个文件是这个博客主题路径下的_config.yml
C:\\Users\\fairy\\Documents\\HexoBlog\\themes\\next
这样就拥有了下面我们想要的效果
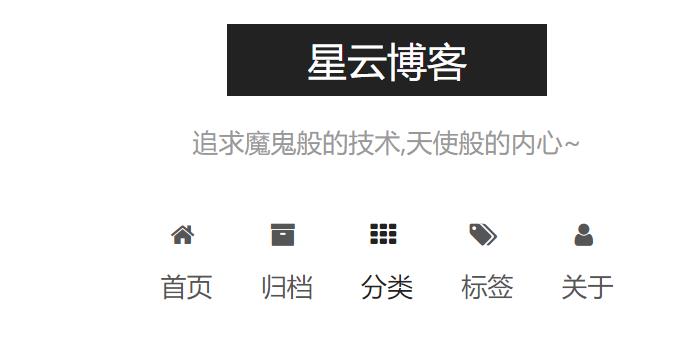
但是当你点击后你会发现除了默认的首页和归档之外,全部都会提示404页面找不到。
那么如何解决这个问题呢?
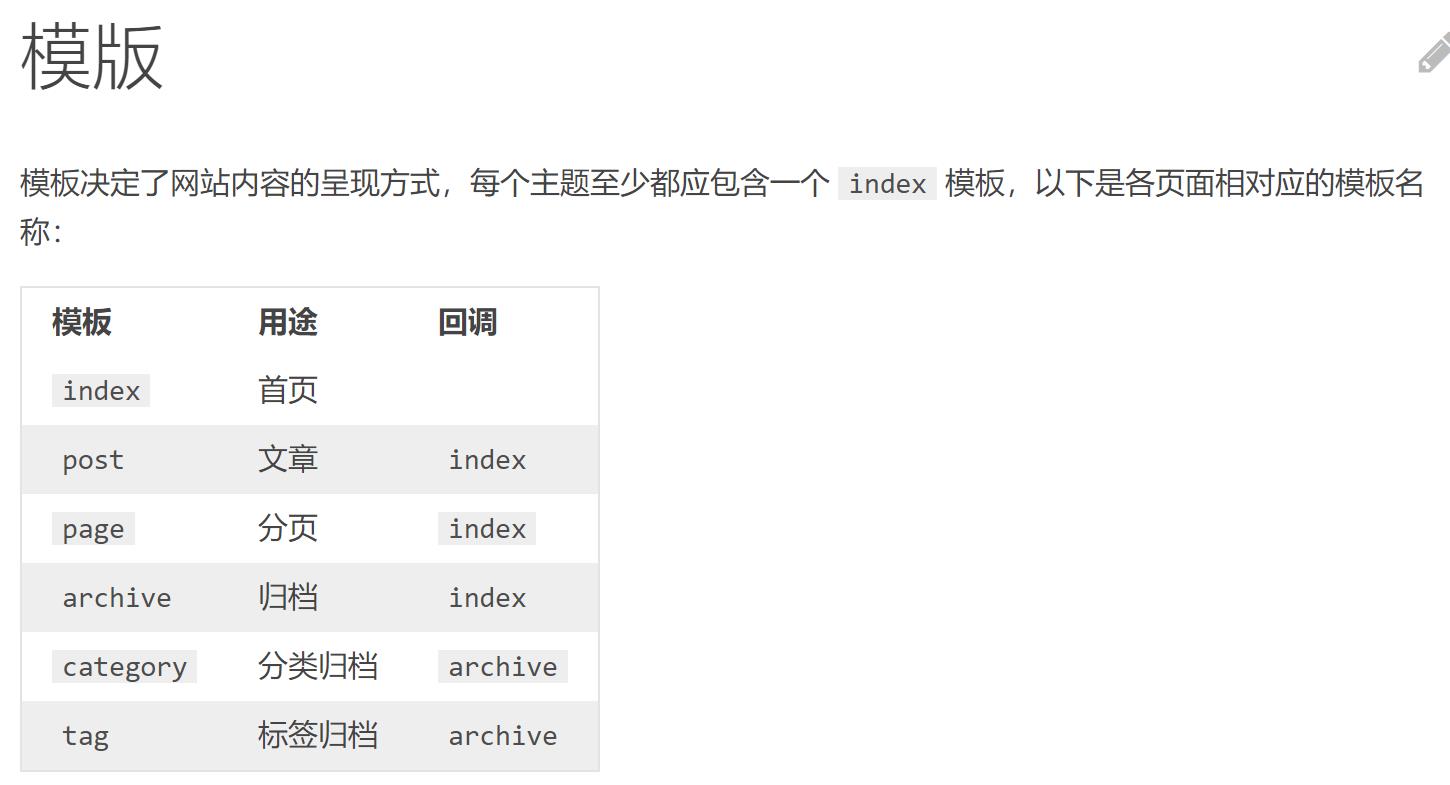
方法有三种:
第一种:命令行创建(亲测)
menu:
  首页: / || home
  归档: /archives/ || archive
  分类: /categories/ || th
  标签: /tags/ || tags
  关于: /about/ || user
首页和归档默认已经有了不需要我们配置,其他几个新的分类我们需要为他们创建匹配文件,
新建分类页面
hexo new page categories
修改模板页面 C:\\Users\\fairy\\Documents\\HexoBlog\\source\\categories\\index.md
title: 所有分类
date: 2018-03-31 09:28:45
type: "categories"
---
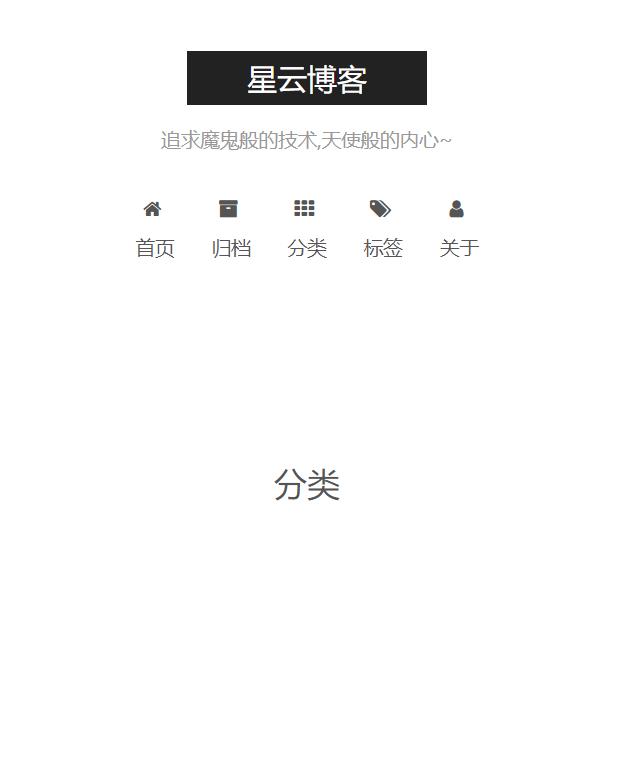
分类页面效果图
新建标签页面
hexo new page tags
修改标签页面 C:\\Users\\fairy\\Documents\\HexoBlog\\source\\tags\\index.md
title: 标签页
date: 2018-03-31 09:28:57
type: "tags"
---
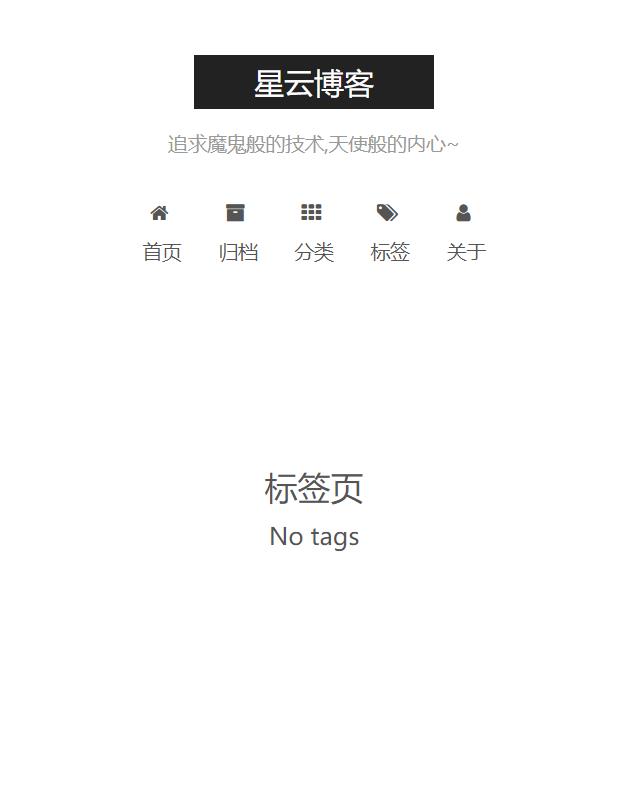
效果图:
新建关于页面
hexo new page about
修改关于页面
title: 关于我
date: 2018-03-30 22:32:11
---
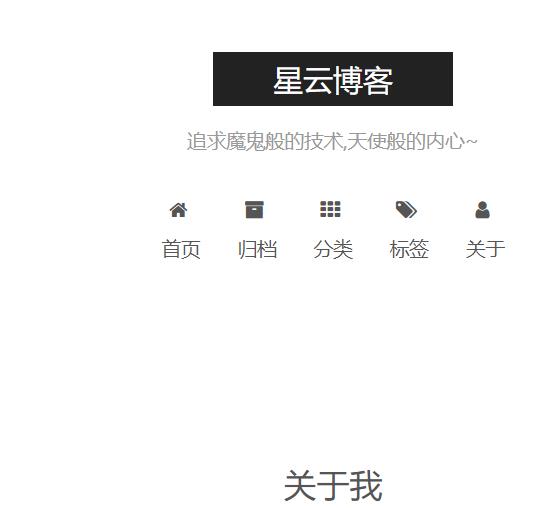
关于我效果图
方法二:后台管理图形用户界面操作
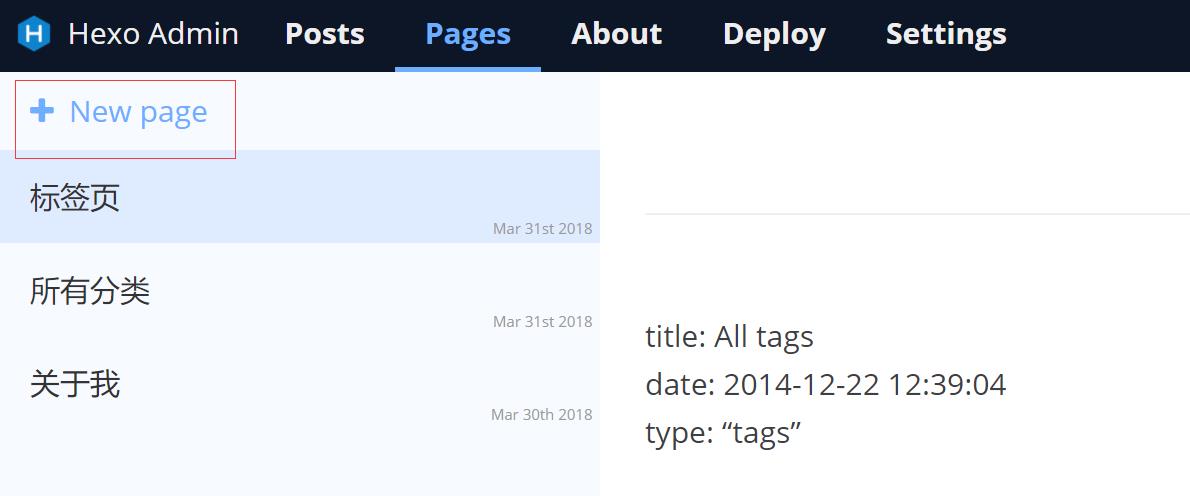
第三种:手动创建这些文件
0x04 配置个人中心友链
我们如果想要这样的效果
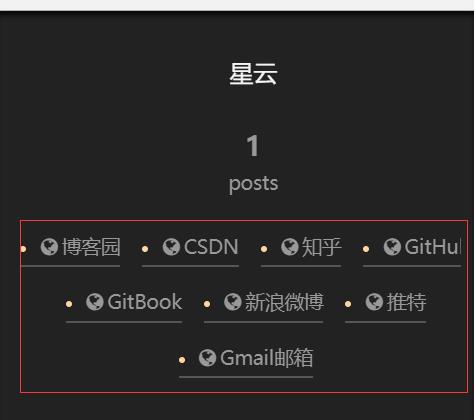
C:\\Users\\fairy\\Documents\\HexoBlog\\themes\\next\\_config.yml
修改配置文件即可:
# Social Links.
# Usage: `Key: permalink || icon`
# Key is the link label showing to end users.
# Value before `||` delimeter is the target permalink.
# Value after `||` delimeter is the name of FontAwesome icon. If icon (with or without delimeter) is not specified, globe icon will be loaded.
social:
  博客园: http://www.cnblogs.com/xingyunblog
  CSDN: https://blog.csdn.net/hadues
  知乎: http://zhihu.com/people/xingyunzhihu
  GitHub: https://github.com/geekxingyun
  GitBook: https://www.gitbook.com/@geekxingyun
  新浪微博: http://weibo.com/xingyunsky
  推特: https://twitter.com/fairyxingyun
  Gmail邮箱: mailto:fairyxingyun@gmail.com
  #E-Mail: mailto:yourname@gmail.com || envelope
  #Google: https://plus.google.com/yourname || google
  #Twitter: https://twitter.com/yourname || twitter
  #FB Page: https://www.facebook.com/yourname || facebook
  #VK Group: https://vk.com/yourname || vk
  #StackOverflow: https://stackoverflow.com/yourname || stack-overflow
  #YouTube: https://youtube.com/yourname || youtube
  #Instagram: https://instagram.com/yourname || instagram
  #Skype: skype:yourname?call|chat || skype
0x05 配置文章分享功能
在文章末尾增加分享功能
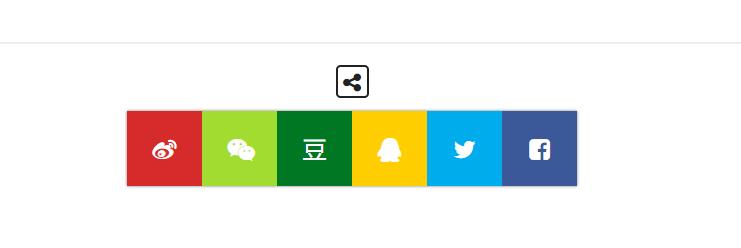
C:\\Users\\fairy\\Documents\\HexoBlog\\themes\\next\\_config.yml
修改配置文件即可:
# NeedMoreShare2
# This plugin is a pure javascript sharing lib which is useful in China.
# See: https://github.com/revir/need-more-share2
# Also see: https://github.com/DzmVasileusky/needShareButton
# iconStyle: default | box
# boxForm: horizontal | vertical
# position: top / middle / bottom + Left / Center / Right
# networks: Weibo,Wechat,Douban,QQZone,Twitter,Linkedin,Mailto,Reddit,
#           Delicious,StumbleUpon,Pinterest,Facebook,GooglePlus,Slashdot,
#           Technorati,Posterous,Tumblr,GoogleBookmarks,Newsvine,
#           Evernote,Friendfeed,Vkontakte,Odnoklassniki,Mailru
needmoreshare2:
  enable: true
  postbottom:
    enable: true
    options:
      iconStyle: box
      boxForm: horizontal
      position: bottomCenter
      networks: Weibo,Wechat,Douban,QQZone,Twitter,Facebook
0x06 配置访问统计
搜索下面内容,
Show PV/UV of the website/page with busuanzi.
找到enable: false 改成enable: true
# Show PV/UV of the website/page with busuanzi.
# Get more information on http://ibruce.info/2015/04/04/busuanzi/
busuanzi_count:
  # count values only if the other configs are false
  enable: true
  # custom uv span for the whole site
  site_uv: true
  site_uv_header: <i class="fa fa-user"></i> 访问人数
  site_uv_footer:
  # custom pv span for the whole site
  site_pv: true
  site_pv_header: <i class="fa fa-eye"></i> 总访问量
  site_pv_footer:
  # custom pv span for one page only
  page_pv: true
  page_pv_header: <i class="fa fa-file-o"></i> 阅读数
  page_pv_footer:
0x07 常用维护管理命令
清理缓存
hexo clean
重新生成
hexo generate
启动 server
hexo server -d
部署
hexo deploy
以上是关于Hexo NexT 博客后台管理指南的主要内容,如果未能解决你的问题,请参考以下文章
Hexo+NexT(零):最全Hexo+Next搭建博客教程