Gitee + Hexo 搭建个人博客
Posted H3rmesk1t
tags:
篇首语:本文由小常识网(cha138.com)小编为大家整理,主要介绍了Gitee + Hexo 搭建个人博客相关的知识,希望对你有一定的参考价值。
环境安装
- 安装 Node
- 安装 Git
- 注册码云
- 安装 Hexo
npm install hexo-cli -g
本地搭建
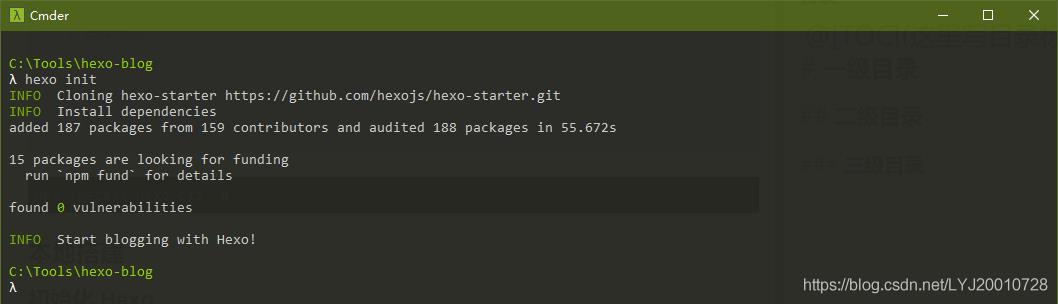
初始化 Hexo
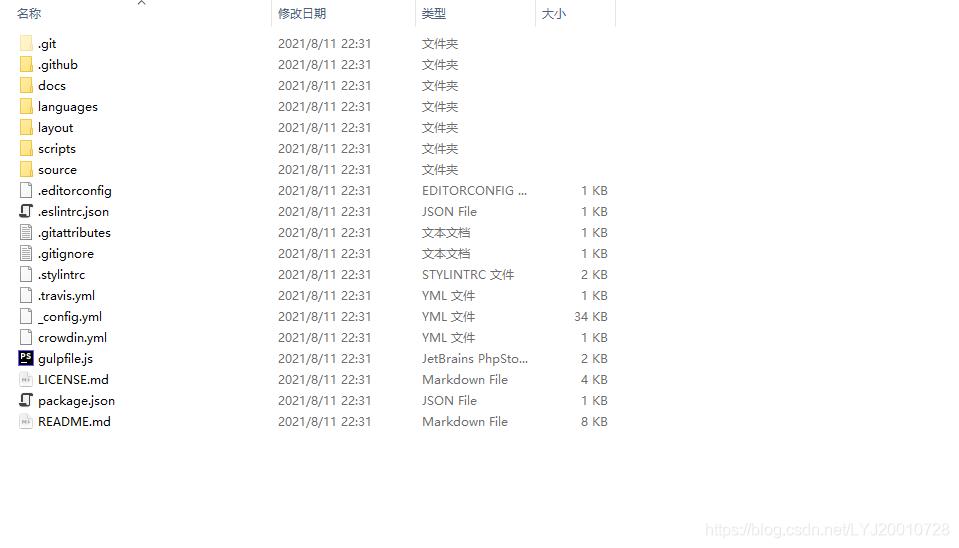
新建一个空白文件夹用于存放 hexo 资源,在空白文件夹里面打开命令行 ,输入
hexo init行进行初始化,初始化成功后会在文件夹生成如下图的文件

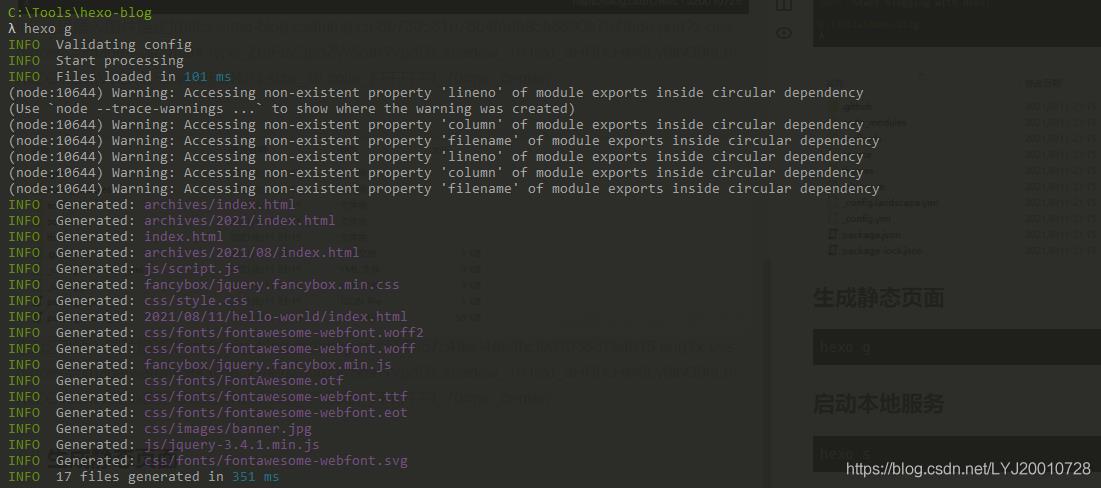
生成静态页面
hexo g
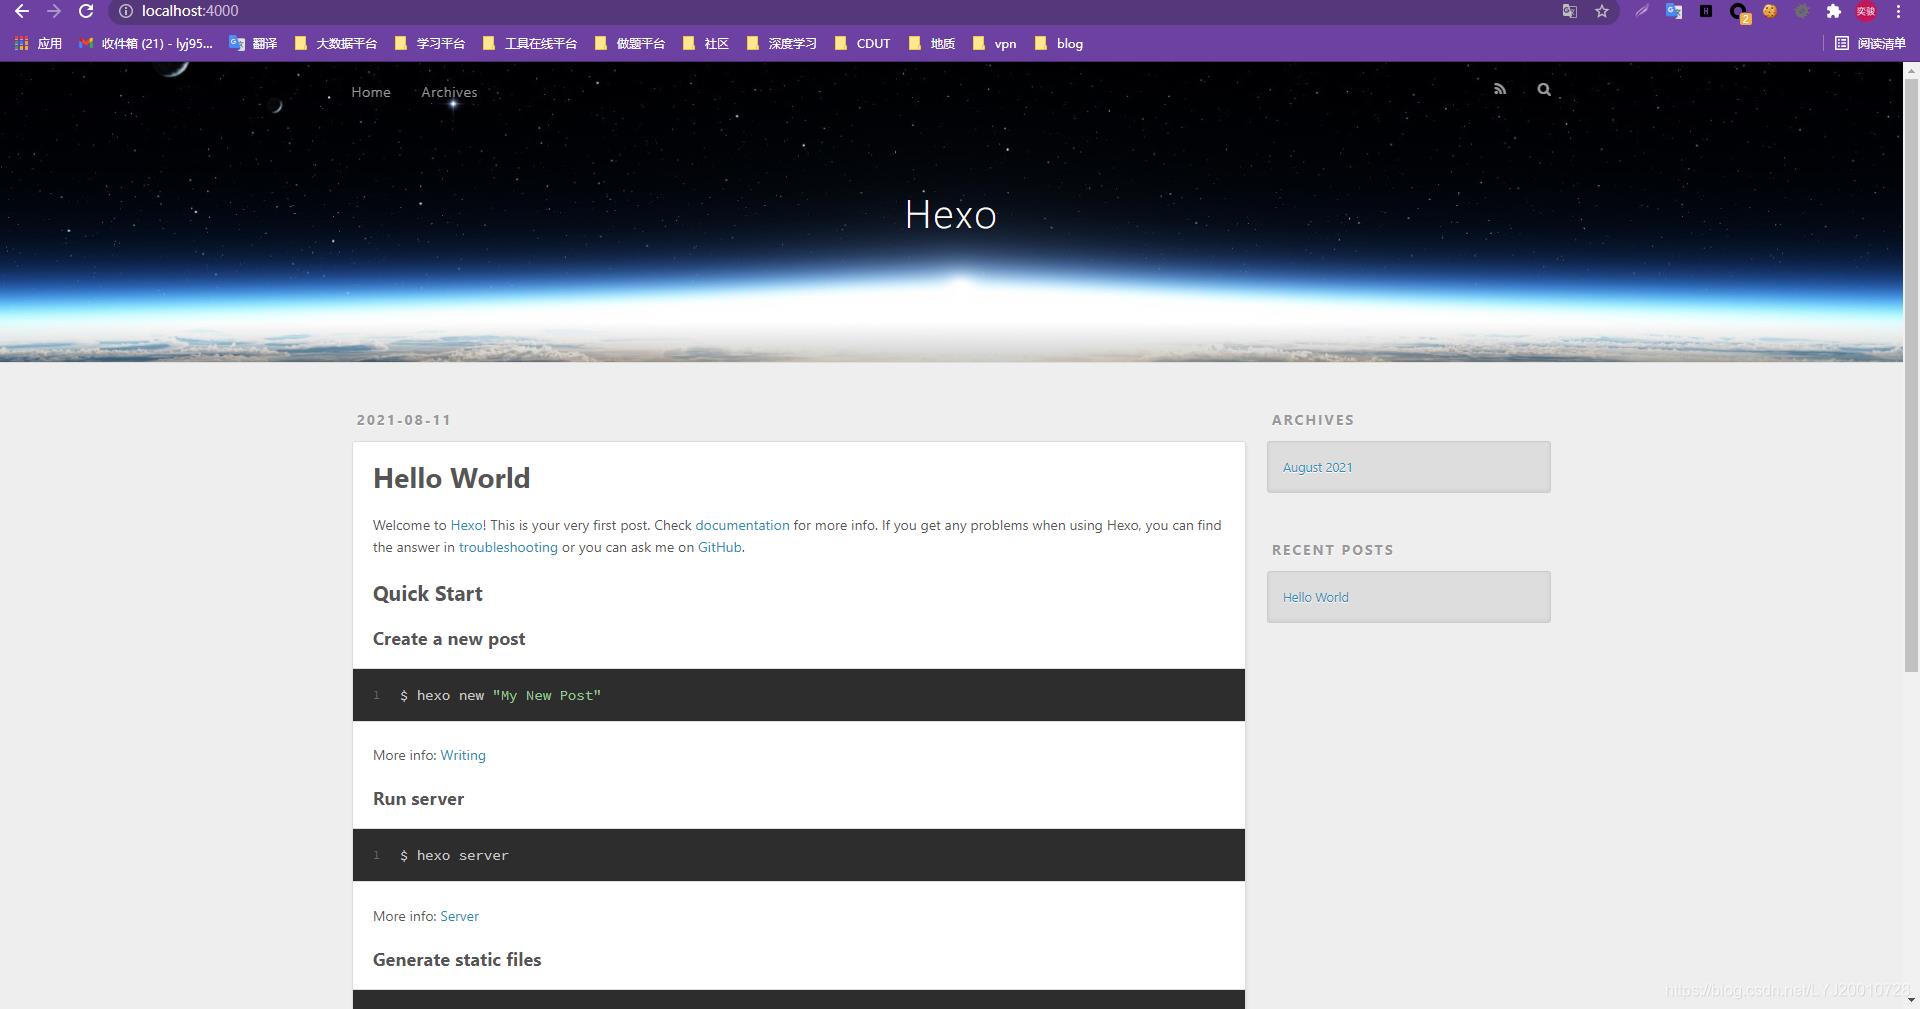
启动本地服务
hexo s

更改主题
安装Next
- 这里用的
Next主题,需要其他主题的可以谷歌搜索- 在项目根目录下的
themes文件中,执行命令
git clone https://hub.fastgit.org/theme-next/hexo-theme-next.git
配置Next
用Sublime打开项目根目录下的
_config.yml配置文件,找到 theme 把原来默认的 landscape 主题名字改成刚刚克隆的主题名字

测试Next
重启服务,刷新页面查看新主题

发布文章
- 方法一
在项目根目录下打开命令行,执行新建命令hexo new "此处输入文章名字",然后 hexo 会自动在指定目录下生成对应文件,找到新建好的文件,打开即可进行编辑


- 方法二
可以直接把已经准备的md格式的文章复制到 项目名称/source/_posts目录下,然后打开文件,在文件头加入front-matter部分,title 表示文章标题,date 表示发布时间
注意:front-matte 书写的时候要注意,冒号后面要跟一个空格号
---
title: a
date: 2019-04-14 23:10:17
---
- 准备好 md 格式文件后,使用下面命令生成网站静态文件到默认设置的 public 文件夹,然后再启动本地服务器
hexo g
选择next主题样式
打开主题文件夹下的
_config.yml配置文件,找到Schemes模块,修改为自己喜欢的风格

更改站点属性
在上面的网站界面,打开根目录文件夹下的
_config.yml配置文件,找到Site可以修改语言、标题等其他参数的设置


菜单栏
显示更多菜单
在项目根目录下执行命令,新建分类页面,会在项目根目录下的
source文件夹中新建一个categories文件夹
hexo new page categories

打开
categories文件夹中的index.md文件,添加 type 字段,设置为 “categories”

在主题文件夹下的
_config.yml配置文件中找到menu模块,把categories的注释给去掉

在项目根目录下执行命令,新建分类页面,会在项目根目录下的
source文件夹中新建一个tags文件夹
hexo new page tags

打开
tags文件夹中的index.md文件,添加 type 字段,设置为 “tags”

在主题文件夹下的
_config.yml配置文件中找到menu模块,把tags的注释给去掉
当
front-matter中字段有多个参数的时候,写法为

- NexT主题支持集成 Swiftype、 微搜索、Local Search 以及 Algolia
- 下面介绍 Local Search 的安装,根目录下执行命令
npm install hexo-generator-search --save
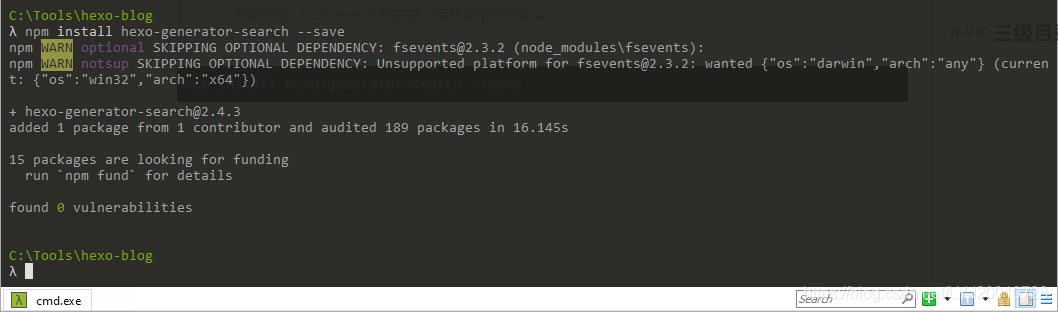
npm install hexo-generator-searchdb --save

在项目根目录下的
_config.yml配置文件的文末添加如下代码
search:
  path: search.xml
  field: post
  format: html
  limit: 10000
编辑主题文件夹的
_config.yml配置文件,设置 Local searchenable 为 ture

重启服务,查看效果

图标及内容量显示
打开主题配置文件,找到menu_settings字段,修改

一般设置
可跳转日志、分类、标签页的链接
打开主题配置文件,找到site_state字段,修改

社交信息设置
打开主题配置文件,找到social字段,修改
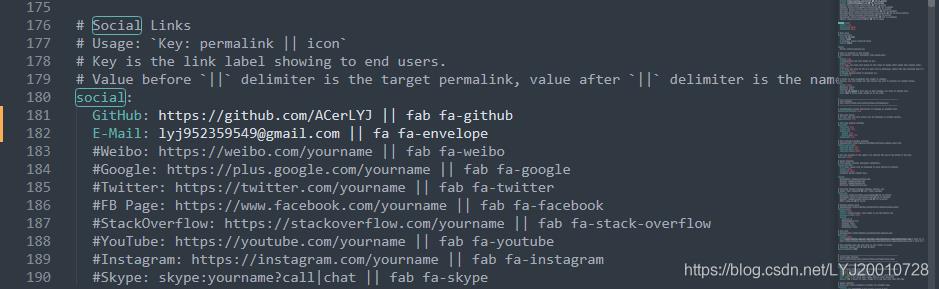
Next默认给出了一些模板,只要将其中的链接改为自己的链接就可以了,当然也可以自己定义,格式为名字:
链接 || 图标名,图标必须是FontAwesome网站中能找到的图标名,可以将自己的博客地址添加进去
xxxx名字: https://地址xxxxxxx/ || codepen
博客头像设置
打开主题文件夹下的
_config.yml配置文件,找到avatar,添加一个在线的头像图片地址(这里采用的是聚合图床)


打开主题文件夹下的
_config.yml配置文件,找到avatar,开启 rounded 和 rotated 即可设为旋转圆角

网站图标设置
- 下载16x16以及32x32大小的PNG格式图标,置于
/themes/next/source/images/下- 打开
themes/next/_config.yml,查找favicon

建立标签云及效果展示
安装插件,进入Hexo根目录,在
package.json中添加依赖:hexo-tag-cloud": "2.1.*
配置插件,插件的配置需要对应的环境,可以在主题文件夹里找一下,有没有对应的渲染文件,然后根据渲染文件的类型,选择对应的插件配置方法
swig 用户 (Next主题为例)
在主题文件夹找到文件theme/next/layout/_macro/sidebar.swig, 然后找到theme.back2top在其结束行后添加如下代码
{% if site.tags.length > 1 %}
<script type="text/javascript" charset="utf-8" src="/js/tagcloud.js"></script>
<script type="text/javascript" charset="utf-8" src="/js/tagcanvas.js"></script>
<div class="widget-wrap">
    <h3 class="widget-title">Tag Cloud</h3>
    <div id="myCanvasContainer" class="widget tagcloud">
        <canvas width="250" height="250" id="resCanvas" style="width=100%">
            {{ list_tags() }}
        </canvas>
    </div>
</div>
{% endif %}
ejs的用户 (默认主题landscape为例)
在主题文件夹找到文件hexo/themes/landscape/layout/_widget/tagcloud.ejs,将这个文件修改如下
<% if (site.tags.length) { %>
  <script type="text/javascript" charset="utf-8" src="<%- url_for('/js/tagcloud.js') %>"></script>
  <script type="text/javascript" charset="utf-8" src="<%- url_for('/js/tagcanvas.js') %>"></script>
  <div class="widget-wrap">
    <h3 class="widget-title"><%= __('tagcloud') %></h3>
    <div id="myCanvasContainer" class="widget tagcloud">
      <canvas width="250" height="250" id="resCanvas" style="width=100%">
        <%- tagcloud() %>
      </canvas>
    </div>
  </div>
<% } %>
开主题配置,然后在最后添加如下的配置项,可以自定义标签云的字体和颜色,还有突出高亮:
# hexo-tag-cloud
tag_cloud:
    textFont: Trebuchet MS, Helvetica
    textColor: '#333'
    textHeight: 25
    outlineColor: '#E2E1D1'
    maxSpeed: 0.1
构建:
hexo clean && hexo g && hexo d
文章添加阴影、透明效果及代码块样式
打开
source/_data/styles.styl,在此样式中加入以下代码
// 主页文章添加阴影效果
.post {
   margin-top: 60px;
   margin-bottom: 60px;
   padding: 25px;
   background:rgba(255,255,255,0.9) none repeat scroll !important;
   -webkit-box-shadow: 0 0 5px rgba(202, 203, 203, .5);
   -moz-box-shadow: 0 0 5px rgba(202, 203, 204, .5);
}
在站点配置文件中,搜索
highlight
highlight:
      enable: true #是否开启代码高亮
      line_number: false #是否增加代码行号
      auto_detect: true #自动判断代码语言
      tab_replace:
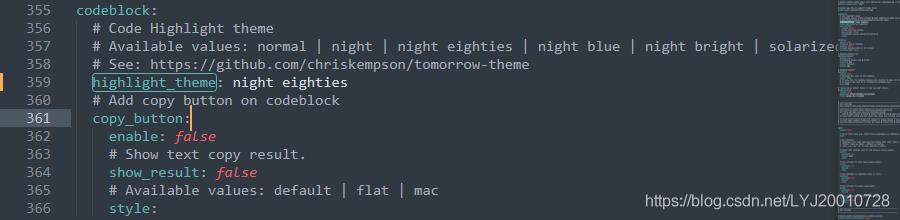
代码块背景,打开主题配置,查找
highlight_theme
其他可参考设置
toc:
  enable: true #自动生成目录
  # Automatically add list number to toc.
  number: true #自动产生目录编号
  # If true, all words will placed on next lines if header width longer then sidebar width.
  wrap: false #标题过长是否换行
  # If true, all level of TOC in a post will be displayed, rather than the activated part of it.
  expand_all: false # 是否显示所有等级的目录项。
  # Maximum heading depth of generated toc. You can set it in one post through `toc_max_depth` in Front-matter.
  max_depth: 6 #最大标题嵌套个数

sidebar:
  # Sidebar Position.#侧边栏的位置
  position: left
  #position: right

  # Manual define the sidebar width. If commented, will be default for:
  # Muse | Mist: 320
  # Pisces | Gemini: 240
  #width: 300

  # Sidebar Display (only for Muse | Mist), available values:
  # 显示侧边栏的时机
  #  - post    expand on posts automatically. Default.
  #  - always  expand for all pages automatically.
  #  - hide    expand only when click on the sidebar toggle icon.
  #  - remove  totally remove sidebar including sidebar toggle.
  display: post

  # Sidebar offset from top menubar in pixels (only for Pisces | Gemini).
  offset: 12 # 侧边栏相对主菜单的像素距离
  # Enable sidebar on narrow view (only for Muse | Mist).
  onmobile: false #在手机上侧边栏是否显示

# 返回顶部
back2top:
  enable: true
  # Back to top in sidebar.
  sidebar: false  #侧边栏显示返回顶部信息,默认显示在页面右下方
  # Scroll percent label in b2t button.
  scrollpercent:   #显示百分比,显示当前浏览进度
页面美化设置
鼠标左键点击红心
普通小红心
打开
themes/next/souce/js文件夹,新建clicklove.js内容如下
!function(e,t,a){function n(){c(".heart{width: 10px;height: 10px;position: fixed;background: #f00;transform: rotate(45deg);-webkit-transform: rotate(45deg);-moz-transform: rotate(45deg);}.heart:after,.heart:before{content: '';width: inherit;height: inherit;background: inherit;border-radius: 50%;-webkit-border-radius: 50%;-moz-border-radius: 50%;position: fixed;}.heart:after{top: -5px;}.heart:before{left: -5px;}"),o(),r()}function r(){for(var e=0;e<d.length;e++)d[e].alpha<=0?(t.body.removeChild(d[e].el),d.splice(e,1)):(d[e].y--,d[e].scale+=.004,d[e].alpha-=.013,d[e].el.style.cssText="left:"+d[e].x+"px;top:"+d[e].y+"px;opacity:"+d[e].alpha+";transform:scale("+d[e].scale+","+d[e].scale+") rotate(45deg);background:"+d[e].color+";z-index:99999");requestAnimationFrame(r)}function o(){var t="function"==typeof e.onclick&&e.onclick;e.onclick=function(e){t&&t(),i(e)}}function i(e){var a=t.createElement("div");a.className="heart",d.push({el:a,x:e.clientX-5,y:e.clientY-5,scale:1,alpha:1,color:s()}),t.body.appendChild(a)}function c(e){var a=t.createElement("style");a.type="text/css";try{a.appendChild(t.createTextNode(e))}catch(t){a.styleSheet.cssText=e}t.getElementsByTagName("head")[0].appendChild(a)}function s(){return"rgb("+~~(255*Math.random())+","+~~(255*Math.random())+","+~~(255*Math.random())+")"}var d=[];e.requestAnimationFrame=function(){return e.requestAnimationFrame||e.webkitRequestAnimationFrame||e.mozRequestAnimationFrame||e.oRequestAnimationFrame||e.msRequestAnimationFrame||function(e){setTimeout(e,1e3/60)}}(),n()}(window,document);
在
themes/next/layout/_layout.swig文件末尾添加
<!-- 页面点击小红心 -->
{% if theme.clicklove %}
      <script type="text/javascript" src="/js/clicklove.js"></script>
{% endif %}
注:此时需要先查看自己站点配置文件,搜索
root:**查看路径是否为默认/否则在添加js**路径的时候需要加上此路径
爆炸红心特效
打开
themes/next/souce/js文件夹,新建一个 fireworks.js 内容如下
"use strict";function updateCoords(e){pointerX=(e.clientX||e.touches[0].clientX)-canvasEl.getBoundingClientRect().left,pointerY=e.clientY||e.touches[0].clientY-canvasEl.getBoundingClientRect().top}function setParticuleDirection(e){var t=anime.random(0,360)*Math.PI/180,a=anime.random(50,180),n=[-1,1][anime.random(0,1)]*a;return{x:e.x+n*Math.cos(t),y:e.y+n*Math.sin(t)}}function createParticule(e,t){var a={};return a.x=e,a.y=t,a.color=colors[anime.random(0,colors.length-1)],a.radius=anime.random(16,32),a.endPos=setParticuleDirection(a),a.draw=function(){ctx.beginPath(),ctx.arc(a.x,a.y,a.radius,0,2*Math.PI,!0),ctx.fillStyle=a.color,ctx.fill()},a}function createCircle(e,t){var a={};return a.x=e,a.y=t,a.color="#F00",a.radius=0.1,a.alpha=0.5,a.lineWidth=6,a.draw=function(){ctx.globalAlpha=a.alpha,ctx.beginPath(),ctx.arc(a.x,a.y,a.radius,0,2*Math.PI,!0),ctx.lineWidth=a.lineWidth,ctx.strokeStyle=a.color,ctx.stroke(),ctx.globalAlpha=