代码笔记两个滚动条,上下都能滑动
Posted 菜鸟and小白
tags:
篇首语:本文由小常识网(cha138.com)小编为大家整理,主要介绍了代码笔记两个滚动条,上下都能滑动相关的知识,希望对你有一定的参考价值。
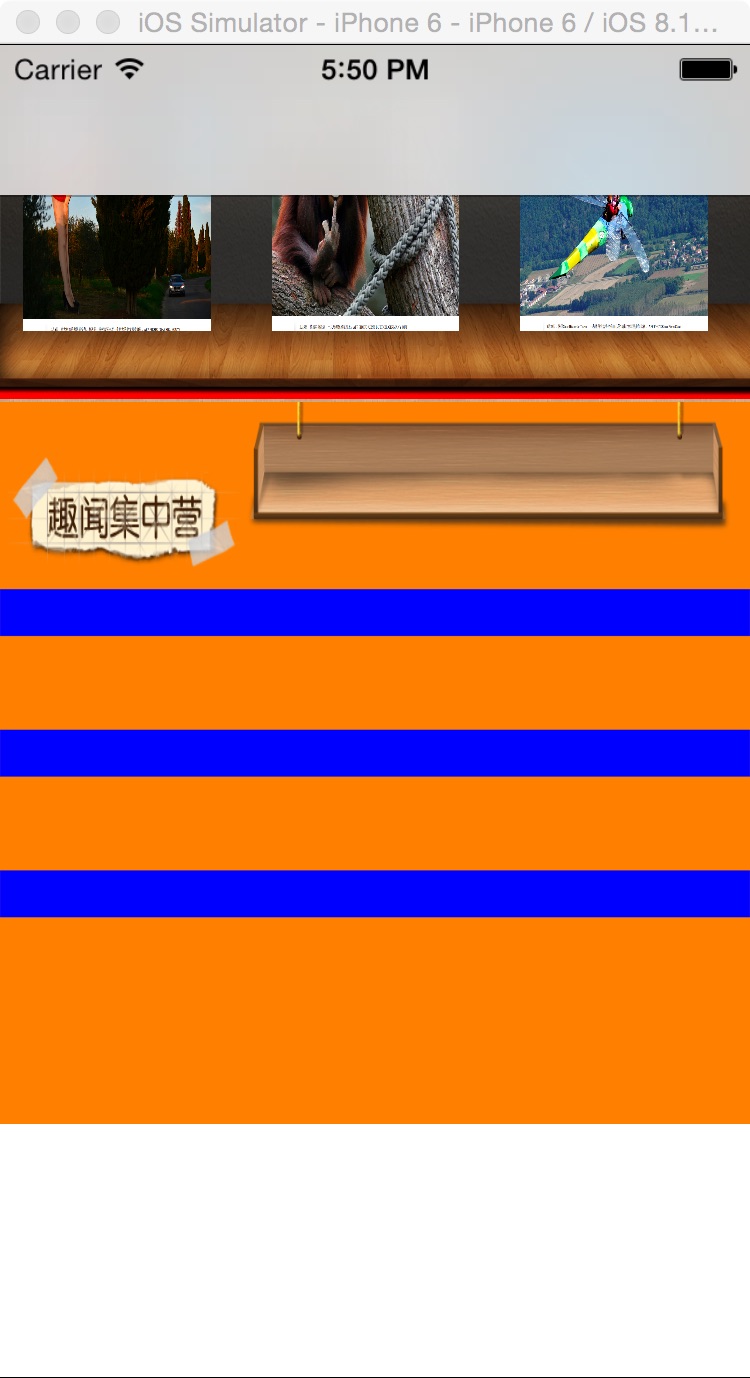
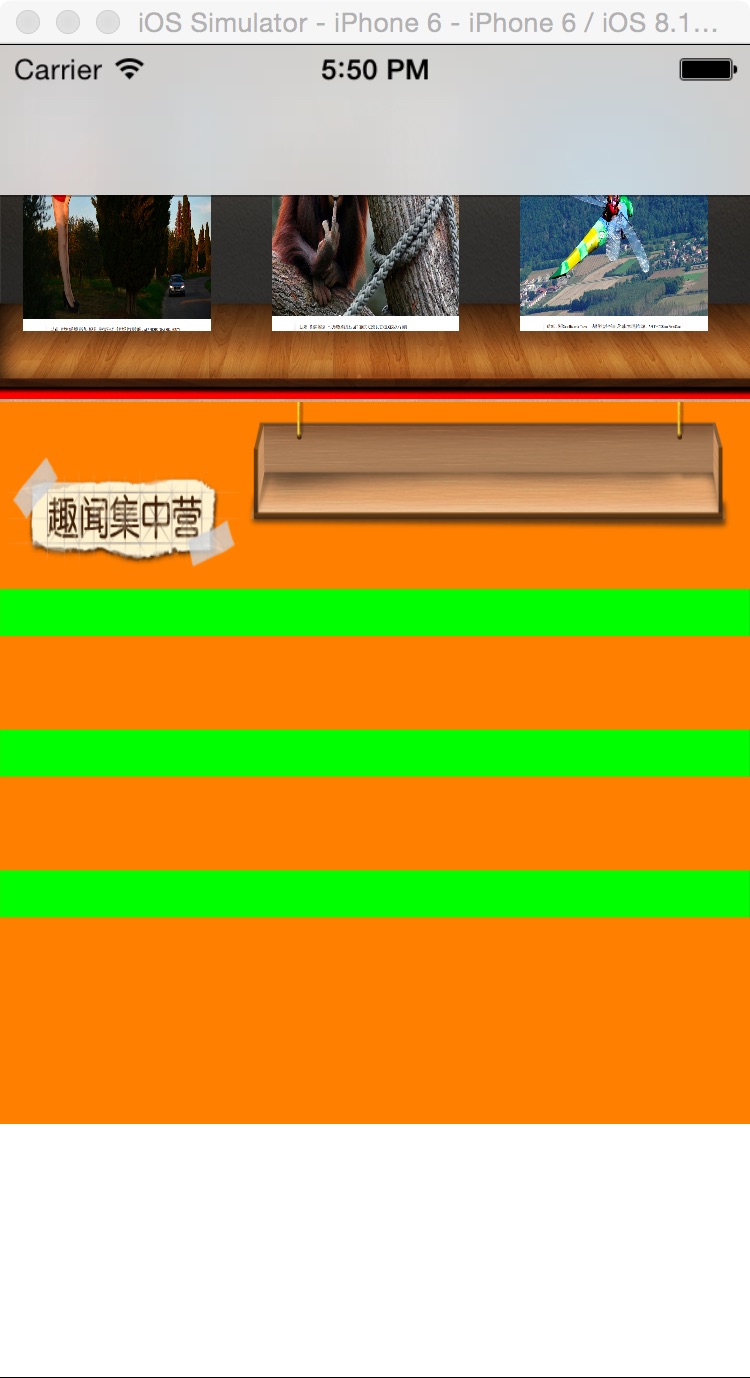
一,效果图。


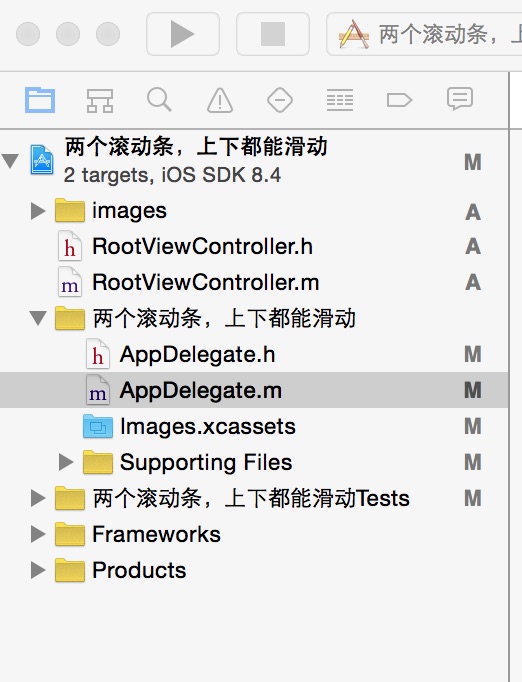
二,工程图。

三,代码。
RootViewController.h
#import <UIKit/UIKit.h>

@interface RootViewController : UIViewController
<UIScrollViewDelegate>
{
    UIView *backView;
    UIScrollView *scrollerViewFirst;
    UIScrollView *scrollerViewSecond;
    UIImageView * imageViewBook;
    UILabel *label;
    UIImageView *bigImageView;
    UIView *bigView;
}

@end
RootViewController.m
#import "RootViewController.h"

@interface RootViewController ()

@end

@implementation RootViewController

- (id)initWithNibName:(NSString *)nibNameOrNil bundle:(NSBundle *)nibBundleOrNil
{
    self = [super initWithNibName:nibNameOrNil bundle:nibBundleOrNil];
    if (self) {
        // Custom initialization
    }
    return self;
}

- (void)viewDidLoad
{
    [super viewDidLoad];
    // Do any additional setup after loading the view.

    [self initBackgroundView];
}
#pragma -mark -funcitons
-(void)initBackgroundView
{
    //放大的时候,底部的图
    bigView = [[UIView alloc]initWithFrame:CGRectMake(10, 10, 300, 440)];
    [self.view addSubview:bigView];

    //背景图
    backView = [[UIView alloc]initWithFrame:CGRectMake(0, 0, 320, 460)];
    [self.view addSubview:backView];

    //背景
    UIImageView * imageView = [[UIImageView alloc]initWithImage:[UIImage imageNamed:@"backImage.png"]];
    imageView.frame = CGRectMake(0, 0, 320, 460);
    [backView addSubview:imageView];

    //scrollerViewFrist
    scrollerViewFirst = [[UIScrollView alloc]initWithFrame:CGRectMake(0, 0, 320, 151)];
    scrollerViewFirst.contentSize = CGSizeMake(320 * 4, 151);
    scrollerViewFirst.contentOffset = CGPointMake(0, 0);
    scrollerViewFirst.bounces = YES;
    scrollerViewFirst.alwaysBounceHorizontal = YES;
    scrollerViewFirst.showsHorizontalScrollIndicator = NO;
    scrollerViewFirst.pagingEnabled =YES;
    scrollerViewFirst.delegate = self;
    scrollerViewFirst.tag=1;
    scrollerViewFirst.backgroundColor=[UIColor redColor];
    [backView addSubview:scrollerViewFirst];

    //scrollerViewSecond
    scrollerViewSecond = [[UIScrollView alloc]initWithFrame:CGRectMake(0, 152, 320, 308)];
    scrollerViewSecond.contentSize = CGSizeMake(320 * 4, 308);
    scrollerViewSecond.contentOffset = CGPointMake(0, 0);
    scrollerViewSecond.bounces = YES;
    scrollerViewSecond.alwaysBounceHorizontal = YES;
    scrollerViewSecond.showsHorizontalScrollIndicator = YES;
    scrollerViewSecond.delegate = self;
    scrollerViewSecond.pagingEnabled =YES;
    scrollerViewSecond.backgroundColor=[UIColor orangeColor];
    [backView addSubview:scrollerViewSecond];


    //scrollerFirst的大的背景图
    for (int i = 0; i < 4;i++) {
        for ( int j = 0; j < 3; j++) {
            UIImageView * imageview = [[UIImageView alloc]initWithImage:[UIImage imageNamed:[NSString stringWithFormat:@"scrollerFirstTop.png"]]];
            imageview.frame = CGRectMake(0 + i* 320, 0, 320, 151);
            [scrollerViewFirst addSubview:imageview];
        }
    }

    //scrollerFirst书架上的图集
    for ( int i = 0; i < 12; i++) {

        imageViewBook = [[UIImageView alloc]initWithImage:[UIImage imageNamed:[NSString stringWithFormat:@"%d.png",i+1]]];
        imageViewBook.contentMode = UIViewContentModeScaleToFill;
        imageViewBook.frame = CGRectMake((10 + i * 106 ) , 22, 80, 100);
        imageViewBook.userInteractionEnabled = YES;
        imageViewBook.tag = i;

        UITapGestureRecognizer *tapGesture = [[UITapGestureRecognizer alloc]initWithTarget:self action:@selector(doClickTapGesture:)];
        [imageViewBook addGestureRecognizer:tapGesture];

        [scrollerViewFirst addSubview:imageViewBook];
    }

    //scrollerSecond的标题
    for (int i = 0; i < 4; i++) {

        UIImageView *topImageView = [[UIImageView alloc]initWithImage:[UIImage imageNamed:@"scrollerSecondTop"]];
        topImageView.frame = CGRectMake(100 + 320 *i , -40 , 220, 100);
        [scrollerViewSecond addSubview:topImageView];

        UIImageView *titleImageView = [[UIImageView alloc]initWithImage:[UIImage imageNamed:@"scrollerSecondTitle.png"]];
        titleImageView.frame = CGRectMake(3 + 320 *i, 20, 100, 55);
        [scrollerViewSecond addSubview:titleImageView];
    }

    //scrollerViewSecond每个里面的线
    for (int i = 0; i < 4;i++) {
        for ( int j = 0; j < 3; j++) {
            label = [[UILabel alloc]initWithFrame:CGRectMake(320*i , 80 + 60 *j, 320, 20)];
            if (i==0) {
                label.backgroundColor=[UIColor redColor];
            }else if (i==1){
                label.backgroundColor=[UIColor greenColor];
            }else if (i==2){
                label.backgroundColor=[UIColor blackColor];
            }else if (i==3){
                label.backgroundColor=[UIColor blueColor];
            }
            [label setFont:[UIFont systemFontOfSize:12]];
            label.textAlignment = NSTextAlignmentCenter;
            label.textColor = [UIColor blueColor];
            [scrollerViewSecond addSubview:label];

        }
    }

}
#pragma -mark -doClickAction
-(void)doClickTapGesture:(UITapGestureRecognizer *)tapGesture
{
    NSLog(@"doClickTapGesture");

    //一个页面从右侧翻转过来的效果
    [UIView beginAnimations:nil context:nil];
    [UIView setAnimationDuration:0.7];
    [UIView setAnimationTransition:UIViewAnimationTransitionFlipFromLeft forView:self.view cache:YES];
    [self.view exchangeSubviewAtIndex:1 withSubviewAtIndex:0];
    [UIView commitAnimations];


    bigImageView = [[UIImageView alloc]initWithImage:[UIImage imageNamed:[NSString stringWithFormat:@"%ld.png",tapGesture.view.tag +1]]];
    bigImageView.frame = CGRectMake(0,0,300, 440);
    bigImageView.userInteractionEnabled = YES;

    UITapGestureRecognizer * tgrBig = [[UITapGestureRecognizer alloc]initWithTarget:self action:@selector(beginSmall:)];
    [bigImageView addGestureRecognizer:tgrBig];


    bigView.alpha = 0.2;

    UIScrollView *scrollerViewThree = [[UIScrollView alloc]initWithFrame:CGRectMake(0, 0, 300, 440 )];
    scrollerViewThree.delegate = self;
    scrollerViewThree.maximumZoomScale = 3.0;
    scrollerViewThree.minimumZoomScale = 1;
    [bigView  addSubview: scrollerViewThree];
    [scrollerViewThree addSubview:bigImageView];


}
-(void)beginSmall:(UIGestureRecognizer *)sender
{

    NSLog(@"--doClickbeginSmall--");

    [UIView beginAnimations:nil context:nil];
    [UIView setAnimationDuration:0.7];
    [UIView setAnimationTransition:UIViewAnimationTransitionFlipFromLeft forView:self.view cache:YES];
    [self.view exchangeSubviewAtIndex:0 withSubviewAtIndex:1];
    [UIView commitAnimations];

    bigView.alpha = 1;

    [bigImageView removeFromSuperview];

}
以上是关于代码笔记两个滚动条,上下都能滑动的主要内容,如果未能解决你的问题,请参考以下文章
