Rsyslog日志服务器搭建loganalyzer安装使用
Posted
tags:
篇首语:本文由小常识网(cha138.com)小编为大家整理,主要介绍了Rsyslog日志服务器搭建loganalyzer安装使用相关的知识,希望对你有一定的参考价值。
公司使用CactiEz做为网络监控平台,可以实时监控网络设备及出口流量外加邮件报警,虽然有一个延迟但基本够用。
除此之外,还需要一个日志服务器。因为设备比较多,设备如果断电重启,问题排除还需借助日志。
华为交换机端配置如下:
info-center source default channel 2 log level warning #日志级别,设置为warning警告最为合适
info-center loghost source Vlanif1101 # 源vlan
info-center loghost 192.168.2.2 #syslog服务器地址
CentOS6.8环境下安装rsyslog 与loganalezer日志分析工具
1、做本地源、yum安装相应包、关闭防火墙、安装http
# 做本地yum源
[[email protected] yum.repos.d]# mv *.repo back/
vim /etc/yum.repos.d/media.repo
[media]
name=media
baseurl=file:///media
enabled=1
gpgcheck=0
# 更新本地源
yum clean all
yum makecache
yum repolist
# 关闭Selinux,修改配置文件;关闭iptables
[[email protected] yum.repos.d]# vim/etc/selinux/config
SELINUX=disabled
[[email protected] yum.repos.d]# getenforce
Enforcing
[[email protected] yum.repos.d]# setenforce 0
[[email protected] yum.repos.d]# getenforce
Permissive
[[email protected] yum.repos.d]#services iptables stop
[[email protected] yum.repos.d]# chkconfig iptables off
# 安装软件包
yum install mysql-server mysql-devel libcurl-devel net-snmp-devel php php-gd php-xml php-mysql httpd –y
# 检查相关包
[[email protected] html]# rpm -qa | grep rsyslog
|rsyslog-gssapi-5.8.10-10.el6_6.x86_64
rsyslog-mysql-5.8.10-10.el6_6.x86_64
rsyslog-relp-5.8.10-10.el6_6.x86_64
rsyslog-pgsql-5.8.10-10.el6_6.x86_64
rsyslog-gnutls-5.8.10-10.el6_6.x86_64
rsyslog-5.8.10-10.el6_6.x86_64
# 启动http
[[email protected] yum.repos.d]#/etc/init.d/httpd start
[[email protected] yum.repos.d]#chkconfig httpd on
正在启动 httpd:httpd: Could not reliably determine the server‘s fully qualifieddomain name, using localhost.localdomain for ServerName
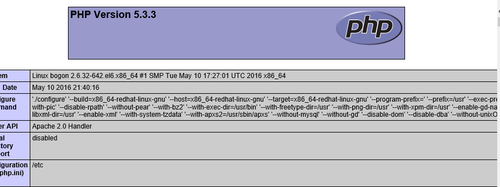
#测试http运行环境
[[email protected] yum.repos.d] cd /var/www/html/
[[email protected] html]# cat > index.php <<EOF
> <?php
> phpinfo();
> ?>
> EOF
打开浏览器打开浏览器访问:http://192.168.2.2/index.php
#启动数据库
[[email protected] yum.repos.d]#/etc/init.d/mysqld start
[[email protected] yum.repos.d]#chkconfig mysqld on
#设置mysql密码,查看数据库表
[[email protected] html]# cd /usr/share/doc/rsyslog-mysql-5.8.10/
[[email protected] rsyslog-mysql-5.8.10]# mysql -uroot -pqaz,123 < createDB.sql
[[email protected] ~]# mysql -uroot -p
Enter password:
Welcome to the MySQL monitor. Commands end with ; or \g.
Your MySQL connection id is 4
Server version: 5.1.73 Source distribution
Copyright (c) 2000, 2013, Oracle and/or its affiliates. All rights reserved.
Oracle is a registered trademark of Oracle Corporation and/or its
affiliates. Other names may be trademarks of their respective
owners.
Type ‘help;‘ or ‘\h‘ for help. Type ‘\c‘ to clear the current input statement.
mysql> show databases;
+--------------------+
| Database |
+--------------------+
| information_schema |
| Syslog |
| mysql |
| test |
+--------------------+
4 rows in set (0.00 sec)
mysql> use Syslog
Reading table information for completion of table and column names
You can turn off this feature to get a quicker startup with -A
Database changed
mysql> show tables;
+------------------------+
| Tables_in_Syslog |
+------------------------+
| SystemEvents |
| SystemEventsProperties |
+------------------------+
2 rows in set (0.00 sec)
# 授权rsyslog往里读写权限并提交更改
mysql> grant all on Syslog.* to [email protected] identified by ‘adminqaz‘;
Query OK, 0 rows affected (0.00 sec)
mysql> flush privileges;
Query OK, 0 rows affected (0.00 sec)
mysql> exit
Bye
# 修改rsyslog配置文件,开启UDP端口;并使用mysql与rsyslog相关联,
[[email protected] ~]# vim /etc/rsyslog.conf
#新增下面两行
$ModLoad ommysql
*.* :ommysql:localhost,Syslog,rsyslog,adminqaz
说明:localhost 表示本地主机,Syslog 为数据库名,rsyslog 为数据库的用户,adminqaz为该用户密码。
#开启相关模块
# vi /etc/rsyslog.conf
$ModLoad immark #immark是模块名,支持日志标记
$ModLoad imudp #imupd是模块名,支持udp协议
$UDPServerRun 514 #允许514端口日志
# 重启rsyslog服务
/etc/init.d/rsyslog restart
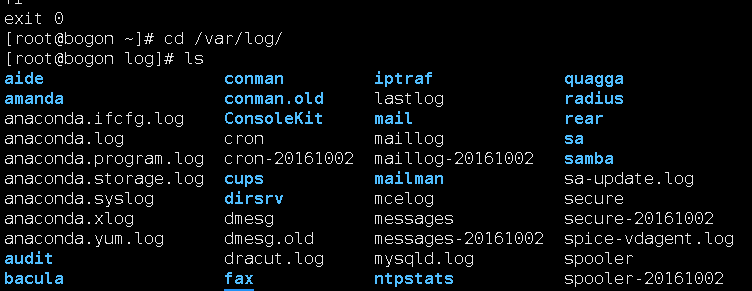
如果正常的话,/var/log/messages下可以接收服务器、交换机的配置信息。
2、安装LogAnalyzer
[[email protected] home]# ls
loganalyzer-3.6.5 loganalyzer-3.6.5.tar.gz
[[email protected] home]# tar xzvf loganalyzer-3.6.5.tar.gz
[[email protected] home]# cd loganalyzer-3.6.5
[[email protected] loganalyzer-3.6.5]#mkdir -p /var/www/html/loganalyzer
[[email protected] loganalyzer-3.6.5]# rsync -a src/* /var/www/html/loganalyzer/
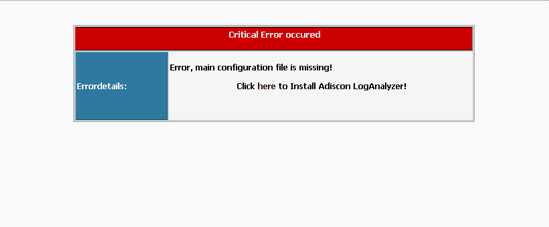
# 打开浏览器http://192.168.2.2/loganalyzer,点击here
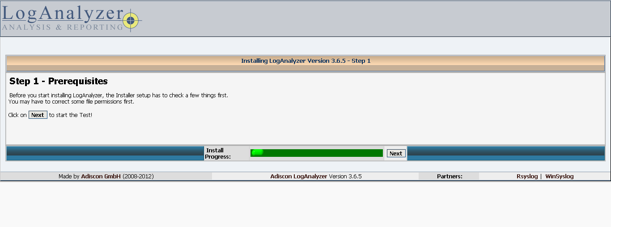
#点击next
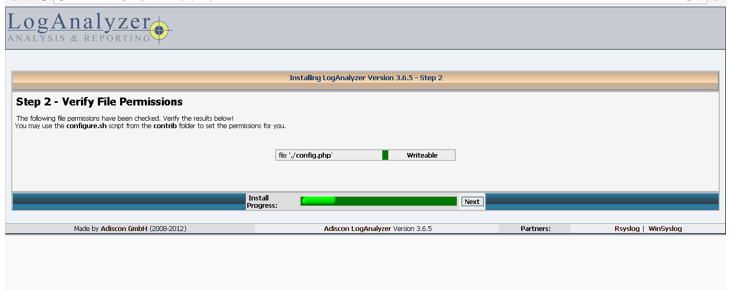
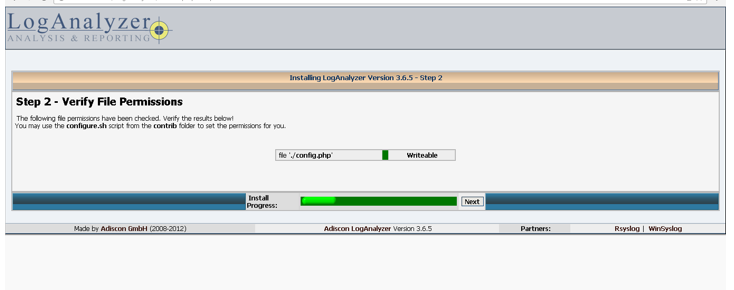
#调整权限,recheck重新配置
# touch /var/www/html/loganalyzer/config.php
# chmod 666 /var/www/html/loganalyzer/config.php
#点击 next
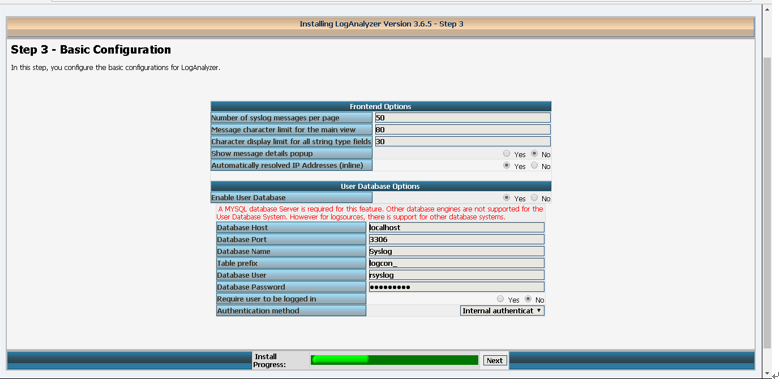
#配置基本信息
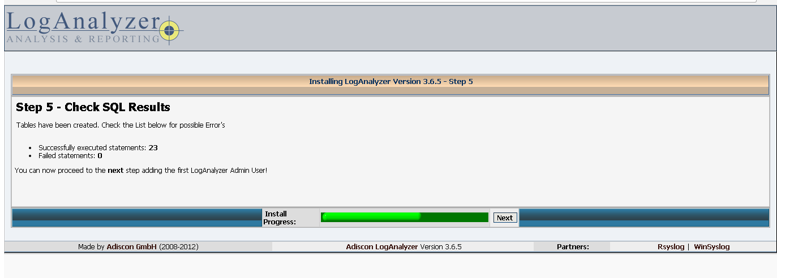
#点击next
第6步:创建用户名密码用于管理loganalyzer 此处无图
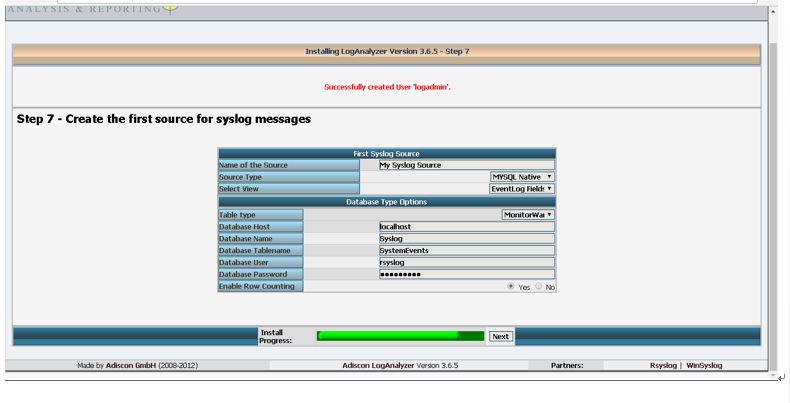
#选择日志源sql表,用于与syslog关联
# 点击next
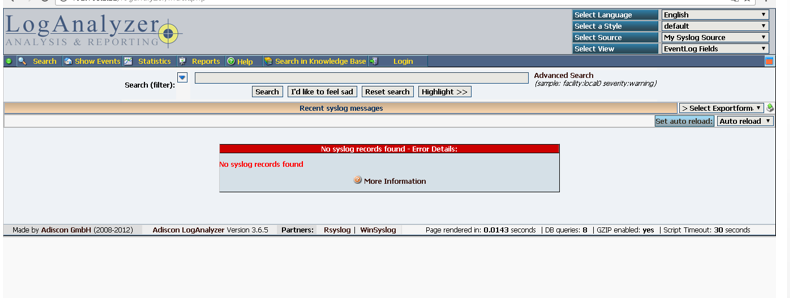
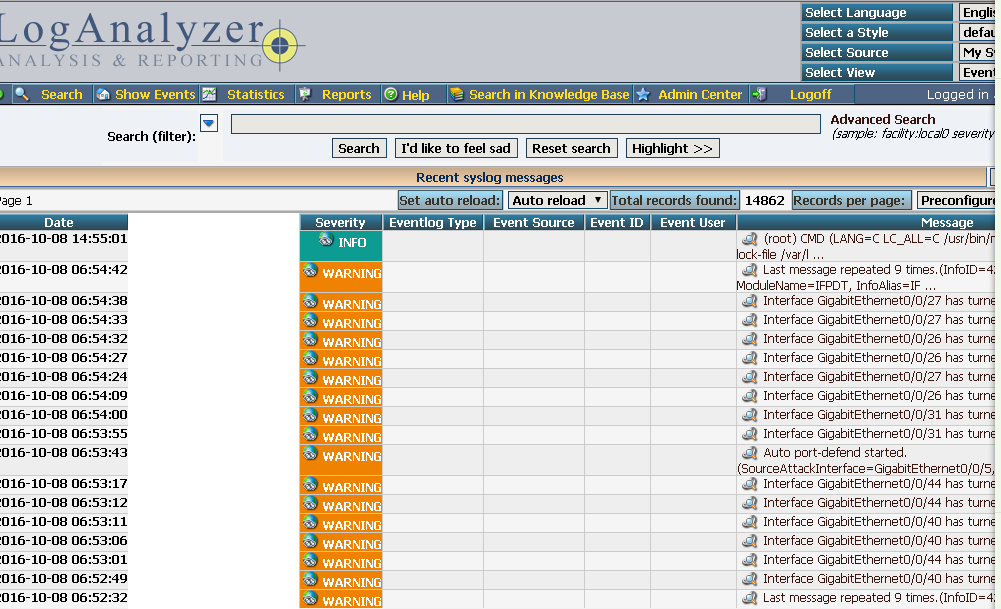
# 重新登陆会看到日志
界面如下:
3、关于日志轮循相关内容,linux中的日志轮循是使用logrotate
# 查看logrotate相关配置文件
[[email protected] ~]# rpm -ql logrotate
/etc/cron.daily/logrotate
/etc/logrotate.conf
/etc/logrotate.d
/usr/sbin/logrotate
/usr/share/doc/logrotate-3.7.8
/usr/share/doc/logrotate-3.7.8/CHANGES
/usr/share/doc/logrotate-3.7.8/COPYING
/usr/share/man/man5/logrotate.conf.5.gz
/usr/share/man/man8/logrotate.8.gz
/var/lib/logrotate.status
# 编缉logrotate配置文件
vim /etc/logrotate.conf
[[email protected] ~]# cat /etc/logrotate.conf
# see "man logrotate" for details
# rotate log files weekly
weekly
# keep 4 weeks worth of backlogs
rotate 4
# create new (empty) log files after rotating old ones
create
# use date as a suffix of the rotated file
dateext
# uncomment this if you want your log files compressed
#compress
# RPM packages drop log rotation information into this directory
include /etc/logrotate.d
# no packages own wtmp and btmp -- we‘ll rotate them here
/var/log/wtmp {
monthly
create 0664 root utmp
minsize 1M
rotate 1
}
/var/log/btmp {
missingok
monthly
create 0600 root utmp
rotate 1
}
# 以周为单位轮循,4次:messages1.....messages4 massages1.....massages4......,往前覆盖
/var/log/messages {
weekly
rotate 4
dateext
compress
missingok
create 644 root root
postrotate
/usr/bin/killall -HUP rsyslogd #平滑重启rsyslog或者使用/var/run/syslogd.pid更准确
endscript
}
# system-specific logs may be also be configured here.
# 以时间为结尾,如下:
参考博客:
http://www.cnblogs.com/mchina/p/linux-centos-rsyslog-loganalyzer-mysql-log-server.html
本文出自 “天马行空” 博客,请务必保留此出处http://keep11.blog.51cto.com/1443840/1859469
以上是关于Rsyslog日志服务器搭建loganalyzer安装使用的主要内容,如果未能解决你的问题,请参考以下文章
Centos7搭建日志服务器rsyslog+loganalyzer
搭建[ rsyslog+loganalyzer+mysql ] lamp组合型日志服务器
rsyslog+loganalyzer日志服务器,无法添加报表模板解决
