微信小程序-枯木学习笔记3-登录功能
Posted 长安紫薯
tags:
篇首语:本文由小常识网(cha138.com)小编为大家整理,主要介绍了微信小程序-枯木学习笔记3-登录功能相关的知识,希望对你有一定的参考价值。
一、学生登录
1、界面原型

2、功能需求
1、实现登录页面
2、请求java后台登录学生的信息,返回存储到本地浏览器缓存(h5支持)
3、涉猎的技术点
- 背景图片,高度100%(样式)
- 轮播图 swiper组件
- 输入框:image图标、lable标签、bindinput事件
- 密码输入框
- 登录按钮:bindtap事件,wxToast消息提醒,wx.request Ajax请求java后台,返回json数据缓存到本地
二、课前资料
1、数据库学生表

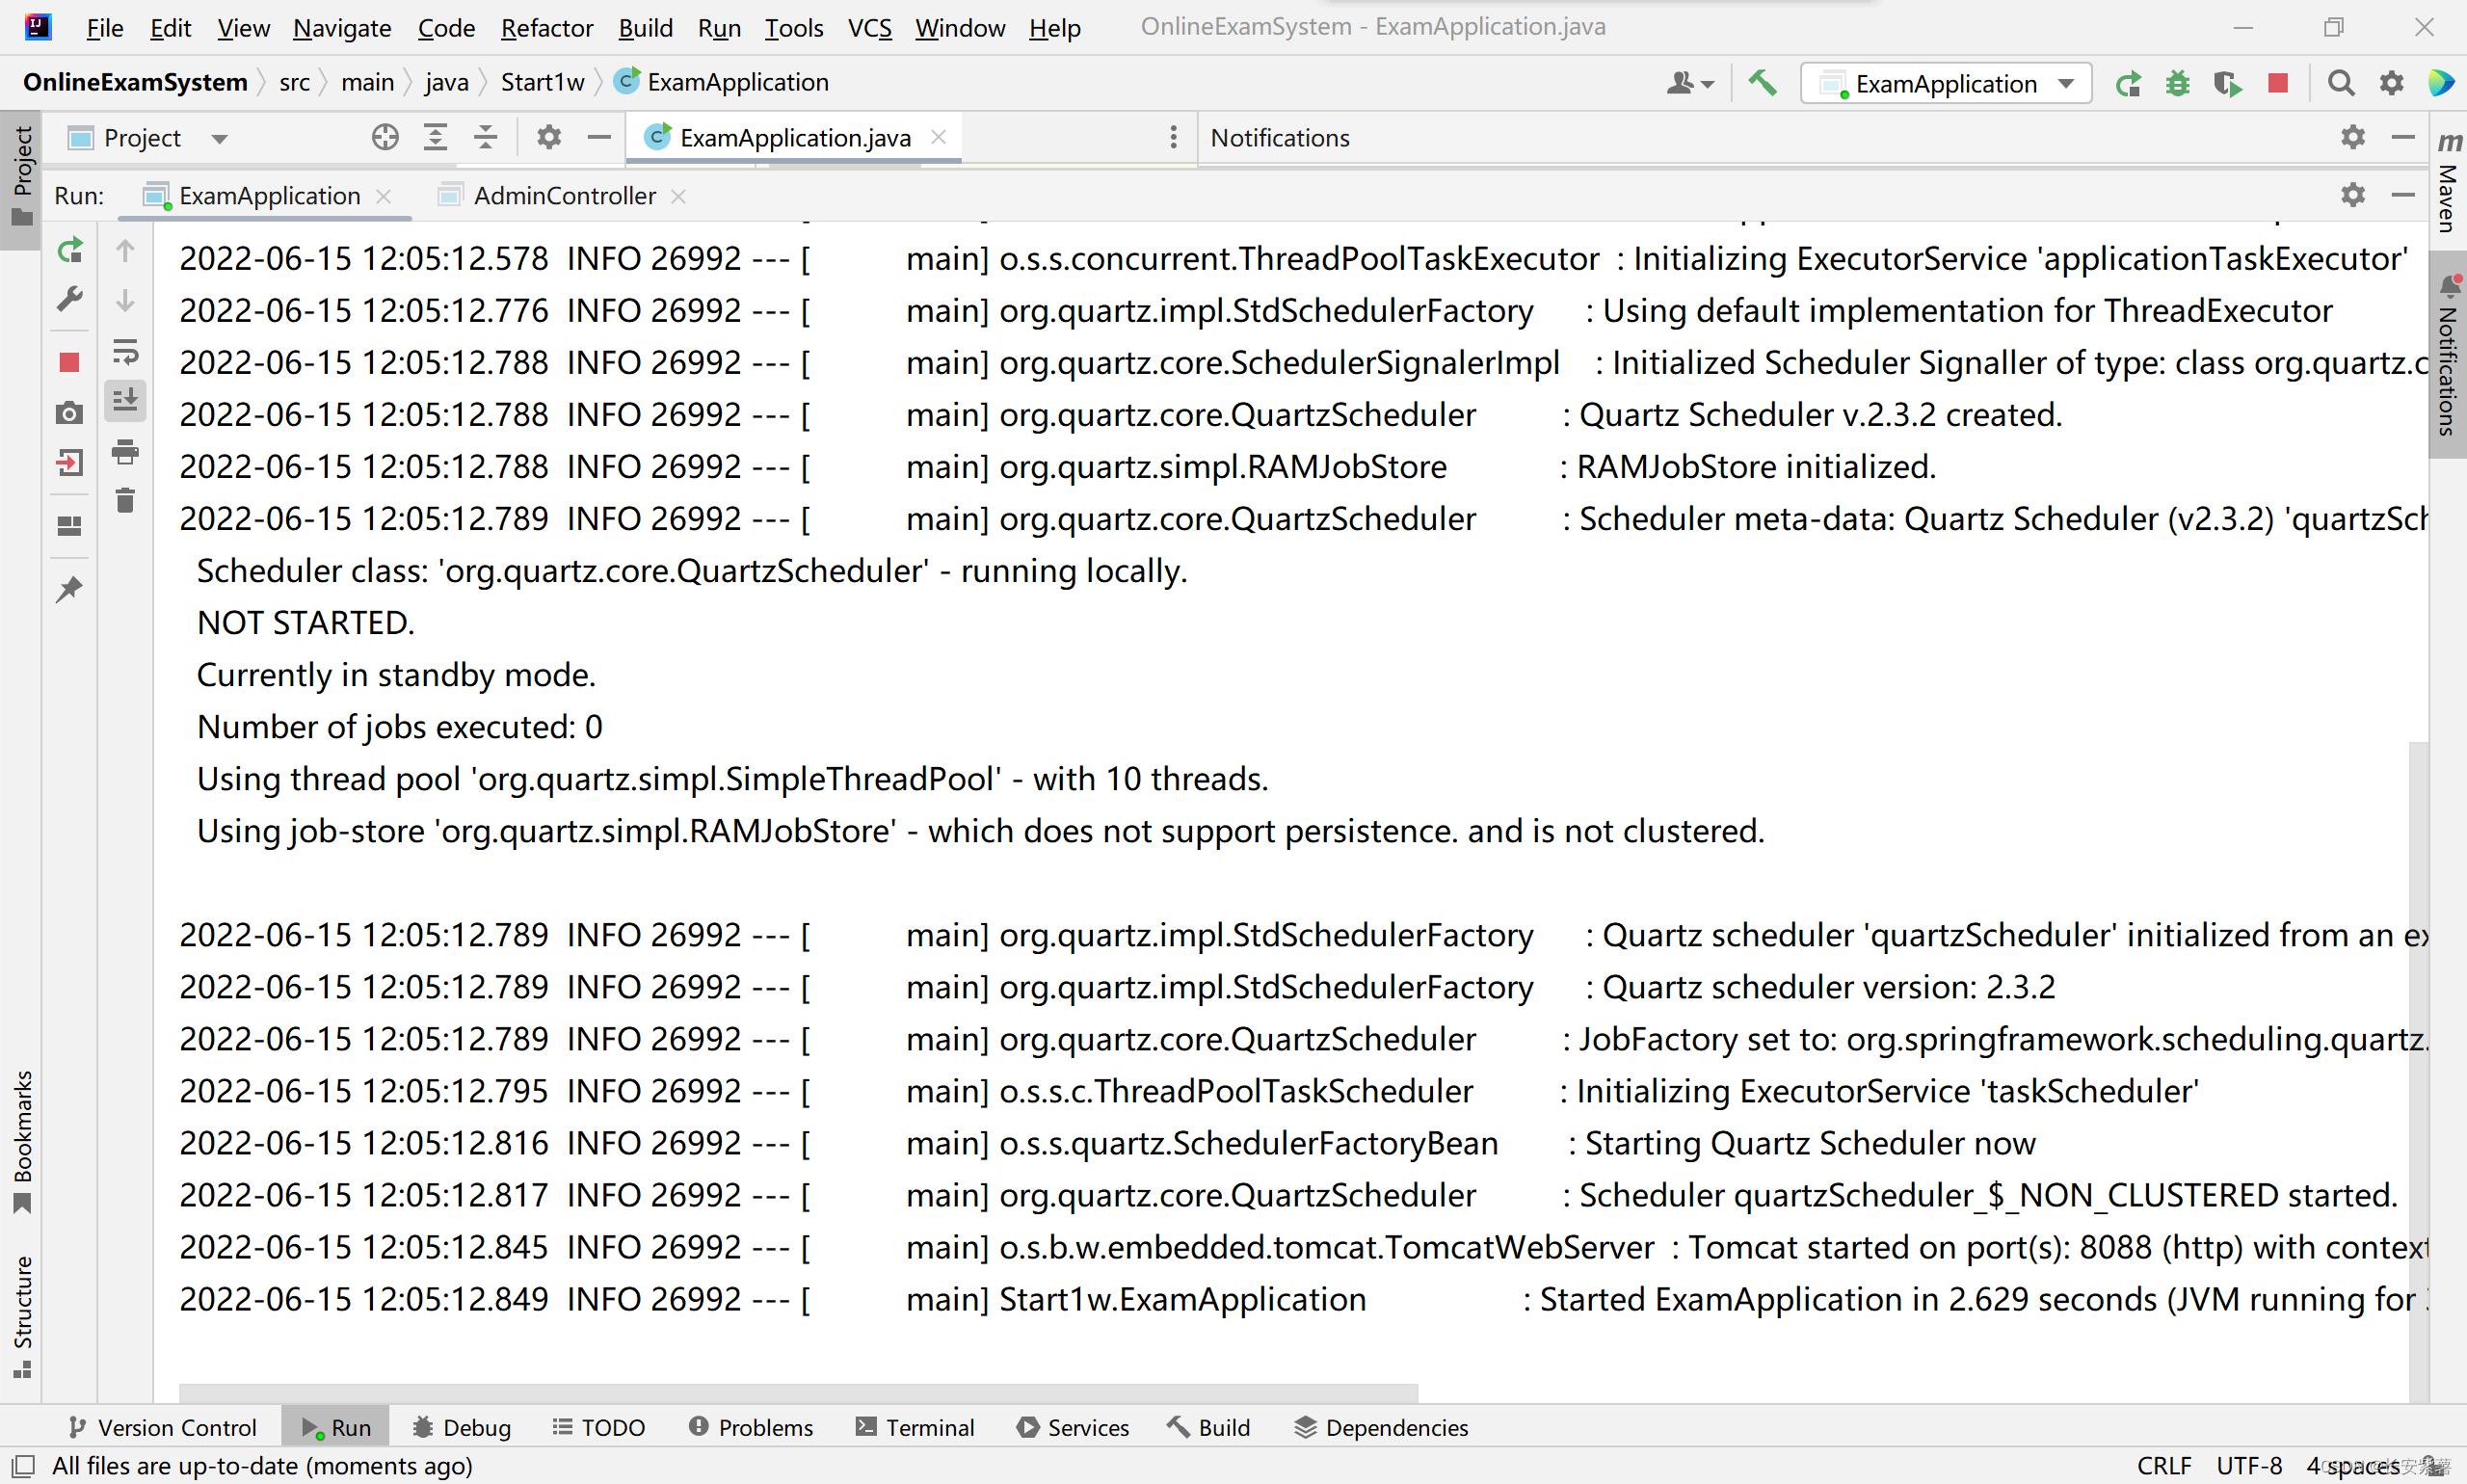
2、启动java后台项目:http://localhost:8088

3、图片资源

三、最终代码
1、app.json
全局配置文件,先添加 index 首页模块,
最后添加对应的页面模块 exam、my 声明,在添加tabBar(首页、考试、我的)
  "pages":[
    "pages/index/index",
    "pages/exam/exam",
    "pages/my/my",
    "pages/home/home",
    "pages/logs/logs"
  ],
  "window":
    "backgroundTextStyle":"light",
    "navigationBarBackgroundColor": "#fff",
    "navigationBarTitleText": "Weixin",
    "navigationBarTextStyle":"black"
  ,
  "tabBar":
      "backgroundColor": "#563624",
      "color": "#ffff",
      "list": [

            "pagePath":"pages/home/home",
            "text":"首页",
            "iconPath":"pages/images/Home.png"
          ,

              "pagePath": "pages/exam/exam",
              "text": "考试",
              "iconPath": "pages/images/My_exam.png"
          ,

              "pagePath": "pages/my/my",
              "text": "我的",
              "iconPath": "pages/images/My.png"

      ]
  ,
  "style": "v2",
  "sitemapLocation": "sitemap.json"
2、index.wxml
页面布局,代码量大集中在这里
<view class="container" style="background-image: url(/pages/images/mini_login_b_2.jpg);">
    <swiper style="height: 450rpx; width: 100%;" autoplay="true" interval="3000" indicator-dots="true" circular="true">
      <swiper-item>
        <image src="/pages/images/login_2.jpg" style="width: 100%; height:100%"></image>
      </swiper-item>
      <swiper-item>
        <image src="/pages/images/login_3.jpg" style="width: 100%; height:100%"></image>
      </swiper-item>
      <swiper-item>
        <image src="/pages/images/login_1.jpg" style="width: 100%; height:100%"></image>
      </swiper-item>
      <swiper-item>
        <image src="/pages/images/login_4.jpg" style="width: 100%; height:100%"></image>
      </swiper-item>
    </swiper>

  <view style="width: 100%; height: 2px; background-color: #563624; display: block;"><p style="color: #563624; font-size: 2px;">.</p></view>
  <view class="login-form">

    <!--账号-->
    <view class="inputView">
      <image class="nameImage" src="/pages/images/wx_user.png"></image>
      <label class="loginLab">账号</label>
      <input class="inputText" placeholder="请输入账号" bindinput="usernameInput" />
    </view>

    <view class="line"></view>

    <!--密码-->
    <view class="inputView">
      <image class="keyImage" src="/pages/images/wx_login.png"></image>
      <label class="loginLab">密码</label>
      <input class="inputText" password="true" placeholder="请输入密码" bindinput="passwordInput" />
    </view>

    <!--按钮-->
    <view class="loginBtnView">
      <button class="loginBtn" type="primary" size="primarySize" loading="loading" plain="plain" disabled="disabled" bindtap="login">登录</button>
    </view>

  </view>

</view>
3、index.wxss
样式修饰
page
    height: 100%;


.container
    height: 100%;
    display: flex;
    flex-direction: column;
    padding: 0;
    box-sizing: border-box;


.login-img
    width: 750rpx;


.login-form
    margin-top: 40px;
    flex: auto;
    height: 100%;


.inputView
    line-height: 45px;
    border-radius: 20px;
    border:1px solid #999999;


.nameImage, .keyImage
    margin-left: 22px;
    width: 18px;
    height: 16px;


.loginLab
    margin: 15px;
    font-size: 14px;


.inputText
    flex: block;
    float: right;
    text-align: left;
    margin-right: 22px;
    margin-top: 11px;


.line
    margin-top: 8px;


.loginBtnView
    width: 100%;
    height: auto;


.loginBtn
    width: 90%;
    margin-top: 30px;
    border-radius: 10px;
4、app.js
声明全局变量,方便统一配置java后台的链接域名和端口号
// app.js
App(
  onLaunch()
    // 展示本地存储能力
    const logs = wx.getStorageSync('logs') || []
    logs.unshift(Date.now())
    wx.setStorageSync('logs', logs)

    // 登录
    wx.login(
      success: res =>
        // 发送 res.code 到后台换取 openId, sessionKey, unionId

    )
  ,
  globalData:
    userInfo: null,
    myhost: "http://localhost:8088"

)
5、index.js
页面输入框事件、按钮登录后请求后台并处理返回数据
涉及到微信的api较多,死记
// index.js
// 获取应用实例
const app = getApp()
const myhost = app.globalData.myhost

Page(
  data:
   id: '',
   password: ''
  ,
  // 事件处理函数
  bindViewTap()
    wx.navigateTo(
      url: '../logs/logs'
    )
  ,
  onLoad()

  ,

  usernameInput: function(e)
      this.setData(
          id: e.detail.value
      )
  ,
  passwordInput: function(e)
      this.setData(
          password: e.detail.value
      )
  ,
  login: function()
      var that = this;
      if(this.data.id.length==0 || this.data.password.length ==0)
          wx.showToast(
              title: "账号或密码不能为空",
              icon: 'none',
              duration: 2000
          )
      else
          console.log('wx.request---'+myhost)
          wx.request(
              url: myhost + '/student/login',
              method: 'post',
              data:
                  id: that.data.id,
                  password: that.data.password
              ,
              success(res)
                  if(res.data == null || res.data == "")
                      wx.showToast(
                        title: '错误啦',
                        icon: 'error',
                        duration: 2000
                      )
                  else
                      wx.setStorageSync('student', res.data);
                      wx.switchTab(
                        url: '/pages/home/home',
                      )

              ,
              fail(err)
                console.log("出错拉"+err)
                  console.log(err)

          )


)
以上是关于微信小程序-枯木学习笔记3-登录功能的主要内容,如果未能解决你的问题,请参考以下文章