今天来讲一下cocoapods制作,网上教程很多,就不再讲理论,直接操作:
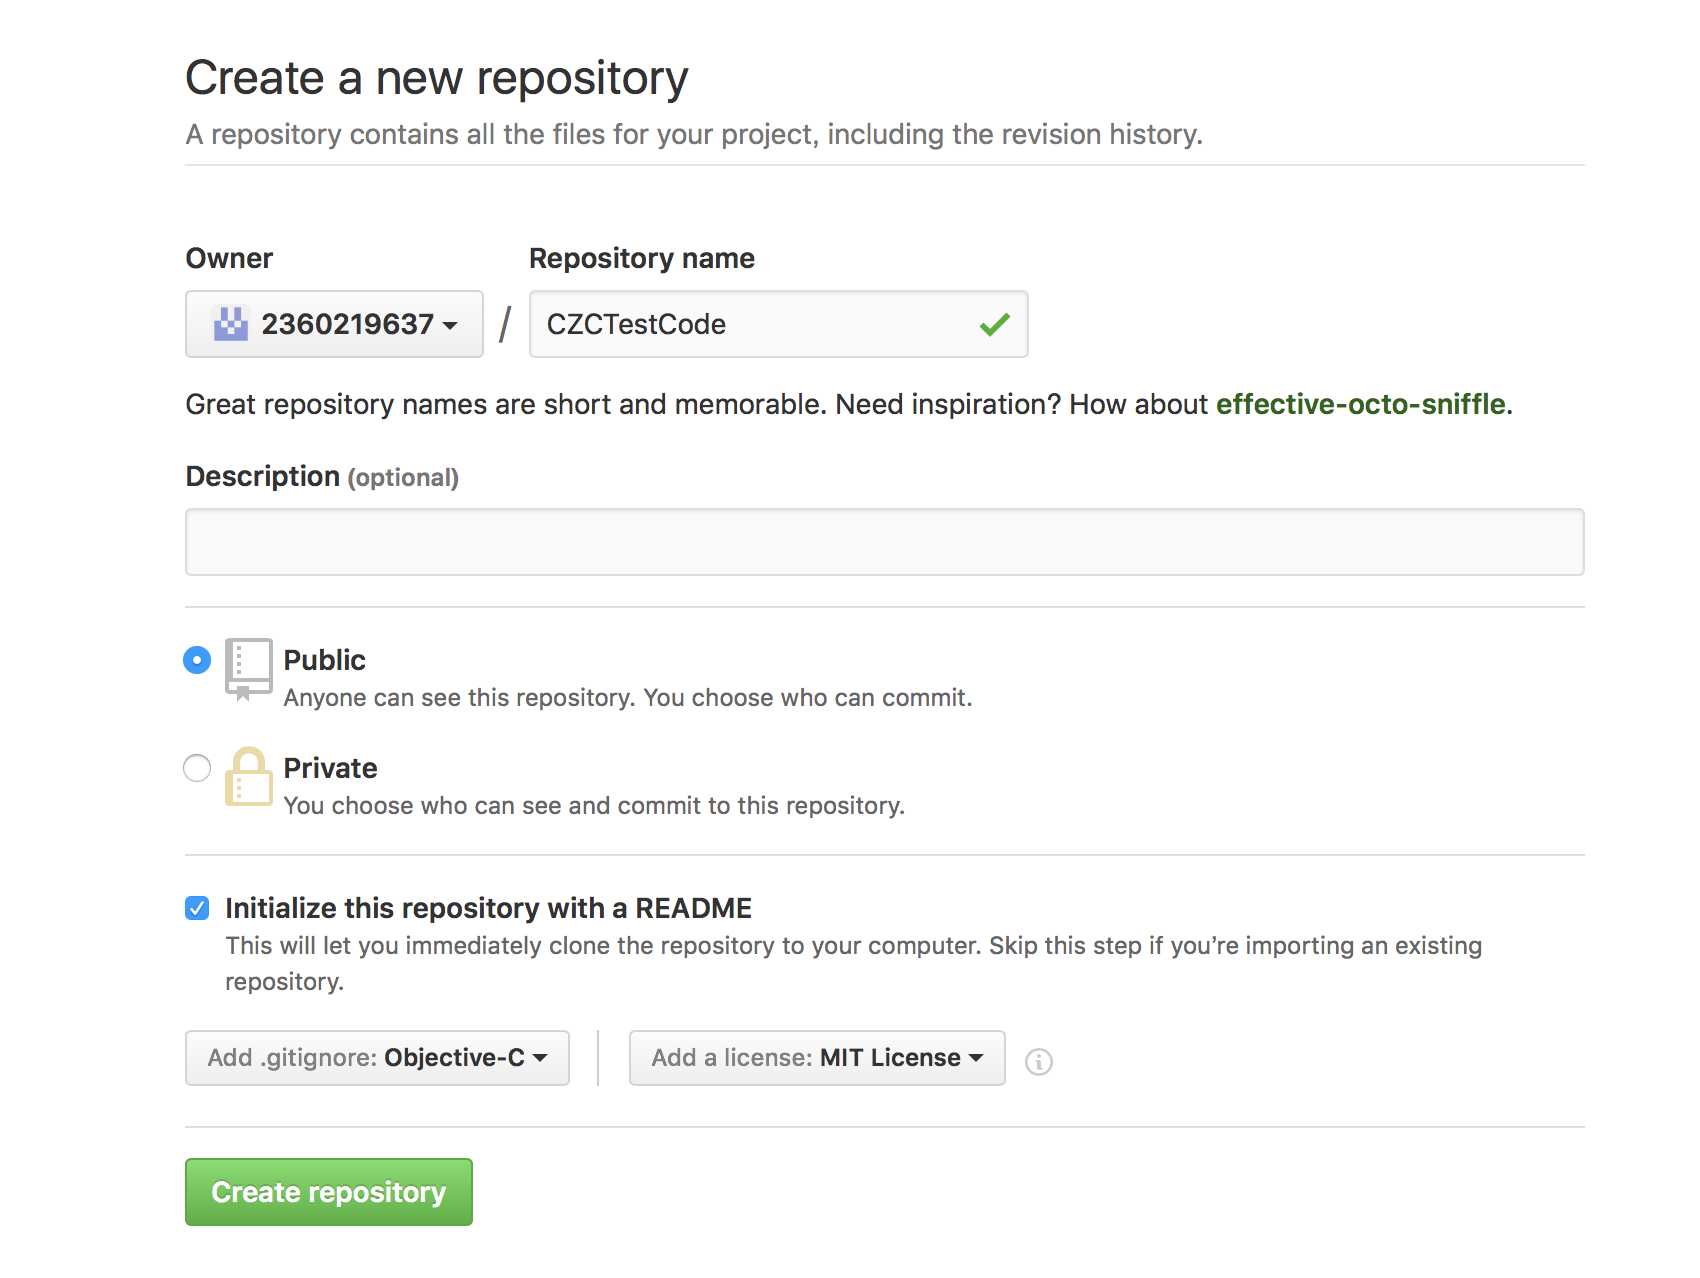
1、创建仓库:

2、将仓库克隆本地:
|
1
|
git clone https://github.com/2360219637/CZCTestCode.git |
3、创建.podspes文件,此处命名为CZCTestCode
|
1
|
$ pod spec create CZCTestCode |
4、在桌面CZCTestCode目录中创建工程(此处命名为CZCTestCode),创建共享的类

5、编辑podspec文件
Pod::Spec.new do |s|
s.name = "CZCTestCode"
s.version = "1.0.0"
s.summary = "一个建立pod仓库的简单demo."
s.description = <<-DESC
这只是一个建立pod仓库的简单demo,并没有实际的意思。教学使用。
DESC
s.homepage = "https://github.com/2360219637/CZCTestCode"
s.license = { :type => "MIT", :file => "LICENSE" }
s.author = { "陈志超" => "[email protected]" }
s.platform = :ios, "7.0"
s.source = { :git => "https://github.com/2360219637/CZCTestCode.git", :tag => s.version }
s.source_files = "Classes", "CZCTestCode/CZCTestCode/Classes/**/*.{h,m}"
s.requires_arc = true
end
6、上传git并打tag
|
1
2
3
4
|
$ git add -A && git commit -m "创建版本 1.0.0."$ git tag ‘1.0.0‘$ git push --tags$ git push origin master |
7、验证podspec
|
1
|
$ pod spec lint |
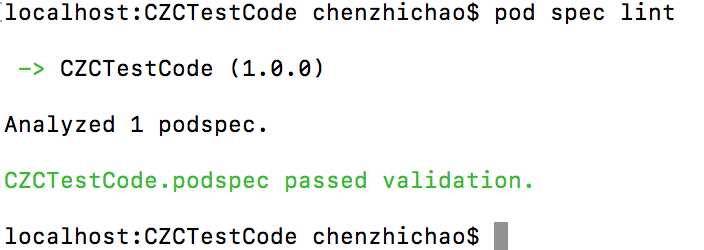
验证成功会出现以下提示:

8、pod主干注册
|
1
|
pod trunk register [email protected] "czc" |
9、发布你的pod
|
1
|
pod trunk push CZCTestCode.podspec |
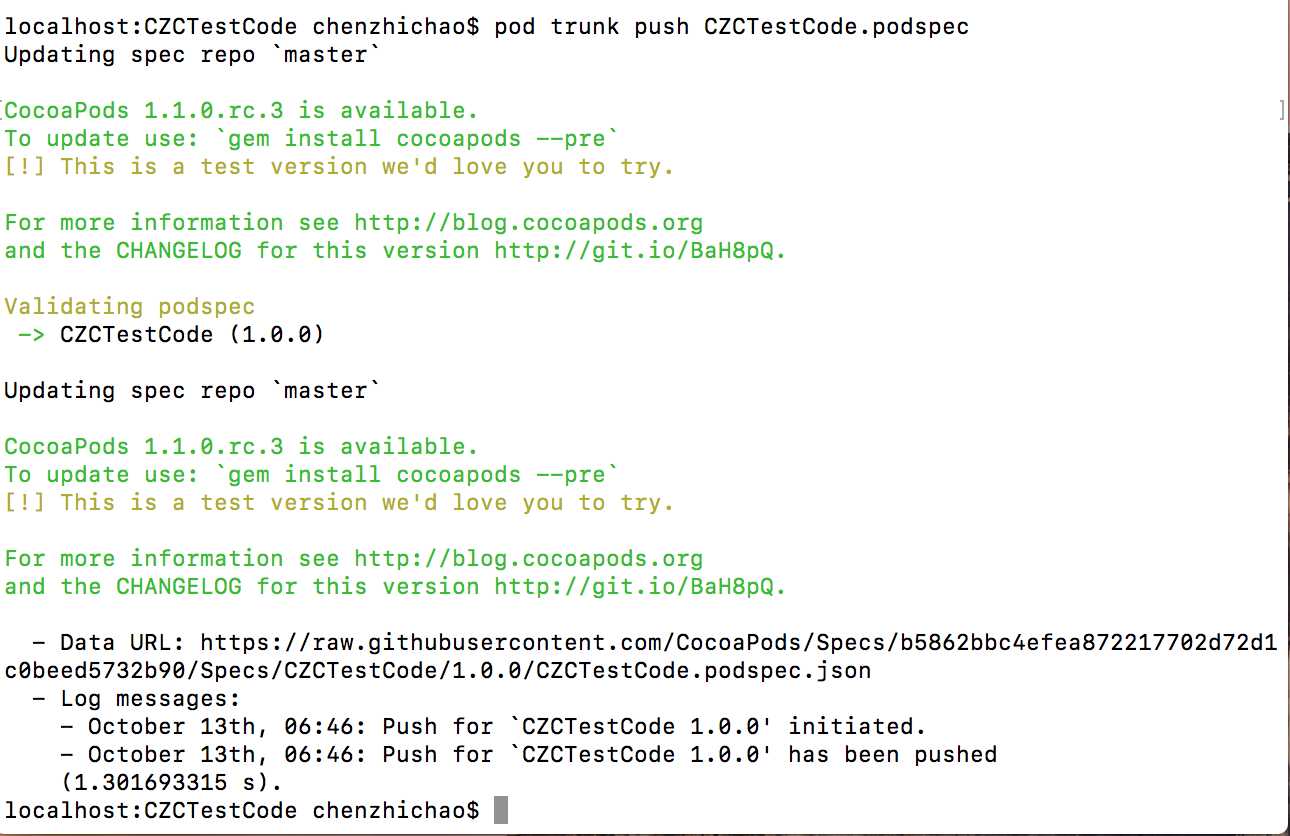
这个过程等待时间较长,成功截图:

10、完成,此时终端可搜索到自己创建的pod库

