gazebo+rviz 仿真
Posted zylyehuo
tags:
篇首语:本文由小常识网(cha138.com)小编为大家整理,主要介绍了gazebo+rviz 仿真相关的知识,希望对你有一定的参考价值。
gazebo小车模型创建及键盘操控详见之前的博客
参考链接
Part 1 : 里程计查看
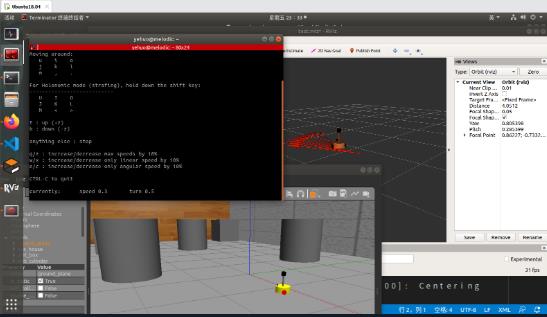
效果图
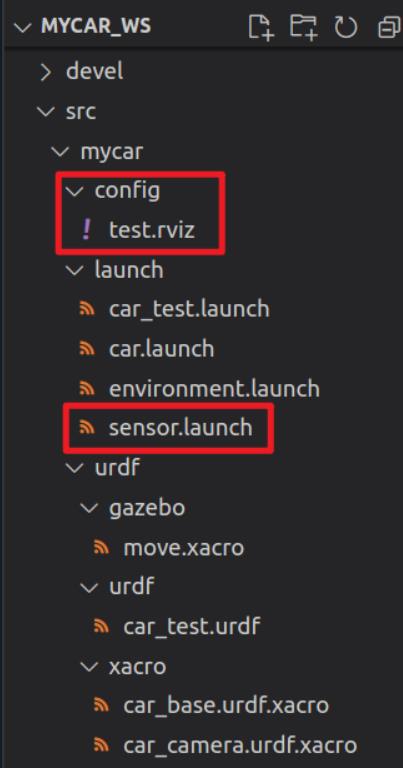
step1: 添加需要的文件
src/mycar/config/test.rviz
Panels:
  - Class: rviz/Displays
    Help Height: 78
    Name: Displays
    Property Tree Widget:
      Expanded:
        - /Global Options1
        - /Status1
        - /RobotModel1
        - /TF1
        - /Odometry1
        - /Odometry1/Shape1
      Splitter Ratio: 0.5
    Tree Height: 670
  - Class: rviz/Selection
    Name: Selection
  - Class: rviz/Tool Properties
    Expanded:
      - /2D Pose Estimate1
      - /2D Nav Goal1
      - /Publish Point1
    Name: Tool Properties
    Splitter Ratio: 0.5886790156364441
  - Class: rviz/Views
    Expanded:
      - /Current View1
    Name: Views
    Splitter Ratio: 0.5
  - Class: rviz/Time
    Experimental: false
    Name: Time
    SyncMode: 0
    SyncSource: ""
Preferences:
  PromptSaveOnExit: true
Toolbars:
  toolButtonStyle: 2
Visualization Manager:
  Class: ""
  Displays:
    - Alpha: 0.5
      Cell Size: 1
      Class: rviz/Grid
      Color: 160; 160; 164
      Enabled: true
      Line Style:
        Line Width: 0.029999999329447746
        Value: Lines
      Name: Grid
      Normal Cell Count: 0
      Offset:
        X: 0
        Y: 0
        Z: 0
      Plane: XY
      Plane Cell Count: 10
      Reference Frame: <Fixed Frame>
      Value: true
    - Alpha: 1
      Class: rviz/RobotModel
      Collision Enabled: false
      Enabled: true
      Links:
        All Links Enabled: true
        Expand Joint Details: false
        Expand Link Details: false
        Expand Tree: false
        Link Tree Style: Links in Alphabetic Order
        back_wheel:
          Alpha: 1
          Show Axes: false
          Show Trail: false
          Value: true
        base_footprint:
          Alpha: 1
          Show Axes: false
          Show Trail: false
          Value: true
        base_link:
          Alpha: 1
          Show Axes: false
          Show Trail: false
          Value: true
        camera:
          Alpha: 1
          Show Axes: false
          Show Trail: false
          Value: true
        front_wheel:
          Alpha: 1
          Show Axes: false
          Show Trail: false
          Value: true
        laser:
          Alpha: 1
          Show Axes: false
          Show Trail: false
          Value: true
        left_wheel:
          Alpha: 1
          Show Axes: false
          Show Trail: false
          Value: true
        right_wheel:
          Alpha: 1
          Show Axes: false
          Show Trail: false
          Value: true
        support:
          Alpha: 1
          Show Axes: false
          Show Trail: false
          Value: true
      Name: RobotModel
      Robot Description: robot_description
      TF Prefix: ""
      Update Interval: 0
      Value: true
      Visual Enabled: true
    - Class: rviz/TF
      Enabled: false
      Frame Timeout: 15
      Frames:
        All Enabled: true
      Marker Scale: 1
      Name: TF
      Show Arrows: true
      Show Axes: true
      Show Names: true
      Tree:

      Update Interval: 0
      Value: false
    - Angle Tolerance: 0.10000000149011612
      Class: rviz/Odometry
      Covariance:
        Orientation:
          Alpha: 0.5
          Color: 255; 255; 127
          Color Style: Unique
          Frame: Local
          Offset: 1
          Scale: 1
          Value: true
        Position:
          Alpha: 0.30000001192092896
          Color: 204; 51; 204
          Scale: 1
          Value: true
        Value: true
      Enabled: true
      Keep: 10
      Name: Odometry
      Position Tolerance: 0.10000000149011612
      Shape:
        Alpha: 1
        Axes Length: 1
        Axes Radius: 0.10000000149011612
        Color: 255; 25; 0
        Head Length: 0.30000001192092896
        Head Radius: 0.05000000074505806
        Shaft Length: 1
        Shaft Radius: 0.009999999776482582
        Value: Arrow
      Topic: /odom
      Unreliable: false
      Value: true
  Enabled: true
  Global Options:
    Background Color: 48; 48; 48
    Default Light: true
    Fixed Frame: odom
    Frame Rate: 30
  Name: root
  Tools:
    - Class: rviz/Interact
      Hide Inactive Objects: true
    - Class: rviz/MoveCamera
    - Class: rviz/Select
    - Class: rviz/FocusCamera
    - Class: rviz/Measure
    - Class: rviz/SetInitialPose
      Theta std deviation: 0.2617993950843811
      Topic: /initialpose
      X std deviation: 0.5
      Y std deviation: 0.5
    - Class: rviz/SetGoal
      Topic: /move_base_simple/goal
    - Class: rviz/PublishPoint
      Single click: true
      Topic: /clicked_point
  Value: true
  Views:
    Current:
      Class: rviz/Orbit
      Distance: 6.243990898132324
      Enable Stereo Rendering:
        Stereo Eye Separation: 0.05999999865889549
        Stereo Focal Distance: 1
        Swap Stereo Eyes: false
        Value: false
      Focal Point:
        X: -0.6781591773033142
        Y: 0.7335925102233887
        Z: -0.1656564623117447
      Focal Shape Fixed Size: true
      Focal Shape Size: 0.05000000074505806
      Invert Z Axis: false
      Name: Current View
      Near Clip Distance: 0.009999999776482582
      Pitch: 0.3703985810279846
      Target Frame: <Fixed Frame>
      Value: Orbit (rviz)
      Yaw: 0.8403980731964111
    Saved: ~
Window Geometry:
  Displays:
    collapsed: false
  Height: 967
  Hide Left Dock: false
  Hide Right Dock: false
  QMainWindow State: 000000ff00000000fd00000004000000000000015600000329fc0200000008fb0000001200530065006c0065006300740069006f006e00000001e10000009b0000005c00fffffffb0000001e0054006f006f006c002000500072006f007000650072007400690065007302000001ed000001df00000185000000a3fb000000120056006900650077007300200054006f006f02000001df000002110000018500000122fb000000200054006f006f006c002000500072006f0070006500720074006900650073003203000002880000011d000002210000017afb000000100044006900730070006c006100790073010000003d00000329000000c900fffffffb0000002000730065006c0065006300740069006f006e00200062007500660066006500720200000138000000aa0000023a00000294fb00000014005700690064006500530074006500720065006f02000000e6000000d2000003ee0000030bfb0000000c004b0069006e0065006300740200000186000001060000030c00000261000000010000010f00000329fc0200000003fb0000001e0054006f006f006c002000500072006f00700065007200740069006500730100000041000000780000000000000000fb0000000a00560069006500770073010000003d00000329000000a400fffffffb0000001200530065006c0065006300740069006f006e010000025a000000b200000000000000000000000200000490000000a9fc0100000001fb0000000a00560069006500770073030000004e00000080000002e100000197000000030000062d0000003efc0100000002fb0000000800540069006d006501000000000000062d000002eb00fffffffb0000000800540069006d00650100000000000004500000000000000000000003bc0000032900000004000000040000000800000008fc0000000100000002000000010000000a0054006f006f006c00730100000000ffffffff0000000000000000
  Selection:
    collapsed: false
  Time:
    collapsed: false
  Tool Properties:
    collapsed: false
  Views:
    collapsed: false
  Width: 1581
  X: 67
  Y: 27
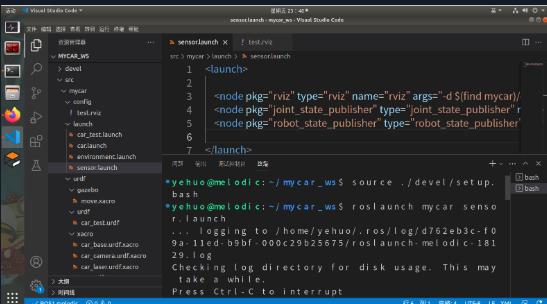
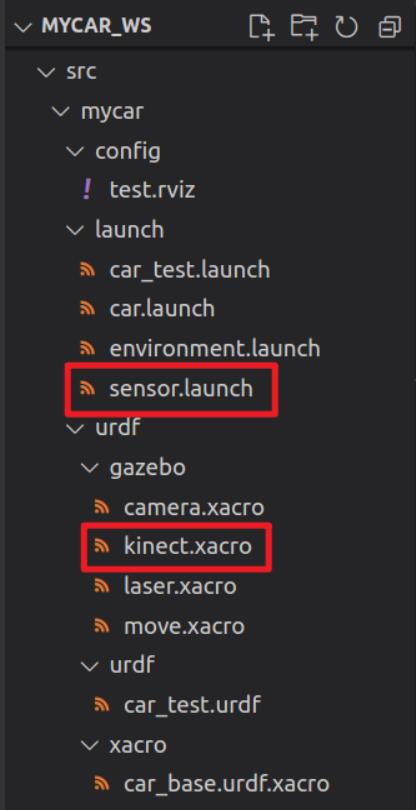
src/mycar/launch/sensor.launch
<launch>

    <node pkg="rviz" type="rviz" name="rviz" args="-d $(find mycar)/config/test.rviz" />
    <node pkg="joint_state_publisher" type="joint_state_publisher" name="joint_state_publisher" output="screen" />
    <node pkg="robot_state_publisher" type="robot_state_publisher" name="robot_state_publisher" output="screen" />

</launch>
step2: 运行
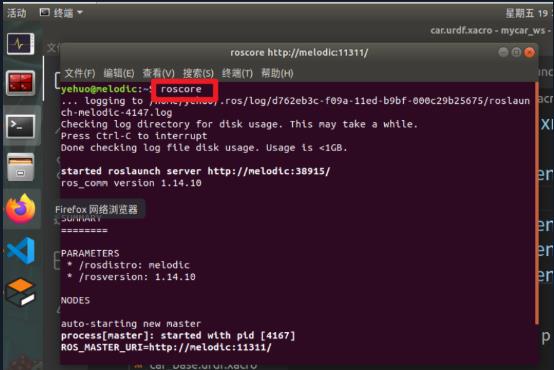
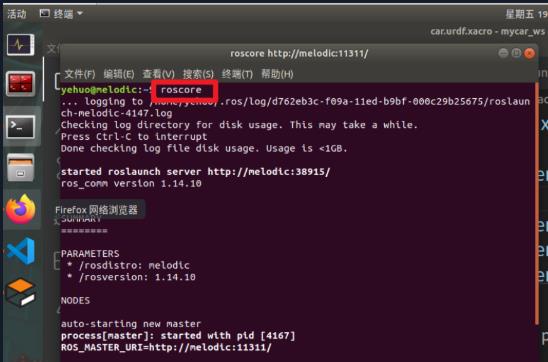
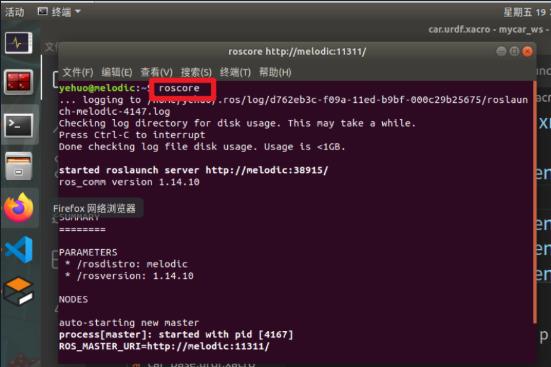
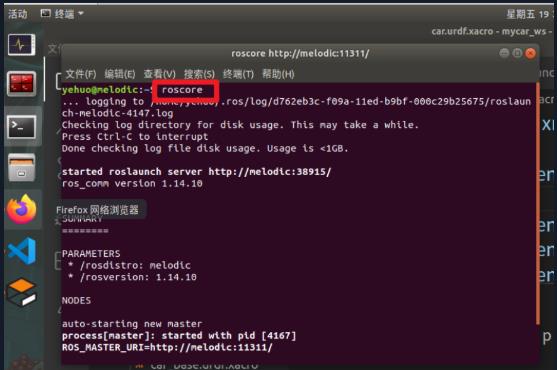
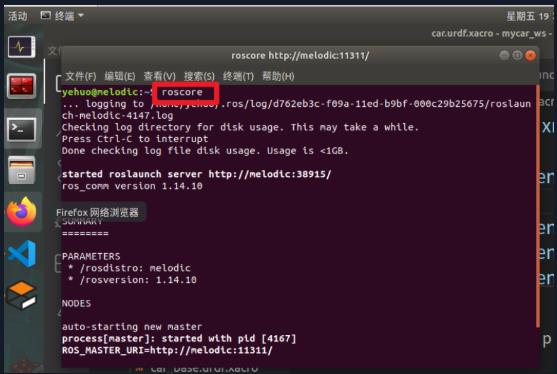
在终端启动roscore
roscore
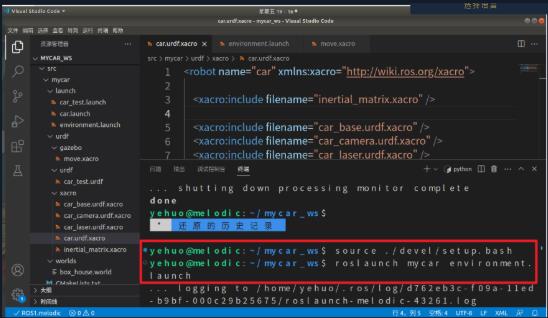
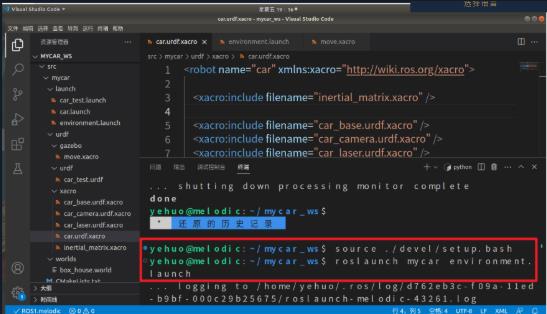
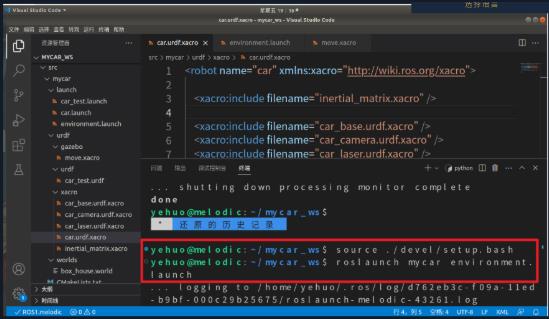
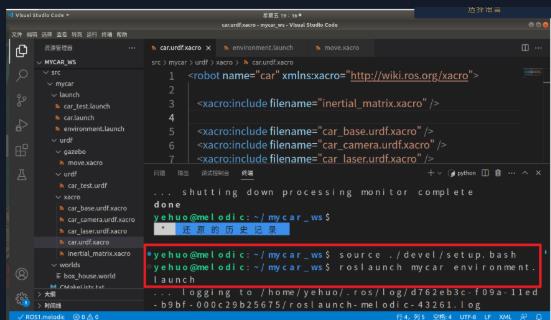
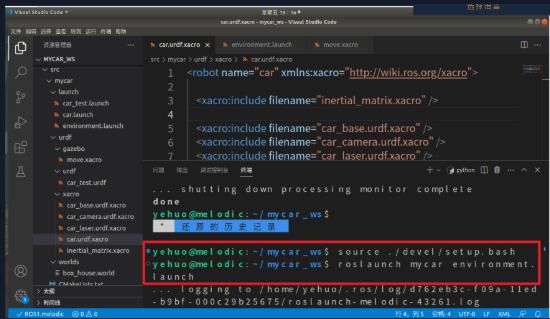
启动gazebo
source ./devel/setup.bash

roslaunch mycar environment.launch
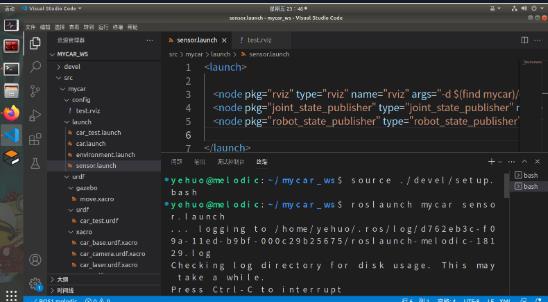
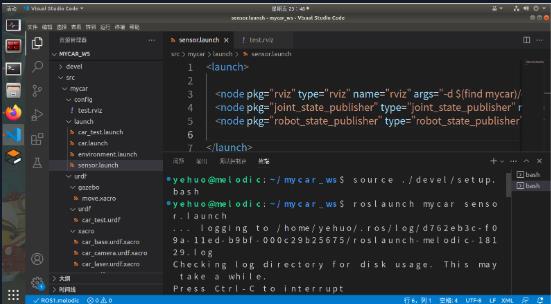
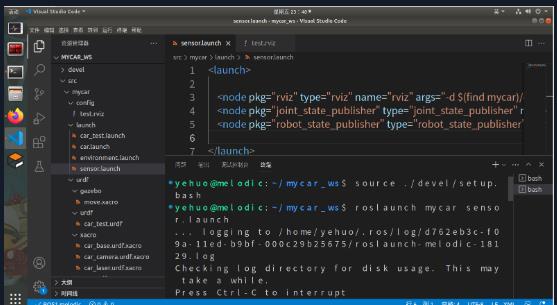
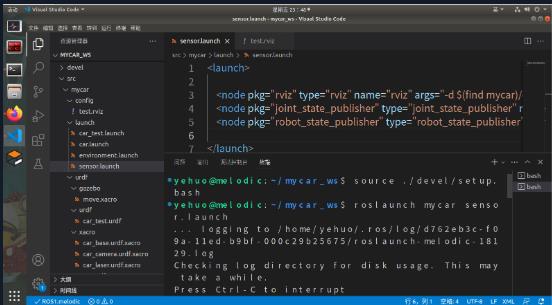
启动rviz
source ./devel/setup.bash

roslaunch mycar sensor.launch
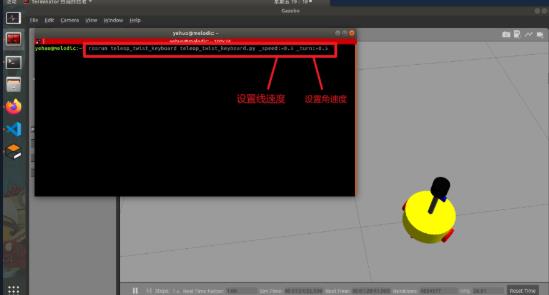
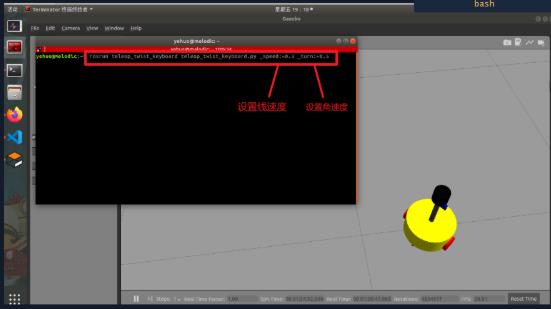
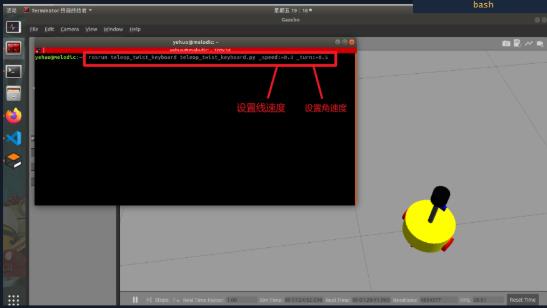
启动键盘控制
rosrun teleop_twist_keyboard teleop_twist_keyboard.py _speed:=0.3 _turn:=0.5
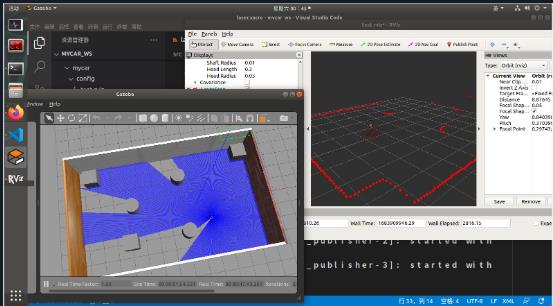
Part 2 : 雷达仿真
效果图
step1: 添加需要的文件
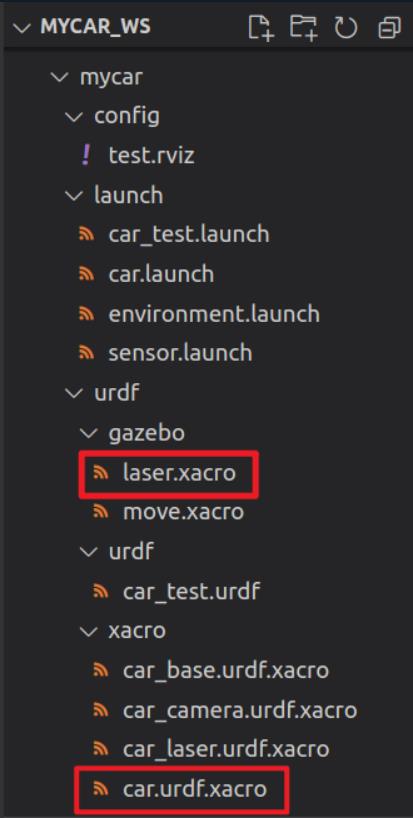
src/mycar/urdf/gazebo/laser.xacro
<robot name="my_sensors" xmlns:xacro="http://wiki.ros.org/xacro">

  <!-- laser -->
  <gazebo reference="laser">
    <sensor type="ray" name="rplidar">
      <pose>0 0 0 0 0 0</pose>
      <visualize>true</visualize>
      <update_rate>5.5</update_rate>
      <ray>
        <scan>
          <horizontal>
            <samples>360</samples>
            <resolution>1</resolution>
            <min_angle>-3</min_angle>
            <max_angle>3</max_angle>
          </horizontal>
        </scan>
        <range>
          <min>0.10</min>
          <max>30.0</max>
          <resolution>0.01</resolution>
        </range>
        <noise>
          <type>gaussian</type>
          <mean>0.0</mean>
          <stddev>0.01</stddev>
        </noise>
      </ray>
      <plugin name="gazebo_rplidar" filename="libgazebo_ros_laser.so">
        <topicName>/scan</topicName>
        <frameName>laser</frameName>
      </plugin>
    </sensor>
  </gazebo>

</robot>
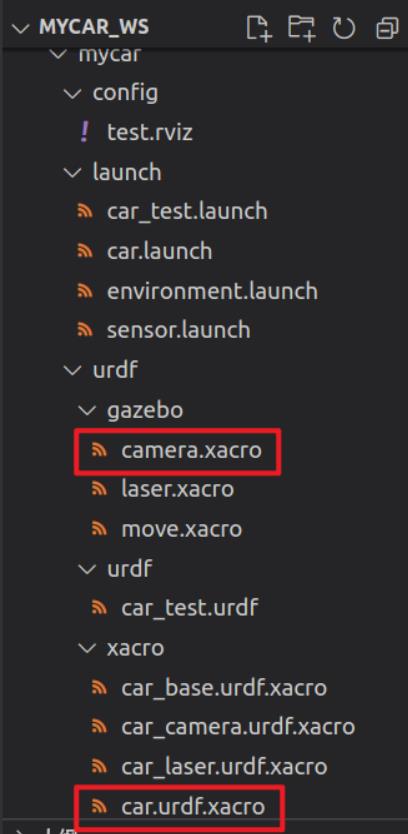
src/mycar/urdf/xacro/car.urdf.xacro
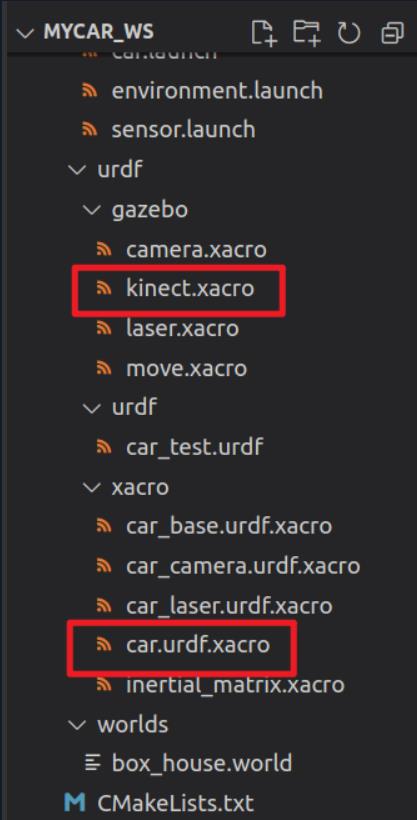
<robot name="car" xmlns:xacro="http://wiki.ros.org/xacro">

    <xacro:include filename="inertial_matrix.xacro" />

    <xacro:include filename="car_base.urdf.xacro" />
    <xacro:include filename="car_camera.urdf.xacro" />
    <xacro:include filename="car_laser.urdf.xacro" />

    <!-- move control  -->
     <xacro:include filename="../gazebo/move.xacro" />

    <!-- laser control  -->
     <xacro:include filename="../gazebo/laser.xacro" />

</robot>
step2: 运行
在终端启动roscore
roscore
启动gazebo
source ./devel/setup.bash

roslaunch mycar environment.launch
启动rviz
source ./devel/setup.bash

roslaunch mycar sensor.launch
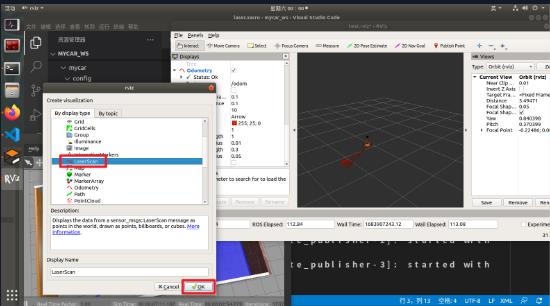
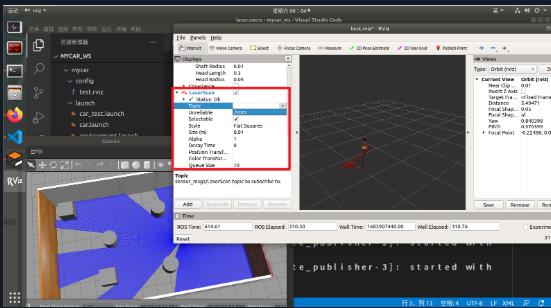
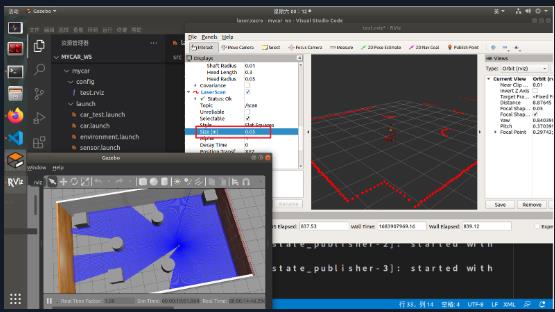
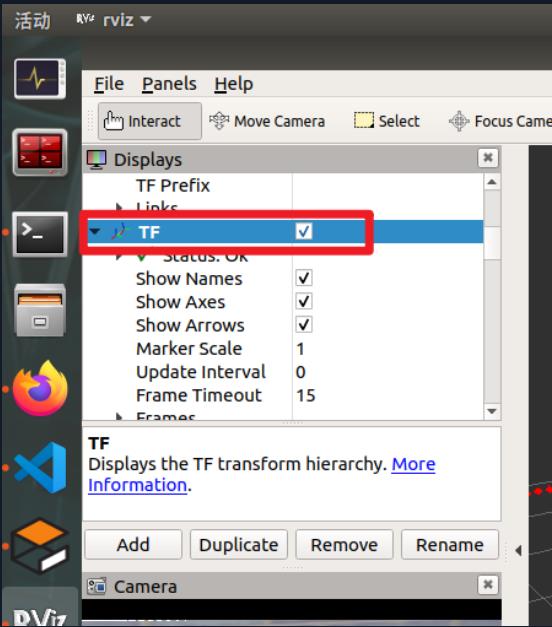
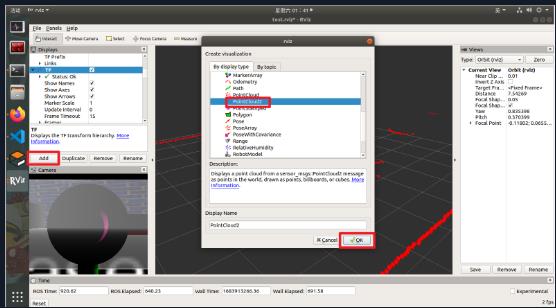
step3: 配置 rviz
Part 3 : 摄像头仿真
效果图
step1: 添加需要的文件
src/mycar/urdf/gazebo/camera.xacro
<robot name="my_sensors" xmlns:xacro="http://wiki.ros.org/xacro">

  <gazebo reference="camera">

    <sensor type="camera" name="camera_node">
      <update_rate>30.0</update_rate>

      <camera name="head">
        <horizontal_fov>1.3962634</horizontal_fov>
        <image>
          <width>1280</width>
          <height>720</height>
          <format>R8G8B8</format>
        </image>
        <clip>
          <near>0.02</near>
          <far>300</far>
        </clip>
        <noise>
          <type>gaussian</type>
          <mean>0.0</mean>
          <stddev>0.007</stddev>
        </noise>
      </camera>

      <plugin name="gazebo_camera" filename="libgazebo_ros_camera.so">
        <alwaysOn>true</alwaysOn>
        <updateRate>0.0</updateRate>
        <cameraName>/camera</cameraName>
        <imageTopicName>image_raw</imageTopicName>
        <cameraInfoTopicName>camera_info</cameraInfoTopicName>
        <frameName>camera</frameName>
        <hackBaseline>0.07</hackBaseline>
        <distortionK1>0.0</distortionK1>
        <distortionK2>0.0</distortionK2>
        <distortionK3>0.0</distortionK3>
        <distortionT1>0.0</distortionT1>
        <distortionT2>0.0</distortionT2>
      </plugin>
    </sensor>
  </gazebo>
</robot>
src/mycar/urdf/xacro/car.urdf.xacro
<robot name="car" xmlns:xacro="http://wiki.ros.org/xacro">

    <xacro:include filename="inertial_matrix.xacro" />

    <xacro:include filename="car_base.urdf.xacro" />
    <xacro:include filename="car_camera.urdf.xacro" />
    <xacro:include filename="car_laser.urdf.xacro" />

    <!-- move control  -->
     <xacro:include filename="../gazebo/move.xacro" />

    <!-- laser control  -->
     <xacro:include filename="../gazebo/laser.xacro" />

     <!-- camera control  -->
     <xacro:include filename="../gazebo/camera.xacro" />

</robot>
step2: 运行
在终端启动roscore
roscore
启动gazebo
source ./devel/setup.bash

roslaunch mycar environment.launch
启动rviz
source ./devel/setup.bash

roslaunch mycar sensor.launch
启动键盘控制
rosrun teleop_twist_keyboard teleop_twist_keyboard.py _speed:=0.3 _turn:=0.5
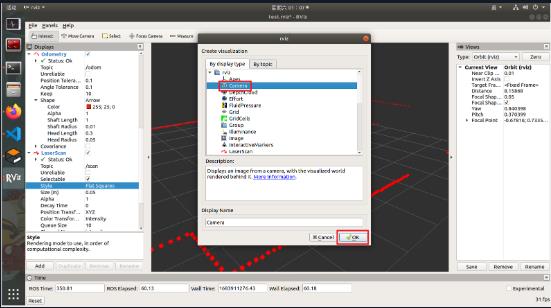
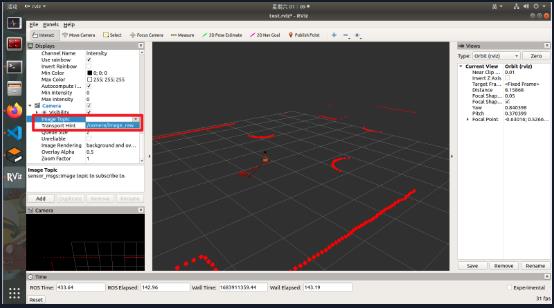
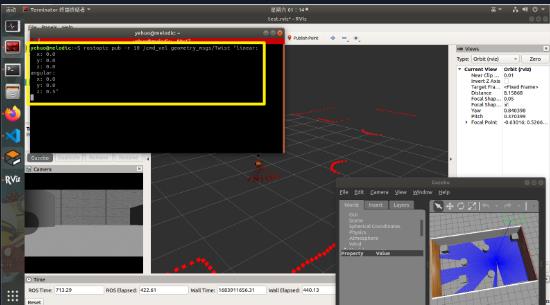
step3: 配置 rviz
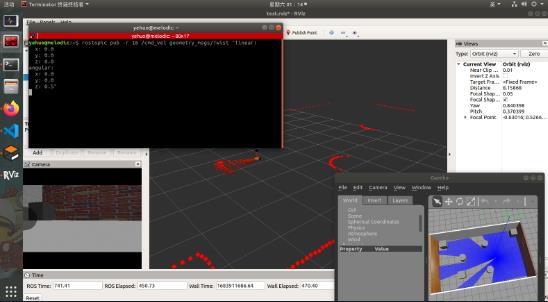
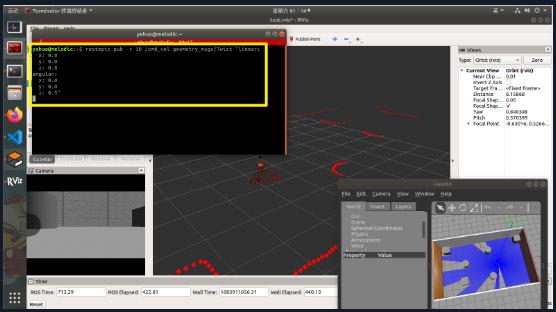
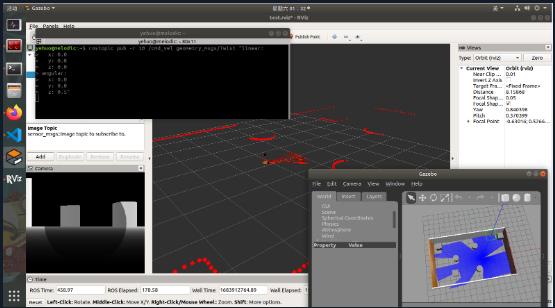
step4: 打开终端,使小车在rviz中旋转
输入以下指令
rostopic pub -r 10 /cmd_vel geometry_msgs/Twist "linear:
  x: 0.0
  y: 0.0
  z: 0.0
angular:
  x: 0.0
  y: 0.0
  z: 0.5"
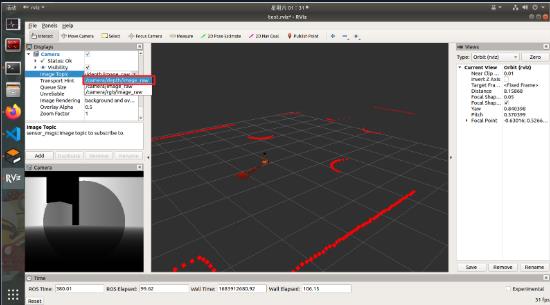
Part 4 : 深度相机仿真
效果图
step1: 添加需要的文件
src/mycar/urdf/gazebo/kinect.xacro
<robot name="my_sensors" xmlns:xacro="http://wiki.ros.org/xacro">
    <gazebo reference="support">
      <sensor type="depth" name="camera">
        <always_on>true</always_on>
        <update_rate>20.0</update_rate>
        <camera>
          <horizontal_fov>$60.0*PI/180.0</horizontal_fov>
          <image>
            <format>R8G8B8</format>
            <width>640</width>
            <height>480</height>
          </image>
          <clip>
            <near>0.05</near>
            <far>8.0</far>
          </clip>
        </camera>
        <plugin name="kinect_camera_controller" filename="libgazebo_ros_openni_kinect.so">
          <cameraName>camera</cameraName>
          <alwaysOn>true</alwaysOn>
          <updateRate>10</updateRate>
          <imageTopicName>rgb/image_raw</imageTopicName>
          <depthImageTopicName>depth/image_raw</depthImageTopicName>
          <pointCloudTopicName>depth/points</pointCloudTopicName>
          <cameraInfoTopicName>rgb/camera_info</cameraInfoTopicName>
          <depthImageCameraInfoTopicName>depth/camera_info</depthImageCameraInfoTopicName>
          <frameName>support</frameName>
          <baseline>0.1</baseline>
          <distortion_k1>0.0</distortion_k1>
          <distortion_k2>0.0</distortion_k2>
          <distortion_k3>0.0</distortion_k3>
          <distortion_t1>0.0</distortion_t1>
          <distortion_t2>0.0</distortion_t2>
          <pointCloudCutoff>0.4</pointCloudCutoff>
        </plugin>
      </sensor>
    </gazebo>

</robot>
src/mycar/urdf/xacro/car.urdf.xacro
<robot name="car" xmlns:xacro="http://wiki.ros.org/xacro">

    <xacro:include filename="inertial_matrix.xacro" />

    <xacro:include filename="car_base.urdf.xacro" />
    <xacro:include filename="car_camera.urdf.xacro" />
    <xacro:include filename="car_laser.urdf.xacro" />

    <!-- move control  -->
     <xacro:include filename="../gazebo/move.xacro" />

    <!-- laser control  -->
     <xacro:include filename="../gazebo/laser.xacro" />

     <!-- camera control  -->
     <xacro:include filename="../gazebo/camera.xacro" />

     <!-- kinect control  -->
     <xacro:include filename="../gazebo/kinect.xacro" />

</robot>
step2: 运行
在终端启动roscore
roscore
启动gazebo
source ./devel/setup.bash

roslaunch mycar environment.launch
启动rviz
source ./devel/setup.bash

roslaunch mycar sensor.launch
启动键盘控制
rosrun teleop_twist_keyboard teleop_twist_keyboard.py _speed:=0.3 _turn:=0.5
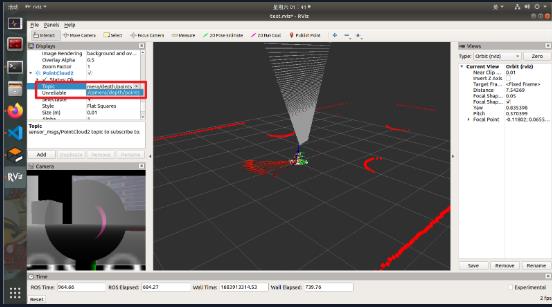
step3: 配置 rviz
step4: 打开终端,使小车在rviz中旋转
输入以下指令
rostopic pub -r 10 /cmd_vel geometry_msgs/Twist "linear:
  x: 0.0
  y: 0.0
  z: 0.0
angular:
  x: 0.0
  y: 0.0
  z: 0.5"
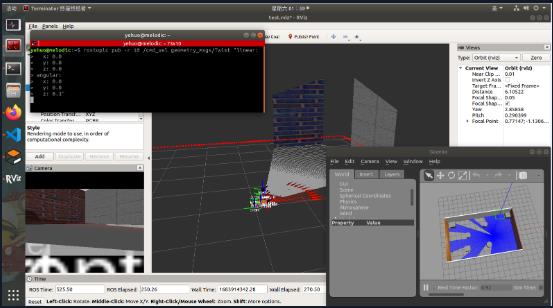
Part 5 : 深度相机仿真(点云)
效果图
step1: 添加需要的文件
src/mycar/urdf/gazebo/kinect.xacro
<robot name="my_sensors" xmlns:xacro="http://wiki.ros.org/xacro">
    <gazebo reference="support">
      <sensor type="depth" name="camera">
        <always_on>true</always_on>
        <update_rate>20.0</update_rate>
        <camera>
          <horizontal_fov>$60.0*PI/180.0</horizontal_fov>
          <image>
            <format>R8G8B8</format>
            <width>640</width>
            <height>480</height>
          </image>
          <clip>
            <near>0.05</near>
            <far>8.0</far>
          </clip>
        </camera>
        <plugin name="kinect_camera_controller" filename="libgazebo_ros_openni_kinect.so">
          <cameraName>camera</cameraName>
          <alwaysOn>true</alwaysOn>
          <updateRate>10</updateRate>
          <imageTopicName>rgb/image_raw</imageTopicName>
          <depthImageTopicName>depth/image_raw</depthImageTopicName>
          <pointCloudTopicName>depth/points</pointCloudTopicName>
          <cameraInfoTopicName>rgb/camera_info</cameraInfoTopicName>
          <depthImageCameraInfoTopicName>depth/camera_info</depthImageCameraInfoTopicName>
          <frameName>support_depth</frameName>
          <baseline>0.1</baseline>
          <distortion_k1>0.0</distortion_k1>
          <distortion_k2>0.0</distortion_k2>
          <distortion_k3>0.0</distortion_k3>
          <distortion_t1>0.0</distortion_t1>
          <distortion_t2>0.0</distortion_t2>
          <pointCloudCutoff>0.4</pointCloudCutoff>
        </plugin>
      </sensor>
    </gazebo>

</robot>
src/mycar/launch/sensor.launch
<launch>
    <!-- 添加点云坐标系到kinect连杆坐标系的变换 -->
    <node pkg="tf2_ros" name="static_transform_publisher" type="static_transform_publisher"  args="0 0 0 -1.57 0 -1.57 /support /support_depth" />

    <node pkg="rviz" type="rviz" name="rviz" args="-d $(find mycar)/config/test.rviz" />
    <node pkg="joint_state_publisher" type="joint_state_publisher" name="joint_state_publisher" output="screen" />
    <node pkg="robot_state_publisher" type="robot_state_publisher" name="robot_state_publisher" output="screen" />

</launch>
step2: 运行
在终端启动roscore
roscore
启动gazebo
source ./devel/setup.bash

roslaunch mycar environment.launch
启动rviz
source ./devel/setup.bash

roslaunch mycar sensor.launch
step3: 配置 rviz
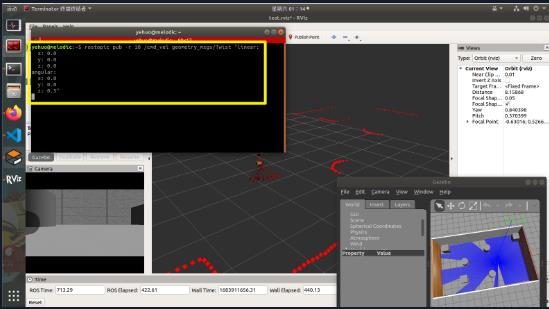
step4: 打开终端,使小车在rviz中旋转
输入以下指令
rostopic pub -r 10 /cmd_vel geometry_msgs/Twist "linear:
  x: 0.0
  y: 0.0
  z: 0.0
angular:
  x: 0.0
  y: 0.0
  z: 0.3"
ROS数据可视化工具Rviz和三维物理引擎机器人仿真工具V-rep Morse Gazebo Webots USARSimRos等概述
ROS数据可视化工具Rviz和三维物理引擎机器人仿真工具V-rep Morse Gazebo Webots USARSimRos等概述
Rviz
![]()
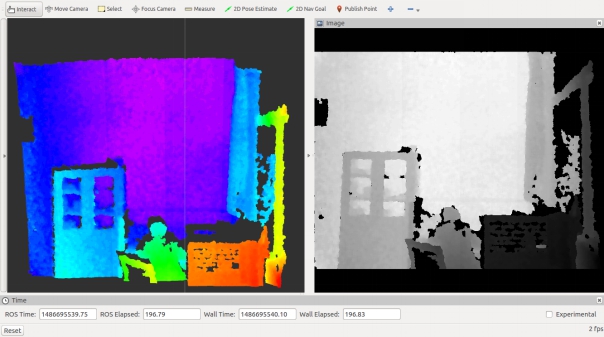
Rviz是ROS数据可视化工具,可以将类似字符串文本等枯燥的数据以二维或三维等非常形象的可视化方式进行显示,如下:

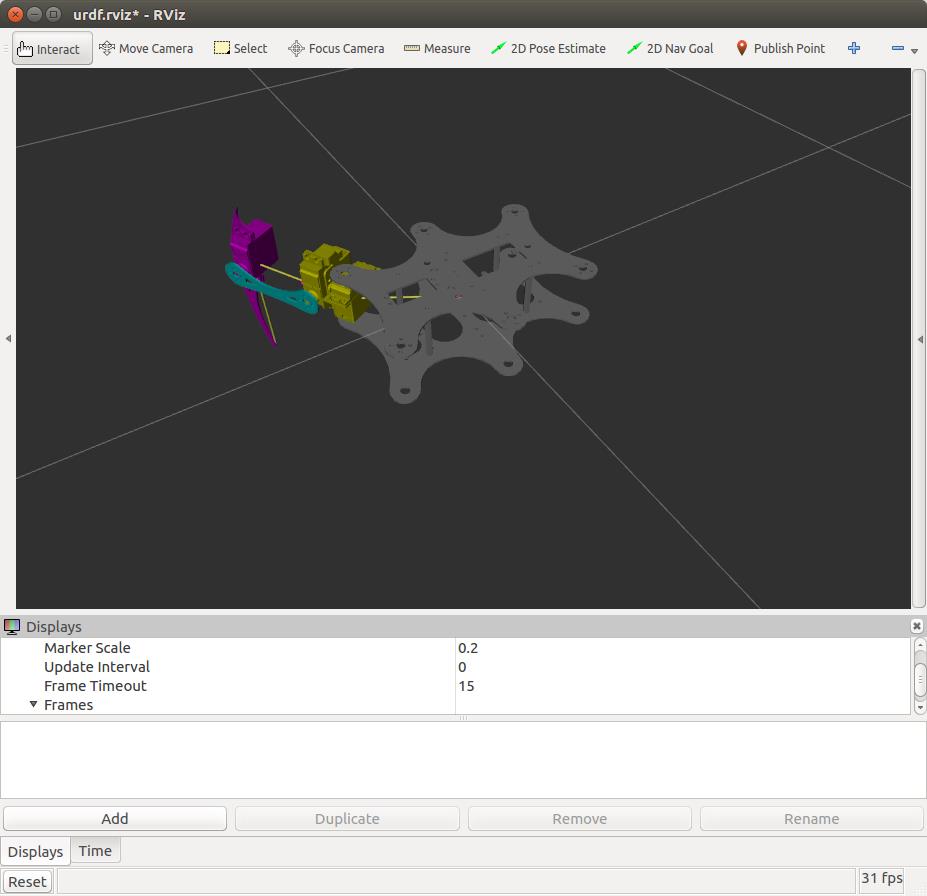
除此之外,也是重要的人机交互界面,如下以一个六足机器人为例:
单足(初始--调整):
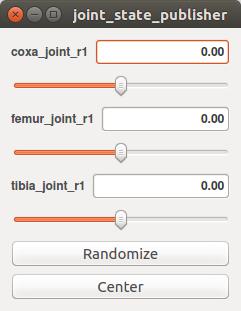
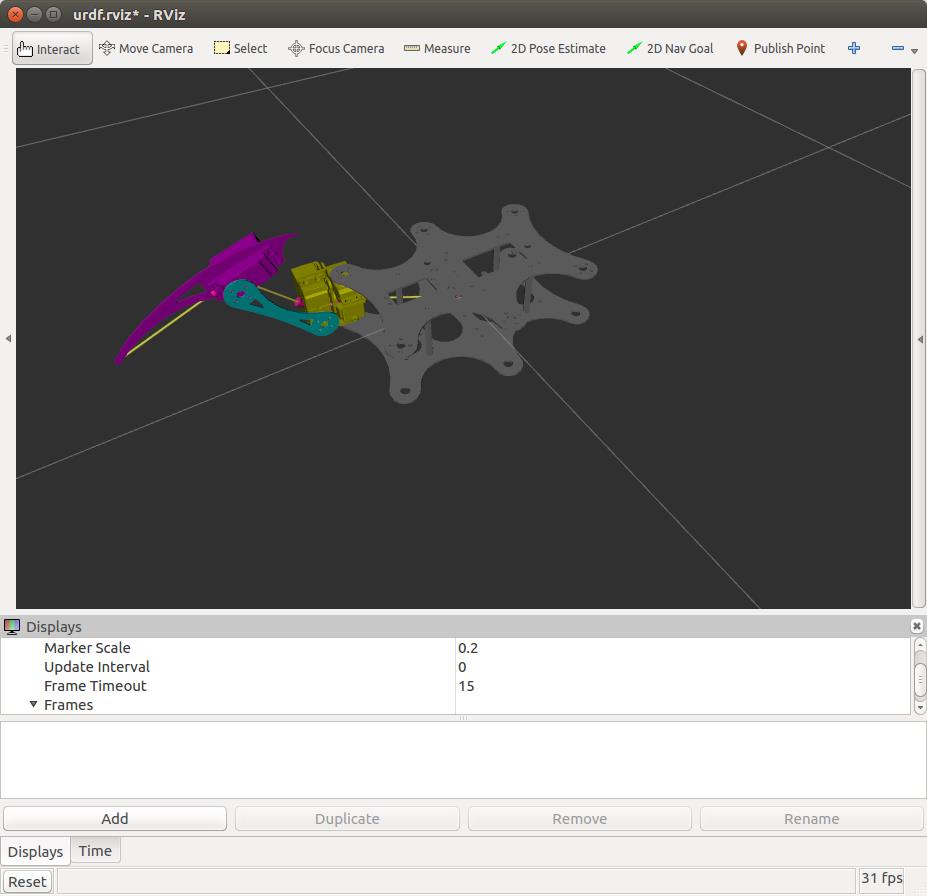
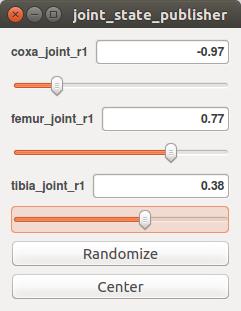
数值结果如下:
---
header:
  seq: 9034
  stamp:
    secs: 1487127789
    nsecs: 815515041
  frame_id: ''
name: ['coxa_joint_r1', 'femur_joint_r1', 'tibia_joint_r1']
position: [-0.973265404079084, 0.7737742705767539, 0.37542032210281007]
velocity: []
effort: []
六足(调整):
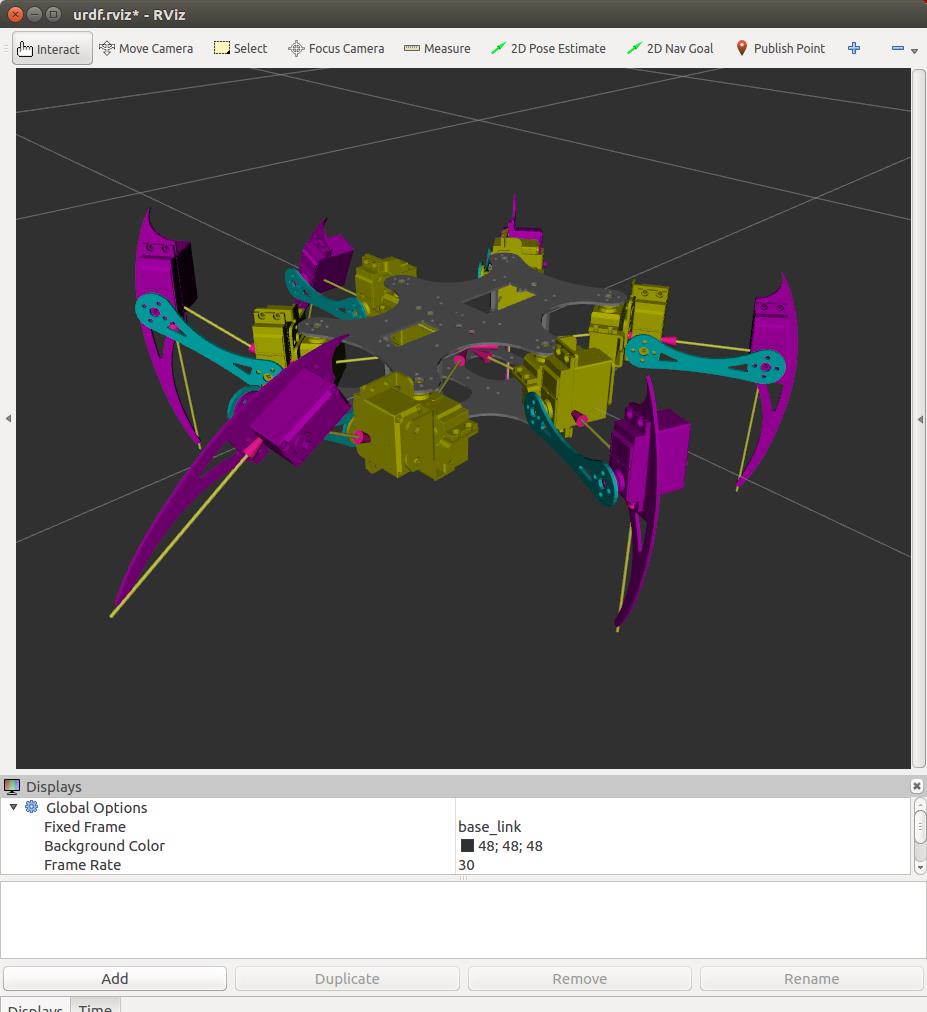
数值结果如下:
---
header:
  seq: 2740
  stamp:
    secs: 1487128030
    nsecs: 840929985
  frame_id: ''
name: ['coxa_joint_r1', 'femur_joint_r1', 'tibia_joint_r1', 'coxa_joint_r2', 'femur_joint_r2', 'tibia_joint_r2', 'coxa_joint_r3', 'femur_joint_r3', 'tibia_joint_r3', 'coxa_joint_l1', 'femur_joint_l1', 'tibia_joint_l1', 'coxa_joint_l2', 'femur_joint_l2', 'tibia_joint_l2', 'coxa_joint_l3', 'femur_joint_l3', 'tibia_joint_l3']
position: [-0.1977, 0.5781000000000001, -0.5928, -0.0009000000000001229, 0.0, 0.3878999999999999, 0.35850000000000026, -0.21209999999999996, 0.0, 1.017, 0.5486999999999997, 0.46109999999999984, 0.35850000000000026, 0.0, 0.0, 0.0, 0.0, 0.0]
velocity: []
effort: []
---
其他功能如下:


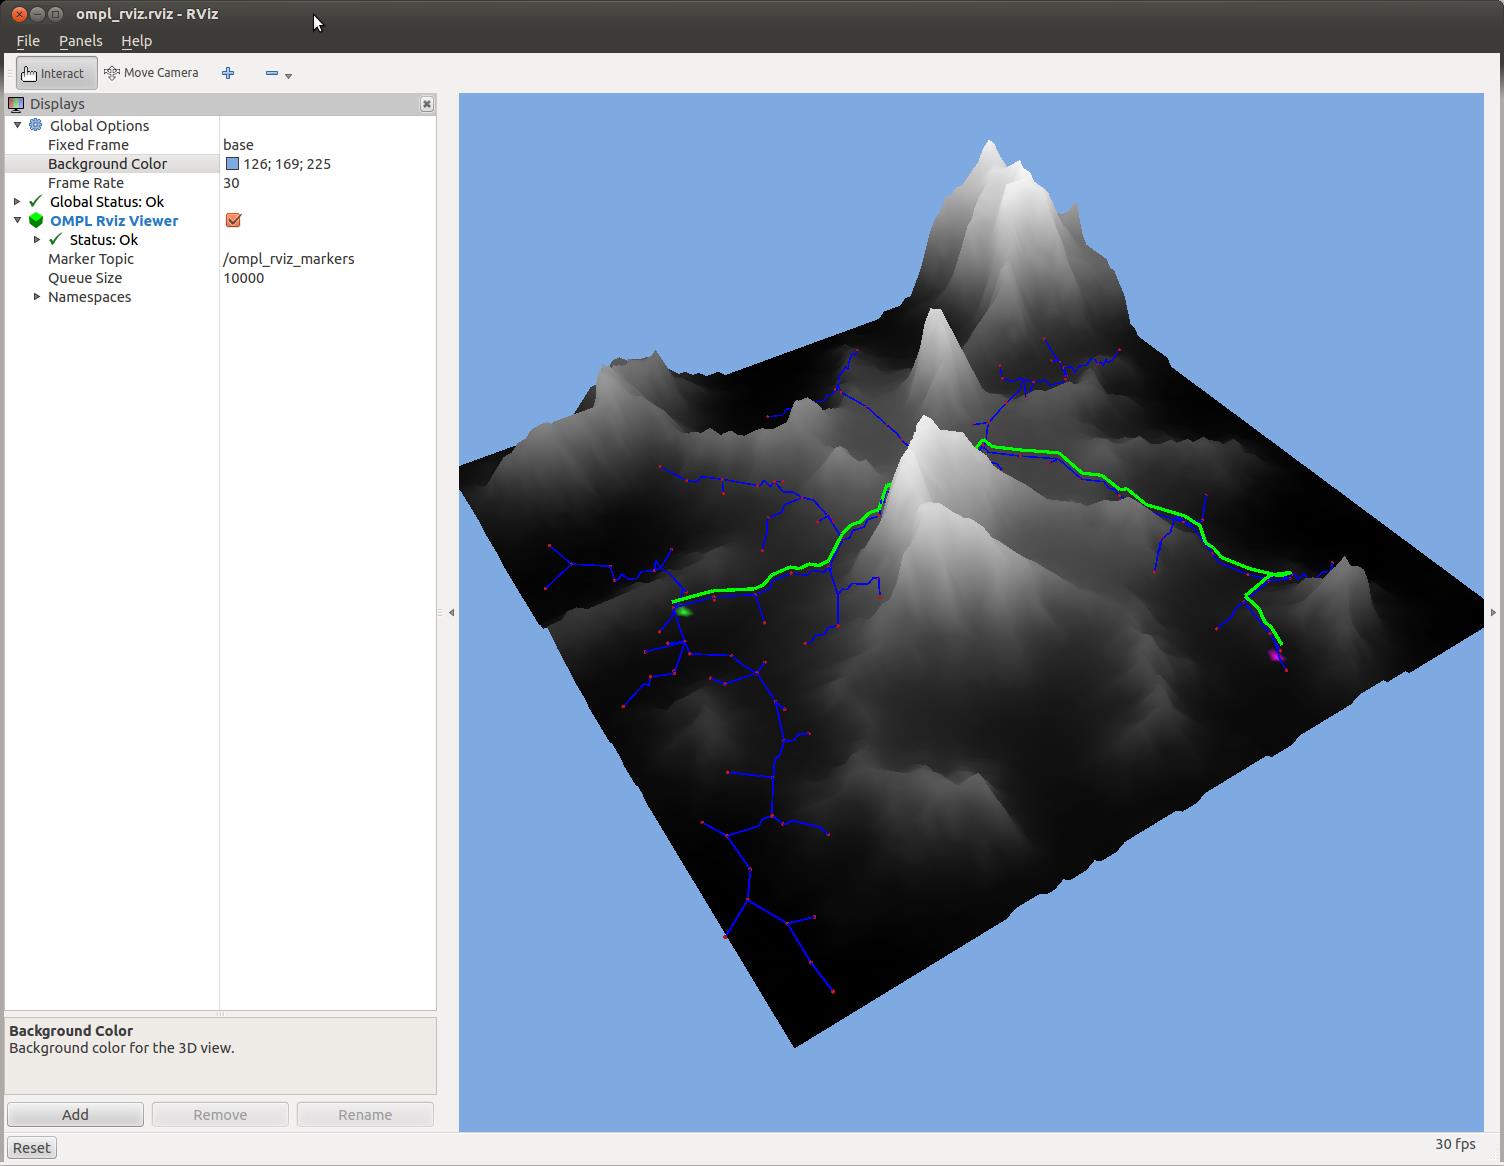
可见,rviz功能还是非常丰富的,如果想进一步深入学习rviz,下面提供了一下参考网址:
1 ros wiki: http://wiki.ros.org/rviz
2 ros-visualization/rviz: https://github.com/ros-visualization/rviz
3 gareth-cross/rviz_satellite: https://github.com/gareth-cross/rviz_satellite
4 davetcoleman/rviz_visual_tools: https://github.com/davetcoleman/rviz_visual_tools
5 uArm-Developer/UArmForROS: https://github.com/uArm-Developer/UArmForROS
6 ros-planning/moveit_visual_tools: https://github.com/ros-planning/moveit_visual_tools
7 ros-visualization/oculus_rviz_plugins: https://github.com/ros-visualization/oculus_rviz_plugins
8 ros-visualization/visualization_tutorials: https://github.com/ros-visualization/visualization_tutorials
9 davetcoleman/ompl_visual_tools: https://github.com/davetcoleman/ompl_visual_tools
资料太多,这里是给出一些典型的~
V-rep
![]()
这款机器人仿真软件网上介绍比较多,用过一段时间觉得比Gazebo消耗资源小很多,支持多种物理引擎,效果如下:
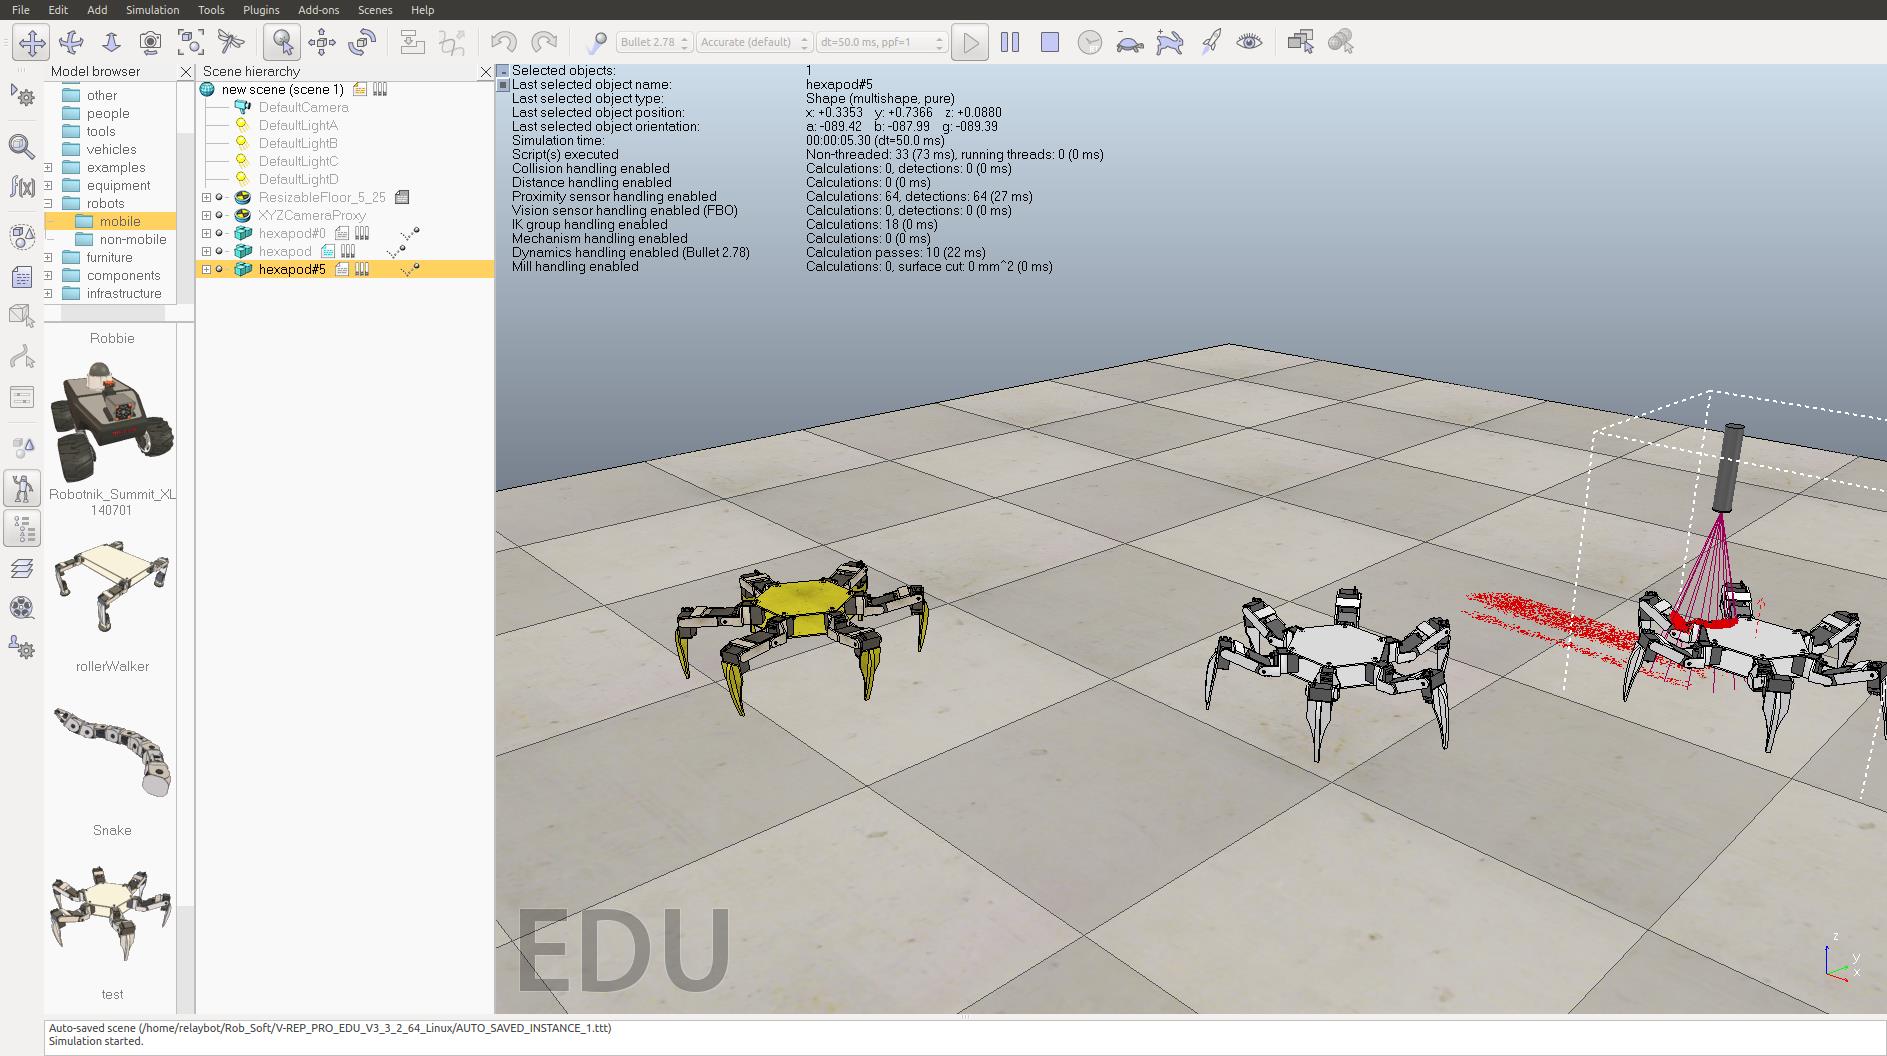
在Linux下使用非常简单,也有与ROS,Matlab等接口,解压后,直接运行即可:
relaybot@relaybot-desktop:~/Rob_Soft/V-REP_PRO_EDU_V3_3_2_64_Linux$ ./vrep.sh
Using the default Lua library.
Loaded the video compression library.
Add-on script 'vrepAddOnScript-addOnScriptDemo.lua' was loaded.
Simulator launched.
Plugin 'MeshCalc': loading...
Plugin 'MeshCalc': load succeeded.
Plugin 'BubbleRob': loading...
Plugin 'BubbleRob': load succeeded.
Plugin 'Collada': loading...
Plugin 'Collada': load succeeded.
Plugin 'ConvexDecompose': loading...
Plugin 'ConvexDecompose': load succeeded.
Plugin 'CustomUI': loading...
Plugin 'CustomUI': load succeeded.
Plugin 'DynamicsBullet-2-78': loading...
Plugin 'DynamicsBullet-2-78': load succeeded.
Plugin 'DynamicsBullet-2-83': loading...
Plugin 'DynamicsBullet-2-83': load succeeded.
Plugin 'DynamicsNewton': loading...
Plugin 'DynamicsNewton': load succeeded.
Plugin 'DynamicsOde': loading...
Plugin 'DynamicsOde': load succeeded.
Plugin 'DynamicsVortex': loading...
Plugin 'DynamicsVortex': load succeeded.
Plugin 'ExternalRenderer': loading...
Plugin 'ExternalRenderer': load succeeded.
Plugin 'K3': loading...
Plugin 'K3': load succeeded.
Plugin 'LuaRemoteApiClient': loading...
Plugin 'LuaRemoteApiClient': load succeeded.
Plugin 'Mtb': loading...
Plugin 'Mtb': load succeeded.
Plugin 'OMPL': loading...
Plugin 'OMPL': load succeeded.
Plugin 'OpenMesh': loading...
Plugin 'OpenMesh': load succeeded.
Plugin 'PovRay': loading...
Plugin 'PovRay': load succeeded.
Plugin 'Qhull': loading...
Plugin 'Qhull': load succeeded.
Plugin 'RRS1': loading...
Plugin 'RRS1': load succeeded.
Plugin 'ReflexxesTypeII': loading...
Plugin 'ReflexxesTypeII': load succeeded.
Plugin 'RemoteApi': loading...
Starting a remote API server on port 19997
Plugin 'RemoteApi': load succeeded.
Plugin 'SDF': loading...
Plugin 'SDF': load succeeded.
Plugin 'SimpleFilter': loading...
Plugin 'SimpleFilter': load succeeded.
Plugin 'SurfaceReconstruction': loading...
Plugin 'SurfaceReconstruction': load succeeded.
Plugin 'Urdf': loading...
Plugin 'Urdf': load succeeded.
Plugin 'Vision': loading...
Plugin 'Vision': load succeeded.
Using the 'MeshCalc' plugin.
Checking for an updated V-REP version...
qt.network.ssl: QSslSocket: cannot resolve SSLv2_client_method
qt.network.ssl: QSslSocket: cannot resolve SSLv2_server_method
This V-REP version is up-to-date.
Initializing the Bullet physics engine in plugin 'DynamicsBullet_2_78'...
Engine version: 2.78
Plugin version: 8
Initialization successful.
Initializing the Bullet physics engine in plugin 'DynamicsBullet_2_78'...
Engine version: 2.78
Plugin version: 8
Initialization successful.
Simulator ended.
主要参考资料如下:
1 官网: http://www.coppeliarobotics.com/
2 ROS wiki: http://wiki.ros.org/vrep_ros_bridge
3 文档: http://www.coppeliarobotics.com/helpFiles/index.html
4 lagadic/vrep_ros_bridge: https://github.com/lagadic/vrep_ros_bridge
Morse
![]()
使用blender游戏引擎,仿真效果还是不错的,支持ROS,如下:
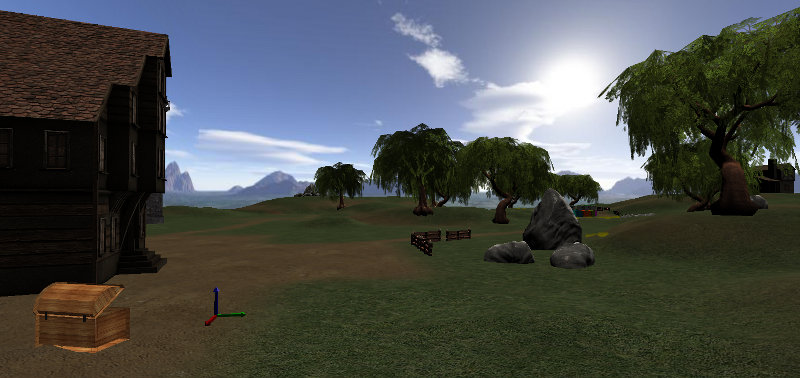
ROS:
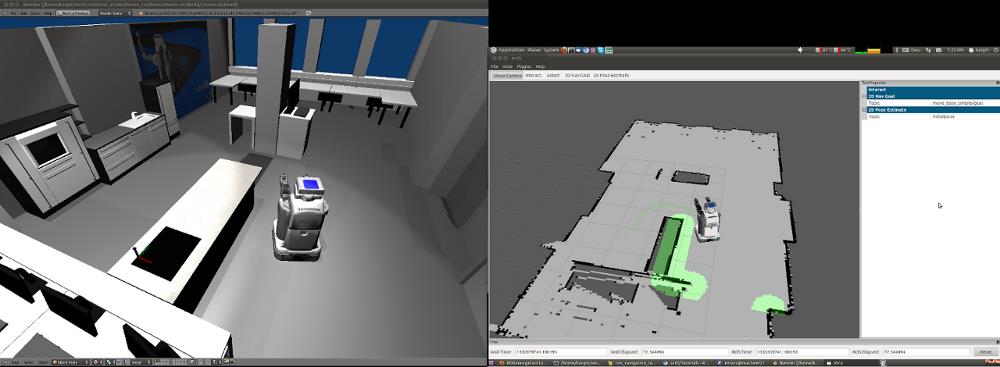
MORSE是一款通用的多机器人仿真平台,主要特点是能控制实际仿真的自由度,可以自由设计符合自己需求的组件模型,运用Blender实时游戏引擎进行原始渲染,设计适合的体系结构,支持通用的网络接口。它提供了大量可配置的传感器和执行器模块,高度的可扩展性,提供人与机器人的交互仿真,使用Python编程,有丰富的文档并且易于安装但无法进行精确的动力学仿真,时钟同步能力性能较差,多机器人仿真时可能出现不同步情况。目前有16所学校和科研机构使用,开源软件,仅限于Linux和MacOSX操作系统。
参考资料:
1 官网: http://www.openrobots.org/morse/doc/stable/morse.html
2 morse-simulator/morse: https://github.com/morse-simulator/morse
Gazebo
ROS标配,博客有介绍,这里不再多说。
推荐一些网址:
1 官网: http://gazebosim.org/
Webots
付费机器人仿真软件,支持ROS。
Webots是一个具备建模、编程和仿真移动机器人开发平台,主要用于地面机器人仿真。用户可以在一个共享的环境中设计多种复杂的异构机器人,可以自定义环境大小,环境中所有物体的属性包括形状、颜色、文字、质量、功能等也都可由用户来进行自由配置,它使用ODE检测物体碰撞和模拟刚性结构的动力学特性,可以精确的模拟物体速度、惯性和摩擦力等物理属性。每个机器人可以装配大量可供选择的仿真传感器和驱动器,机器人的控制器可以通过内部集成化开发环境或者第三方开发环境进行编程,控制器程序可以用C,C++等编写,机器人每个行为都可以在真实世界中测试。支持大量机器人模型如khepera、pioneer2、aibo等,也可以导入自己定义的机器人。全球有超过1200个高校和研究中心使用该仿真软件,但需要付费,支持各主流操作系统包括Linux, Windows和MacOS。
具体参考官网: http://www.cyberbotics.com/
Mrpt

具体参考官网: http://www.mrpt.org/
1 mrpt_localization: http://wiki.ros.org/mrpt_localization
2 mrpt_navigation: http://wiki.ros.org/mrpt_navigation
usarsimros
参考: https://sourceforge.net/projects/usarsimros/
Matlab
推荐安装Matlab 2016b。
学习Linux,推荐一个Linux爱好者,每天学习一个linux命令。
以上是关于gazebo+rviz 仿真的主要内容,如果未能解决你的问题,请参考以下文章
