开源的跨平台AI模型部署总有一款是你的菜
Posted 修炼之路
tags:
篇首语:本文由小常识网(cha138.com)小编为大家整理,主要介绍了开源的跨平台AI模型部署总有一款是你的菜相关的知识,希望对你有一定的参考价值。
导读
Mediapipe是Google开源的一个跨平台模型部署项目
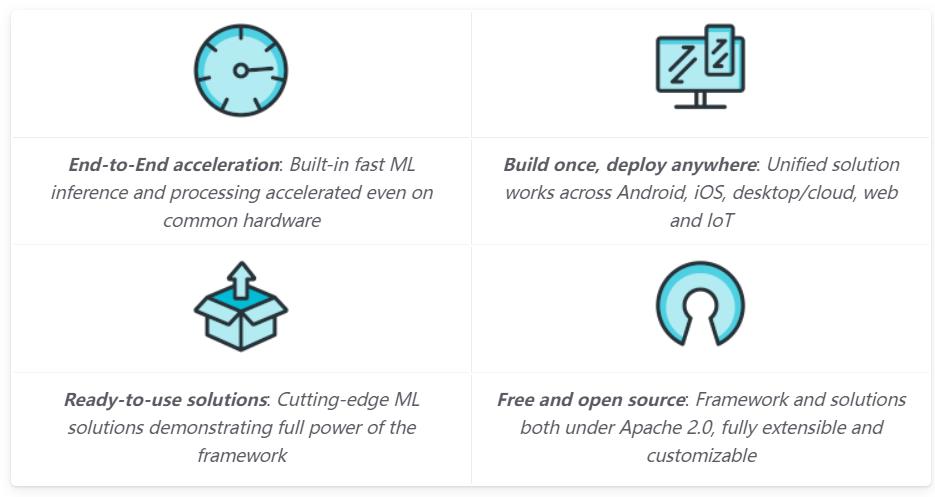
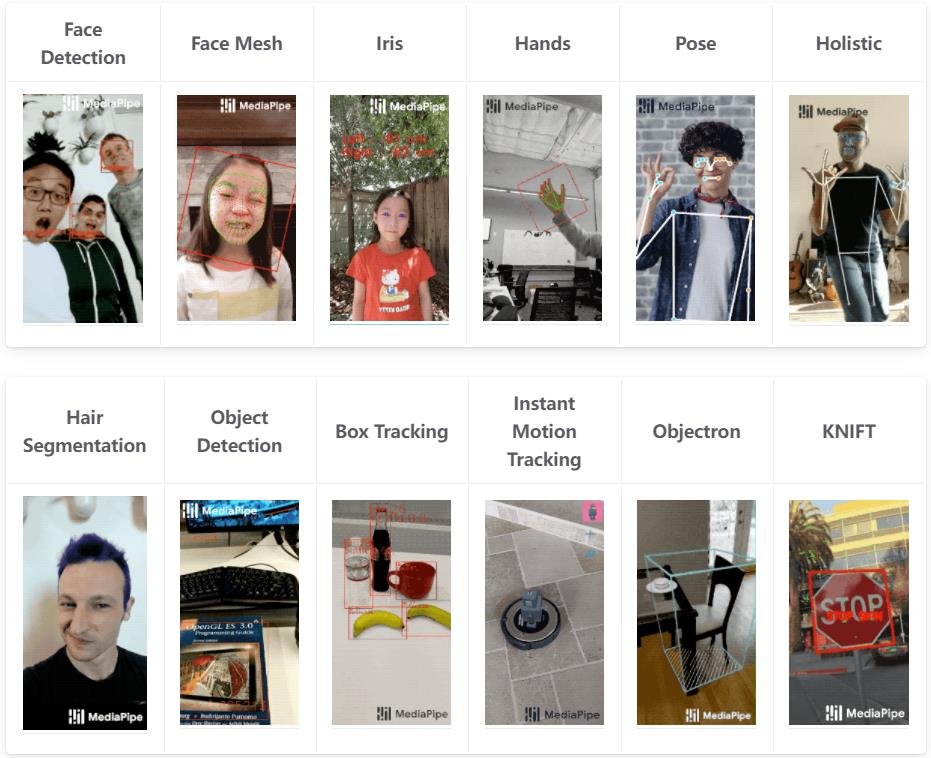
除此之外,Mediapipe还提供了大量的开源模型
我们能够很方便的使用MediaPipe将模型部署在android、ios、Desktop、Web以及IOT设备上。接下来我们看看如何使用MediaPipe来部署我们的模型
安装MediaPipe
MediaPipe支持在多个平台以及多种编程语言使用,这里就不一一介绍了,主要介绍在python安装方法
#创建虚拟环境,建议使用python3.7的环境
conda create -n mp_env python==3.7
#激活环境
source activate mp_env
#安装mediapipe
pip install mediapipe
使用MediaPipe实现人脸关键点检测
这里我们主要使用Face Mesh这个项目在Python上为例来介绍如何使用MediaPipe,更多其它的项目请参考MediaPipe的Solutions
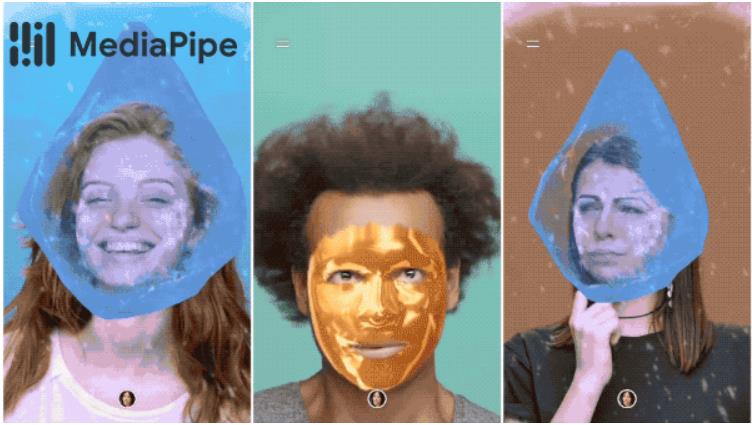
Face Mesh是用来检测人脸的3D landmarks,它一共检测了468个人脸关键点,它能够实时的运行在移动设备上。利用检测到的468个人脸关键点,我们可以做出很多好玩的AR特效
- Python检测3D landmarks
import cv2
import mediapipe as mp
mp_drawing = mp.solutions.drawing_utils
mp_drawing_styles = mp.solutions.drawing_styles
mp_face_mesh = mp.solutions.face_mesh

#检测单张图片的人脸3D landmarks
#用来存放图片的路径
IMAGE_FILES = []
#设置绘制点线的粗细和点的半径
drawing_spec = mp_drawing.DrawingSpec(thickness=1, circle_radius=1)
with mp_face_mesh.FaceMesh(
    static_image_mode=True,#设置图片检测人脸landmarks
    max_num_faces=1,       #最多检测一个人脸
    refine_landmarks=True,
    min_detection_confidence=0.5) as face_mesh:
  for idx, file in enumerate(IMAGE_FILES):
  	#读取图片
    image = cv2.imread(file)
    #图片的预处理,将BGR格式的图片转为RGB
    results = face_mesh.process(cv2.cvtColor(image, cv2.COLOR_BGR2RGB))
    if not results.multi_face_landmarks:
      continue
    annotated_image = image.copy()
    #在图片上绘制landmarks
    for face_landmarks in results.multi_face_landmarks:
      print('face_landmarks:', face_landmarks)
      #绘制网格线
      mp_drawing.draw_landmarks(
          image=annotated_image,
          landmark_list=face_landmarks,
          connections=mp_face_mesh.FACEMESH_TESSELATION,
          landmark_drawing_spec=None,
          connection_drawing_spec=mp_drawing_styles
          .get_default_face_mesh_tesselation_style())
      #绘制连的轮廓
      mp_drawing.draw_landmarks(
          image=annotated_image,
          landmark_list=face_landmarks,
          connections=mp_face_mesh.FACEMESH_CONTOURS,
          landmark_drawing_spec=None,
          connection_drawing_spec=mp_drawing_styles
          .get_default_face_mesh_contours_style())
      #绘制虹膜
      mp_drawing.draw_landmarks(
          image=annotated_image,
          landmark_list=face_landmarks,
          connections=mp_face_mesh.FACEMESH_IRISES,
          landmark_drawing_spec=None,
          connection_drawing_spec=mp_drawing_styles
          .get_default_face_mesh_iris_connections_style())
    #保存绘制后的图片
    cv2.imwrite('/tmp/annotated_image' + str(idx) + '.png', annotated_image)

# 利用电脑的摄像头来检测人脸的landmarks
drawing_spec = mp_drawing.DrawingSpec(thickness=1, circle_radius=1)
cap = cv2.VideoCapture(0)
with mp_face_mesh.FaceMesh(
    max_num_faces=1,
    refine_landmarks=True,
    min_detection_confidence=0.5,
    min_tracking_confidence=0.5) as face_mesh:
  while cap.isOpened():
    success, image = cap.read()
    if not success:
      print("Ignoring empty camera frame.")
      # If loading a video, use 'break' instead of 'continue'.
      continue

    # To improve performance, optionally mark the image as not writeable to
    # pass by reference.
    image.flags.writeable = False
    image = cv2.cvtColor(image, cv2.COLOR_BGR2RGB)
    results = face_mesh.process(image)

    # Draw the face mesh annotations on the image.
    image.flags.writeable = True
    image = cv2.cvtColor(image, cv2.COLOR_RGB2BGR)
    if results.multi_face_landmarks:
      for face_landmarks in results.multi_face_landmarks:
        mp_drawing.draw_landmarks(
            image=image,
            landmark_list=face_landmarks,
            connections=mp_face_mesh.FACEMESH_TESSELATION,
            landmark_drawing_spec=None,
            connection_drawing_spec=mp_drawing_styles
            .get_default_face_mesh_tesselation_style())
        mp_drawing.draw_landmarks(
            image=image,
            landmark_list=face_landmarks,
            connections=mp_face_mesh.FACEMESH_CONTOURS,
            landmark_drawing_spec=None,
            connection_drawing_spec=mp_drawing_styles
            .get_default_face_mesh_contours_style())
        mp_drawing.draw_landmarks(
            image=image,
            landmark_list=face_landmarks,
            connections=mp_face_mesh.FACEMESH_IRISES,
            landmark_drawing_spec=None,
            connection_drawing_spec=mp_drawing_styles
            .get_default_face_mesh_iris_connections_style())
    # Flip the image horizontally for a selfie-view display.
    cv2.imshow('MediaPipe Face Mesh', cv2.flip(image, 1))
    if cv2.waitKey(5) & 0xFF == 27:
      break
cap.release()

- 其它语言的代码
javascript和Android的源码请参考代码示例
参考
- https://github.com/google/mediapipe
- https://google.github.io/mediapipe/solutions/face_mesh.html
- https://google.github.io/mediapipe/
以上是关于开源的跨平台AI模型部署总有一款是你的菜的主要内容,如果未能解决你的问题,请参考以下文章
Flutter 2.2 发布 | 各平台优化类型别名云部署能力UWP Alpha,总有一款是你的菜
零代码工具15 款企业级零代码开发平台推荐,总有一款是你心仪的