人工智能--生成对抗网络
Posted Abro.
tags:
篇首语:本文由小常识网(cha138.com)小编为大家整理,主要介绍了人工智能--生成对抗网络相关的知识,希望对你有一定的参考价值。
学习目标:
- 理解生成对抗网络的基本原理。
- 掌握利用生成对抗网络生成新样本的方法。
学习内容:
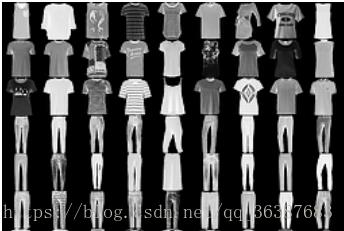
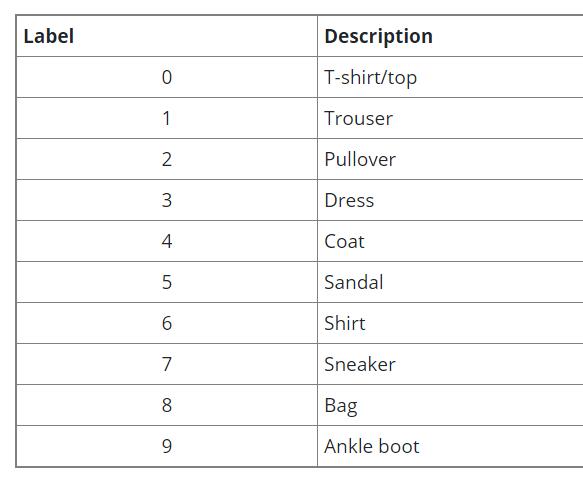
fashion_mnist数据库(from keras.datasets import fashion_minist)数据集包含了10个类别的图像,分别是:t-shirt(T恤),trouser(牛仔裤),pullover(套衫),dress(裙子),coat(外套),sandal(凉鞋),shirt(衬衫),sneaker(运动鞋),bag(包),ankle boot(短靴),如下图。利用fashion_mnist数据库的训练数据构造生成对抗网络,并生成新的图片显示出来。
学习过程:
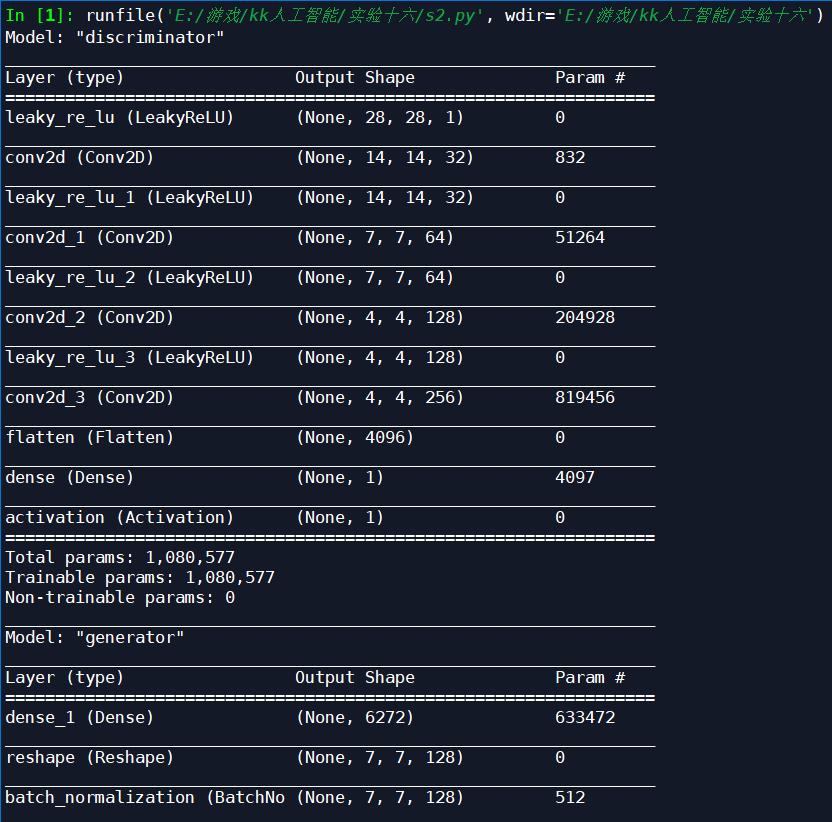
网络结构:

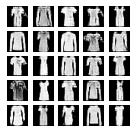
设置训练间隔和批量大小设置为500/10000:
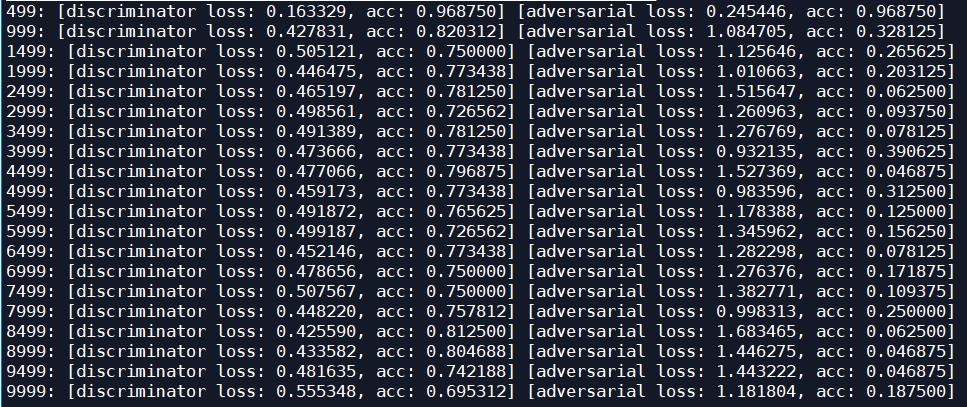
运行结果如下图:

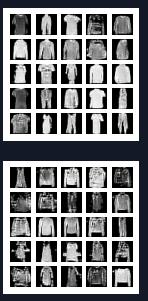
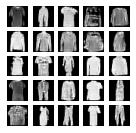
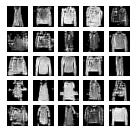
设置训练间隔和批量大小设置为500/5000:

运行结果如下图:
把图片保存在与源码相同目录下的文件夹中:

源码:
from keras.layers import Dense,BatchNormalization
from keras.layers import Conv2D, Flatten,LeakyReLU
from keras.layers import Reshape, Conv2DTranspose, Activation
from keras import Model,Sequential,Input
from keras.datasets import fashion_mnist
from keras.optimizers import RMSprop

import os,math
import numpy as np
import matplotlib.pyplot as plt

# In[1]: 构造生成网络
# 生成网络将一维向量(100,)反向构造成图片所对应的矩阵(28,28,1)
def  build_generator(latent_shape, image_shape):
  # latent_shape = (100,)
  # image_shape = (28,28,1)

  begin_shape = (image_shape[0] // 4, image_shape[1] // 4)
  model = Sequential( [
     #Input(latent_shape),
     # (100,) -> (7*7*128,) -> (7,7,128)
     Dense(begin_shape[0] * begin_shape[1] * 128,input_shape=latent_shape),
     Reshape((begin_shape[0], begin_shape[1], 128)),

     BatchNormalization(),
     Activation('relu'),
     # (7,7,128) -> (14,14,128)
     Conv2DTranspose(filters=128, kernel_size=5,strides=2,padding='same'),

     BatchNormalization(),
     Activation('relu'),
     # (14,14,128) -> (28,28,64)
     Conv2DTranspose(filters=64, kernel_size=5,strides=2,padding='same'),

     BatchNormalization(),
     Activation('relu'),
     # (28,28,64) -> (28,28,32)
     Conv2DTranspose(filters=32, kernel_size=5,strides=1,padding='same'),

     # (28,28,32) -> (28,28,1)
     BatchNormalization(),
     Activation('relu'),
     Conv2DTranspose(filters=1, kernel_size=5,strides=1,padding='same'),

     Activation('sigmoid') # 输出一个 (28,28,1) 的矩阵,每个像素值为0到1
  ],name='generator')

  # 需要和判别器一起构造 对抗网络,用对抗网络训练生成器的参数

  return model

# In[2]: 构造判别网络
# 判别网络输入一个 (28,28,1) 的图片,输出一个0到1的数,0:假样本,1:真样本
def  build_discriminator(image_shape):
  # image_shape=(28,28,1)
  discriminator = Sequential( [

     # (28,28,1) -> (14,14,32)
     LeakyReLU(alpha=0.2,input_shape=image_shape),
     Conv2D(32, kernel_size=5, strides=2, padding="same"),

     # (14,14,32) -> (7,7,64)
     LeakyReLU(alpha=0.2),
     Conv2D(64, kernel_size=5, strides=2, padding="same"),

     # (7,7,64) -> (4,4,128)
     LeakyReLU(alpha=0.2),
     Conv2D(128, kernel_size=5, strides=2, padding="same"),

     # (4,4,128) -> (4,4,256)
     LeakyReLU(alpha=0.2),
     Conv2D(256, kernel_size=5, strides=1, padding="same"),

     Flatten(),
     Dense(1),
     Activation('sigmoid') # 输出一个0到1的数,0:假样本,1:真样本
  ],name='discriminator')

  return discriminator

# In[3]: 显示和保存生成器构造的一批图片(5*5=25张)
def plot_images(generator, noise_input, show=False, step=0, model_name = ''):
   os.makedirs(model_name, exist_ok=True)
   filename = os.path.join(model_name, "%05d.png" % step)
   images = generator.predict(noise_input)
   plt.figure(figsize = (2.2, 2.2))
   num_images = images.shape[0]
   rows = int(math.sqrt(noise_input.shape[0]))
   for i in range(num_images):
      plt.subplot(rows, rows, i + 1)
      image = np.reshape(images[i], [images.shape[1], images.shape[2]])
      plt.imshow(image, cmap= 'gray')
      plt.axis('off')

   plt.savefig(filename)
   if show:
      plt.show()
   else:
      plt.close('all')

# In[4]: 构建判别网络 和 对抗网络(生成网络+判别网络),并设置训练参数
# 设置训练相关的参数
model_name = 'DCGAN_mnist'
latent_dim = 100
batch_size = 64
train_steps = 10000 # 训练train_steps个batch,这里可更改为10000或5000
lr = 2e-4
decay = 6e-8
latent_shape = (latent_dim,)

# 读取数据,获取图片大小。无监督训练,不需要标签。只是为了生成新样本,不需要测试样本进行对比
(x_train, _), (_, _) = fashion_mnist.load_data()
image_shape = (x_train.shape[1],x_train.shape[2],1)

# 数据预处理,二维卷积操作的输入数据要求:[样本数,宽度,高度,通道数]
x_train = np.reshape(x_train, [-1, image_shape[0], image_shape[1], 1])
x_train = x_train.astype('float32') / 255  # 生成网络的输出的像素值是0到1之间的

# 编译判别网络
discriminator = build_discriminator(image_shape)
discriminator.compile(loss = 'binary_crossentropy',
                      optimizer = RMSprop(lr=lr, decay=decay),
                      metrics = ['accuracy'])
discriminator.summary()

# 构建并编译对抗网络(生成网络+判别网络)
generator = build_generator(latent_shape,image_shape)
generator.summary()

discriminator.trainable = False # 训练生成者时识别者网络要保持不变
input_latent = Input(latent_shape, name='adversarial_input')
outputs = discriminator(generator([input_latent]))
adversarial = Model([input_latent], outputs, name='adversarial')
adversarial.compile(loss = 'binary_crossentropy',
                    optimizer = RMSprop(lr=lr*0.5, decay=decay*0.5),
                    metrics = ['accuracy'])
adversarial.summary()

# In[5]: 训练网络
'''
1) 先冻结生成网络,采样 真实图片 和 生成网络输出的假样本,训练判别网络,区分两类样本
2) 然后冻结判别网络,让生成网络构造图片输入给判别网络,训练生成网络,使得判别网络输出越接近1越好
'''

save_interval = 500 # 训练每间隔500个batch把生成网络输出的图片保存下来

# 构造给生成网络的一维随机向量,每隔500个batch训练后,都生成同样的这25个伪造样本,方便对比
noise_input = np.random.uniform(-1.0, 1.0, size = [5*5, latent_dim])
train_size = x_train.shape[0]

for i in range(train_steps):
   # 1. 先训练判别网络,将真实图片和伪造图片同时输入判别网络,让判别网络学会区分真假图片

   # 随机选取真实图片
   rand_indexes = np.random.randint(0, train_size, size = batch_size)
   real_images = x_train[rand_indexes]

   #让生成网络构造伪造图片
   noise = np.random.uniform(-1.0, 1.0, size = [batch_size, latent_dim])
   fake_images = generator.predict(noise)

   # 合并真实图片和伪造图片,设置真实图片对应标签1,虚假图片对应标签0
   x = np.concatenate((real_images, fake_images))
   y = np.ones([2 * batch_size, 1])
   y[batch_size:, :] = 0.0

   # 训练判别网络,用一个batch的真实图片和一个batch的伪造图片
   loss, acc = discriminator.train_on_batch(x, y)
   log = "%d: [discriminator loss: %f, acc: %f]" % (i, loss, acc)

   # 2. 然后再训练生成网络:冻结判别网络,让生成网络构造图片输入给判别网络,使得输出越接近1越好
   noise = np.random.uniform(-1.0, 1.0, size = [batch_size, latent_dim])
   y = np.ones([batch_size, 1]) # 注意此时假样本的标签为1,即要使得输出越接近1越好

   # 训练生成网络时需要使用到判别网络返回的结果,因此从两者连接后的对抗网络进行训练
   loss, acc = adversarial.train_on_batch(noise, y)
   log = "%s [adversarial loss: %f, acc: %f]" % (log, loss, acc)

   # 每隔save_interval次保存训练结果
   if (i+1) % save_interval == 0:
      print(log)
      if (i + 1) == train_steps:
         show = True
      else:
         show = False
      #将生成者构造的图片绘制出来
      plot_images(generator,
                  noise_input = noise_input,
                  show = show, step = i+1,
                  model_name = model_name)

      # 保存生成网络的权重
      generator.save_weights(model_name + "_generator.h5")

# In[6]: 直接读取以前训练的权重(可以不用重复执行步骤[5]训练网络),生成伪造图片
#构造一批随机初始化的一维向量让生成者网络创造图片
generator.load_weights(model_name + "_generator.h5")
noise = np.random.randint(-1.0, 1.0, size=[5*5, 100])
plot_images(generator, noise_input = noise, show=True, model_name=model_name)
学习产出:
- 把批量大小更改为5000和10000后,每500个间隔就把图片保存下来,训练需要的时间比较长,但效果比较好,能辨别出是fashion_mnist数据库的图像;
以上是关于人工智能--生成对抗网络的主要内容,如果未能解决你的问题,请参考以下文章