Elasticsearch: Python 客户端现在支持异步 I/O
Posted Elastic 中国社区官方博客
tags:
篇首语:本文由小常识网(cha138.com)小编为大家整理,主要介绍了Elasticsearch: Python 客户端现在支持异步 I/O相关的知识,希望对你有一定的参考价值。
随着支持异步 I/O 的 Python Web 框架(如 FastAPI、Starlette 以及即将在 Django 3.1 中出现)的日益流行,Python Elasticsearch 客户端对原生异步 I/O 支持的需求不断增长。 异步 I/O 令人兴奋,因为与传统的多线程应用程序相比, 你的应用程序可以更有效地使用系统资源,从而在 I/O 密集型工作负载(例如为 Web 应用程序提供服务时)带来更好的性能。
从 Elastic Stack 7.8 版开始提供原生 async/await 支持,同时支持所有闪亮的新 Elasticsearch 7.8 API。 要按照以下示例进行操作,你需要在本地安装 Python 3.6 或更高版本并运行 Elasticsearch 7.x 集群。
准备数据
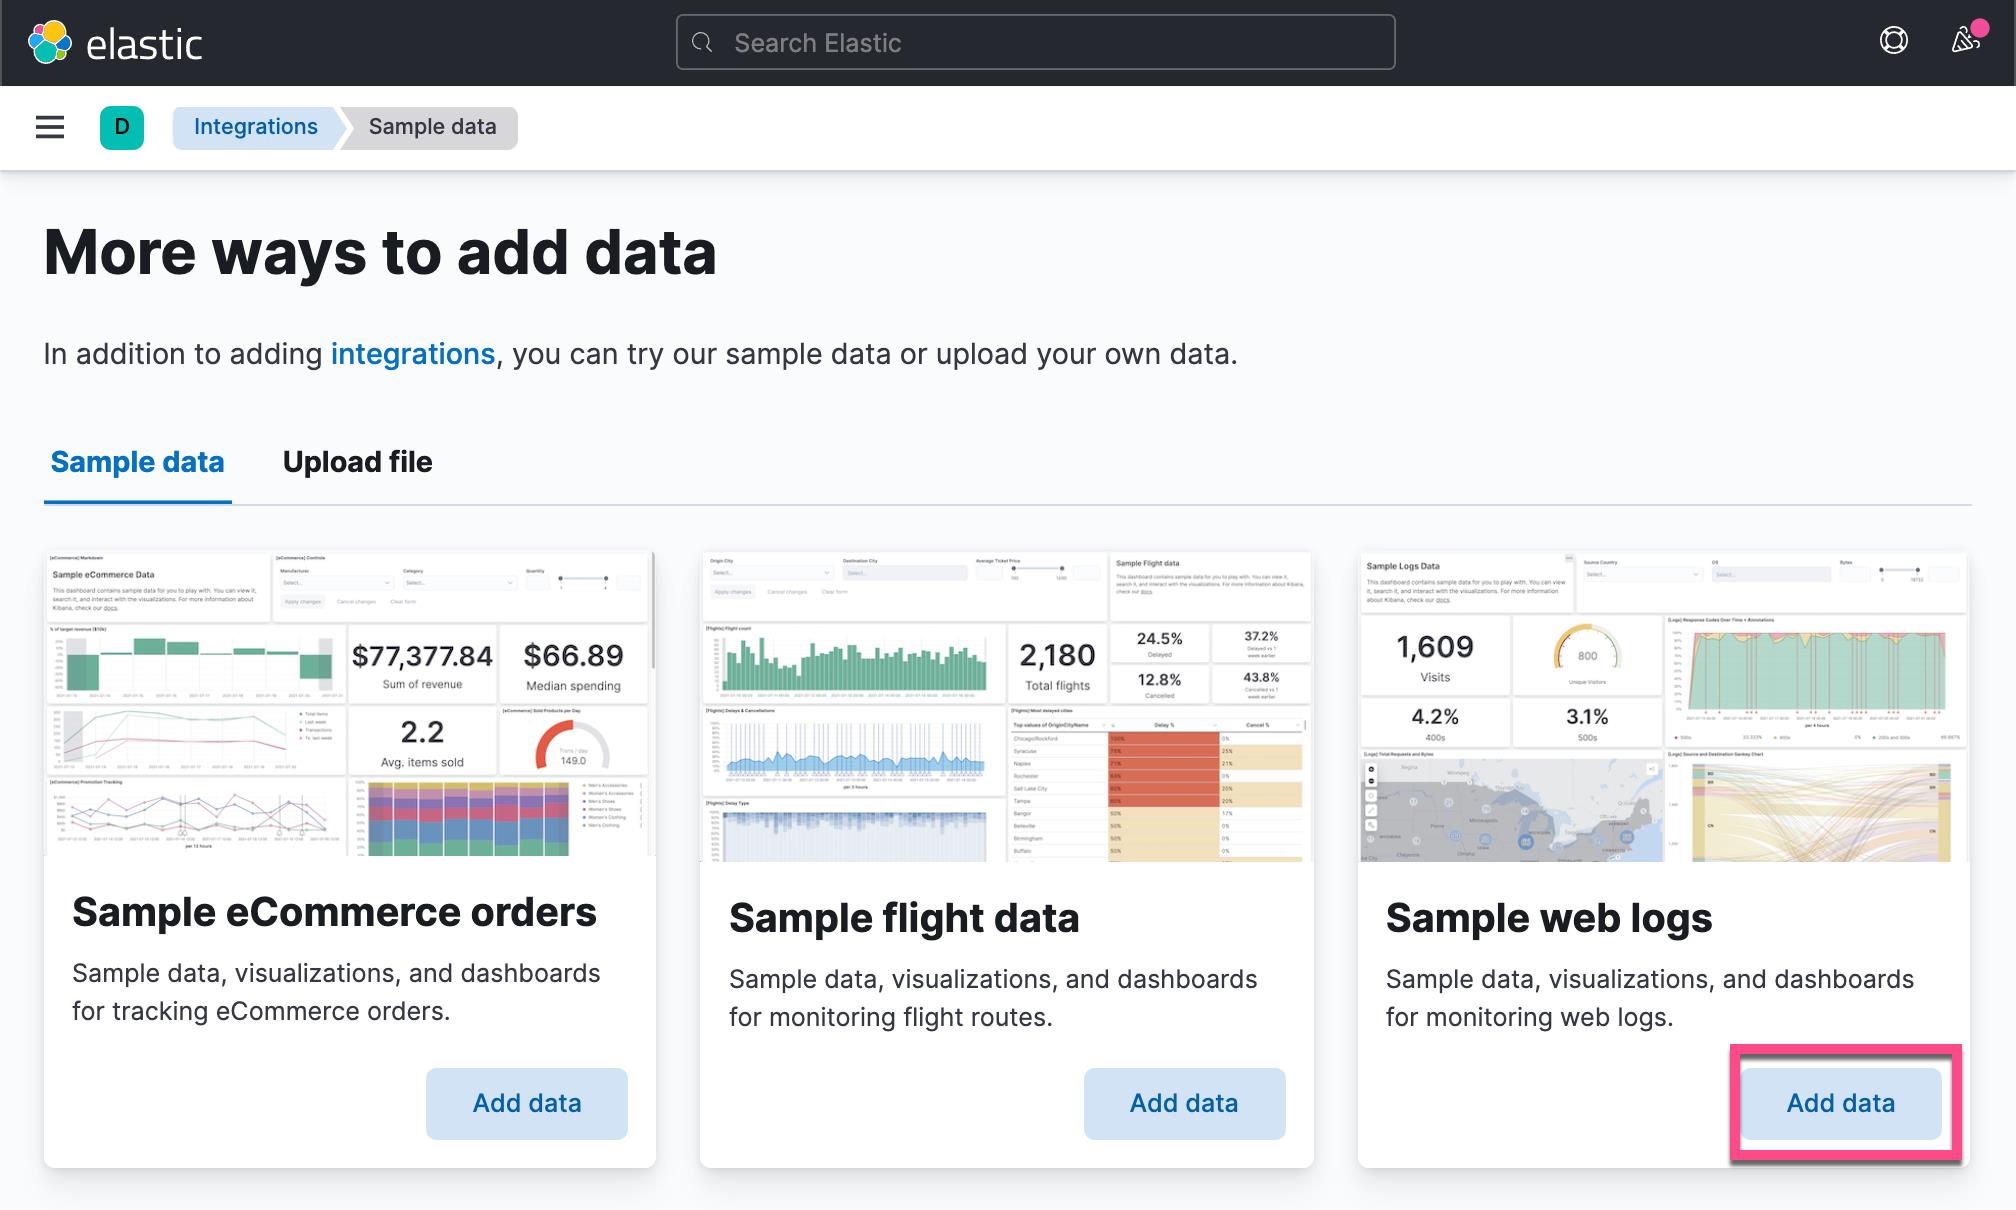
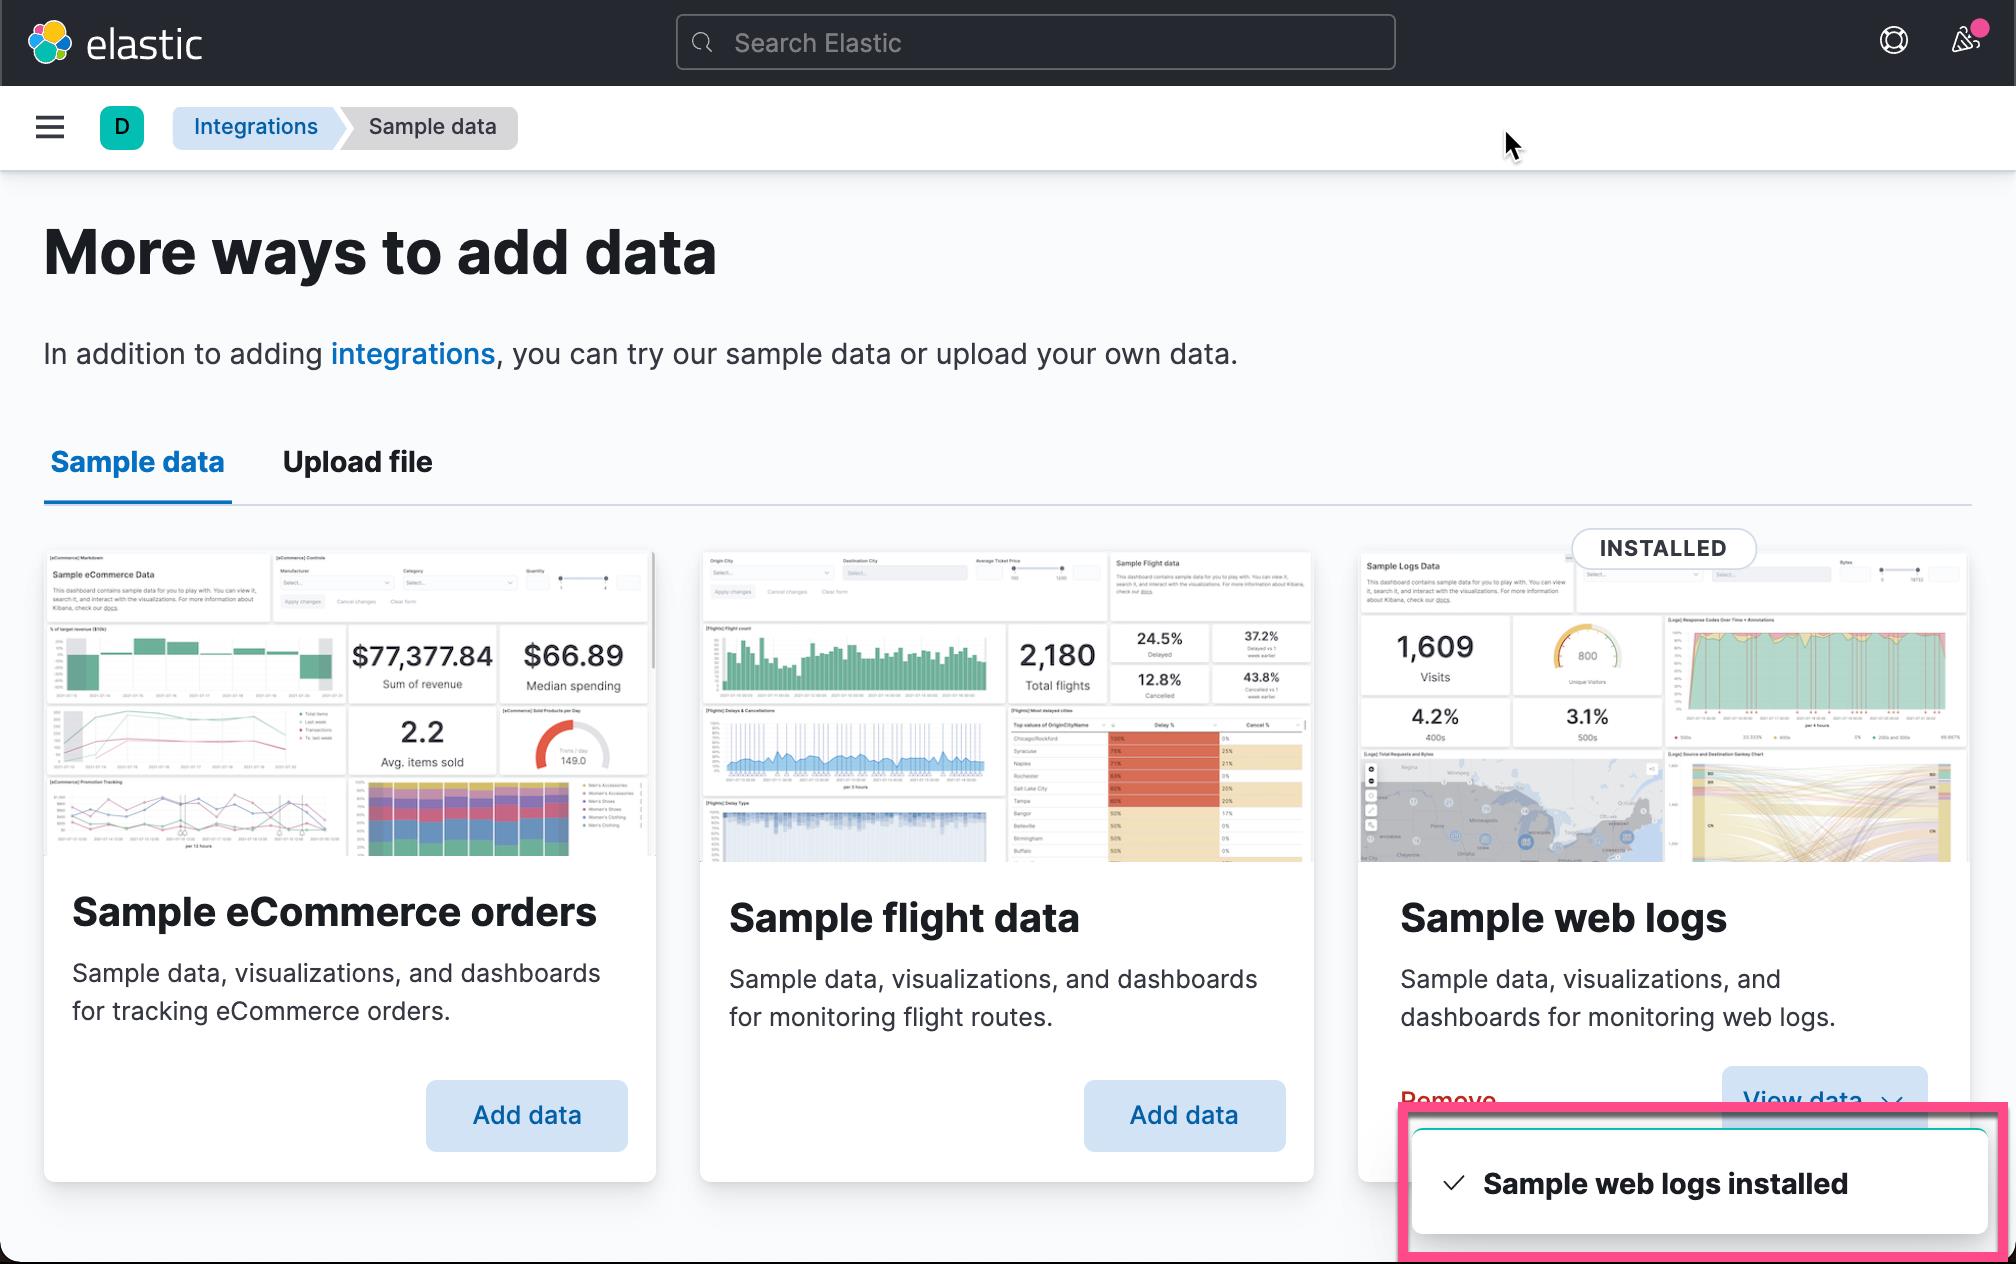
在今天的练习中,我将使用 Kibana 自带的数据来进行展示:


这样我们就在 Elasticsearch 中加载了一个叫做 kibana_sample_data_logs 的索引。在下面的练习中,我将使用这个索引做搜索。
在我的 Elasticsearch 安装中,我使用来了本地安装 http://localhost:9220。访问 Elasticsearch 的超级用户 elastic 的密码为 password。
安装和使用 Elasticsearch Python 客户端
使用 [async] extra 安装包以安装附加依赖项 Aiohttp,该依赖项用于向你的 Elasticsearch 实例发出 HTTP 请求:
$ python -m pip install elasticsearch[async] 成功安装后,你现在可以从 Python 访问异步原生 Elasticsearch 客户端。
为了展示异步的实际效果,我将使用 IPython 进行演示,因为事件循环立即可用,允许我从 REPL 调用 await。 在此快速演示中,我将使用本地安装的 Elasticsearch 实例:
$ python --version
Python 3.8.5
$ ipython
Python 3.8.5 (default, Sep  4 2020, 02:22:02)
Type 'copyright', 'credits' or 'license' for more information
IPython 7.19.0 -- An enhanced Interactive Python. Type '?' for help.

In [1]: from elasticsearch import AsyncElasticsearch

In [2]: es = AsyncElasticsearch(hosts=['localhost', 'other-host'],
   ...:                         port=9200,
   ...:                         http_auth=('elastic', 'password'))
   ...:

In [3]: es.info()
Out[3]: <coroutine object AsyncElasticsearch.info at 0x7ff358181040>

In [4]: await es.info()
Out[4]:
'name': 'liuxg',
 'cluster_name': 'elasticsearch',
 'cluster_uuid': 'vw3Ms_I-RV60Bl-XUlyLSw',
 'version': 'number': '7.16.1',
  'build_flavor': 'default',
  'build_type': 'tar',
  'build_hash': '5b38441b16b1ebb16a27c107a4c3865776e20c53',
  'build_date': '2021-12-11T00:29:38.865893768Z',
  'build_snapshot': False,
  'lucene_version': '8.10.1',
  'minimum_wire_compatibility_version': '6.8.0',
  'minimum_index_compatibility_version': '6.0.0-beta1',
 'tagline': 'You Know, for Search'

In [5]:
从上面的现在中,我们的异步调用是成功的。
接下来,我们使用异步来对我们之前创建的索引 kibana_sample_data_logs 进行搜索。创建一个如下的 Python 文件:
async.py
import asyncio
from elasticsearch import AsyncElasticsearch
from time import time

es = AsyncElasticsearch(hosts=['localhost', 'other-host'],
                        port=9200,
                        http_auth=('elastic', 'password'))

async def search1():
    start_time = time()
    resp = await es.search(
        index="kibana_sample_data_logs",
        body =
            "query":
                "function_score":
                "query":
                    "match_all":
                ,
                "script_score":
                    "script": """
                    int m = 2;
                    for (int x = 0; x < m; ++x)
                    for (int y = 0; y < 10000; ++y)
                        Math.log(y);
                    """


        ,
        size=1
    )
    end_time = time()
    print(f"Total time spent: end_time-start_time in search 1" )
    # print(resp)
    await es.close()

async def search2():
    start_time = time()
    resp = await es.search(
        index="kibana_sample_data_logs",
        body =
         "query":
            "match_all":

        ,
        size=1
    )
    end_time = time()
    print(f"Total time spent: end_time-start_time in search 2" )
    # print(resp)

async def main():
    task1 = asyncio.create_task(search1())
    task2 = asyncio.create_task(search2())

    await task2
    await task1
    # print("hello")

loop = asyncio.get_event_loop()
loop.run_until_complete(main())
loop.run_until_complete(es.transport.close())
loop.close()
在上面,我们创建了两个 search。在第一个 search 中,我们人为地使用 function_core 来对所有的文档进行重新计算分数。在脚本 script_core 里,我们使用了一种算法:循环很多次,只是为了模拟查询时间很长。在另外一个 search 里,搜索变得非常地简单。我都使用异步来实现。在 main() 函数里,我们创建了两个 task,这样它们都可以同时运行。我们使用如下的命令来运行:
python async.py运行的结果为:
$ python async.py
Total time spent: 0.08627915382385254 in search 2
Total time spent: 4.295605182647705 in search 1
开始利用异步
还有关于异步客户端的其他文档,包括有关将批量助手与异步一起使用的信息、有关你可能遇到的常见场景的部分以及集成 Elasticsearch 和 Elastic APM 的示例异步 Web 应用程序项目。
如果你还没有尝试过 Elastic APM,请立即开始免费试用 Elasticsearch Service,检测 APM Python 代理,并确保你的应用程序将时间花在它应有的地方。
如果你有兴趣了解有关 Python Elasticsearch 客户端如何工作的更多信息,你可以收看即将于 8 月 5 日举行的 Python Elasticsearch 客户端简介网络研讨会,其中将包括基础知识、架构讨论和大量时间 问答。
以上是关于Elasticsearch: Python 客户端现在支持异步 I/O的主要内容,如果未能解决你的问题,请参考以下文章
Elasticsearch:使用最新的 Python client 8.0 来创建索引并搜索
Elasticsearch:关于在 Python 中使用 Elasticsearch 你需要知道的一切 - 8.x