Elasticsearch:计算多个状态更新的总持续时间 - transform 应用案例
Posted 中国社区官方博客
tags:
篇首语:本文由小常识网(cha138.com)小编为大家整理,主要介绍了Elasticsearch:计算多个状态更新的总持续时间 - transform 应用案例相关的知识,希望对你有一定的参考价值。
在我之前的文章中,我使用了 Kibana 所提供的 UI 来对所感兴趣的数据进行 transform:
在今天的文章中,我将使用 API 的形式来展示如何使用 transform 来对数据进行转换。
- 将现有文档转换为汇总文档(pivot transform)或
- 找到具有特定唯一键(latest transform)的最新文档。

这种以实体(entity)为中心的视图对于由多个文档(如用户行为或会话)组成的各种数据很有帮助。 例如,分布式系统中的会话或请求的持续时间是常见的场景。 以下帖子基于 StackOverflow 问题,该问题以微小的变化反复出现 - 将其用作蓝图。
样本数据
共有三个不同的实体,其唯一 ID A、B 和 C。每个实体都可以通过 eventStart.timestamp 或 eventStop.timestamp 进行多个状态更新:
POST test/_bulk
{ "index" : { "_id" : "1" } }
{ "uniqueID" : "A",   "eventStart": {"timestamp": "2020-07-01T13:50:55.000Z"} }
{ "index" : { "_id" : "2" } }
{ "uniqueID" : "A",   "eventStop": {"timestamp": "2020-07-01T13:51:00.000Z"} }
{ "index" : { "_id" : "3" } }
{ "uniqueID" : "B",   "eventStart": {"timestamp": "2020-07-01T13:52:25.000Z"} }
{ "index" : { "_id" : "4" } }
{ "uniqueID" : "B",   "eventStop": {"timestamp": "2020-07-01T13:53:00.000Z"} }
{ "index" : { "_id" : "5" } }
{ "uniqueID" : "A",   "eventStop": {"timestamp": "2020-07-01T13:54:55.000Z"} }
{ "index" : { "_id" : "6" } }
{ "uniqueID" : "C",   "eventStart": {"timestamp": "2020-07-01T13:54:55.000Z"} }
我们运行上面的命令把数据导入到 Elasticsearch 中去。
依靠默认映射,两个日期和关键字字段是相关的,用于计算不同的持续时间:
# Request
GET test/_mapping

# Response
{
  "test" : {
    "mappings" : {
      "properties" : {
        "eventStart" : {
          "properties" : {
            "timestamp" : {
              "type" : "date"
            }
          }
        },
        "eventStop" : {
          "properties" : {
            "timestamp" : {
              "type" : "date"
            }
          }
        },
        "uniqueID" : {
          "type" : "text",
          "fields" : {
            "keyword" : {
              "type" : "keyword",
              "ignore_above" : 256
            }
          }
        }
      }
    }
  }
}
Transforms API
计算方法如下:
- 按 uniqueID 分组。
- 获取第一个 eventStart 和最后一个 eventStop 时间戳。
- 计算时差(以秒为单位)。
虽然 Kibana 在 Elasticsearch Transform API 之上提供了一个 UI 来完成 transform,但此示例坚持使用 Elasticsearch API,它更易于遵循和重现。 一个方便的 API 是使用 POST _transform/_preview 进行 preview。
从分组的第一步开始,由于聚合部分是强制性的,计算状态更新的数量:
# Request
POST _transform/_preview
{
  "source": {
    "index": "test"
  },
  "dest": {
    "index": "test_transformed"
  },
  "pivot": {
    "group_by": {
      "id": {
        "terms": {
          "field": "uniqueID.keyword"
        }
      }
    },
    "aggregations": {
      "event_count": {
        "value_count": {
          "field": "_id"
        }
      }
    }
  }
}

# Response
{
  "preview" : [
    {
      "event_count" : 3,
      "id" : "A"
    },
    {
      "event_count" : 2,
      "id" : "B"
    },
    {
      "event_count" : 1,
      "id" : "C"
    }
  ],
  "generated_dest_index" : {
    "mappings" : {
      "_meta" : {
        "_transform" : {
          "transform" : "transform-preview",
          "version" : {
            "created" : "7.14.0"
          },
          "creation_date_in_millis" : 1632892282869
        },
        "created_by" : "transform"
      },
      "properties" : {
        "event_count" : {
          "type" : "long"
        },
        "id" : {
          "type" : "keyword"
        }
      }
    },
    "settings" : {
      "index" : {
        "number_of_shards" : "1",
        "auto_expand_replicas" : "0-1"
      }
    },
    "aliases" : { }
  }
}
对于最终结果,它 “只是” 缺少正确的聚合:bucket 脚本聚合听起来很有希望。
使用 Bucket 脚本聚合进行转换
继续之前的转换,这个添加最早的开始时间戳,最晚的结束时间戳,以及两者之间的持续时间:
POST _transform/_preview
{
  "source": {
    "index": "test"
  },
  "dest": {
    "index": "test_transformed"
  },
  "pivot": {
    "group_by": {
      "id": {
        "terms": {
          "field": "uniqueID.keyword"
        }
      }
    },
    "aggregations": {
      "event_count": {
        "value_count": {
          "field": "_id"
        }
      },
      "start": {
        "min": {
          "field": "eventStart.timestamp"
        }
      },
      "stop": {
        "max": {
          "field": "eventStop.timestamp"
        }
      },
      "duration": {
        "bucket_script": {
          "buckets_path": {
            "start": "start.value",
            "stop": "stop.value"
          },
          "script": """
            return (params.stop - params.start)/1000;
          """
        }
      }
    }
  }
}
上面请求的响应为:
{
  "preview" : [
    {
      "duration" : 240.0,
      "stop" : "2020-07-01T13:54:55.000Z",
      "event_count" : 3,
      "start" : "2020-07-01T13:50:55.000Z",
      "id" : "A"
    },
    {
      "duration" : 35.0,
      "stop" : "2020-07-01T13:53:00.000Z",
      "event_count" : 2,
      "start" : "2020-07-01T13:52:25.000Z",
      "id" : "B"
    },
    {
      "stop" : null,
      "event_count" : 1,
      "start" : "2020-07-01T13:54:55.000Z",
      "id" : "C"
    }
  ],
  "generated_dest_index" : {
    "mappings" : {
      "_meta" : {
        "_transform" : {
          "transform" : "transform-preview",
          "version" : {
            "created" : "7.14.0"
          },
          "creation_date_in_millis" : 1632905272319
        },
        "created_by" : "transform"
      },
      "properties" : {
        "stop" : {
          "type" : "date"
        },
        "event_count" : {
          "type" : "long"
        },
        "start" : {
          "type" : "date"
        },
        "id" : {
          "type" : "keyword"
        }
      }
    },
    "settings" : {
      "index" : {
        "number_of_shards" : "1",
        "auto_expand_replicas" : "0-1"
      }
    },
    "aliases" : { }
  }
}
Painless 中的计算出奇的简单:(params.stop - params.start)/1000:
- 不需要更复杂的 datetime API。 Elasticsearch 中的每个日期都存储为自 epoch 以来的长时间(以毫秒为单位),因此简单的差异就足够了。
- 除以 1,000 就得到了以秒为单位。
- 自动处理缺少的结束时间。
要创建 transform 作业而不仅仅是预览它,你需要将请求调整为以下内容:
PUT _transform/test_duration
{
  "description": "Calculate the duration of an event from multiple status updates (based on its uniqueID)",
  "frequency": "1m",
  "source": {
    "index": "test"
  },
  "dest": {
    "index": "test_transformed"
  },
  "pivot": {
    "group_by": {
      "id": {
        "terms": {
          "field": "uniqueID.keyword"
        }
      }
    },
    "aggregations": {
      "event_count": {
        "value_count": {
          "field": "_id"
        }
      },
      "start": {
        "min": {
          "field": "eventStart.timestamp"
        }
      },
      "stop": {
        "max": {
          "field": "eventStop.timestamp"
        }
      },
      "duration": {
        "bucket_script": {
          "buckets_path": {
            "start": "start.value",
            "stop": "stop.value"
          },
          "script": """
            return (params.stop - params.start)/1000;
          """
        }
      }
    }
  }
}
使用 GET _transform/test_duration 你可以看到 transform 作业。 并且你必须明确地用 POST _transform/test_duration/_start 启动它,否则它什么也做不了。我们执行如下的命令:
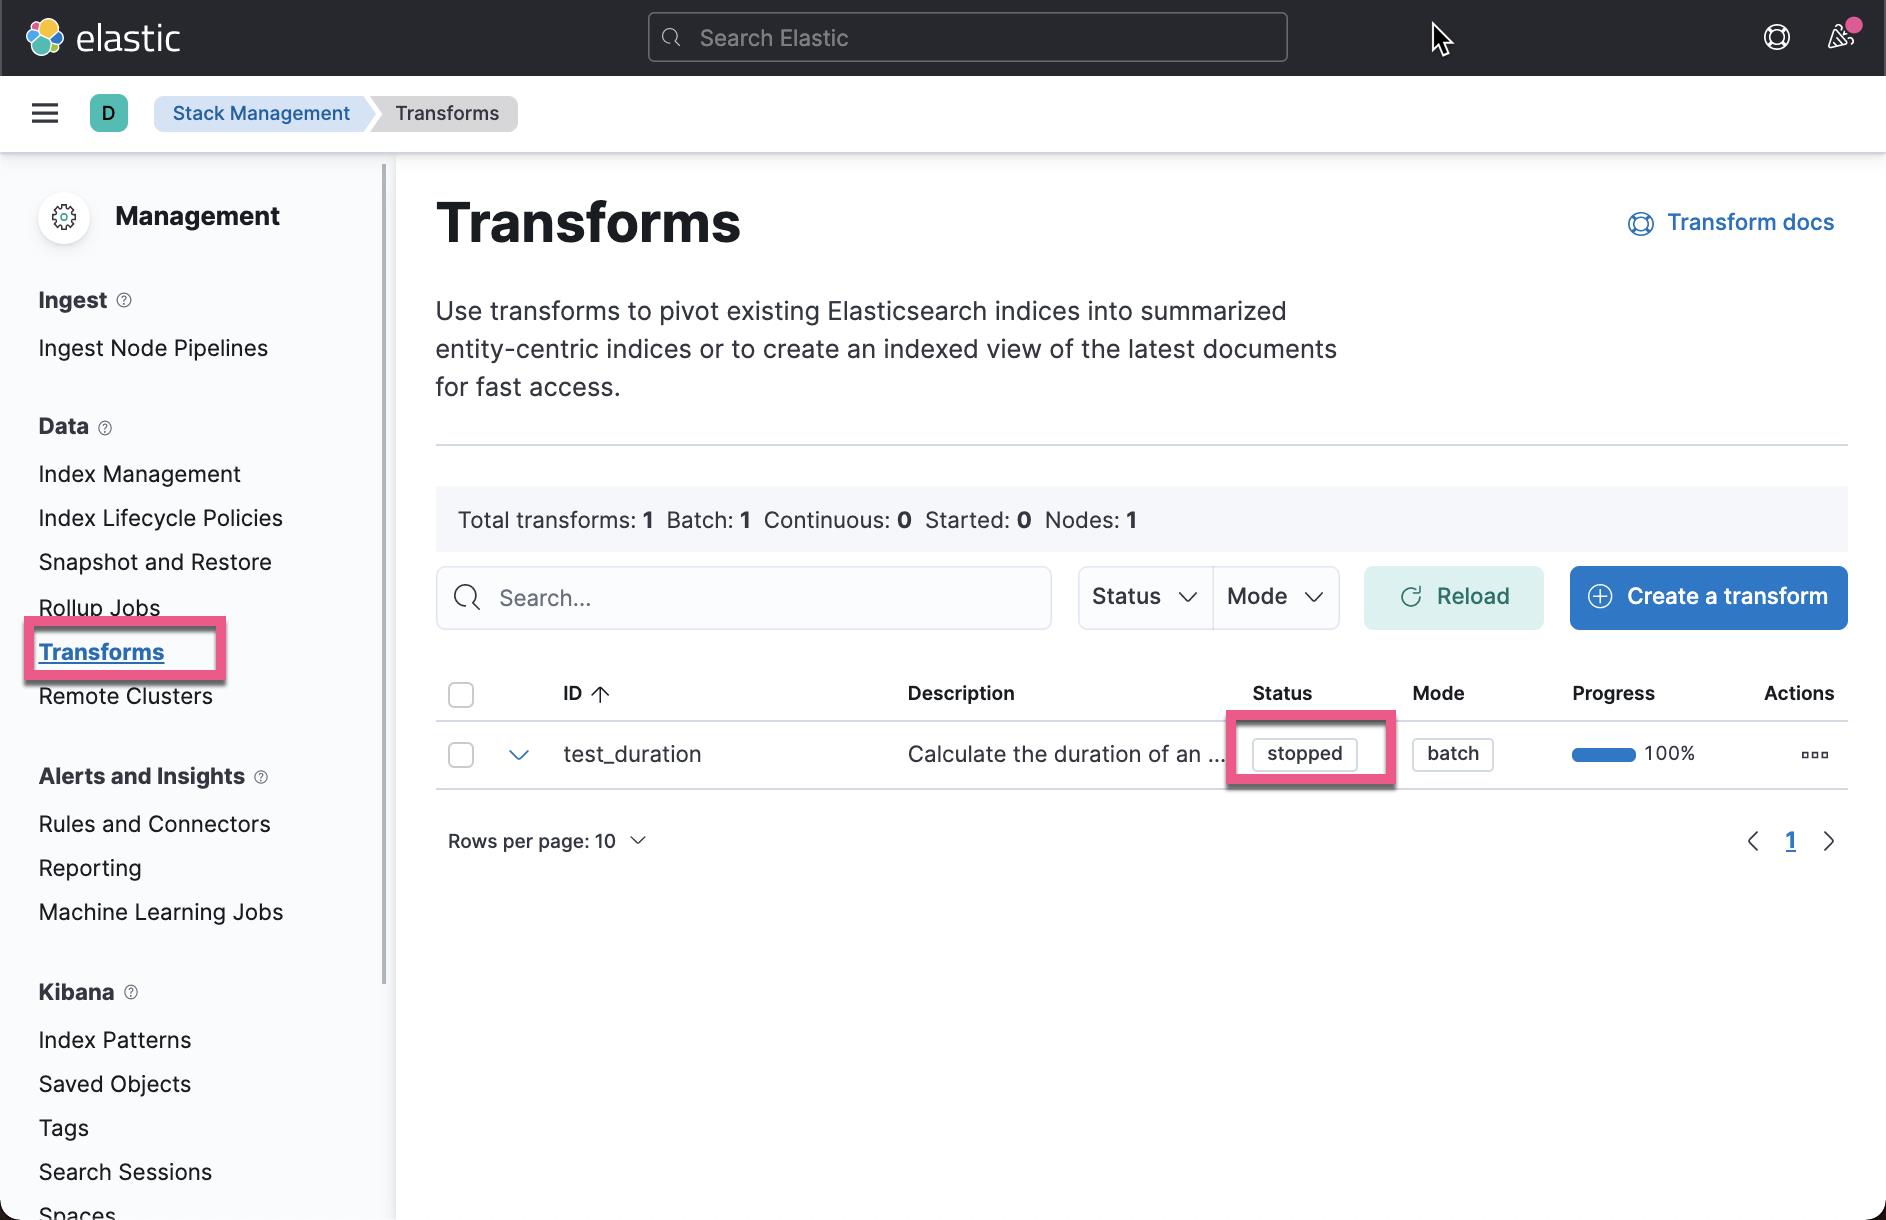
POST _transform/test_duration/_start最后,stats API 非常适合查看工作正在进行或已经完成的工作:
GET _transform/test_duration/_stats上面命令的结果为:
{
  "count" : 1,
  "transforms" : [
    {
      "id" : "test_duration",
      "state" : "stopped",
      "stats" : {
        "pages_processed" : 2,
        "documents_processed" : 6,
        "documents_indexed" : 3,
        "documents_deleted" : 0,
        "trigger_count" : 1,
        "index_time_in_ms" : 753,
        "index_total" : 1,
        "index_failures" : 0,
        "search_time_in_ms" : 7,
        "search_total" : 2,
        "search_failures" : 0,
        "processing_time_in_ms" : 8,
        "processing_total" : 2,
        "delete_time_in_ms" : 0,
        "exponential_avg_checkpoint_duration_ms" : 1012.0,
        "exponential_avg_documents_indexed" : 3.0,
        "exponential_avg_documents_processed" : 6.0
      },
      "checkpointing" : {
        "last" : {
          "checkpoint" : 1,
          "timestamp_millis" : 1632907175535
        },
        "changes_last_detected_at" : 1632907175535
      }
    }
  ]
}
从上面我们可以看出来状态为 stopped,它表示 transform 已经完成。我们打开 Kibana,并查看状态:
最后但并非最不重要的是,这些是生成的文档:
GET test_transformed/_search上面命令显示的结果为:
{
  "took" : 1,
  "timed_out" : false,
  "_shards" : {
    "total" : 1,
    "successful" : 1,
    "skipped" : 0,
    "failed" : 0
  },
  "hits" : {
    "total" : {
      "value" : 3,
      "relation" : "eq"
    },
    "max_score" : 1.0,
    "hits" : [
      {
        "_index" : "test_transformed",
        "_type" : "_doc",
        "_id" : "QRRx52klPRvG45a5oLgZ95sAAAAAAAAA",
        "_score" : 1.0,
        "_source" : {
          "duration" : 240.0,
          "stop" : "2020-07-01T13:54:55.000Z",
          "event_count" : 3,
          "start" : "2020-07-01T13:50:55.000Z",
          "id" : "A"
        }
      },
      {
        "_index" : "test_transformed",
        "_type" : "_doc",
        "_id" : "Qq7col5MOHvjTNMiAGonnqAAAAAAAAAA",
        "_score" : 1.0,
        "_source" : {
          "duration" : 35.0,
          "stop" : "2020-07-01T13:53:00.000Z",
          "event_count" : 2,
          "start" : "2020-07-01T13:52:25.000Z",
          "id" : "B"
        }
      },
      {
        "_index" : "test_transformed",
        "_type" : "_doc",
        "_id" : "Q-N5zMGevsgbxCl0WsHH6CIAAAAAAAAA",
        "_score" : 1.0,
        "_source" : {
          "stop" : null,
          "event_count" : 1,
          "start" : "2020-07-01T13:54:55.000Z",
          "id" : "C"
        }
      }
    ]
  }
}
这就是计算持续时间。
没有 transform 的聚合
你需要转换来获得这个结果吗? 不。
通过一些小的修改,您可以通过常规聚合获得相同的结果:
POST test/_search
{
  "size": 0,
  "aggregations": {
    "group_by": {
      "terms": {
        "field": "uniqueID.keyword"
      },
      "aggregations": {
        "start": {
          "min": {
            "field": "eventStart.timestamp"
          }
        },
        "stop": {
          "max": {
            "field": "eventStop.timestamp"
          }
        },
        "duration": {
          "bucket_script": {
            "buckets_path": {
              "start": "start.value",
              "stop": "stop.value"
            },
            "script": """
              return (params.stop - params.start)/1000;
            """
          }
        }
      }
    }
  }
}
上面命令返回的结果为:
{
  "took" : 9,
  "timed_out" : false,
  "_shards" : {
    "total" : 1,
    "successful" : 1,
    "skipped" : 0,
    "failed" : 0
  },
  "hits" : {
    "total" : {
      "value" : 6,
      "relation" : "eq"
    },
    "max_score" : null,
    "hits" : [ ]
  },
  "aggregations" : {
    "group_by" : {
      "doc_count_error_upper_bound" : 0,
      "sum_other_doc_count" : 0,
      "buckets" : [
        {
          "key" : "A",
          "doc_count" : 3,
          "stop" : {
            "value" : 1.593611695E12,
            "value_as_string" : "2020-07-01T13:54:55.000Z"
          },
          "start" : {
            "value" : 1.593611455E12,
            "value_as_string" : "2020-07-01T13:50:55.000Z"
          },
          "duration" : {
            "value" : 240.0
          }
        },
        {
          "key" : "B",
          "doc_count" : 2,
          "stop" : {
            "value" : 1.59361158E12,
            "value_as_string" : "2020-07-01T13:53:00.000Z"
          },
          "start" : {
            "value" : 1.593611545E12,
            "value_as_string" : "2020-07-01T13:52:25.000Z"
          },
          "duration" : {
            "value" : 35.0
          }
        },
        {
          "key" : "C",
          "doc_count" : 1,
          "stop" : {
            "value" : null
          },
          "start" : {
            "value" : 1.593611695E12,
            "value_as_string" : "2020-07-01T13:54:55.000Z"
          }
        }
      ]
    }
  }
}
虽然结果的结构不同,但结果是相同的。一些附加说明:
- 设置“size”: 0 这样无需返回任何文档。
- 在术语聚合(terms aggregation)中,运行其它子聚合(sub aggregation)运行。
- doc_count 中会自动计算涉及多少状态更新,因此不需要 value_count。
- bucket_script 是相同的。
结论
希望这是 transform 或等效 aggregation 的有用蓝图。 现在你知道所有部分如何组合在一起以及要避免哪些陷阱。
该文档还描述了何时(不)使用转换,这导致了经典的 “取决于” 讨论:
译文:Elasticsearch Transforms: Calculate the Total Duration from Multiple Status Updates
以上是关于Elasticsearch:计算多个状态更新的总持续时间 - transform 应用案例的主要内容,如果未能解决你的问题,请参考以下文章