位图数组在XY方向镜像翻转算法实现
Posted Mculover666
tags:
篇首语:本文由小常识网(cha138.com)小编为大家整理,主要介绍了位图数组在XY方向镜像翻转算法实现相关的知识,希望对你有一定的参考价值。
一、问题
图片已经取模生成点阵数组,每1位控制像素点是否显示,如何镜像翻转?
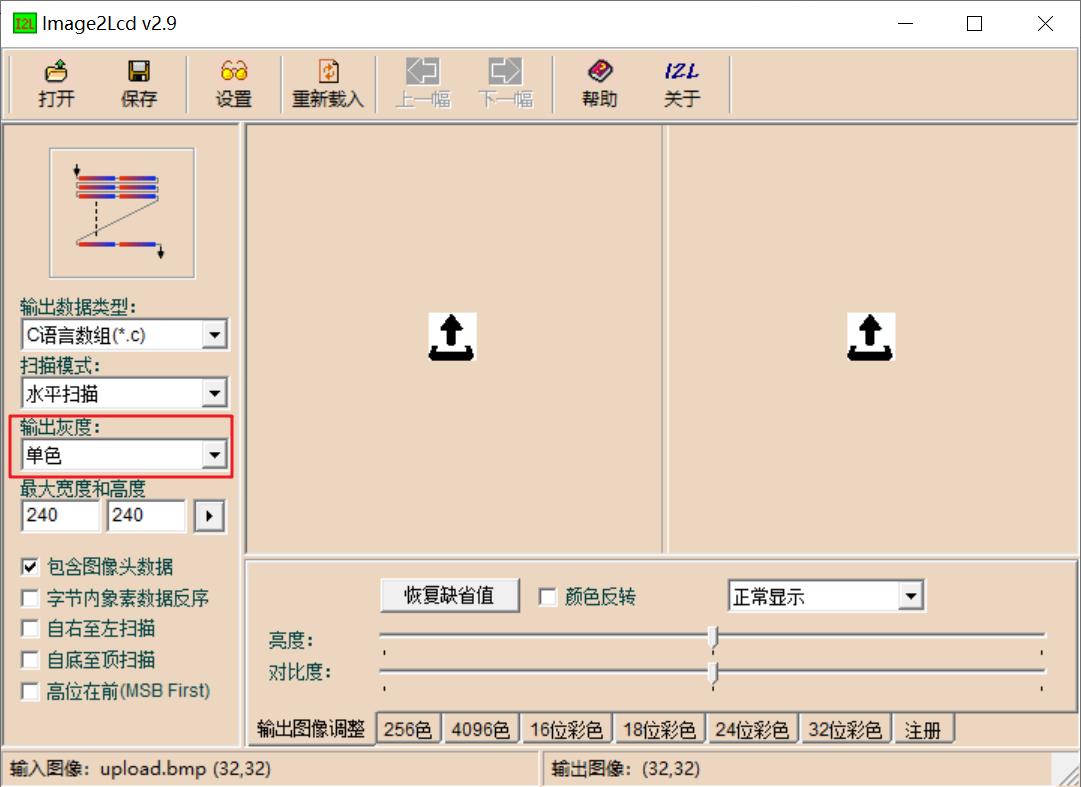
比如下面这张图:

使用取模软件生成点阵数组:

生成的数组如下:
unsigned char gImage_upload[128] = { /* 0X00,0X01,0X20,0X00,0X20,0X00, */
0X00,0X00,0X00,0X00,0X00,0X03,0X00,0X00,0X00,0X03,0X80,0X00,0X00,0X07,0XC0,0X00,
0X00,0X0F,0XC0,0X00,0X00,0X1F,0XE0,0X00,0X00,0X1F,0XF0,0X00,0X00,0X3F,0XF8,0X00,
0X00,0X7F,0XF8,0X00,0X00,0XFF,0XFC,0X00,0X00,0XFF,0XFE,0X00,0X00,0XFF,0XFC,0X00,
0X00,0X0F,0XC0,0X00,0X00,0X0F,0XC0,0X00,0X00,0X0F,0XC0,0X00,0X00,0X0F,0XC0,0X00,
0X00,0X0F,0XC0,0X00,0X00,0X0F,0XC0,0X00,0X00,0X0F,0XC0,0X00,0X00,0X0F,0XC0,0X00,
0X00,0X0F,0XC0,0X00,0X00,0X07,0X80,0X00,0X3C,0X00,0X00,0XF0,0X3C,0X00,0X00,0X70,
0X38,0X00,0X00,0X78,0X78,0X00,0X00,0X78,0X7F,0XFF,0XFF,0XF8,0XFF,0XFF,0XFF,0XFC,
0XFF,0XFF,0XFF,0XFC,0XFF,0XFF,0XFF,0XFC,0X7F,0XFF,0XFF,0XF8,0X3F,0XFF,0XFF,0XF0,
};
二、调试手段
1. hexdump
void hex_dump(uint8_t *buffer, uint32_t len)
{
    uint32_t i;

    for (i = 0; i < len; i++) {
        printf("0x%02x,", buffer[i]);
        if ( (i+1) % 16 == 0) {
            printf("\\n");
        }
    }
}
2. 字符方式显示位图
void show_image_by_ascii(uint8_t *image, uint32_t width, uint32_t height, char ch)
{
    uint32_t i, j;
    uint32_t total_bytes, bytes_per_line;
    uint8_t t;

    total_bytes = width * height / 8;
    bytes_per_line = width / 8;

    for (i = 0; i < total_bytes; i++) {
        t = *(image + i);
        for (j = 0; j < 8; j++) {
            if (t & 0x80) {
                printf("%c", ch);
            } else {
                printf(" ");
            }
            t <<= 1;
        }
        if ((i+1) % bytes_per_line == 0) {
            printf("\\n");
        }
    }
}
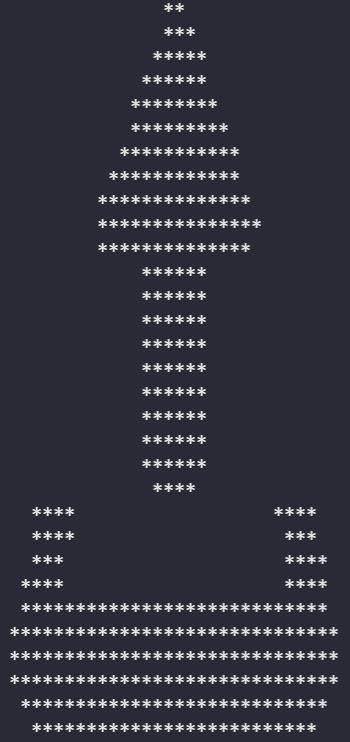
调用将图片数组显示出来:
show_image_by_ascii(gImage_upload, 32, 32, '*');

三、在x方向镜像
static uint8_t reverse8(uint8_t c)
{
    c = ( c & 0x55 ) << 1 | ( c & 0xAA ) >> 1;
    c = ( c & 0x33 ) << 2 | ( c & 0xCC ) >> 2;
    c = ( c & 0x0F ) << 4 | ( c & 0xF0 ) >> 4;

    return c;
}

int image_mirror_x(uint8_t *image, uint32_t width, uint32_t height)
{
    uint32_t bytes_per_line, lines;
    uint32_t i, j, k, offset;
    uint8_t t, v;

    bytes_per_line = width / 8;
    lines = height;

    printf("bytes_per_line is %d\\n", bytes_per_line);
    printf("lines is %d\\n", lines);

    for (i = 0; i < lines; i++) {
        // line mirror.
        offset = bytes_per_line*i;

        for (j = 0; j < bytes_per_line/2; j++) {
            t = image[offset+j];
            image[offset+j] = image[offset+4-j-1];
            image[offset+4-j-1] = t;
        }

        for (j = 0; j < bytes_per_line; j++) {
            // byte mirror
            image[offset+j] = reverse8(image[offset+j]);
        }
    }
}
四、在Y方向镜像
int image_mirror_y(uint8_t *image, uint32_t width, uint32_t height)
{
    uint32_t bytes_per_line, lines;
    uint32_t i, j, k, offset, other_offset, total_bytes;
    uint8_t t, v;

    // width: 32, height: 16.

    // 32 / 8 = 4;
    bytes_per_line = width / 8;
    lines = height;
    total_bytes = bytes_per_line * lines;

    printf("bytes_per_line is %d\\n", bytes_per_line);
    printf("lines is %d\\n", lines);
    printf("total_bytes is %d\\n", total_bytes);

    for (i = 0; i < lines/2; i++) {
        // line mirror.
        offset = bytes_per_line*i;
        other_offset = total_bytes - offset-4;

        for (j = 0; j < bytes_per_line; j++) {
            t = image[offset+j];
            image[offset+j] = image[other_offset+j];
            image[other_offset + j] = t;
        }
    }
}
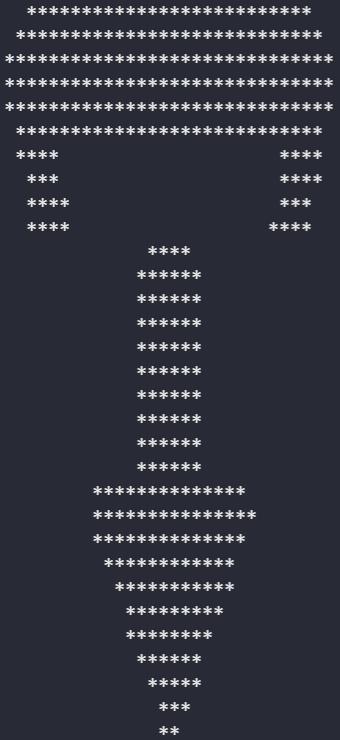
将图片镜像之后:
image_mirror_y(gImage_upload, 32, 32);
结果如下:

以上是关于位图数组在XY方向镜像翻转算法实现的主要内容,如果未能解决你的问题,请参考以下文章
Swift - 实现图片(UIImage)的水平翻转(镜像),垂直翻转
片段(Java) | 机试题+算法思路+考点+代码解析 2023