Linux学习134 Unit 4
Posted
tags:
篇首语:本文由小常识网(cha138.com)小编为大家整理,主要介绍了Linux学习134 Unit 4相关的知识,希望对你有一定的参考价值。
II 第四单元
1.什么时mbr,什么时mpt,一个主分区使用多少大分区表记录,分区类型
2.分区方式
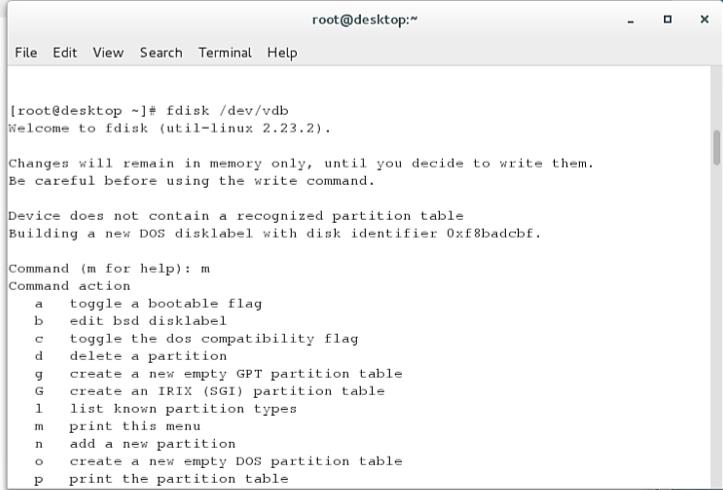
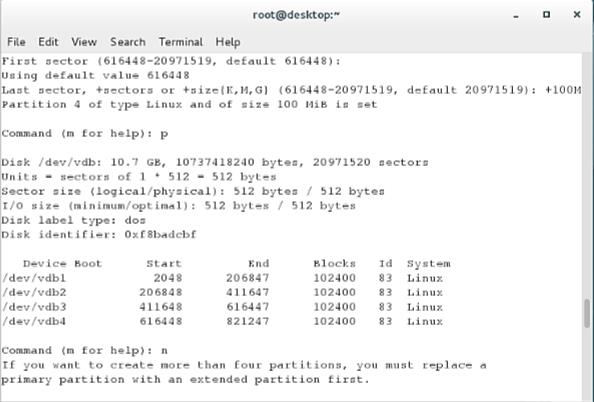
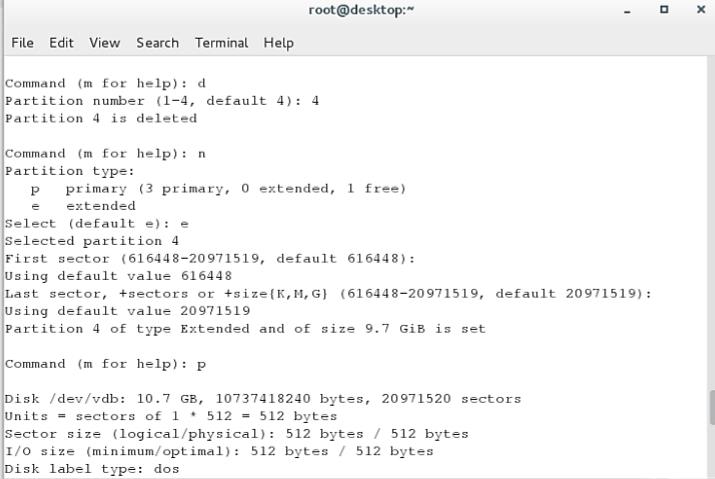
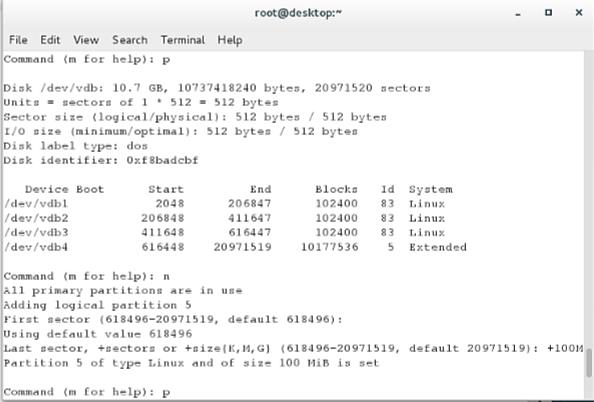
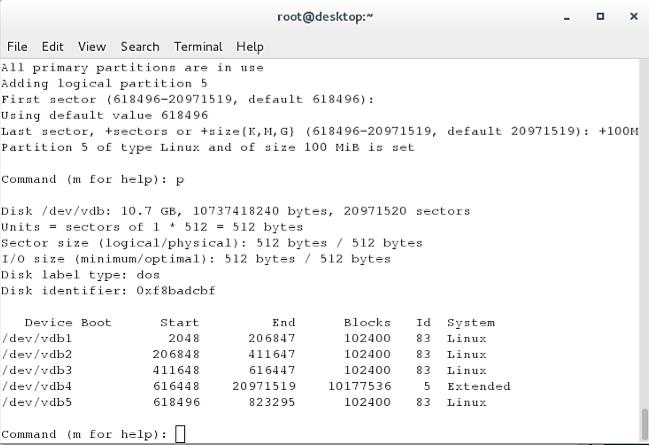
[[email protected] ~]# fdisk /dev/vdb##划分/dev/vdb
Welcome to fdisk (util-linux 2.23.2).
Changes will remain in memory only, until you decide to write them.
Be careful before using the write command.
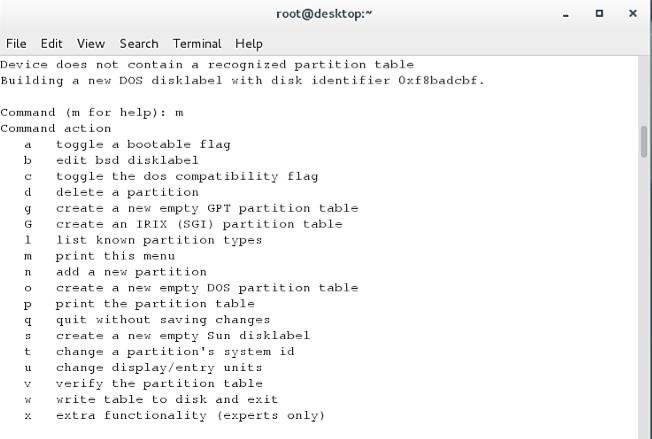
Command (m for help): m##获取帮助
Command action
a toggle a bootable flag
b edit bsd disklabel##设定设备标签
c toggle the dos compatibility flag
d delete a partition##删除设备
g create a new empty GPT partition table
G create an IRIX (SGI) partition table
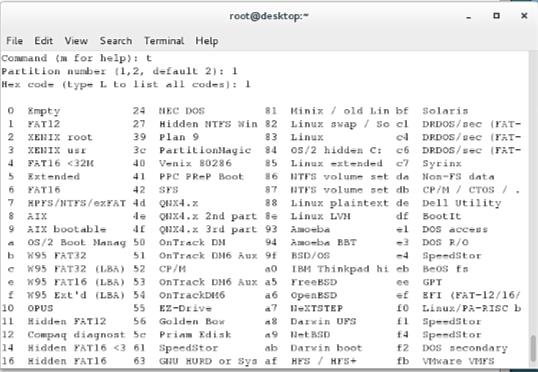
l list known partition types##列出设备类型
m print this menu
n add a new partition##新建
o create a new empty DOS partition table
p print the partition table##显示分区表
q quit without saving changes##退出分区工具
s create a new empty Sun disklabel
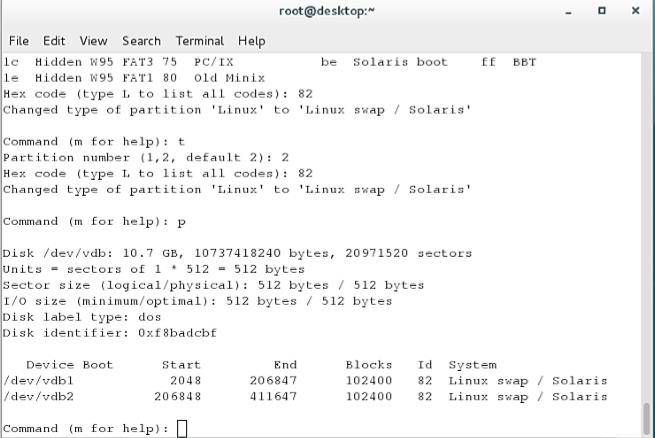
t change a partition‘s system id##改变分区功能标签
u change display/entry units
v verify the partition table
w write table to disk and exit##保存更改的分区表
x extra functionality (experts only)
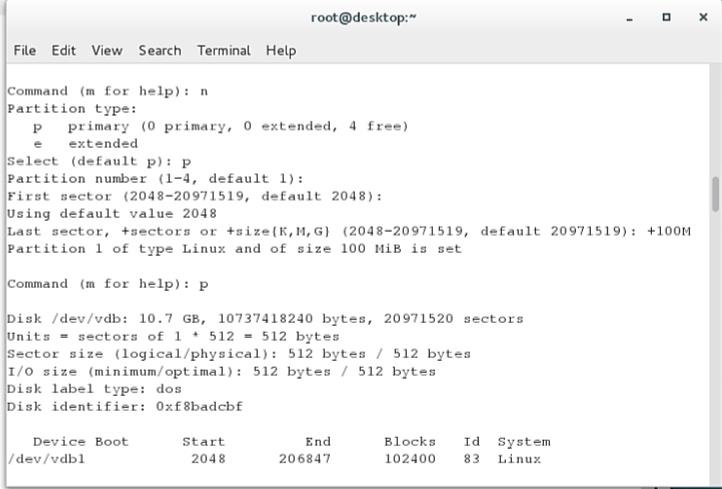
Command (m for help):n
Partition type:p##指定划分设备的分区类型
p primary (0 primary, 0 extended, 4 free)
e extended
Partition number (1-4, default 1):1##指定使用的分区表号
First sector (2048-20971519, default 2048):enter##分区起始快,选择默认
Using default value 2048
Last sector, +sectors or +size{K,M,G} (2048-20971519, default 20971519): +1G ##设备大小指定
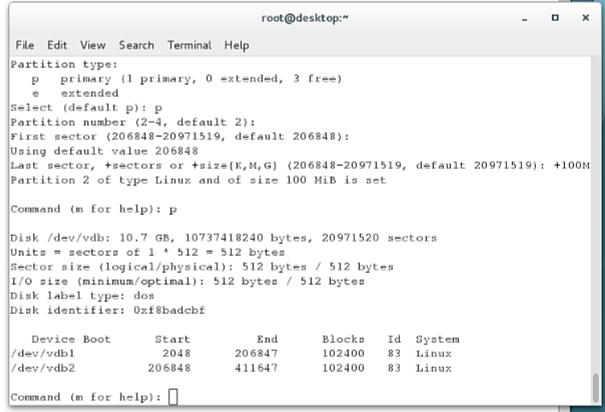
Command (m for help): p##显示分区表
Disk /dev/vdb: 10.7 GB, 10737418240 bytes, 20971520 sectors
Units = sectors of 1 * 512 = 512 bytes
Sector size (logical/physical): 512 bytes / 512 bytes
I/O size (minimum/optimal): 512 bytes / 512 bytes
Disk label type: dos
Disk identifier: 0x7c2200a8
Device Boot Start End Blocks Id System
/dev/vdb1 2048 2099199 1048576 83 Linux##被划分出来的分区
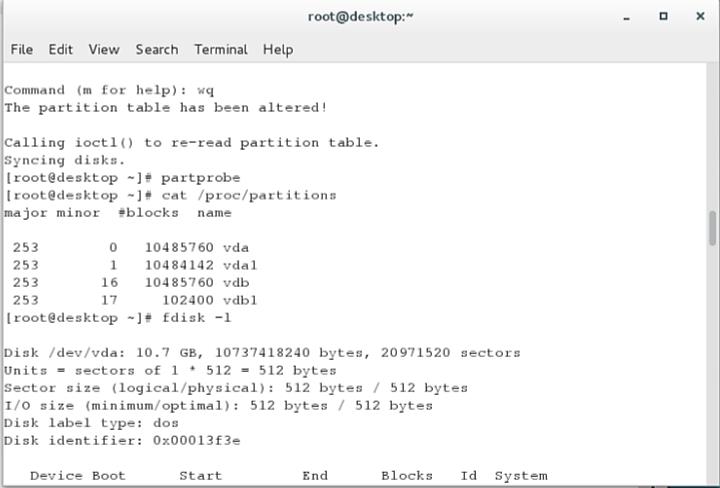
Command (m for help): wq##保存更改方式并退出
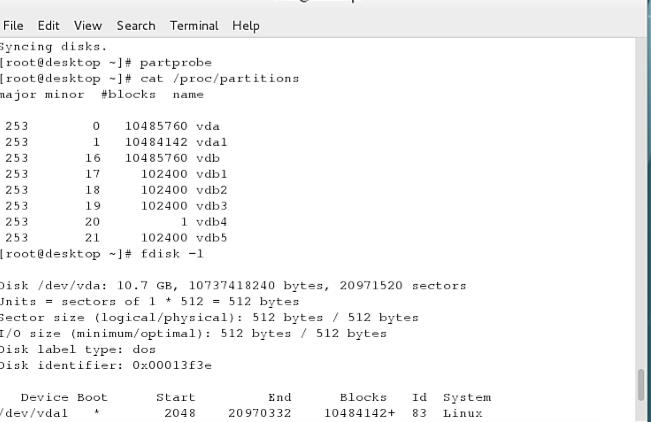
[[email protected] ~]# partprobe ##同步分区表
[[email protected] ~]# cat /proc/partitions ##查看系统能识别的分区
major minor #blocks name
253 0 10485760 vda
253 1 10484142 vda1
253 16 10485760 vdb
253 17 1048576 vdb1
3.如何使用新建立的分区
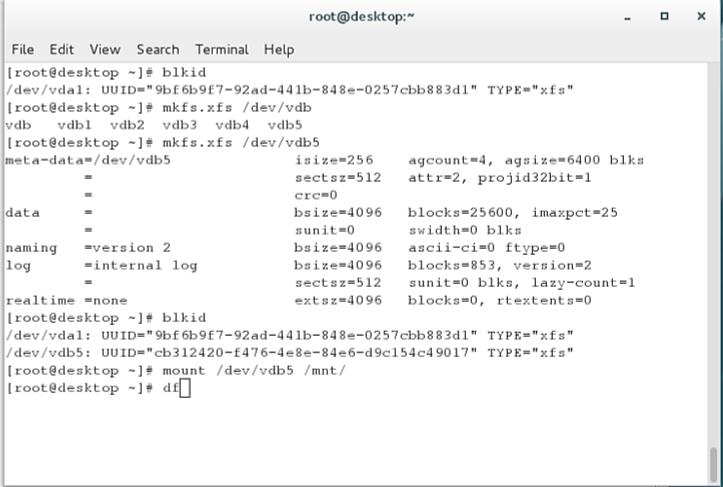
格式化
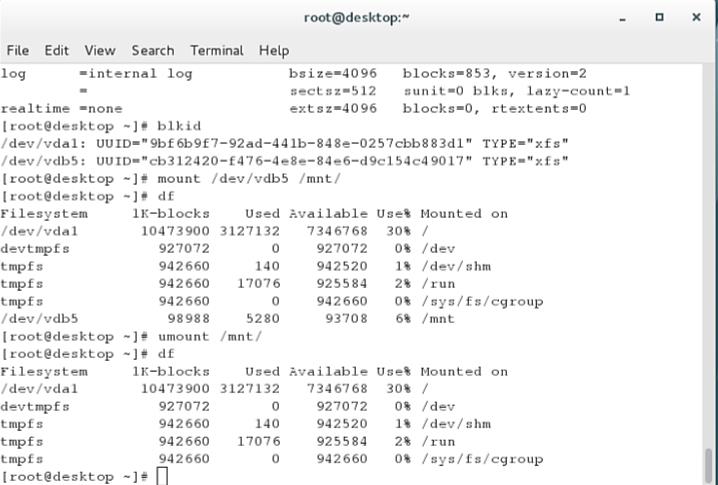
挂载
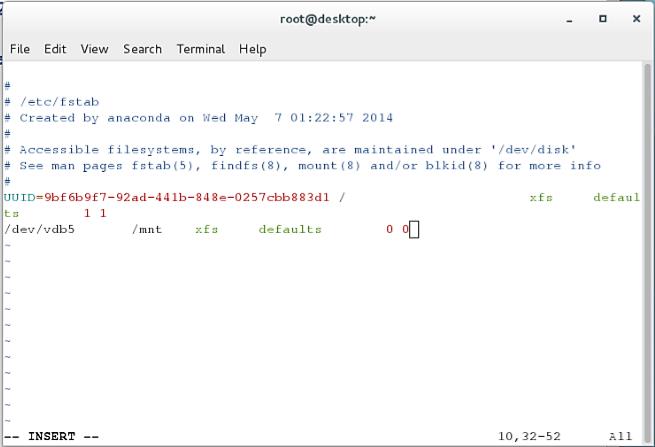
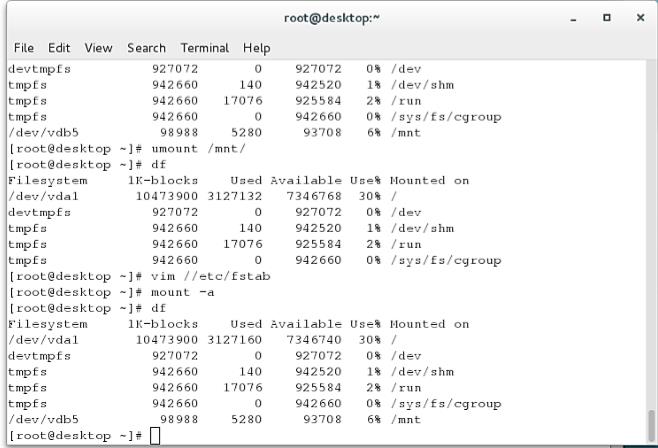
vim /etc/fstab 实现永久挂载
4.设备删除
卸载
删除 /etc/fstab中设备的自动挂载条目
用fdisk删除分区
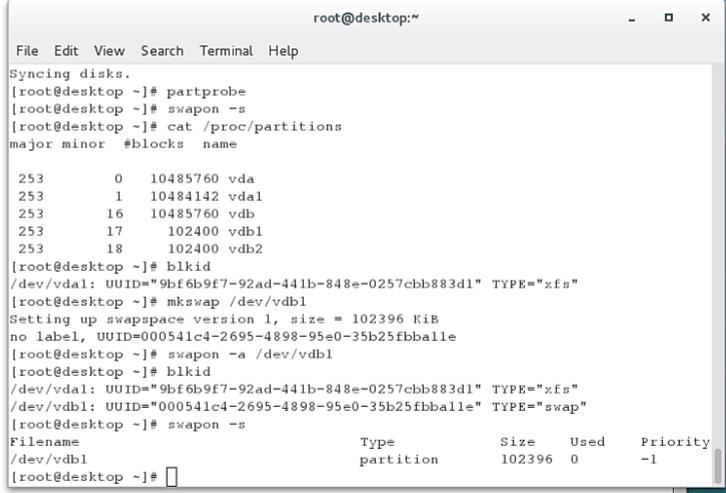
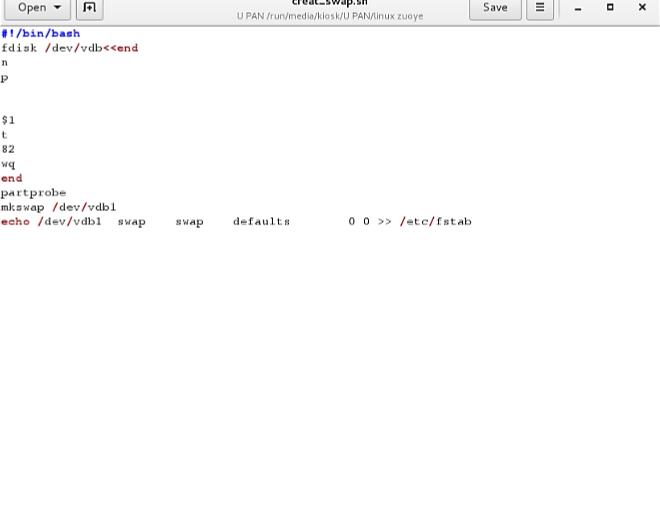
5.swap分区的管理
swapon -s##查看系统中的swap分区
建立swap分区
mkswap/dev/vdb1###把/dev/vdb1格式化成swap格式
swapon -a /dev/vdb1##激活
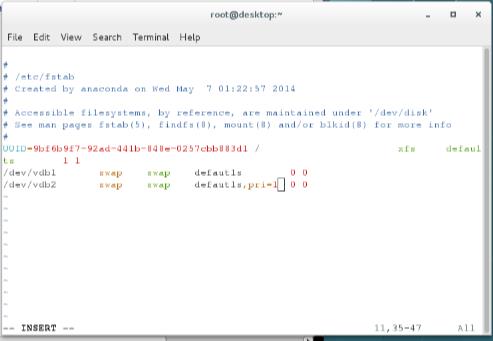
vim /etc/fstab##开机自动激活
/dev/vdb1swapswapdefautls0 0
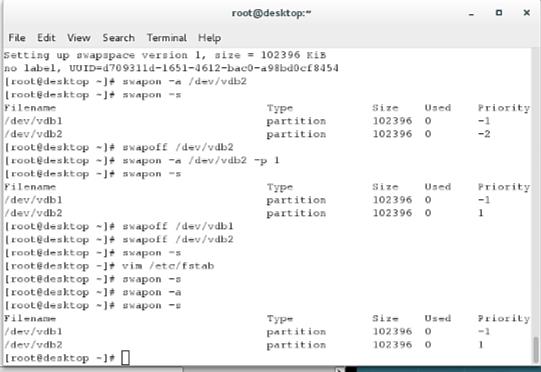
删除/etc/fstab中的swap自动激活条目
swapoff /dev/vdb1##关闭激活的swap分区
6.分区加密
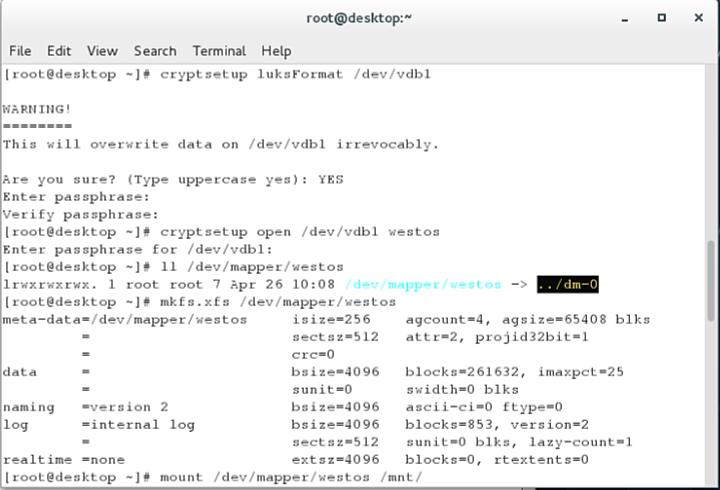
cryptsetupluksFormat /dev/vdb1
WARNING!
========
This will overwrite data on /dev/vdb1 irrevocably.
Are you sure? (Type uppercase yes): YES##确定加密
Enter passphrase: ##密码大于8位,并且不能太简单
Verify passphrase:##确认密码
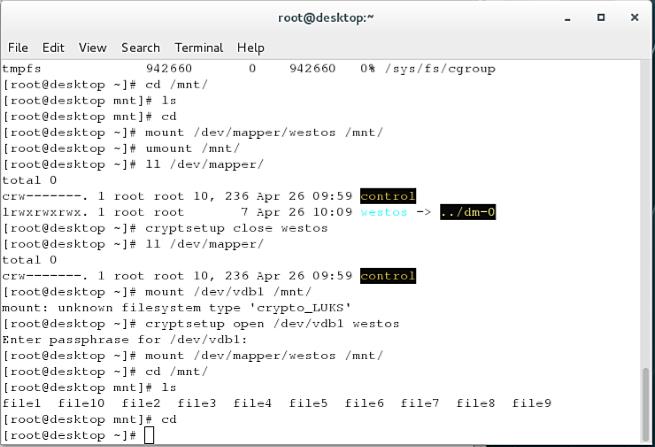
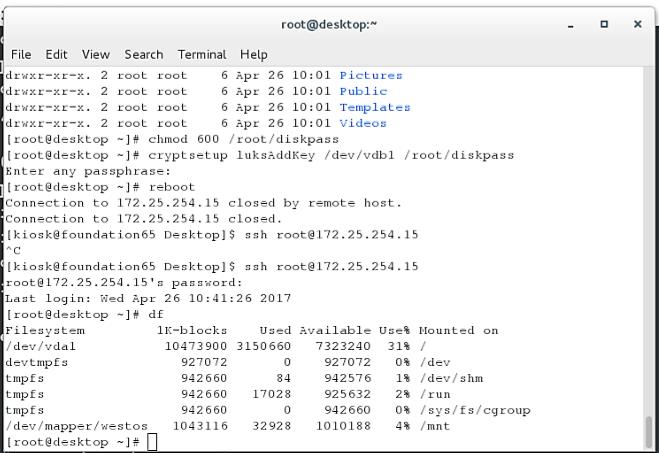
[[email protected] ~]# cryptsetup open /dev/vdb1 westos##解密
Enter passphrase for /dev/vdb1:
[[email protected] ~]# mkfs.xfs /dev/mapper/westos##用管理文件格式化设备
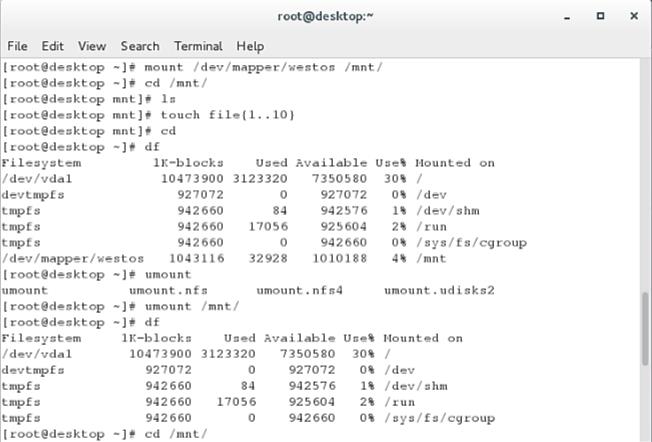
[[email protected] ~]# mount /dev/mapper/westos /mnt/##使用设备
[[email protected] ~]# umount /dev/mapper/westos ##卸载设备
[[email protected] mnt]# cryptsetup close westos##关闭设备加密层
7.自动挂载加密设备
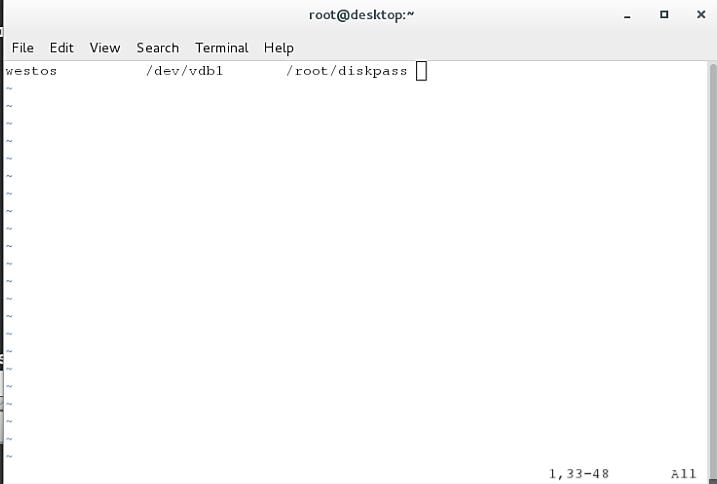
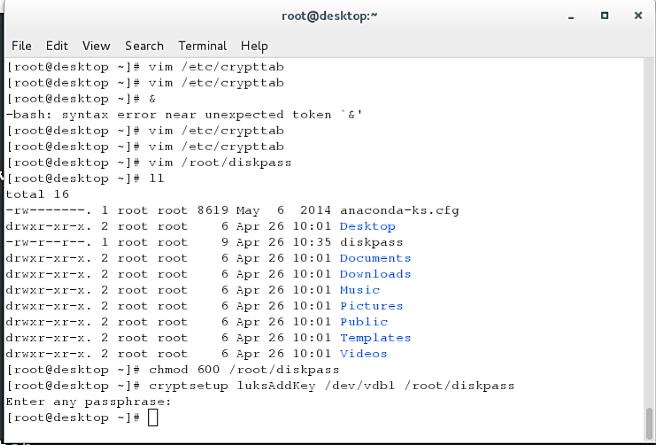
[[email protected] ~]# vim /etc/crypttab ##设定开机解密
解密后名称设备密码文件
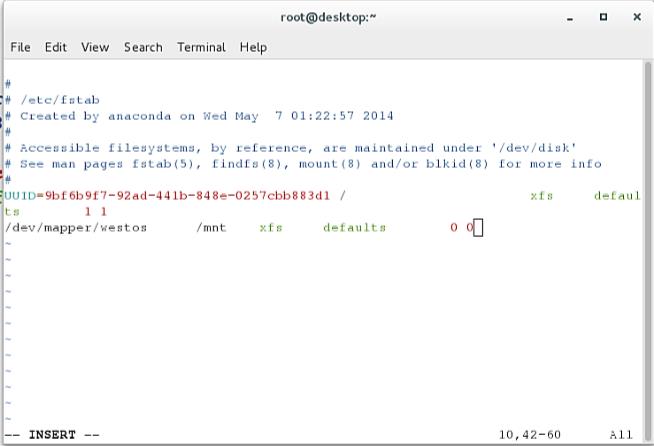
[[email protected] ~]# vim /etc/fstab##开机自动挂载加密设备
/dev/mapper/westos/mntxfs defaults0 0
[[email protected] ~]# vim /root/passwd##系统自动读取密码记录文件
解密密码
[[email protected] ~]# cryptsetup luksAddKey /dev/vdb1 /root/passwd ##把密码记录文件与设备关联
Enter any passphrase:##设备解密密码
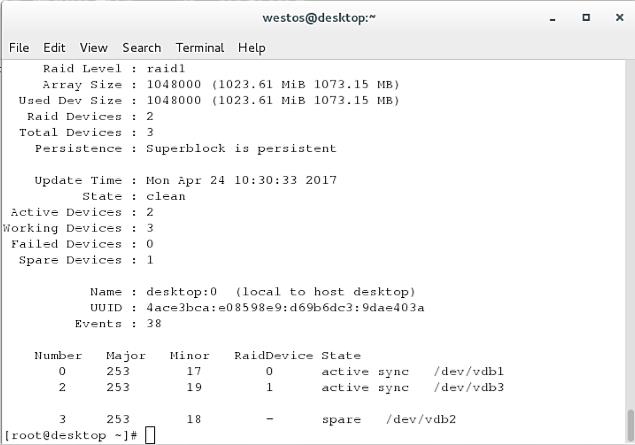
8.raid 磁盘阵列
建立3个分区,并设定3个分区的功能标签位raid
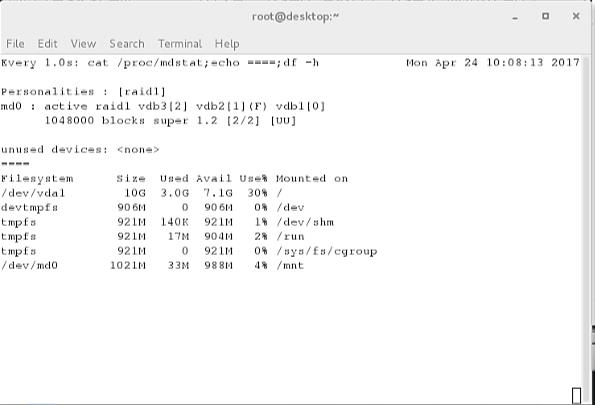
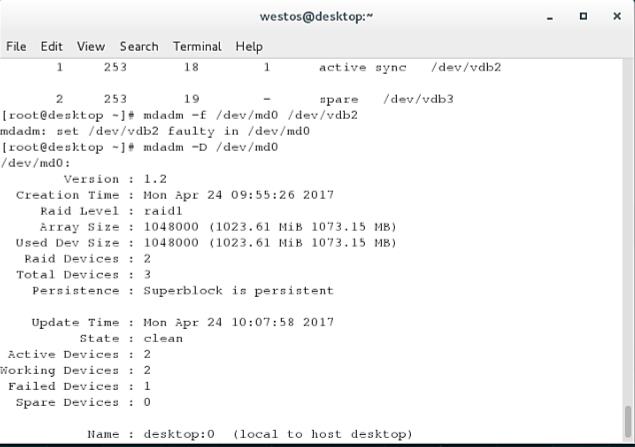
mdadm -C /dev/md0 -a yes -l 1 -n 2 -x 1 /dev/vdb{1..3}
-C##建立
-a##文件不存在建立文件
-l##raid级别
-n##设备个数
-x##闲置设备个数
cat /proc/mdstat##设备信息
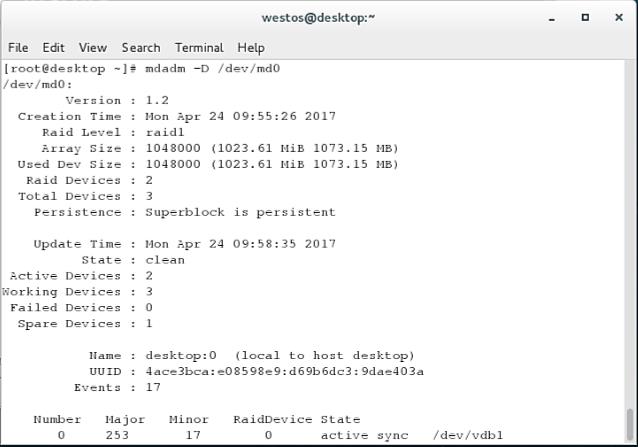
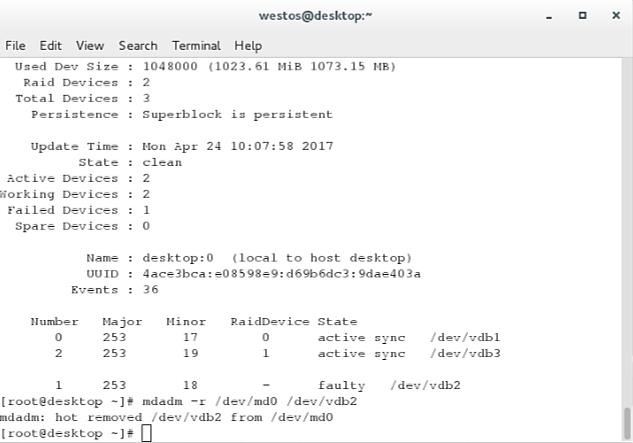
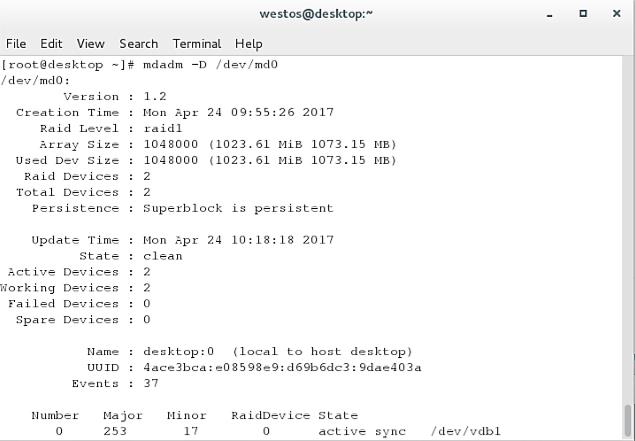
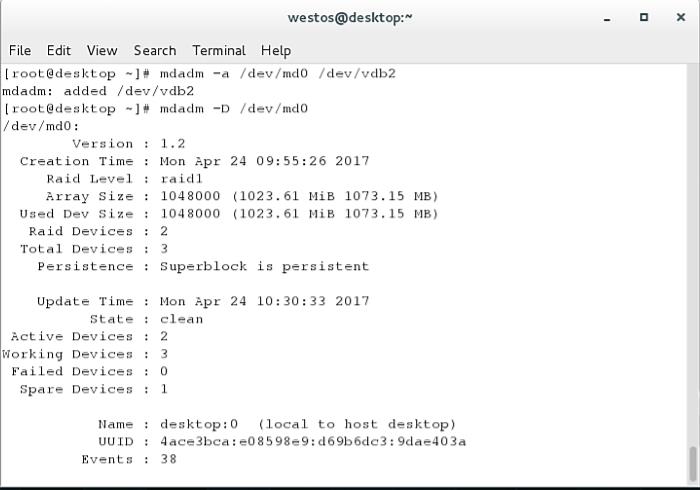
mdadm -D /dev/md0##设备配置信息
mdadm /dev/md0-f /dev/vdb1##损坏设备1
mdadm /dev/md0 -r /dev/vdb1 ##移除设备1
mdadm /dev/md0 -a /dev/vdb1##恢复设备1
mdadm -S /dev/md0##停止设备
*脚本
以上是关于Linux学习134 Unit 4的主要内容,如果未能解决你的问题,请参考以下文章
