最简单的 UE 4 C++ 教程 —— 为 Charactor 添加重叠事件十九
Posted panda1234lee
tags:
篇首语:本文由小常识网(cha138.com)小编为大家整理,主要介绍了最简单的 UE 4 C++ 教程 —— 为 Charactor 添加重叠事件十九相关的知识,希望对你有一定的参考价值。
原教程是基于 UE 4.18,我是基于 UE 4.25】
接上一节教程,我们继续在 Character.h 文件中,在 public 部分声明 OnOverlapBegin 和OnOverlapEnd 方法。我在本教程中的头文件名为 UnrealCPPCharacter.h ,你的文件可能有不同的名称。你可以在这里了解更多关于 OnComponentBeginOverlap 和 OnComponentEndOverlap 的信息。
public
  ...

  // declare overlap begin function
	UFUNCTION()
	void OnOverlapBegin(class UPrimitiveComponent* OverlappedComp, class AActor* OtherActor, class UPrimitiveComponent* OtherComp, int32 OtherBodyIndex, bool bFromSweep, const FHitResult& SweepResult);

	// declare overlap end function
	UFUNCTION()
	void OnOverlapEnd(class UPrimitiveComponent* OverlappedComp, class AActor* OtherActor, class UPrimitiveComponent* OtherComp, int32 OtherBodyIndex);
在本教程中,我们将为角色添加一个胶囊组件来专门处理触发事件。
class AUnrealCPPCharacter : public ACharacter
{
  GENERATED_BODY()

  ...

	// create trigger capsule
	UPROPERTY(VisibleAnywhere, Category = "Trigger Capsule")
  class UCapsuleComponent* TriggerCapsule;
我们已经完成了头文件。继续把目光移动到 .cpp 文件。
如果你还没有包含 Components/CapsuleComponent.h ,请在顶部包含这个文件。
#include "Components/CapsuleComponent.h"在 Character 的构造函数中,我们将向其添加胶囊组件,并将其连接到重叠事件。
要给我们的角色添加一个胶囊,我们首先通过 CreateDefaultSubobject 创建一个 UCapsuleComponent 组件,并给它起任何我们想要的名字。我称之为“Trigger Capsule“。
接下来,我们必须初始化其大小,我使其大小与初始胶囊组件(在构造函数中声明的)相同。我们还可以使用 SetCollisionProfileName 设置这个组件的碰撞类型。我们将 Trigger Profile 文件名称添加到胶囊中,这将为组件提供类似于触发器胶囊的重叠事件。这也可以很容易地在编辑器中设置。最后将 TriggerCapsule 附加到 RootComponent
AUnrealCPPCharacter::AUnrealCPPCharacter()
{
  ...
  // declare trigger capsule
	TriggerCapsule = CreateDefaultSubobject<UCapsuleComponent>(TEXT("Trigger Capsule"));
	TriggerCapsule->InitCapsuleSize(55.f, 96.0f);;
	TriggerCapsule->SetCollisionProfileName(TEXT("Trigger"));
  TriggerCapsule->SetupAttachment(RootComponent);
}
我们通过调用 OnComponentBeginOverlap 和 OnComponentEndOverlap 将胶囊连接到重叠事件。
...
void AUnrealCPPCharacter::OnOverlapBegin(class UPrimitiveComponent* OverlappedComp, class AActor* OtherActor, class UPrimitiveComponent* OtherComp, int32 OtherBodyIndex, bool bFromSweep, const FHitResult& SweepResult)
{
	if (OtherActor && (OtherActor != this) && OtherComp)
	{
		GEngine->AddOnScreenDebugMessage(-1, 5.f, FColor::Red, TEXT("Overlap Begin"));
	}
}

void AUnrealCPPCharacter::OnOverlapEnd(class UPrimitiveComponent* OverlappedComp, class AActor* OtherActor, class UPrimitiveComponent* OtherComp, int32 OtherBodyIndex)
{
	if (OtherActor && (OtherActor != this) && OtherComp)
	{
		GEngine->AddOnScreenDebugMessage(-1, 5.f, FColor::Red, TEXT("Overlap End"));
	}
}
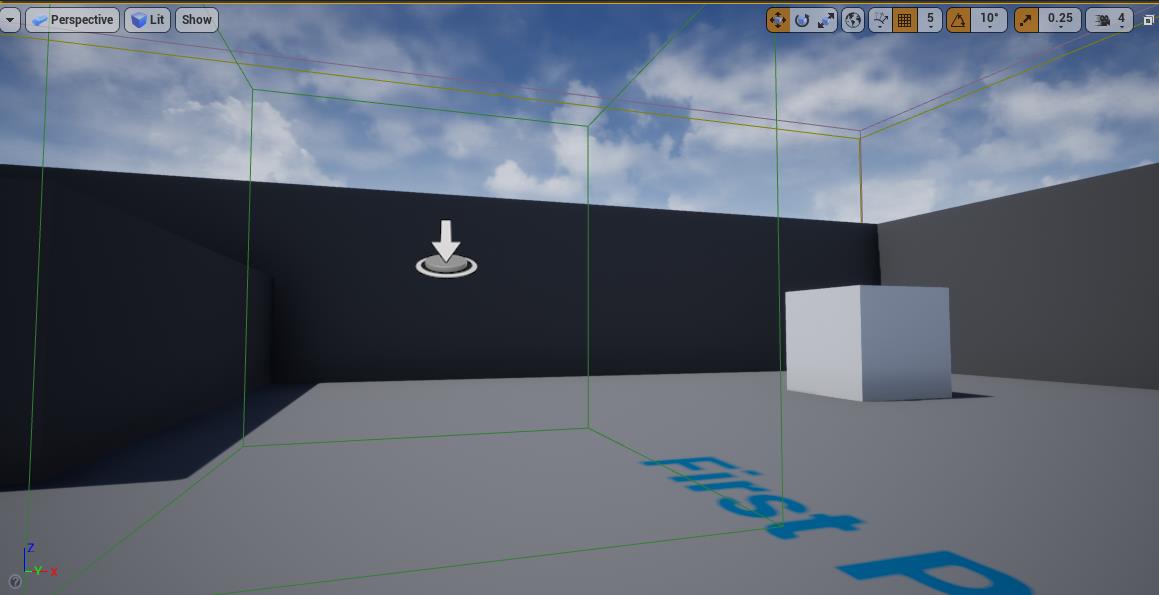
我们手动在场景中添加一个 Triggger Box

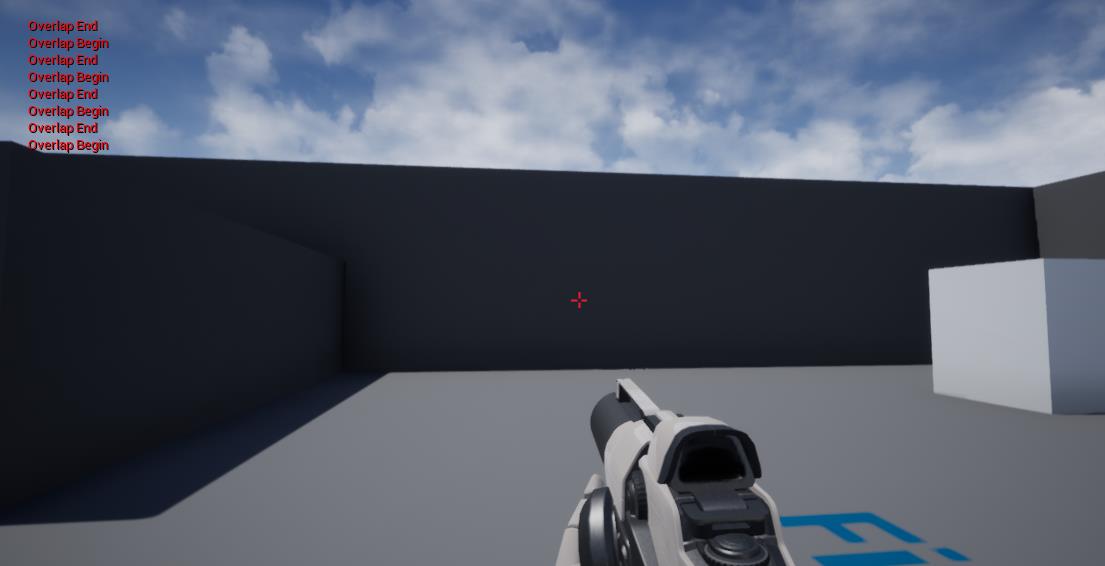
然后操控 Character 与其发生重叠,下面是最终运行效果

以上是关于最简单的 UE 4 C++ 教程 —— 为 Charactor 添加重叠事件十九的主要内容,如果未能解决你的问题,请参考以下文章
最简单的 UE 4 C++ 教程 —— 绘制 UE4 辅助调试的形状
最简单的 UE 4 C++ 教程 —— 漂浮的 Actor二十七
最简单的 UE 4 C++ 教程 —— 给 Actor 添加径向推力十八