微信小程序自定义 顶部nav 和 底部tabbar
Posted AC_meimei
tags:
篇首语:本文由小常识网(cha138.com)小编为大家整理,主要介绍了微信小程序自定义 顶部nav 和 底部tabbar相关的知识,希望对你有一定的参考价值。
文章目录
一、微信小程序自定义Nav:
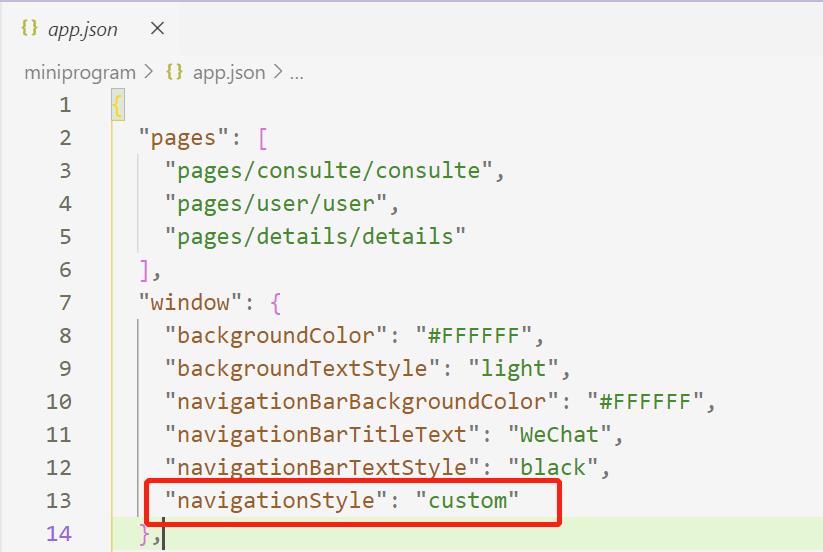
1、首先在小程序app.json中添加 "navigationStyle": "custom"来标志自定义导航栏:

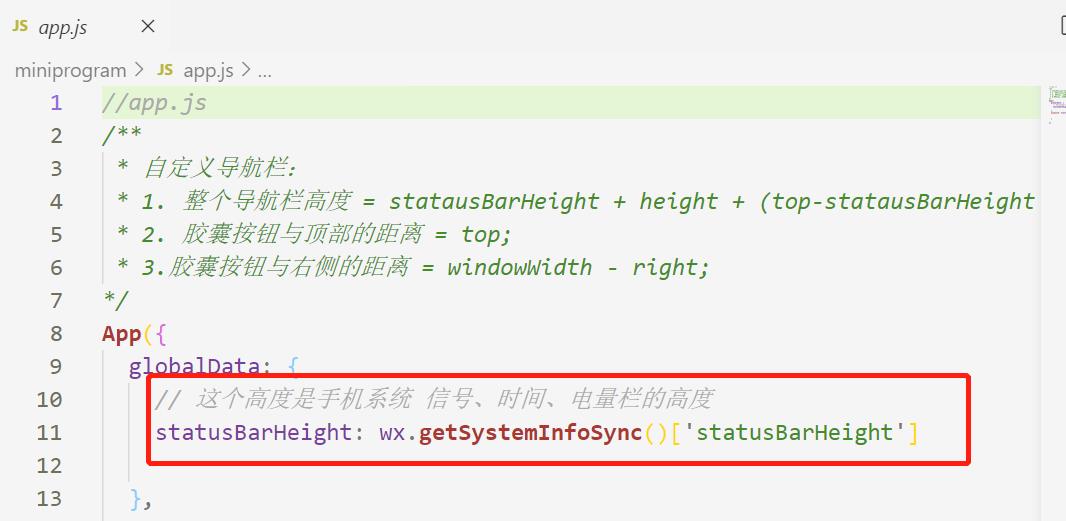
2、调节 view 代替原顶部导航栏到app.js里添加
statusBarHeight: wx.getSystemInfoSync()['statusBarHeight'] 这句:

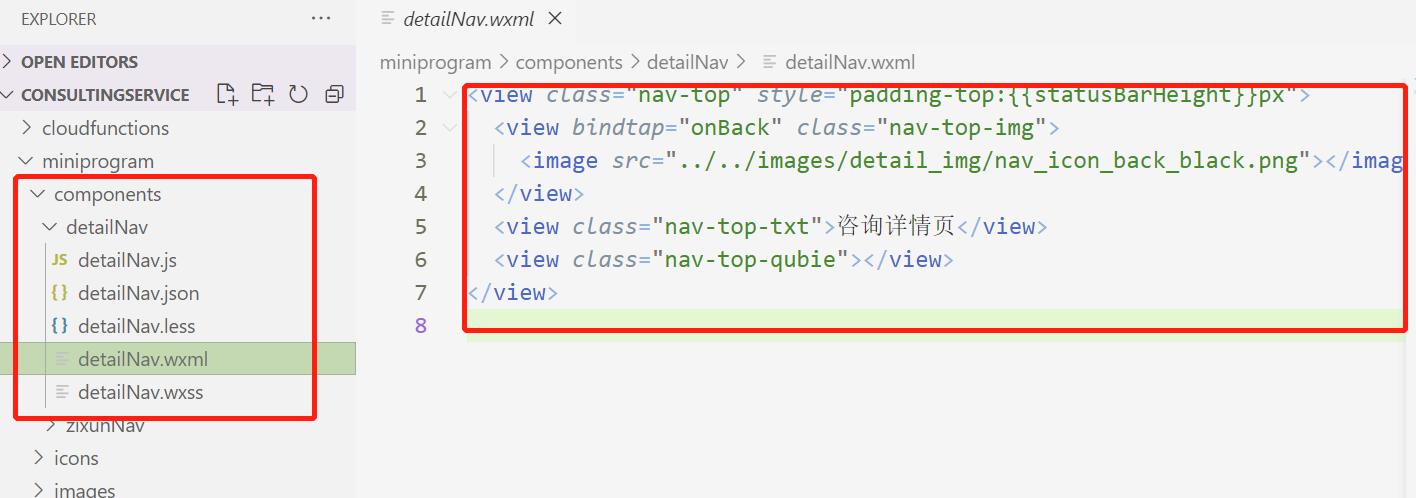
3、在components文件里封装组件detailNav(注册组件):

代码如下:
wxml:
// detailNav.wxml
<view class="nav-top" style="padding-top:{{statusBarHeight}}px">
  <view bindtap="onBack" class="nav-top-img">
    <image src="../../images/detail_img/nav_icon_back_black.png"></image>
  </view>
  <view class="nav-top-txt">咨询详情页</view>
  <view class="nav-top-qubie"></view>
</view>
wxss:
// detailNav.wxss
.nav-top{
    position: fixed;
    width: 100%;
    top: 0;
    left: 0;
    height: 160rpx;
    background-color: #FFFFFF;
    z-index: 99999;
    display: flex;
    flex-direction: row;
    padding: 15rpx;
    justify-content: space-between;
  }

  .nav-top-img{
    height: 37rpx;
    width: 37rpx;
    z-index: 10000;
    margin-top: 28rpx;
    margin-left: 25rpx;
    image {
      width: 100%;
      height: 100%;
  }
  }


  .nav-top-txt {
    font-weight: bold;
    line-height: 85rpx;
    flex: 1;
    text-align: center;
    font-size: 40rpx;
    font-family: "黑体";
    padding-right: 27rpx;
  }
  .nav-top-qubie{
    height: 43rpx;
    width: 43rpx;
    z-index: 10000;
  }
js:
 // detailNav.js
var app = getApp();
Component({
  /**
   * 组件的属性列表
   */
  properties: {

  },
  /**
   * 组件的初始数据
   */
  data: {
    statusBarHeight: app.globalData.statusBarHeight,
  },
  /**
   * 组件的方法列表
   */
  methods: {
     // 返回首页
    onBack:function(){
      wx.switchTab({
        url: '../../pages/consulte/consulte'
      });
      // wx.reLaunch({
      //   url: '../../pages/consulte/consulte',
      // })
    },
  }
})
4、在哪个页面用就在哪个页面json文件引入组件(引用组件):

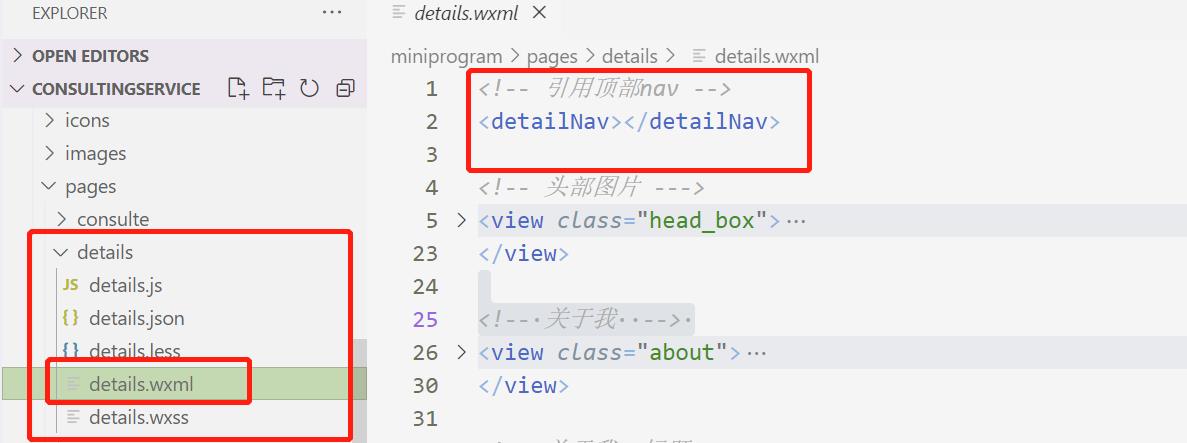
5、在哪个页面用就在哪个页面wxml文件使用组件(使用组件):

6、效果图:

二、微信小程序自定义TabBar:
以上是关于微信小程序自定义 顶部nav 和 底部tabbar的主要内容,如果未能解决你的问题,请参考以下文章