linuxCentos_8 安装cisco_yang-explorer(详细过程)
Posted
tags:
篇首语:本文由小常识网(cha138.com)小编为大家整理,主要介绍了linuxCentos_8 安装cisco_yang-explorer(详细过程)相关的知识,希望对你有一定的参考价值。
linuxCentos_8 安装cisco_yang-explorer 需要先安装python2安装python2.7 所需的依赖包yum install gcc openssl-devel bzip2-devel
安装python2.7yum install python2
进入linux的软连接存放位置cd /usr/bin
.查看现有python的软连接指向的版本ls -al *python*
删除旧的软连接sudo rm python2
建立新的软连接sudo ln -s python2.7 python
安装 PIP2curl "https://bootstrap.pypa.io/get-pip.py" -o "get-pip.py"python get-pip.py
============================
安装python2 虚拟环境
pip2 install virtualenv
安装依赖组件
yum install libxml2-devel libxslt-devel python2-devel zlib-devel
graphviz(可视化图形工具)
yum install graphviz
安装pyang
pip2 install pyang
安装Git
yum install git
安装yang-explorer
[root@localhost ~]#git clone https://github.com/CiscoDevNet/yang-explorer.git
[root@localhost ~]# cd yang-explorer/
[root@localhost yang-explorer]# bash setup.sh~忽略安装内容~
#提示是否使用root初始化数据集
Do you want to continue as root ? (n/N) y
编辑YangExplorer.html //
[root@localhost static]# pwd
/root/yang-explorer/server/static
[root@localhost static]# vi YangExplorer.html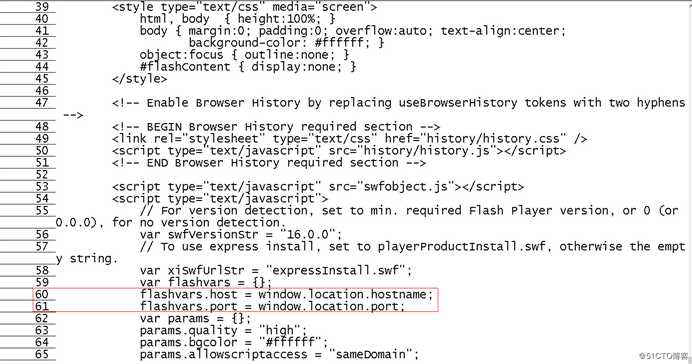
编辑后如下图(编辑60,61行内容host=本linux,ip地址,port= 8088 #ip和端口要用《‘ ’》引起):
编辑start.sh【本linnx的ip,端口默认】
[root@localhost yang-explorer]# pwd
/root/yang-explorer
[root@localhost yang-explorer]# vim start.sh 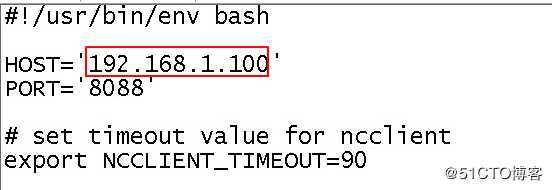
启动yang-explorer
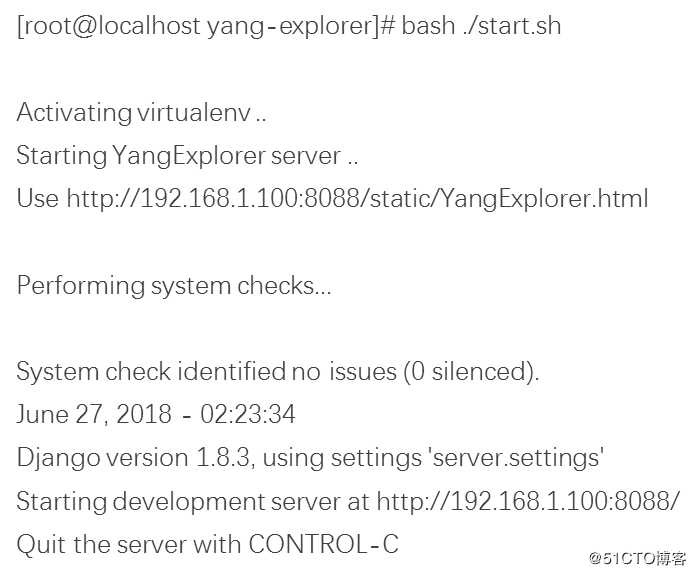
[root@localhost yang-explorer]# bash ./start.sh
Activating virtualenv ..
Starting YangExplorer server ..
Use http://192.168.1.100:8088/static/YangExplorer.html
Performing system checks...
System check identified no issues (0 silenced).
June 27, 2018 - 02:23:34
Django version 1.8.3, using settings ‘server.settings‘
Starting development server at http://192.168.1.100:8088/
Quit the server with CONTROL-C
使用同一网段的主机浏览器打开(需要加载Flash)
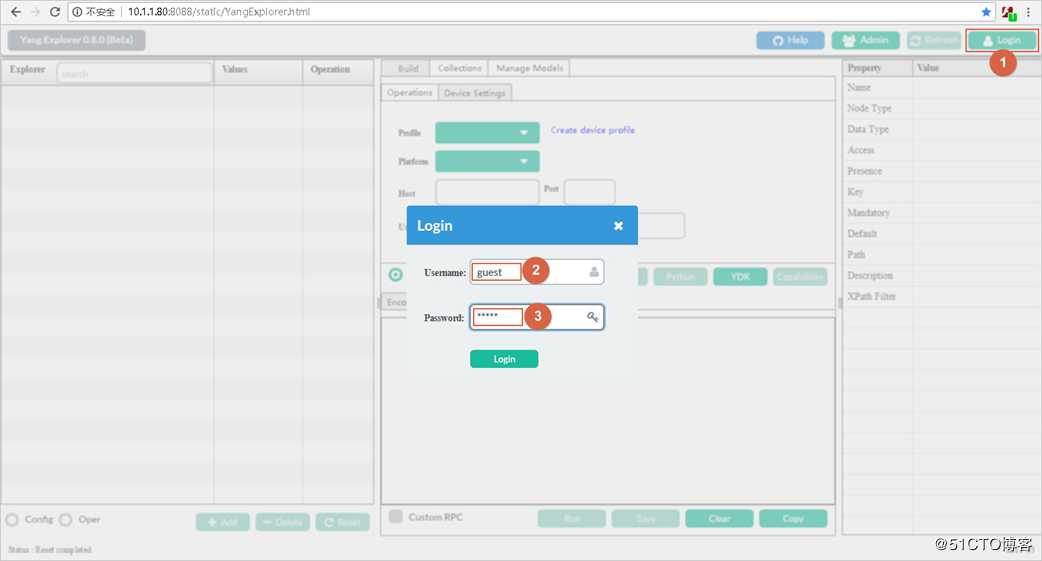
访问yang-explorer(http://192.168.1.100:8088/static/YangExplorer.html)
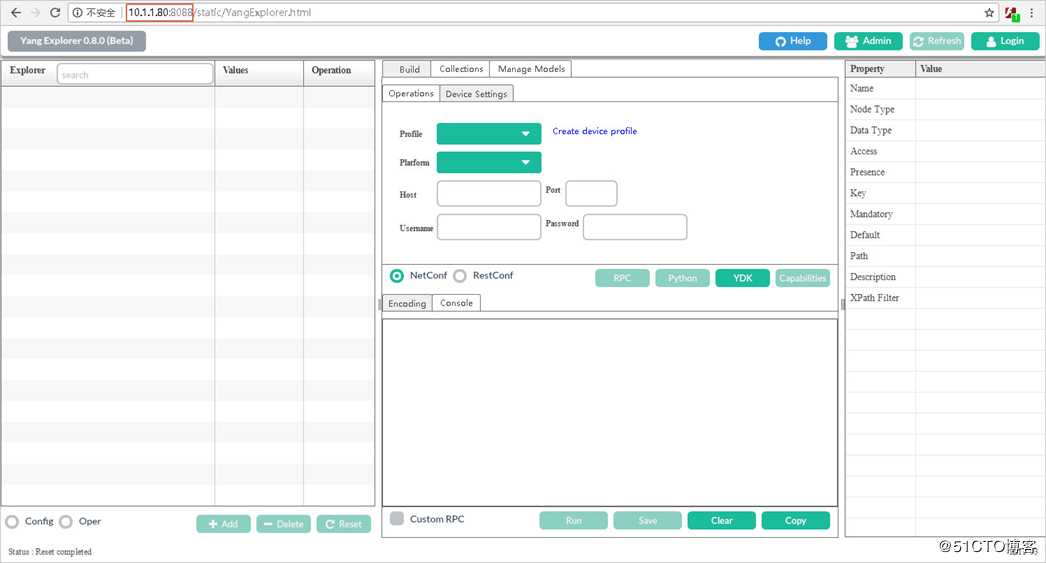
登录yang-explorer(密码:guest)
注意事项:如果安装Django出故障的解决办法
[root@localhost yang-explorer]# cd v
[root@localhost v]# source bin/activate
(v) [root@localhost v]# pip2 install Django-1.8.3-py2.py3-none-any.whl
Processing ./Django-1.8.3-py2.py3-none-any.whl
Installing collected packages: Django
Successfully installed Django-1.8.3
(v) [root@localhost v]# python
Python 2.7.5 (default, Apr 11 2018, 07:36:10)
[GCC 4.8.5 20150623 (Red Hat 4.8.5-28)] on linux2
Type "help", "copyright", "credits" or "license" for more information.
">>> import django
">>> exit()
以上是关于linuxCentos_8 安装cisco_yang-explorer(详细过程)的主要内容,如果未能解决你的问题,请参考以下文章