VUE学习笔记:12.组件化之:slot组件插槽讲解
Posted new nm个对象
tags:
篇首语:本文由小常识网(cha138.com)小编为大家整理,主要介绍了VUE学习笔记:12.组件化之:slot组件插槽讲解相关的知识,希望对你有一定的参考价值。
1.为什么需要使用slot
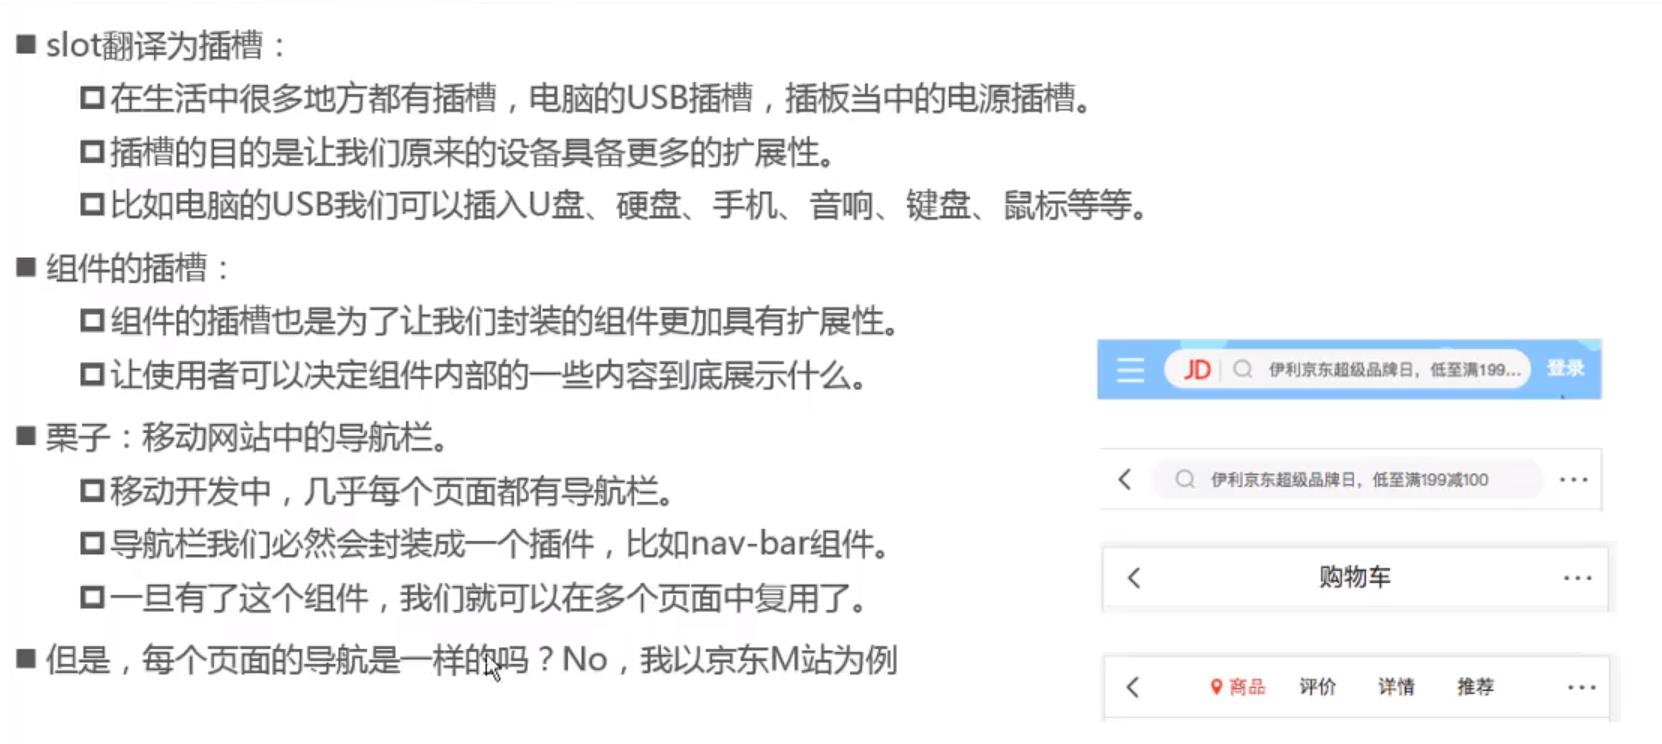
- 我们自定义的组件往往需要在很多不同的页面中使用。而且在不同的页面中使用时,组件也不是一成不变的,而是同一组件在不同地方使用时展示的内容也稍有不同。
- 要实现以上需求就不能在定义组件时把展示的内容写死,而是在组件中定义出插槽。当我们在使用组件再决定组件具体需要展示哪些内容。
- 一般在定义组件时,我们将共性的内容写死在组件中。而可能改变的内容封装为插槽。
2.slot的基本使用
- 在定义子组件时,将不确定的内容抽取为slot。
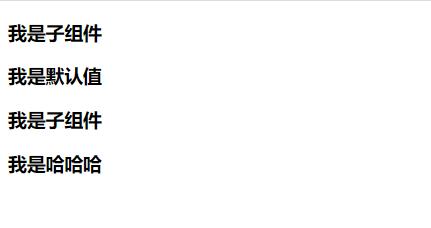
<template id="script_template"> <div> <h3>我是子组件</h3> <!--使用slot标签设置一个插槽,其内可以放置内容作为组件的默认值--> <slot><h3>我是默认值</h3></slot> </div> </template> - 在使用子组件时,决定slot插槽的内容
<div id="app1">
	<!--使用组件时如果标签内放置了内容,则会将该内容替换为子组件中slot标签中的内容。如使用时
	不放置内容,则会使用子组件中slot标签中的默认内容
	-->
	<mycpnc></mycpnc>
	<mycpnc><h3>我是哈哈哈</h3></mycpnc>
</div>
案例:
<!DOCTYPE html>
<html>
<head lang="en">
    <meta charset="UTF-8">
    <title></title>
</head>
<body>
<div id="app1">
	<!--使用组件-->
	<mycpnc></mycpnc>
	<mycpnc><h3>我是哈哈哈</h3></mycpnc>
</div>


<template id="script_template">
	<div>
		<h3>我是子组件</h3>
		<slot><h3>我是默认值</h3></slot>
	</div>
</template>

<!--引入本地的vue.js文件-->
<script src="../vue.js"></script>

<script>
    let app = new Vue({
        el: '#app1', // 讲这个vue实例与id为app1的标签关联起来
		//使用语法糖方式注册局部组件
		components: {
			'mycpnc':{
				template: '#script_template'
			}
		}
    })
</script>
</body>
</html>
效果如下:
3.slot具名插槽的使用
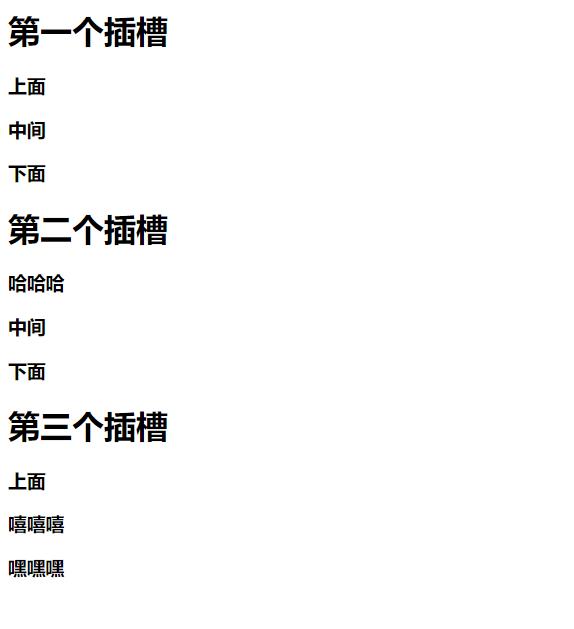
当我们在定义子组件时,如果设置了多个slot插槽,那么再使用时就会有一个问题:如何设置每个插槽的值呢?这就需要用到我们的具名插槽了。

具名插槽的使用步骤:
- 在定义子组件时,将不确定的内容抽取为slot,并给slot标签设置name属性。
<template id="script_template"> <div> <slot name="above"><h3>上面</h3></slot> <slot name="intermediate"><h3>中间</h3></slot> <slot name="follow"><h3>下面</h3></slot> </div> </template> - 在使用子组件时,决定slot插槽的内容。
<div id="app1">
	<!--使用组件-->
	<mycpnc>
		<!--给标签设置slot属性,程序会根据slot属性的值找到对应的slot标签-->
		<h3 slot="follow">嘿嘿嘿</h3>
		<h3 slot="intermediate">嘻嘻嘻</h3>
	</mycpnc>
</div>
案例:
<!DOCTYPE html>
<html>
<head lang="en">
    <meta charset="UTF-8">
    <title></title>
</head>
<body>
<div id="app1">
	<!--使用组件-->
	<h1>第一个插槽</h1>
	<mycpnc></mycpnc>
	<h1>第二个插槽</h1>
	<mycpnc><h3 slot="above">哈哈哈</h3></mycpnc>
	<h1>第三个插槽</h1>
	<mycpnc>
		<h3 slot="follow">嘿嘿嘿</h3>
		<h3 slot="intermediate">嘻嘻嘻</h3>
	</mycpnc>
</div>


<template id="script_template">
	<div>
		<slot name="above"><h3>上面</h3></slot>
		<slot name="intermediate"><h3>中间</h3></slot>
		<slot name="follow"><h3>下面</h3></slot>
	</div>
</template>

<!--引入本地的vue.js文件-->
<script src="../vue.js"></script>

<script>
    let app = new Vue({
        el: '#app1', // 讲这个vue实例与id为app1的标签关联起来
		//使用语法糖方式注册局部组件
		components: {
			'mycpnc':{
				template: '#script_template'
			}
		}
    })
</script>
</body>
</html>
效果如下:
4.slot作用域插槽的使用
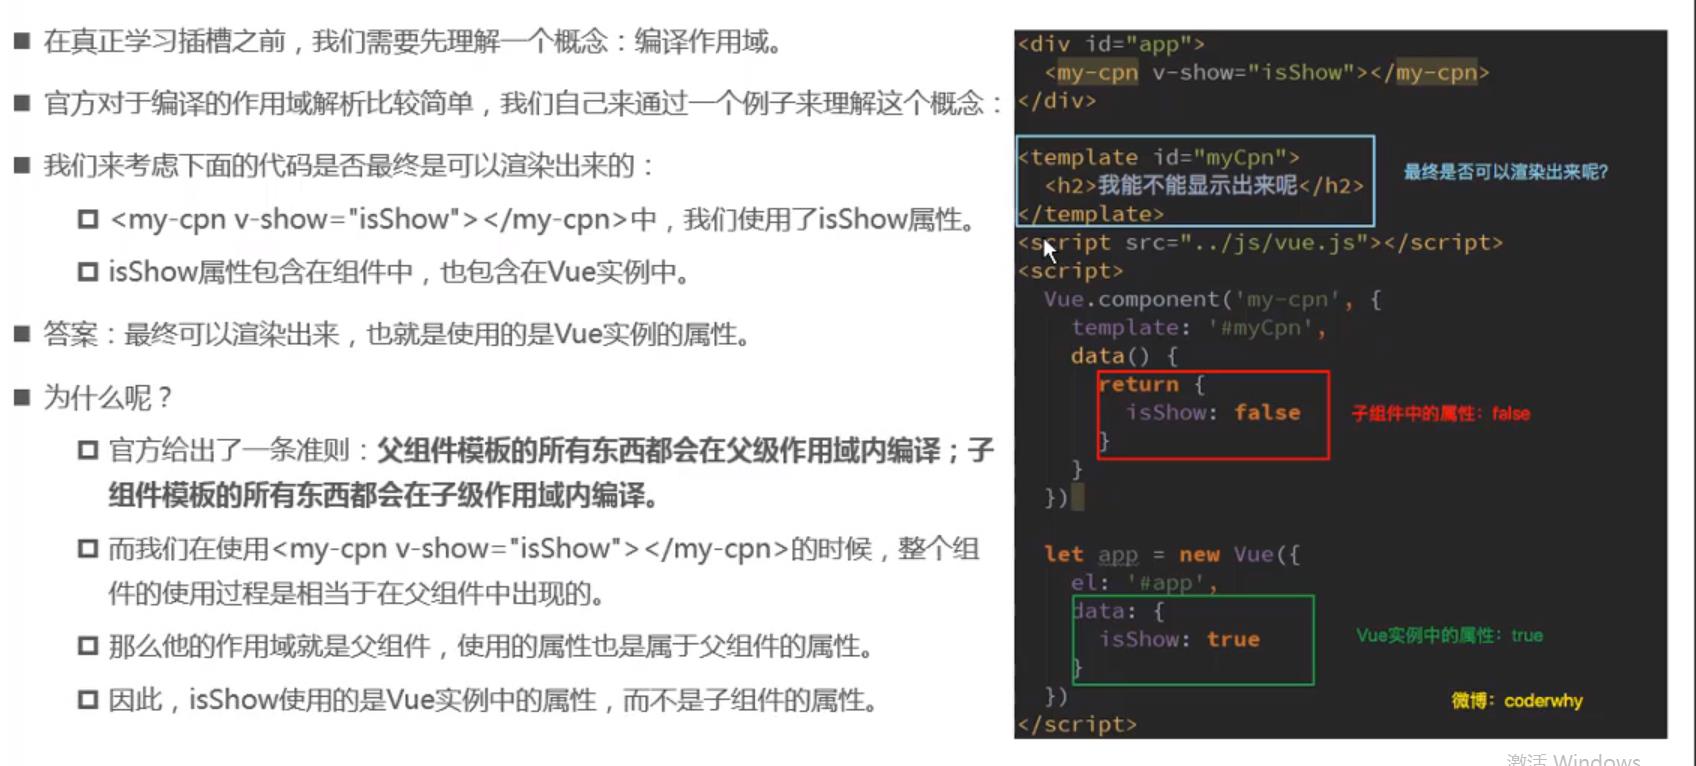
(1)什么是编译作用域
(2)作用域插槽的使用
- 作用域插槽可以简单理解为
我们在使用子组件时,如果需要使用子组件中的数据来设置子组件中slot插槽的内容,那么就需要使用作用域插槽了。 - 作用域插槽的本质是:
- 1.在定义子组件插槽时,给
slot标签设置自定义属性(dmsg),并使用v-on将属性值绑定为子组件的数据。 - 2.在使用子组件并设置插槽具体内容时,可以使用
slot-scope="myslot"将子组件的slot对象传递给变量myslot。 - 3.在父组件中就可以使用
myslot.dmsg来获取子组件的数据
- 1.在定义子组件插槽时,给
作用域插槽的使用步骤:
- 在定义子组件时,将不确定的内容抽取为slot,并给slot标签设置一个属性,使用v-on将属性值绑定为子组件中的数据
<template id="script_template"> <div> <!--将子组件的message数据绑定到slot标签的dmsg属性中--> <!--不一定必须是dmsg属性,也可以使用其他自定义的属性值--> <slot :dmsg="message" name="aaa"> <h3>我是默认值</h3> </slot> </div> </template> - 在使用子组件,决定slot插槽的内容时,可以使用
slot-scope="myslot"来获取子组件中的slot对象。<div id="app1"> <!--使用组件--> <mycpnc> <!--在vue2.5之前的版本必须用template标签来获取子组件对象,2.5以后也可以使用div等标签--> <!--slot-scope="myslot",将aaa插槽对象传递给了myslot变量--> <template slot-scope="myslot" slot="aaa"> <h3>{{myslot.dmsg}}</h3> </template> </mycpnc> </div>
案例:
<!DOCTYPE html>
<html>
<head lang="en">
    <meta charset="UTF-8">
    <title></title>
</head>
<body>
<div id="app1">
	<!--使用组件-->
	<mycpnc>
		<template slot-scope="myslot" slot="aaa">
			<h3>{{myslot.dmsg}}</h3>
		</template>
	</mycpnc>

	<mycpnc></mycpnc>
</div>


<template id="script_template">
	<div>
		<slot :dmsg="message" name="aaa">
			<h3>我是默认值</h3>
		</slot>
	</div>
</template>

<!--引入本地的vue.js文件-->
<script src="../vue.js"></script>

<script>
    let app = new Vue({
        el: '#app1', // 讲这个vue实例与id为app1的标签关联起来
		//使用语法糖方式注册局部组件
		components: {
			'mycpnc':{
				template: '#script_template',
				data:function(){
					return {
						message: '哈哈哈'
					}
				}
			}
		}
    })
</script>
</body>
</html>
效果如下:

以上是关于VUE学习笔记:12.组件化之:slot组件插槽讲解的主要内容,如果未能解决你的问题,请参考以下文章