Windows 下安装 CUDA 和 Pytorch 跑深度学习
Posted yangbocsu
tags:
篇首语:本文由小常识网(cha138.com)小编为大家整理,主要介绍了Windows 下安装 CUDA 和 Pytorch 跑深度学习相关的知识,希望对你有一定的参考价值。
Windows 下安装 CUDA 和 Pytorch 跑深度学习
一、安装cuda 11.3
dxdiag
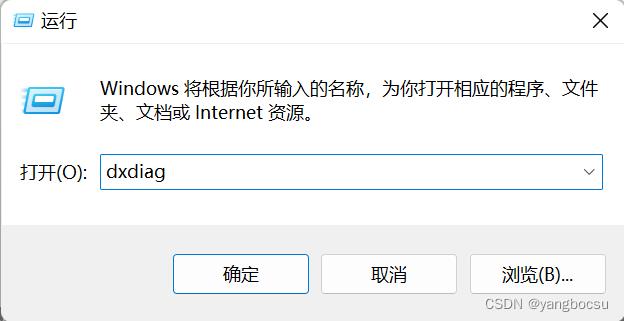
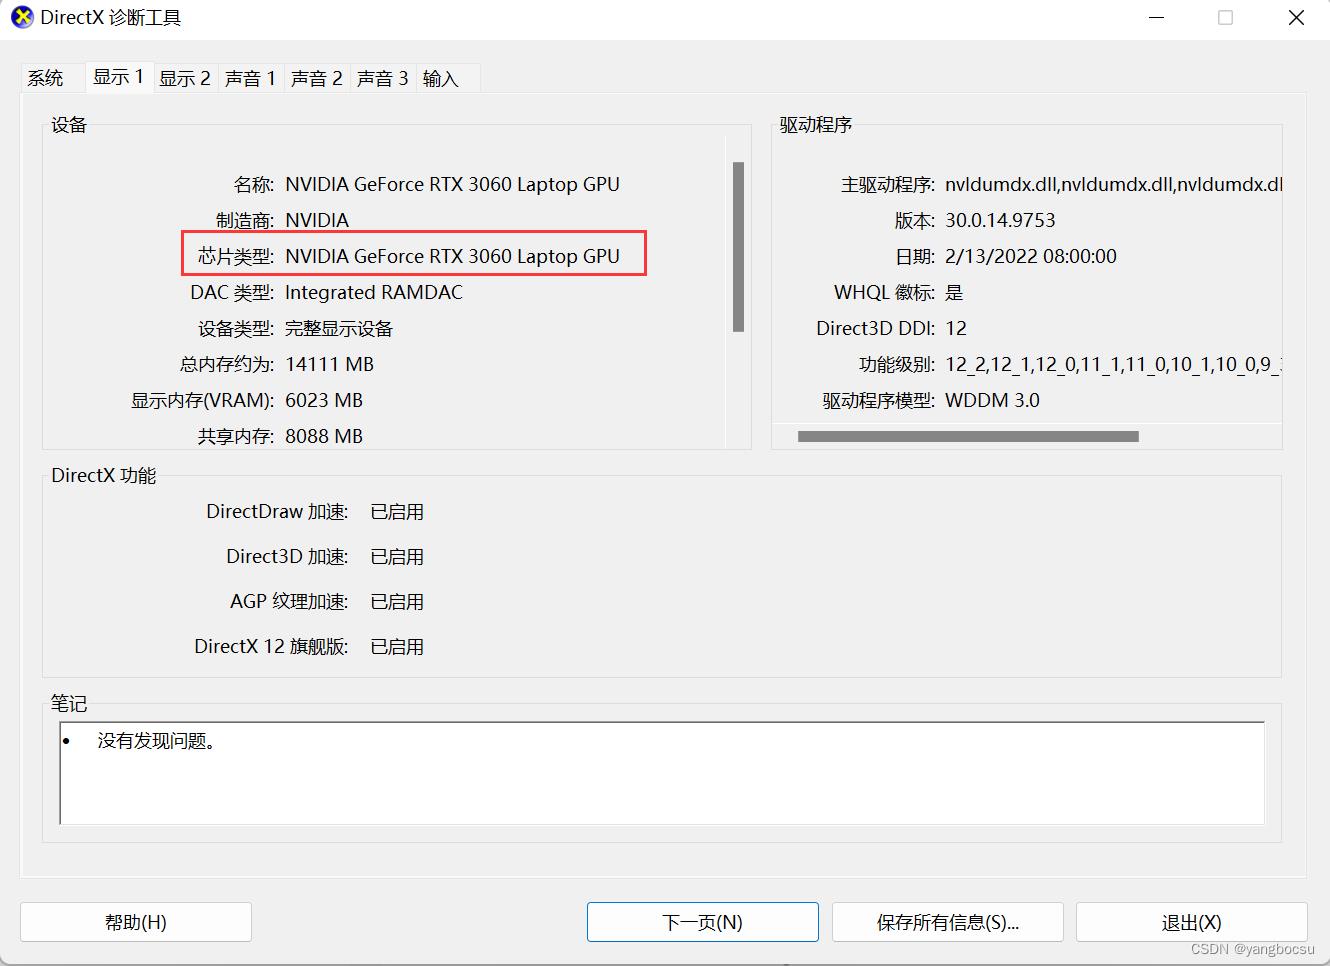
有独立显卡,支持安装。
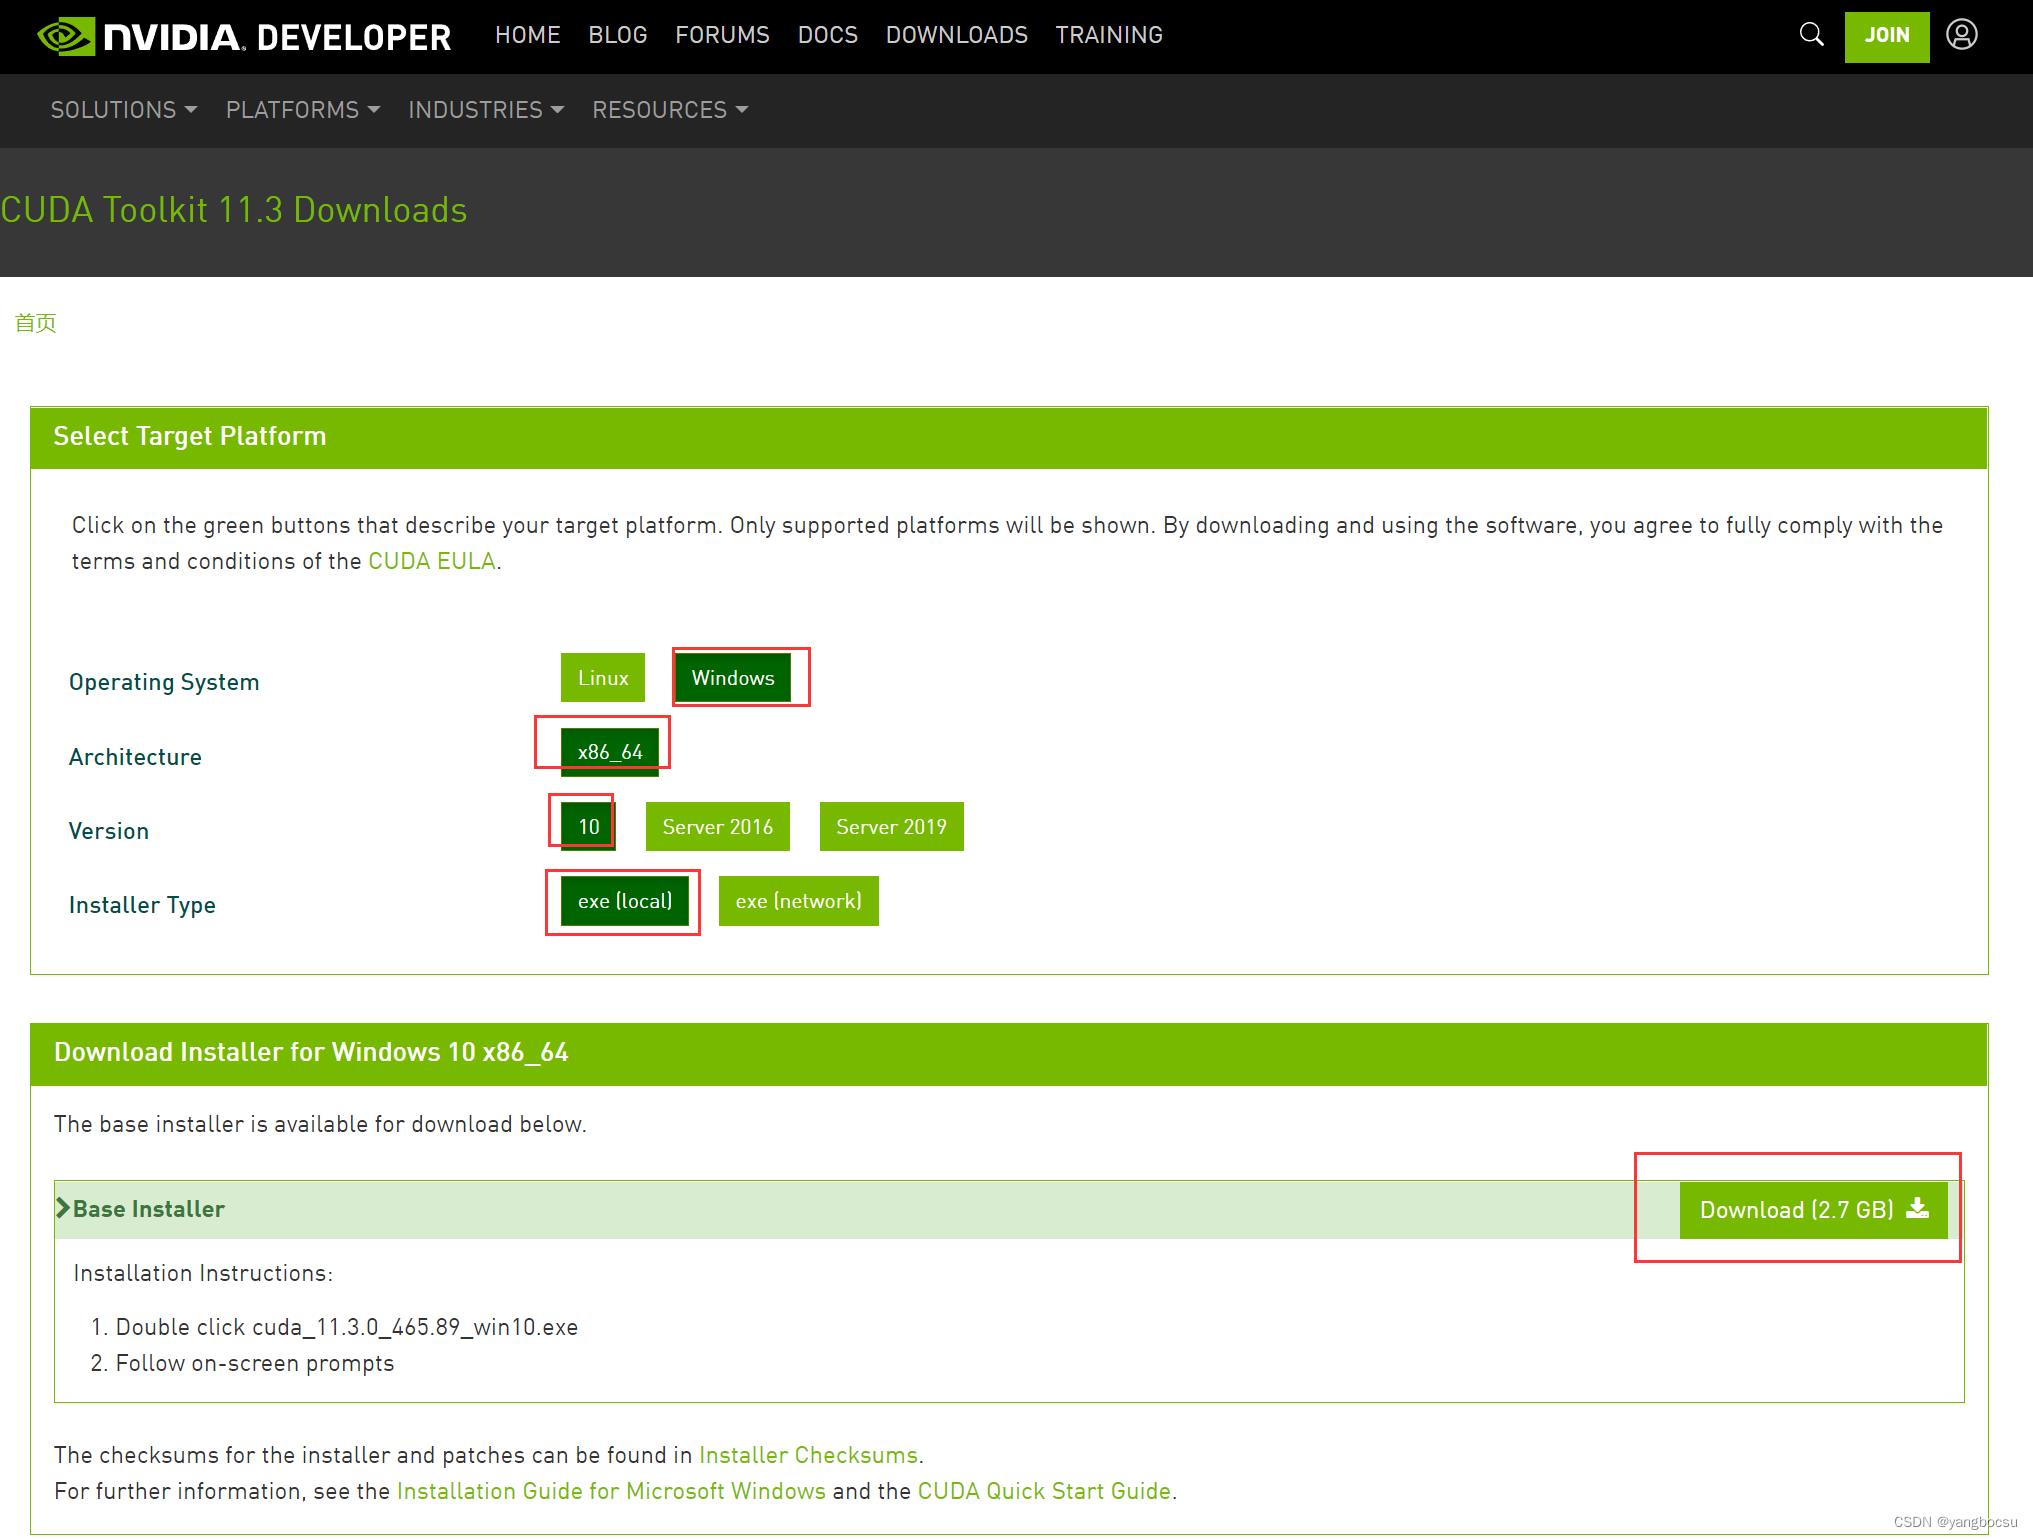
1.1 download cuda 11.3

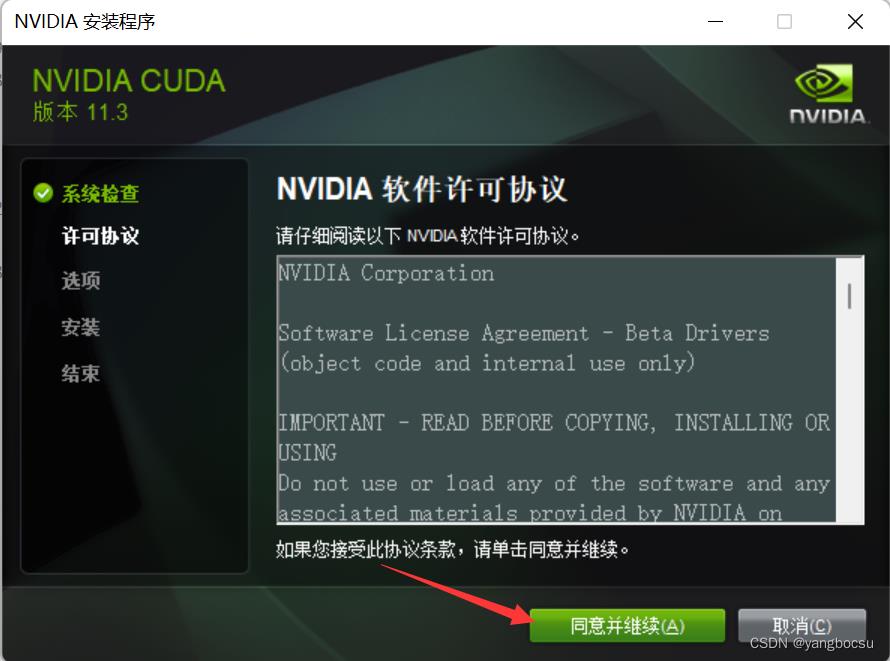
1.2 双击解压

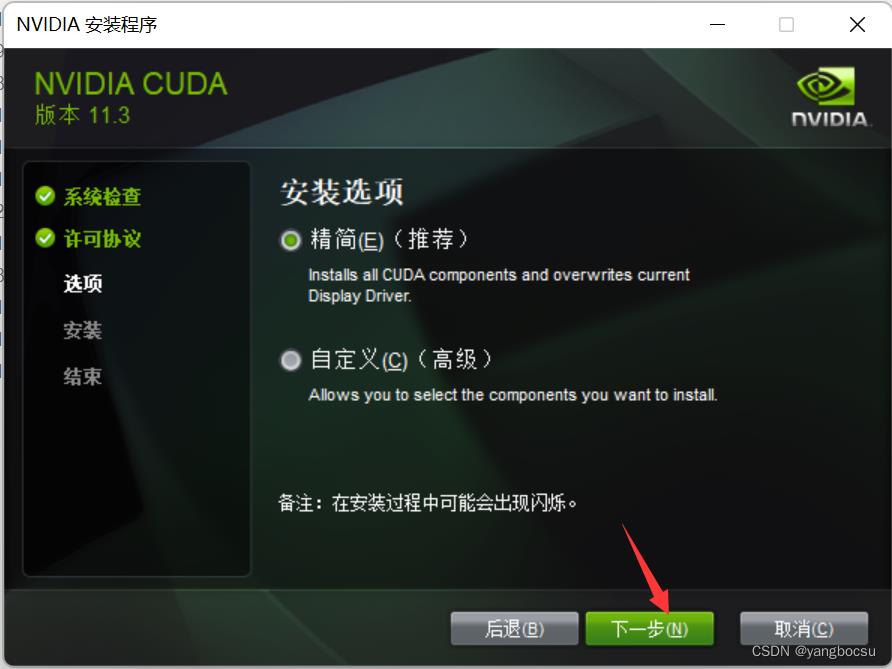
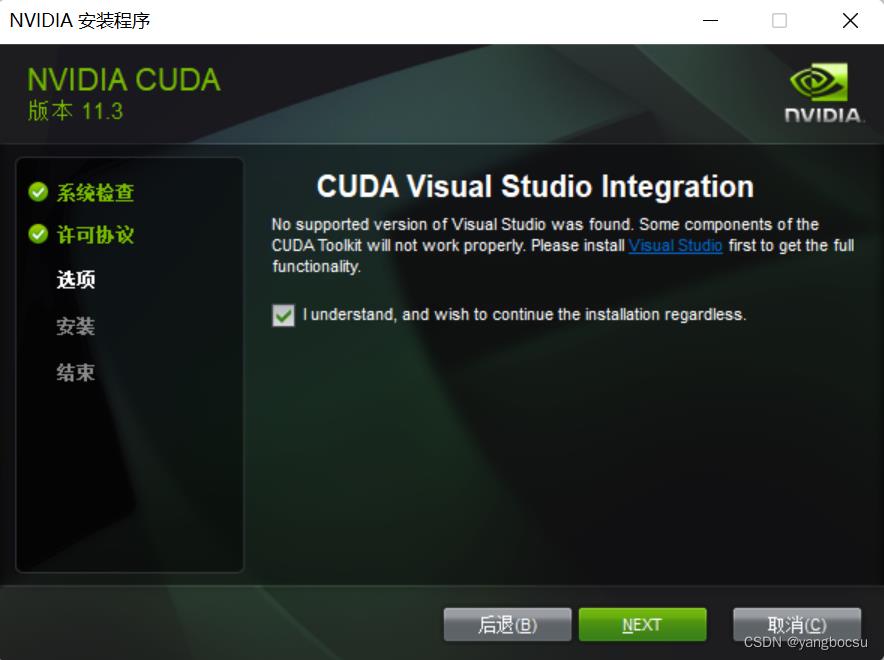
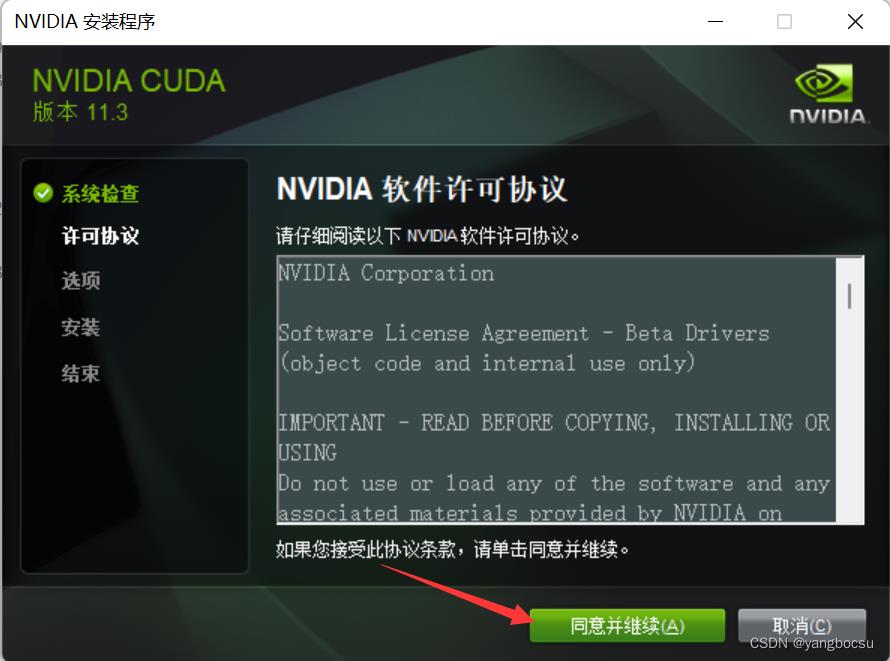
Installed:
     - Nsight Monitor
Not Installed:
     - Nsight for Visual Studio 2019
       Reason: VS2019 was not found
     - Nsight for Visual Studio 2017
       Reason: VS2017 was not found
     - Integrated Graphics Frame Debugger and Profiler
       Reason: see https://developer.nvidia.com/nsight-vstools
     - Integrated CUDA Profilers
       Reason: see https://developer.nvidia.com/nsight-vstools
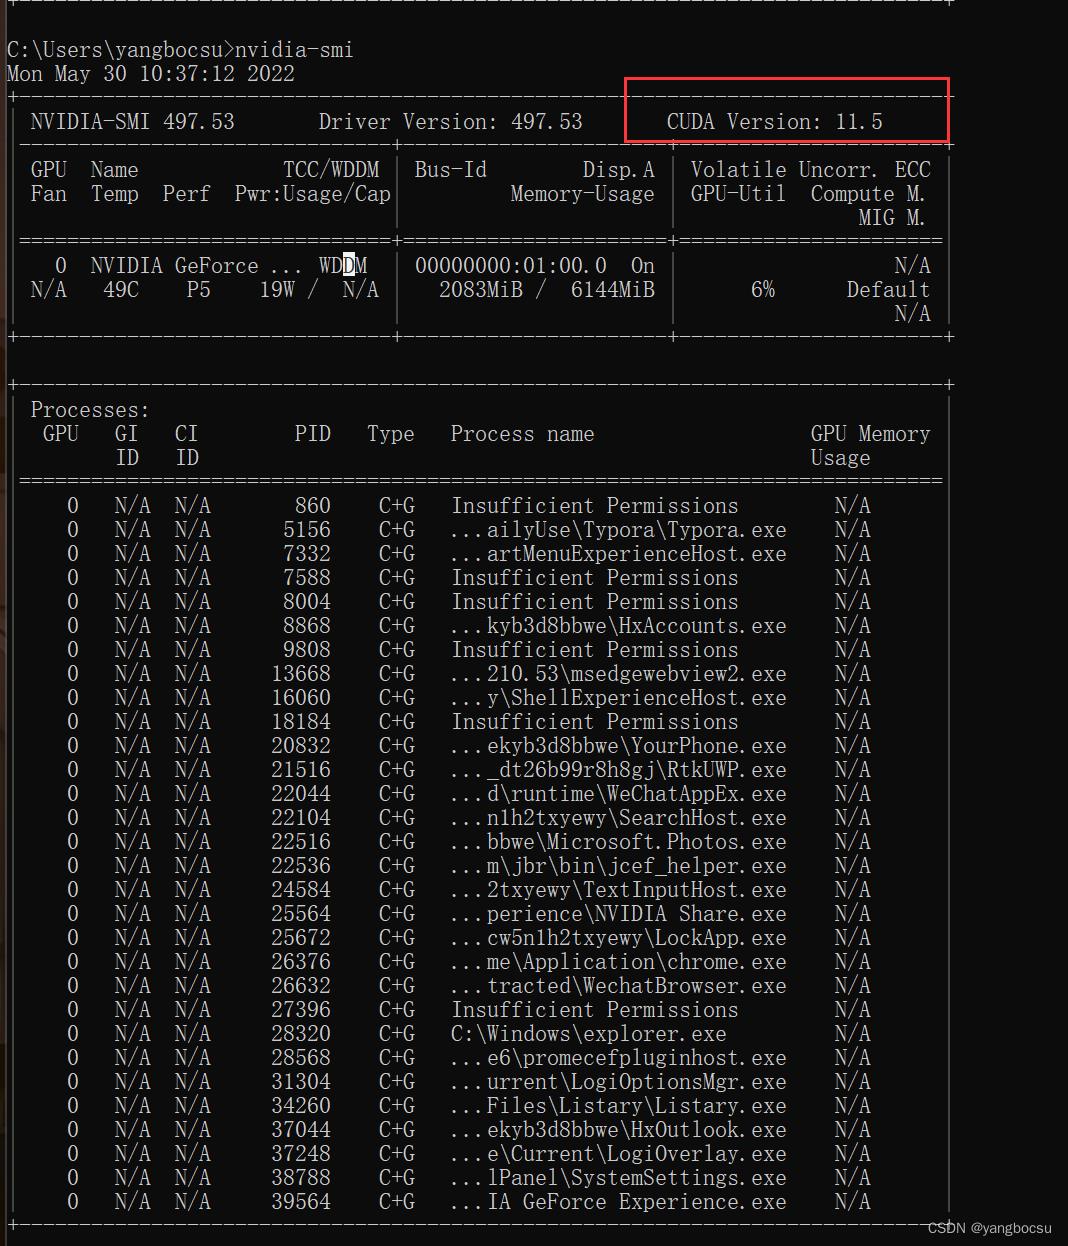
1.3 测完安装是否成功
nvidia-smi
二、安装Anaconda
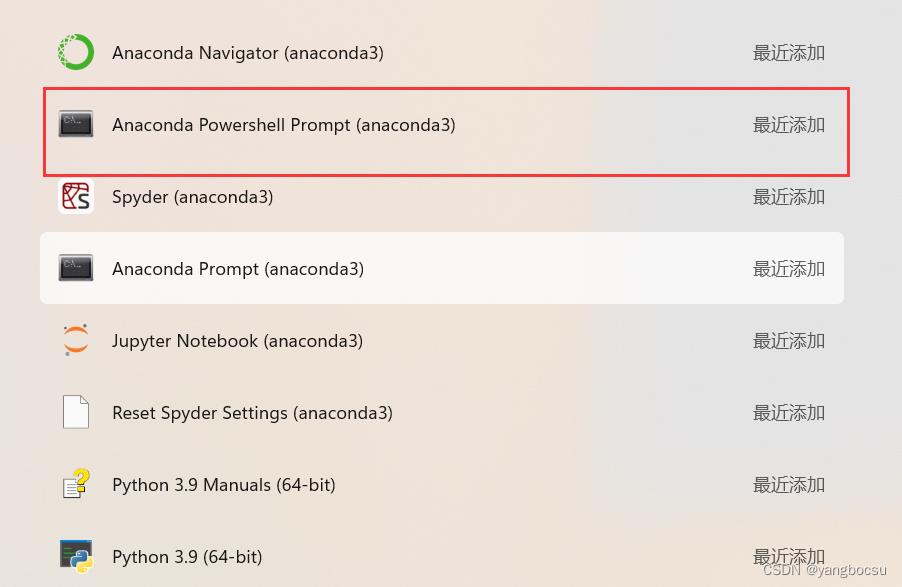
2.1 下载安装

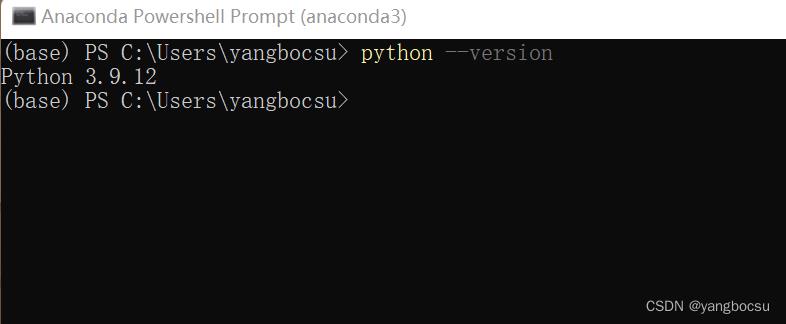
2.2 查看python版本
python --version
三、安装Pytorch
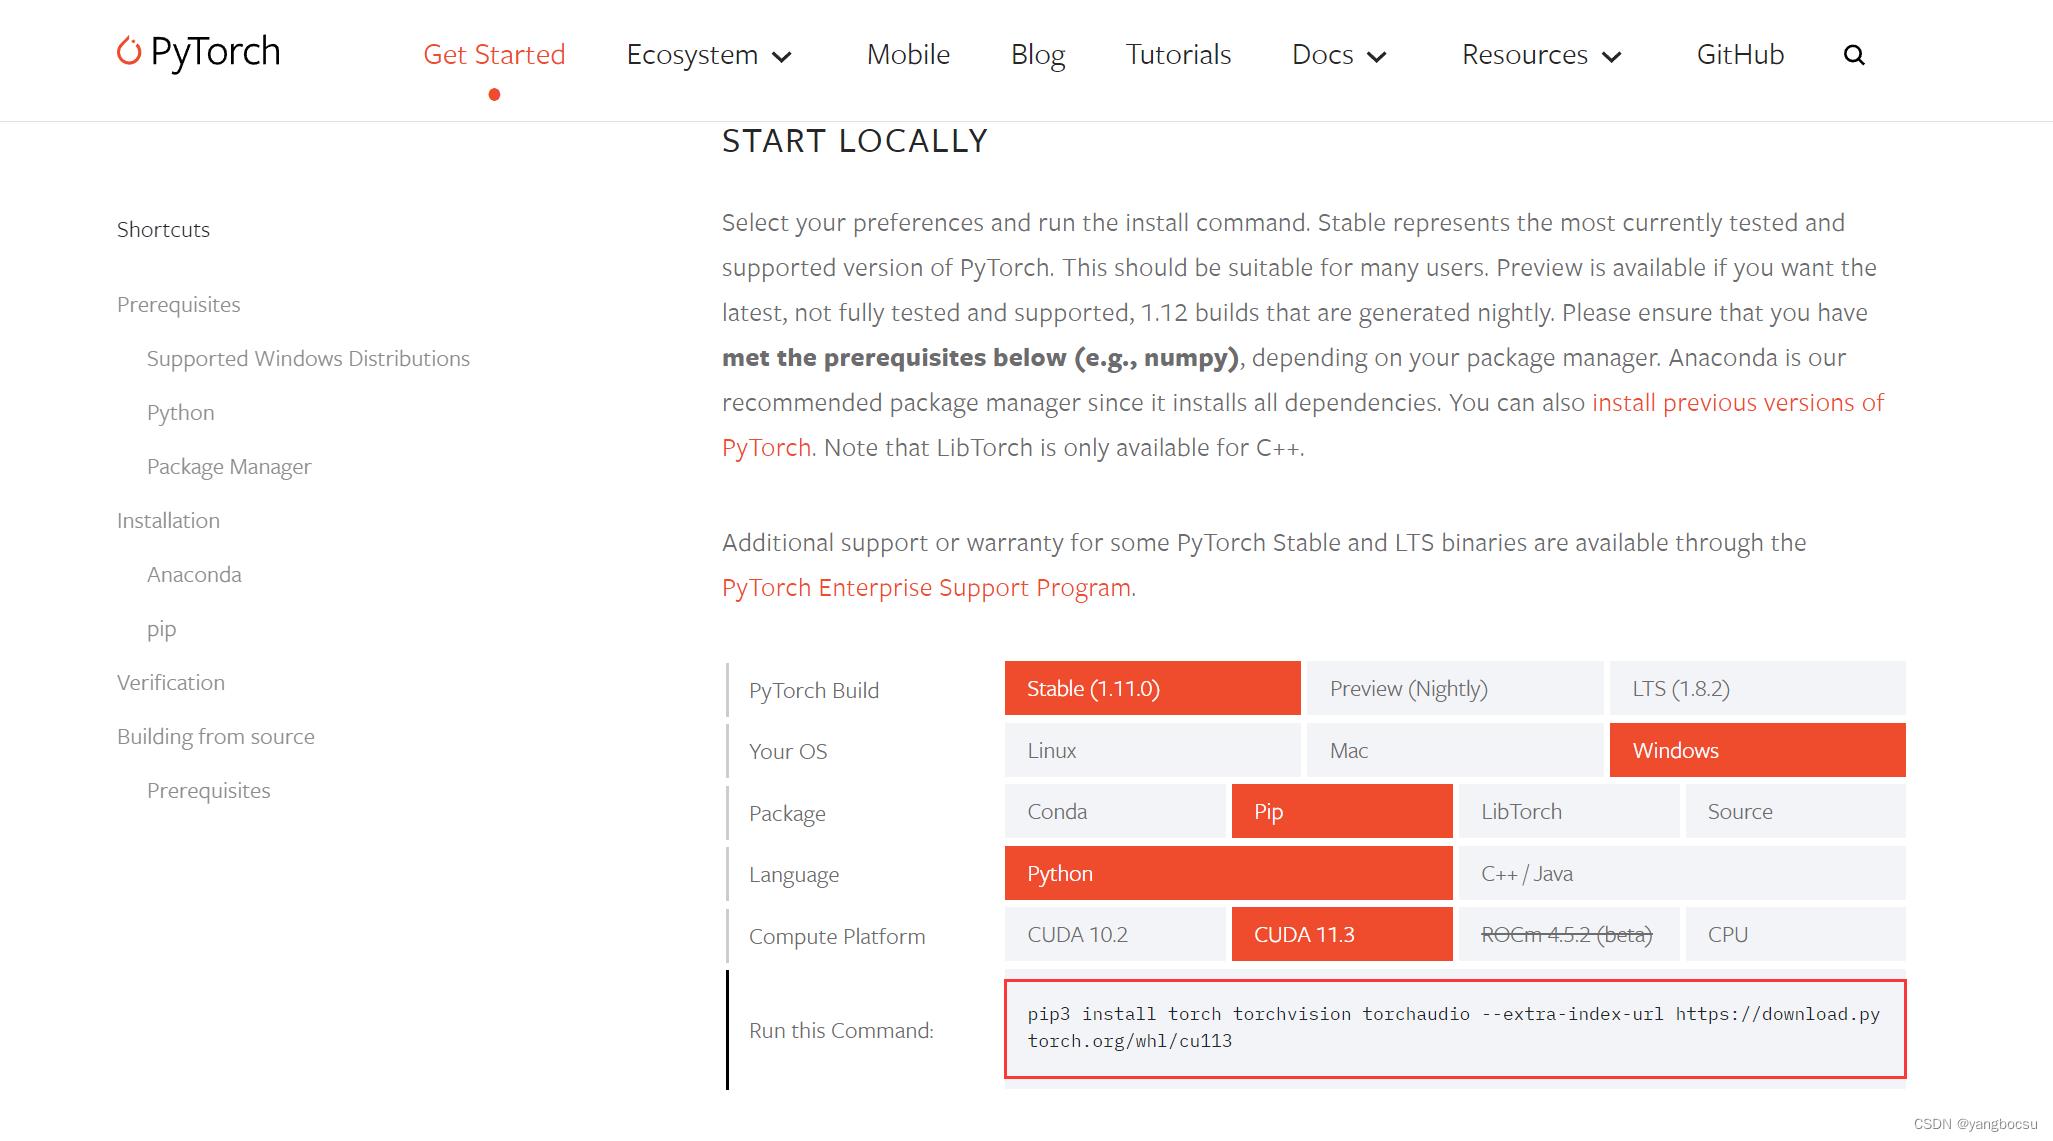
去pytorch.org下载它的GPU版本:https://pytorch.org/

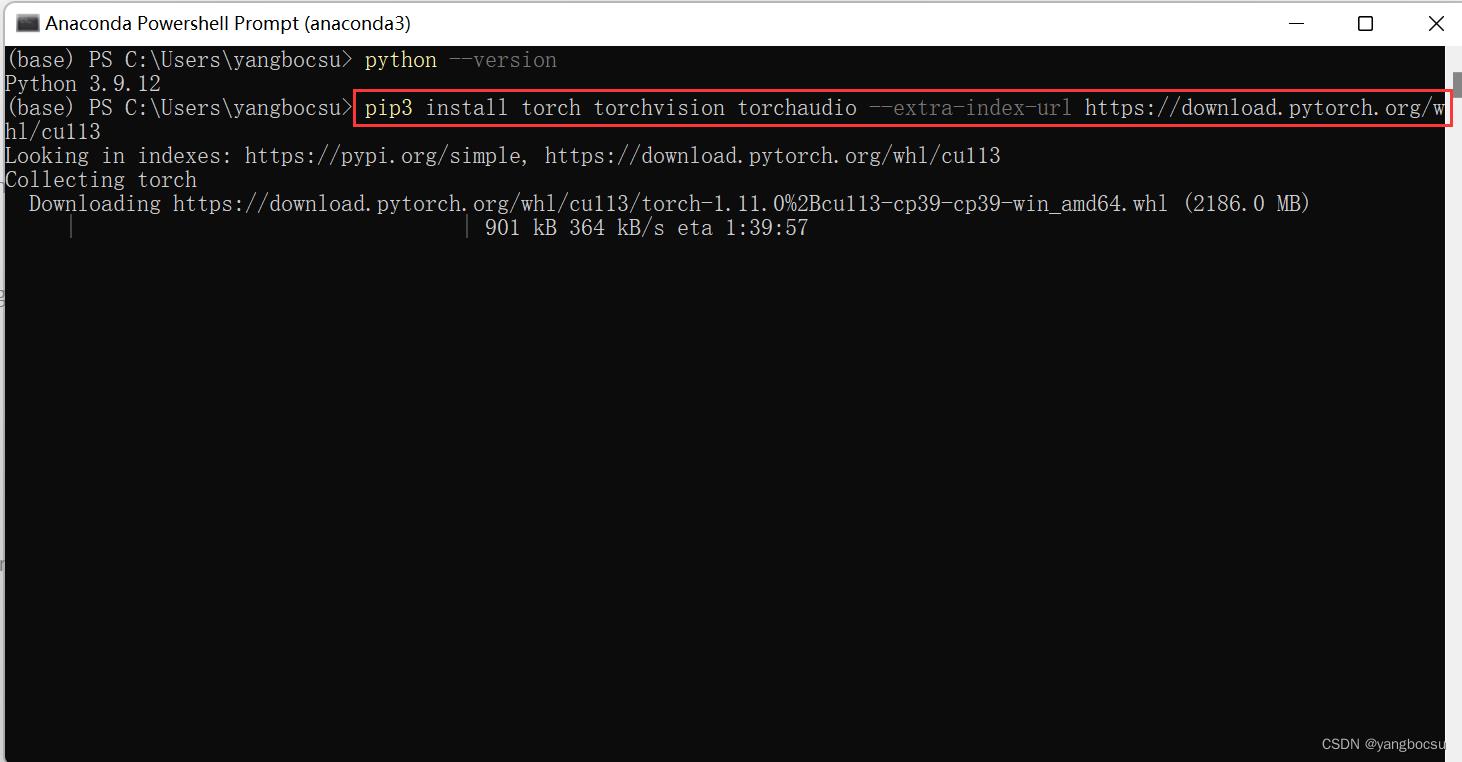
3.1 安装
pip3 install torch torchvision torchaudio --extra-index-url https://download.pytorch.org/whl/cu113
安装完成后测试一下,cuda 安装是否成功
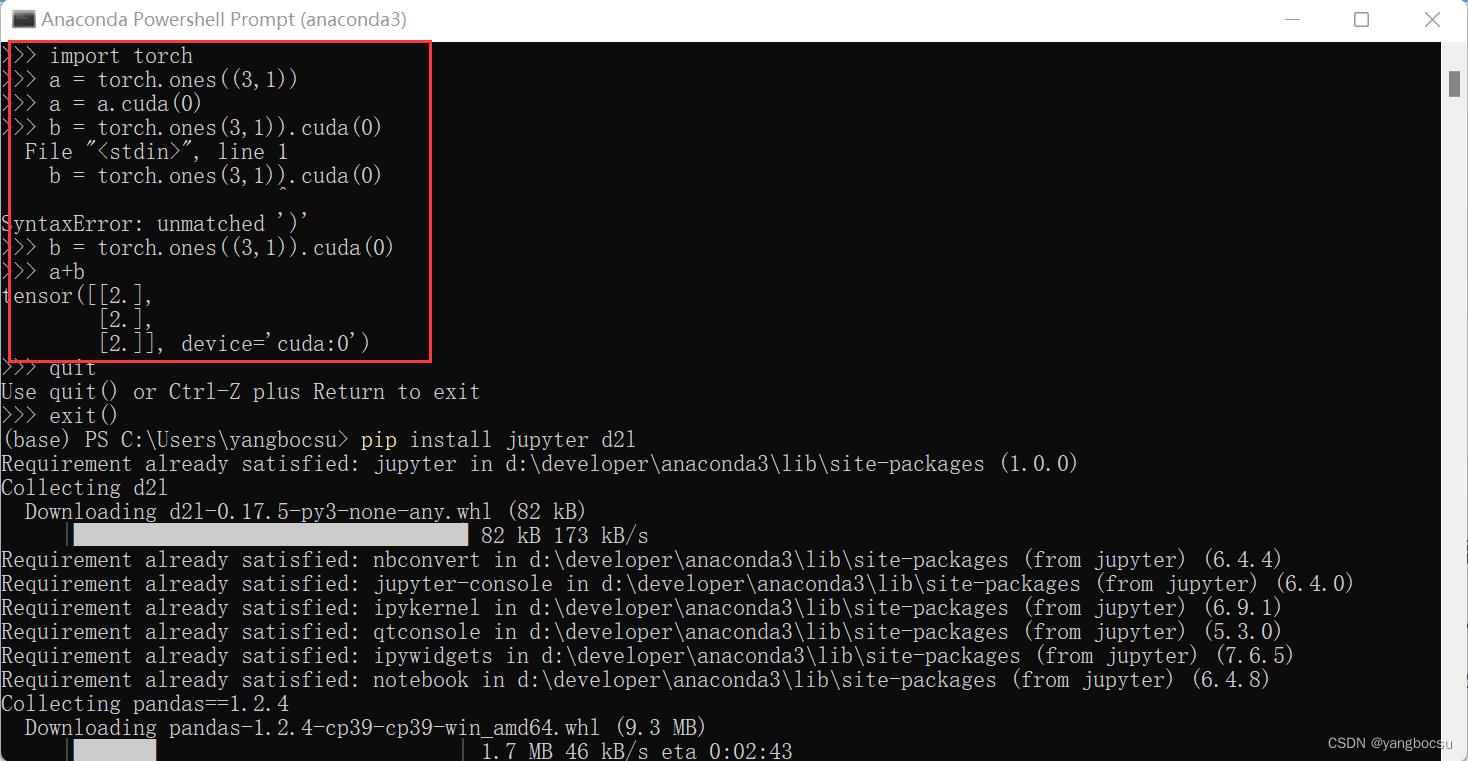
3.2 安装jupyter d2l包
pip isntall jupyter d2l

3.3 启动jupyter
jupyter notebook
在使用前,请关闭本机的独显,使用核显!!!!!
在使用前,请关闭本机的独显,使用核显!!!!!
在使用前,请关闭本机的独显,使用核显!!!!!
不然会报内存不足等错误!
运行环境
电脑:拯救者Y9000P
显卡: RTX3060
以上是关于Windows 下安装 CUDA 和 Pytorch 跑深度学习的主要内容,如果未能解决你的问题,请参考以下文章
Windows下pytorch-gpu安装以及CUDA详细安装过程 附带各个版本安装包
windows10下CUDA11.1CUDNN8.0tensorflow-gpu和torch安装教程
在Windows 10(Win10)下安装“NVIDIA图形驱动程序”“NVIDIA控制面板”CUDA ToolkitcuDNN Archive的详细过程记录