Spring Boot 学习笔记--整合Thymeleaf
Posted
tags:
篇首语:本文由小常识网(cha138.com)小编为大家整理,主要介绍了Spring Boot 学习笔记--整合Thymeleaf相关的知识,希望对你有一定的参考价值。
1.新建Spring Boot项目
添加spring-boot-starter-thymeleaf依赖
1 <dependency>
2     <groupId>org.springframework.boot</groupId>
3     <artifactId>spring-boot-starter-thymeleaf</artifactId>
4 </dependency>
2.添加静态文件
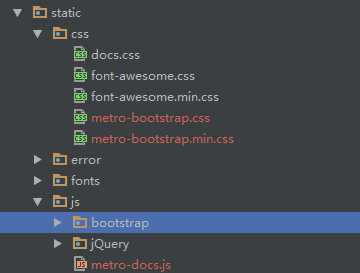
根据spring boot默认规则,脚本和样式默认都放在src/main/resources/static下,我这里引入的metro-bootstrap-master(一个开源的模板)
结构如图所示:
3.演示html页面
根据spring boot默认规则,页面放置在src/main/resources/templates下,也可以在application.properties自定义路径。
 1 ########################################################
 2 ###THYMELEAF (ThymeleafAutoConfiguration)
 3 ########################################################
 4 #spring.thymeleaf.prefix=classpath:/templates/
 5 #spring.thymeleaf.suffix=.html
 6 #spring.thymeleaf.mode=HTML5
 7 #spring.thymeleaf.encoding=UTF-8
 8 #spring.thymeleaf.content-type=text/html
 9 # set to false for hot refresh
10
11 spring.thymeleaf.cache=false
具体html代码如下:
<html xmlns:th="http://www.thymeleaf.org">
    <head>
        <meta content="text/html;charset=utf-8" />
        <meta http-equiv="x-ua-compatible" content="IE=edge"/>
        <meta name="viewport" content="width=device-width, initial-scale=1"/>
        <link th:href="@{css/metro-bootstrap.min.css}" rel="stylesheet"/>
        <link th:href="@{css/font-awesome.min.css}" rel="stylesheet"/>
        <link th:href="@{css/docs.css}" rel="stylesheet"/>
    </head>
    <body>
        <div class="grid">
            <div class="row col-md-12">
                <div class="tile tile-clouds col-md-3 col-xs-12"  >
                    <h1 th:text="${s[0]}"></h1>
                </div>
                <div class="tile tile-emerald col-md-3 col-xs-12"  >
                    <h1 th:text="${s[1]}"></h1>
                </div>
                <div class="tile tile-turquoise col-md-3 col-xs-12"  >
                    <h1 th:text="${s[2]}"></h1>
                </div>
                <div class="tile tile-amethyst col-md-3 col-xs-12"  >
                    <h1 th:text="${s[3]}"></h1>
                </div>
            </div>
        </div>
    </body>
    <script th:src="@{js/jQuery/jquery.min.js}"></script>
    <script th:src="@{js/bootstrap/bootstrap.min.js}"></script>
    <script th:src="@{js/metro-docs.js}"></script>
    <script th:inline="javascript">
        var s = [[${s}]];
        console.log(s);
    </script>
</html>
4.视图和数据
新建一个controller,新建一个数组返回数据,代码如下:
package com.haq.web;

import org.springframework.stereotype.Controller;
import org.springframework.ui.Model;
import org.springframework.web.bind.annotation.RequestMapping;


@Controller
@RequestMapping("/")
public class SampleController {

    @RequestMapping("/index")
    public String index(Model model){
        String[] s = {"我是1","我是2","我是3","我是4"};
        model.addAttribute("s",s);
        return "index";
    }

}
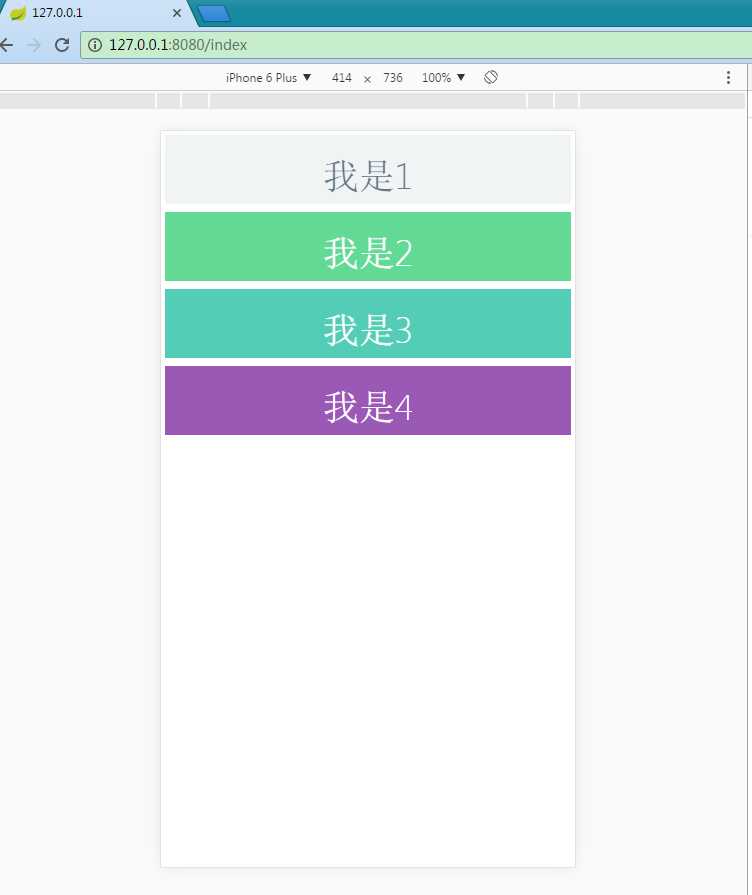
5.运行
启动spring boot,返回http://127.0.0.1:8080/index,效果如图所示:
后记:欢迎大家交流学习,有问题还望多多指教,O(∩_∩)O谢谢。
以上是关于Spring Boot 学习笔记--整合Thymeleaf的主要内容,如果未能解决你的问题,请参考以下文章
spring boot整合jsp的那些坑(spring boot 学习笔记之三)
SpringBoot 学习笔记 -- [spring Boot集成阿里Druid数据源,整合Mybatis搭建一个案例试试]