KVM虚拟机管理脚本
Posted
tags:
篇首语:本文由小常识网(cha138.com)小编为大家整理,主要介绍了KVM虚拟机管理脚本相关的知识,希望对你有一定的参考价值。
参考技术A 运行本脚本需要提前准备好vm01虚拟机虚拟机的两个重要目录:
1:磁盘目录:/var/lib/libvirt/images/
2:配置文件目录:/etc/libvirt/qemu/
3:kvm虚拟机采用nat方式上网,需要开启宿主机的路由转发
在文件/etc/sysctl.conf中添加:
net.ipv4.ip_forward=1
#!/bin/bash
#This script can manage the virtual machines.
#Athor:Yilan
#Date:2020-08-29
#Version:V2.0
#新建kVM虚拟机
function create_kvm
clear
XMLPATH=/etc/libvirt/qemu
IMGPATH=/var/lib/libvirt/images
read -p "Please input the name of the new virtual machine:" newname
if [ -z $newname ];then
echo "Nothing input."
exit 1
fi
mykvm=$IMGPATH/$newname.qcow2
if [ -f "$mykvm" ];then
echo "KVM already exists."
exit 2
else
echo -e "\033[34m Your KVM is creating, please wait...... \033[0m"
#Copy the file from the temlate.
cp $XMLPATH/vm1.xml $XMLPATH/$newname.xml
cp $IMGPATH/vm1.qcow2 $IMGPATH/$newname.qcow2
newxml=$XMLPATH/$newname.xml
#Create the new uuid, mac address.
newuuid=$(cat /proc/sys/kernel/random/uuid)
newmac=$(openssl rand 3 | xxd -p | sed 's/../&\:/g; s/:$//')
#Modify the xml file of the new virtual machine, such as name, uuid and mac address.
sed -i "s/vm1/$newname/g" $newxml
sed -i "s/<uuid>.*<\/uuid>/<uuid>$newuuid<\/uuid>/" $newxml
sed -i "s/<mac address=.*\/>/<mac address='52:54:00:$newmac'\/>/" $newxml
#Define the new KVM.
virsh define $newxml &> /dev/null
virsh start $newname &> /dev/null
sleep 30
mac=`virsh dumpxml $newname |grep -w mac |awk -F "'" 'print $2'`
echo -e "\033[31m $newname is done, enjoy it!\033[0m"
echo "虚拟机$newname,的ip地址是:`arp -a |grep -i $mac | awk -F"[()]" 'print $2'` "
fi
#列出所有KVM虚拟机
function list_kvm
clear
echo "All virtual machines are listing here."
virsh list --all
#停止虚拟机
function stop_kvm
clear
virsh list --all
read -p "Please choose the kvm you want to stop:" kvmstop
virsh shutdown $kvmstop
echo "The kvm you choose is down."
#开启虚拟机
function start_kvm
clear
virsh list --all
read -p "Please choose the name of the kvm you want to start:" kvmstart
virsh start $kvmstart
echo "The kvm you choose is up."
#删除虚拟机
function delete_kvm
clear
virsh list --all
read -p "Please choose the name of the kvm you want to delete:" kvmdelete
virsh undefine $kvmdelete
rm -rf /var/lib/libvirt/images/$kvmdelete.qcow2
rm -rf /etc/libvirt/qemu/$kvmdelete.xml
echo "The kvm you choose is delete."
function menu
clear
echo
echo -e "########## Admin Menu ##########"
echo
echo -e "\t1. Create your KVM."
echo -e "\t2. List all KVM."
echo -e "\t3. Stop the kvm."
echo -e "\t4. Start the KVM."
echo -e "\t5. Delete the KVM."
echo -e "\t0. Exit menu\n"
echo -e "################################"
read -p "Please input your choice:" option
while [ 1 ]
do
menu
case $option in
0)
break;;
1)
create_kvm ;;
2)
list_kvm;;
3)
stop_kvm;;
4)
start_kvm;;
5)
delete_kvm;;
*)
clear
echo "Sorry, wrong selection";;
esac
echo -en "\nHit any key to continue"
read -n 1 line
done
clear
搭建kvm虚拟化平台和管理kvm虚拟化平台
搭建kvm虚拟化平台和管理kvm虚拟化平台
搭建kvm虚拟化平台
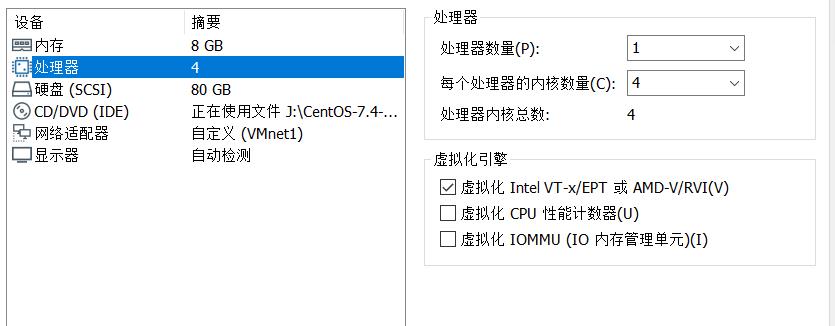
安装前准备:启用虚拟化支持,添加内存和内核
安装kvm服务
挂载光盘

安装kvm调试工具

安装管理虚拟机命令

安装KVM管理控制台

启动虚拟化服务
启动
开机自动启动

换到图形界面
Init 5
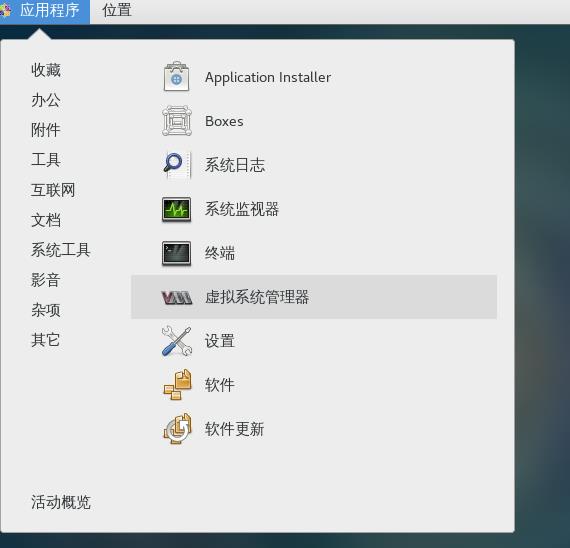
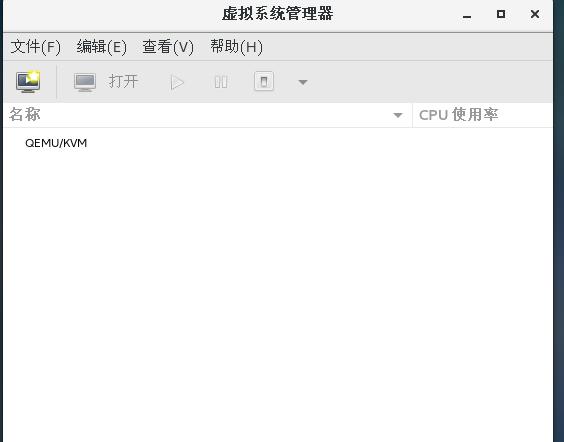
运行kvm管理平台
管理kvm虚拟化平台
创建虚拟机
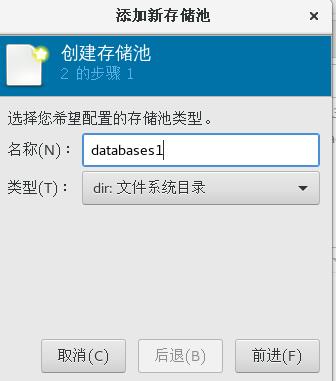
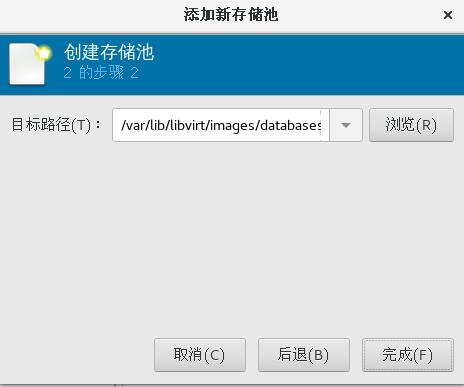
创建存储池
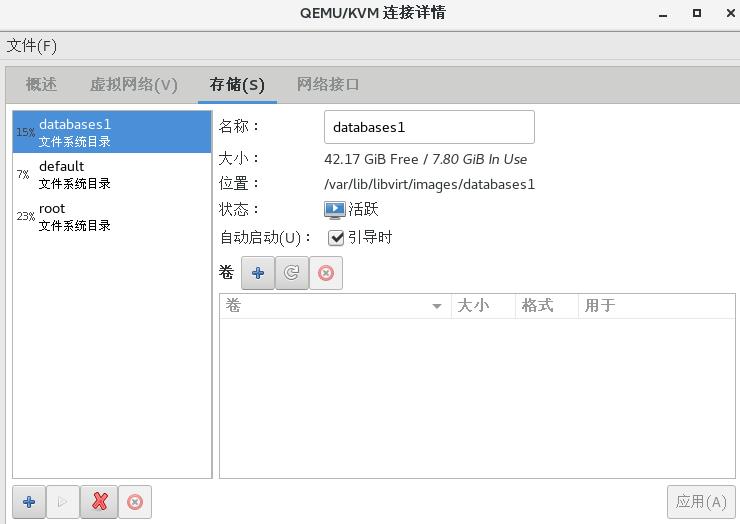
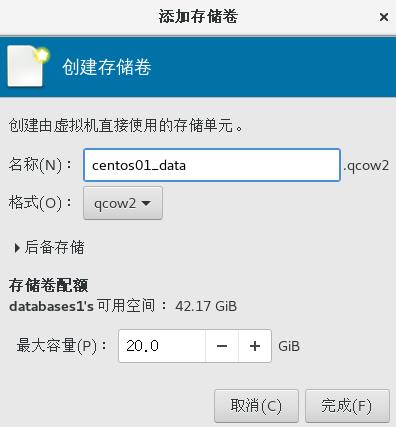
创建存储卷
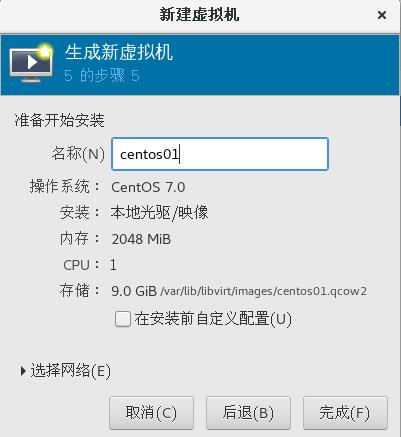
创建虚拟机centos01


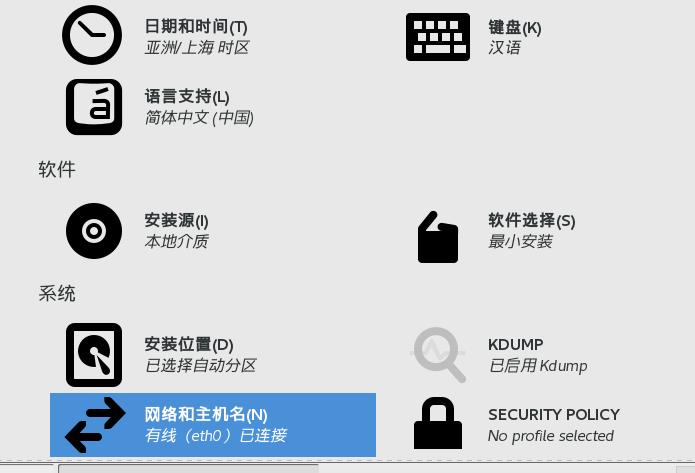
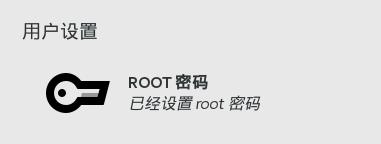
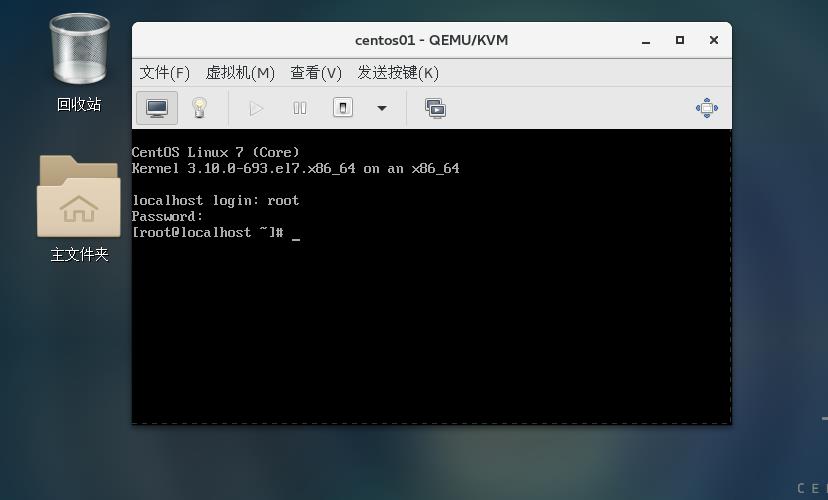
管理虚拟机
关闭虚拟机机


启动虚拟机

强制关闭虚拟机

设置开机自动启动虚拟机

查看虚拟机
查看运行的虚拟机

挂起和恢复虚拟机
挂起虚拟机

恢复挂起的虚拟机

备份删除虚拟机
备份虚拟机


删除虚拟机


通过配置文件导入虚拟机


虚拟机克隆和快照
克隆虚拟机名字是centos02

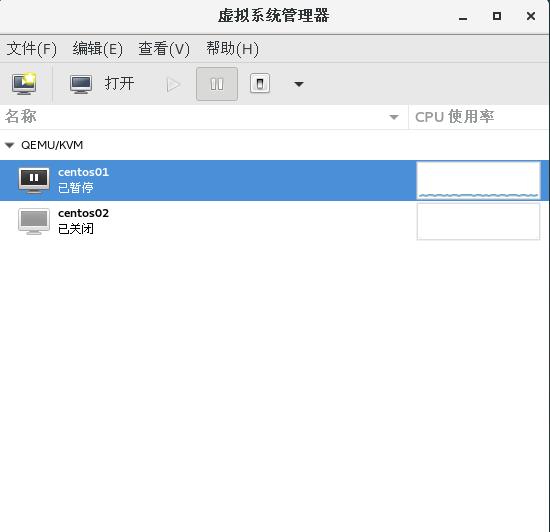
创建虚拟机快照

查看快照

删除快照


恢复快照

以上是关于KVM虚拟机管理脚本的主要内容,如果未能解决你的问题,请参考以下文章