React脚手架项目示例
Posted 橘猫吃不胖~
tags:
篇首语:本文由小常识网(cha138.com)小编为大家整理,主要介绍了React脚手架项目示例相关的知识,希望对你有一定的参考价值。
React脚手架项目示例
1 create-react-app的使用
1.1 使用cmd创建
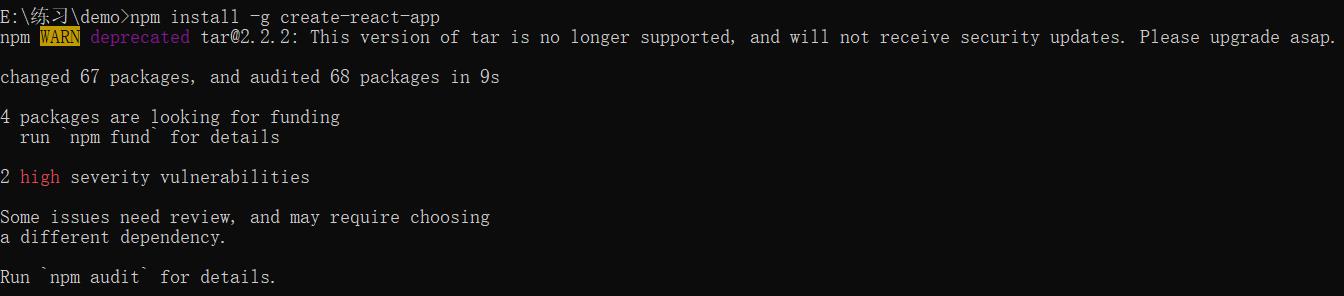
1、全局安装
npm install -g create-react-app
2、创建项目:
# 方法1
npm init react-app 项目名称
# 方法2
create-react-app 项目名称
# 方法3
npx create-react-app 项目名称
# 方法4
yarn create react-app 项目名称
3、启动项目:
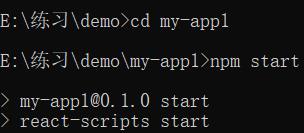
(1)进入项目所在的目录
cd 项目名称
(2)运行项目
# 方式1
npm start
# 方式2
yarn start
同时会打开以下网页:

4、查看目录结构

5、启动测试
# 方式1
npm test
# 方式2
yarn test

6、构建生产版本
# 方式1
npm run build
# 方式2
yarn build
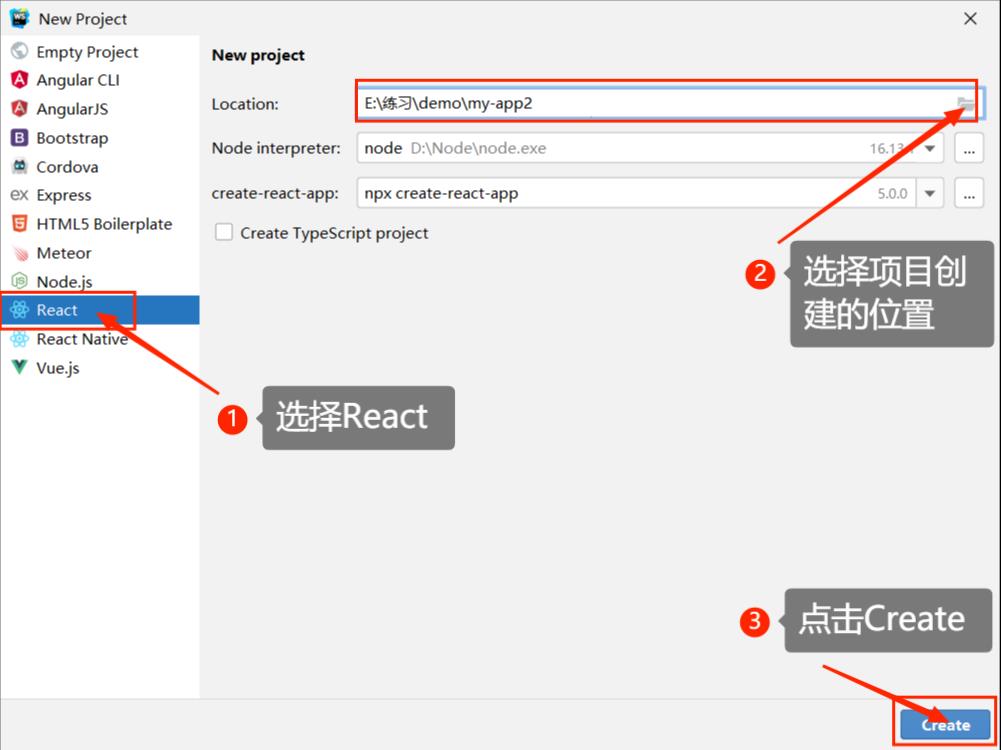
1.2 使用WebStorm创建
打开WebStorm,选择最上面的File—>New—>Project。

按照以下步骤创建即可。
2 安装依赖:react-bootstrap模块
React-Bootstrap是一款基于ReactJS对Bootstrap进行封装的库,是一个可重用的前端组件库。react-bootstrap的样式组件依赖于bootstrap。
1、安装bootstrap
npm install bootstrap@3.3.7 --save
2、安装react-bootstrap(版本不宜太高,否则有些样式不识别)
npm install react-bootstrap@0.33.0 --save
3、安装css-loader astyle-loader url-loader
npm install css-loader style-loader
npm install url-loader
4、在App.css文件中引入bootstrap.css
@import "~bootstrap/dist/css/bootstrap.css";
3 【案例】在前端显示后台的数据表(在React中使用bootstrap库)
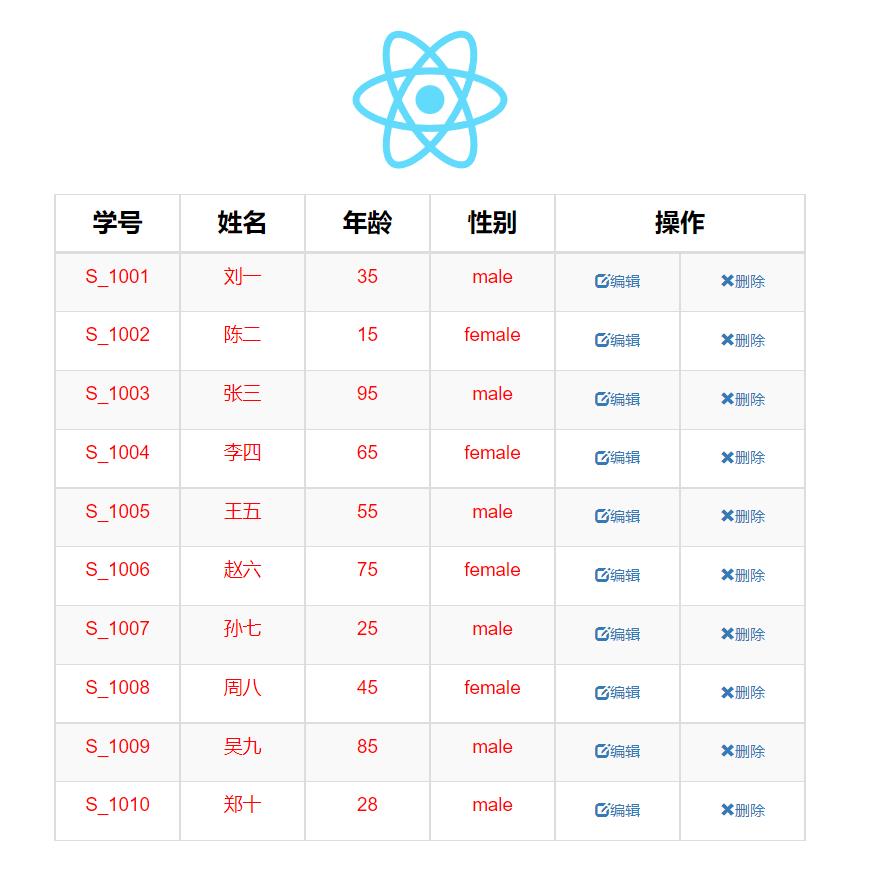
3.1 效果展示
将info数据库中的stu表显示在页面上,stu表具体如下:

案例效果展示:
3.2 编写后端代码
在WebStorm中新建一个Express项目my-app2-server,首先安装一些库:
# 安装mysql2
npm install mysql2
# 安装sequelize
npm install sequelize
# 安装cors
npm install cors
1、在bin文件夹下的www.js文件中第15行代码修改端口号,默认是3000,修改为8089,修改后代码如下:
var port = normalizePort(process.env.PORT || '8089');
2、在当前项目中创建文件夹config,在该文件夹下创建dbconfig.js文件
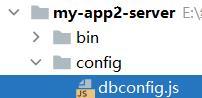
该文件用来创建数据库连接池,具体代码如下:
// 导入sequelize模块
const Sequelize = require("sequelize");
// 配置数据库连接对象(默认带有数据库连接池):数据库名,用户名,密码,配置
let sequelize = new Sequelize("info", "root", "123456",
    host: "localhost", // 本机地址
    port: 3306, // 数据库端口号
    dialect: "mysql", // 数据库类型,mysql|sqlite|postgres|mssql
    pool:  // 数据库连接池
        max: 5, // 连接池中最大连接数量
        min: 0, // 连接池最小连接数量
        idle: 10000, // 如果某个线程10秒内没有被使用,则释放该线程

)
module.exports = sequelize; // 导出模块
3、在当前项目下新建model文件夹,在文件夹中创建studentModel.js文件
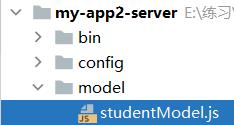
在该文件用来创建数据库模型,将数据库中的列名进行映射,代码如下:
const Sequelize = require("sequelize");
const DB = require("../config/dbconfig")

const Student = DB.define("stu",
    id:
        type: Sequelize.STRING,
        primaryKey: true, // 作为主键
        field: "sid" // 该属性名映射数据库中列名
    ,
    name:
        type: Sequelize.STRING,
        allowNull: false,// 不允许为空
        field: "sname"
    ,
    age:
        type: Sequelize.INTEGER,
        allowNull: false
    ,
    gender:
        type: Sequelize.STRING,
        allowNull: false

,
    freezeTableName: true, // 映射表的名字
    timestamps: false // 不生成时间戳
)

module.exports = Student; // 导出配置文件
4、在routes文件夹下有两个文件,接下来通过修改users.js文件部分代码来实现数据查询的操作,代码如下:
var express = require("express");
var router = express.Router();
var Student = require("../model/studentModel");

// http://localhost:8089/users/student
router.get("/student", (req, res) =>
    Student.findAll(
        raw: true // 显示时间戳
    ).then(result =>
        res.json(result); // 发送查询的结果
    ).catch(err =>
        console.log(err); // 如果查询失败显示错误
    )
)

module.exports = router;
5、最后一步,到app.js文件中进行配置跨域模块cors
// 引入cors模块
var cors = require("cors");
// 使用cors模块
app.use(cors());
3.3 编写前端代码
首先需要安装模块:
# 1、安装bootstrap
npm install bootstrap@3.3.7 --save
# 2、安装react-bootstrap(版本不宜太高,否则有些样式不识别)
npm install react-bootstrap@0.33.0 --save
# 3、安装css-loader astyle-loader url-loader
npm install css-loader style-loader
npm install url-loader
# 4、在App.css文件中引入bootstrap.css
@import "~bootstrap/dist/css/bootstrap.css";
# 5 安装axios
npm install axios
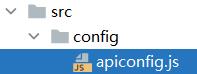
1、在src目录下新建config文件夹,在其中新建apiconfig.js文件,在该文件中将本机地址以及端口号导出,这样便于修改端口号和服务器地址,改一处就可以全部修改。
代码如下:
export const HOST = "http://localhost"; // 服务器地址
export const PORT = 8089; // 端口号
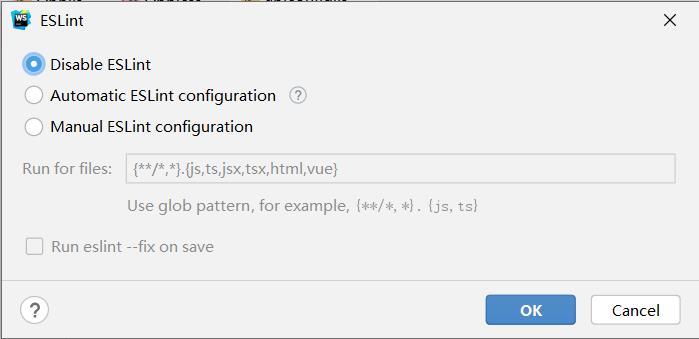
在编写代码时WebStorm可能会弹出以下提示,这时点击第三个ESLint settings…

默认选择的是第二个,表示最严格的格式检查,这时我们选择第一个Disable ESLint,点击OK即可关闭。
2、在src目录下新建文件夹components,用来存放编写的组件。在其中新建文件夹home.js(扩展名也可以为.jsx)
代码如下:
import React from "react";
import Table, Button, Glyphicon from "react-bootstrap";
import HOST, PORT from "../config/apiconfig";
import "./home.css"; // 引入表格的CSS样式
import axios from "axios"; // 或者写成import $http from "axios";

// 创建类组件
class UserTable extends React.Component
    constructor(props)
        super(props);
        // 定义状态机
        this.state =
            data: []


    componentDidMount()  // 执行完render执行该函数
        const _this = this;
        axios.get(`$HOST:$PORT/users/student`)
            .then(res =>
                _this.setState(
                    data: res.data // 从后端接收到的result存放在数组data中
                )
            ).catch(err =>
            console.log(err);
        )


    // render函数中编写表格
    render()
        const data = this.state; // 将状态机中的data通过解构赋值取出来,便于后续操作遍历data中的数据
        return (
            <div>
                /*bordered表示带边框,striped表示隔行变色,hover表示鼠标悬停效果*/
                <Table bordered striped hover>
                    <thead>
                    <tr>
                        <th width=100>学号</th>
                        <th width=100>姓名</th>
                        <th width=100>年龄</th>
                        <th width=100>性别</th>
                        <th width=200 colSpan=2>操作</th>
                    </tr>
                    </thead>
                    <tbody>
                    /*由于取到的数据不止一个,使用可以将数据挨个遍历出来*/

                        // 先将数据遍历出来,然后添加到表格中
                        // map表示数组中的每一个元素都要执行回调函数
                        data.map((user) =>
                            return (
                                // 多行数据需要有一个key属性,否则会报错
                                <tr key=user.id>
                                    /*参数值与后台相对应,而不是与数据库对应*/
                                    <td>user.id</td>
                                    <td>user.name</td>
                                    <td>user.age</td>
                                    <td>user.gender</td>
                                    <td>
                                        /*link表示超链接按钮,small表示为小按钮*/
                                        <Button bsStyle="link" bsSize="small">
                                            /*Glyphicon表示图标*/
                                            <Glyphicon glyph="edit"/>编辑
                                        </Button>
                                    </td>
                                    <td>
                                        <Button bsStyle="link" bsSize="small">
                                            <Glyphicon glyph="remove"/>删除
                                        </Button>
                                    </td>
                                </tr>
                            )
                        )

                    </tbody>
                </Table>
            </div>
        )


export default UserTable; // 导出组件
3、在App.js文件中导入刚刚编写的类组件,删除一部分文件中已经编写好的代码,将编写好的类组件写进去,代码如下:
import logo from './logo.svg'; // 原本React的logo
import './App.css';
import UserTable from "./components/home"; // 自己编写的类组件

function App()
    return (
        <div className="App">
            <header className="App-header">
                <img src=logo className="App-logo" alt="logo"/>
                <UserTable/>
            </header>
        </div>
    );


export default App;
4、由于当前页面展示效果不太好看,因此我们还需要对CSS样式做一些调整。在components文件夹下新建文件home.css,为刚刚编写的表格做一些样式上的修改,代码如下:
/*为表格头部编写样式*/
tr > th
    /*文本居中*/
    text-align: center;
    /*文字颜色为黑色*/
    color: black;
    /*修改字体大小*/
    font-size: 20px;


/*为普通单元格编写样式*/
td
    color: red;
    font-size: 15px;
这时将该文件引入到home.js文件中,刷新网页就可以看到效果。
5、最后一步,将该网页目前的效果稍作修改,找到App.css文件,修改后代码如下:
@import "~bootstrap/dist/css/bootstrap.css";

.App
    text-align: center;


.App-logo
    height: 20vmin;
    pointer-events: none;


.App-header
    background-color: white;
    min-height: 100vh;
    display: flex;
    flex-direction: column;
    align-items: center;
    justify-content: center;
    font-size: calc(10px + 2vmin);
    color: white;
启动服务器,启动React项目,就可以看到当前页面的效果:

以上是关于React脚手架项目示例的主要内容,如果未能解决你的问题,请参考以下文章