Mac OS下Appium环境搭建及Genymotion模拟器安装
Posted liuxiucheng
tags:
篇首语:本文由小常识网(cha138.com)小编为大家整理,主要介绍了Mac OS下Appium环境搭建及Genymotion模拟器安装相关的知识,希望对你有一定的参考价值。
说明:本机Mac本上已经安装的有:Python3、JDK、Node.js、 Selenium
Appium环境搭建
Step1:安装Appium Python Client库
1,命令:pip install Appium-Python-Client
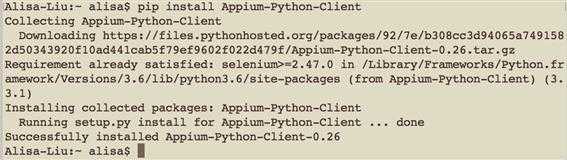
这个包是依赖于selenium的,需要selenium的库进行通信
如果发现没有安装selenium,会自动安装selenium
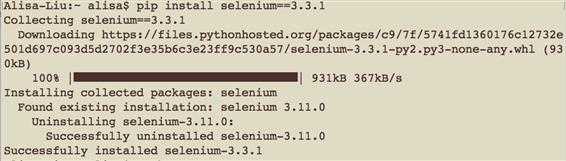
*因为最新版本的selenium和appium存在不兼容,所以要确保安装3.3.1版本的selenium
(1)查看selenium版本:
$python
>>> import selenium
>>> selenium.__version__  (注意这里version前后有两个下划线)
pip uninstall selenium
pip install selenium==3.3.1  (安装时会把已安装版本卸载掉)
Step2,安装Appium server(基于js开发的)(要先装node.js)
方法一:node.js & npm
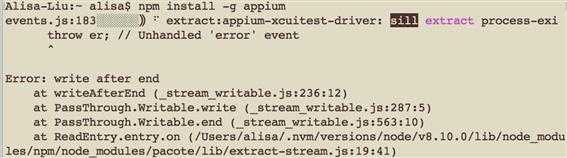
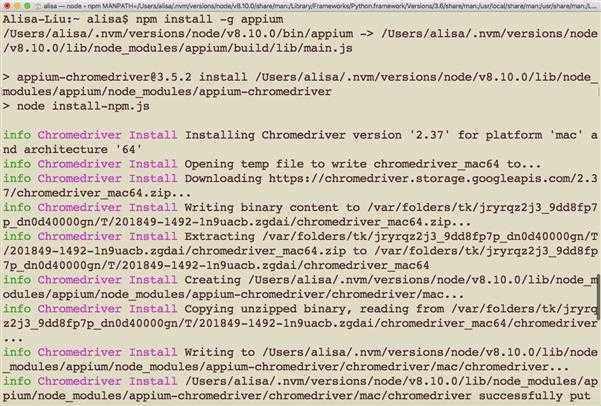
npm install -g appium
*node.js可理解为js的解释器,安装node的时候自带了npm,npm相当于python的pip,是包管理工具
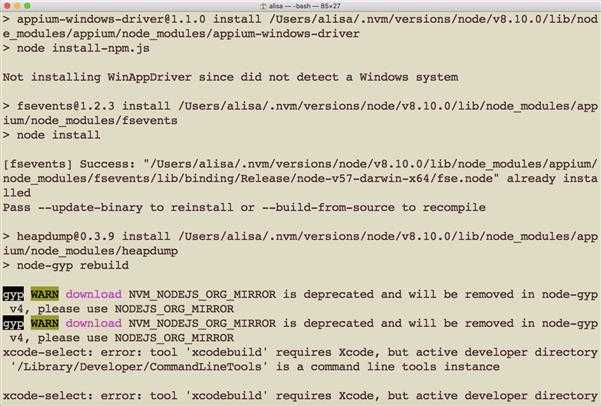
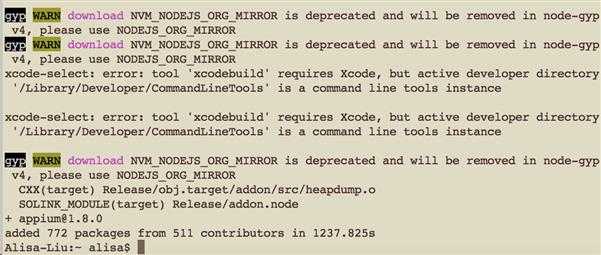
*不推荐:此法安装过程太慢,安装过程当中还可能会出现奇怪的问题,不建议使用此法安装
node -v
npm install -g appium
截取此命令执行后开头部分的错误:
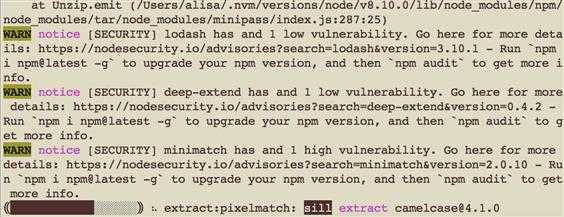
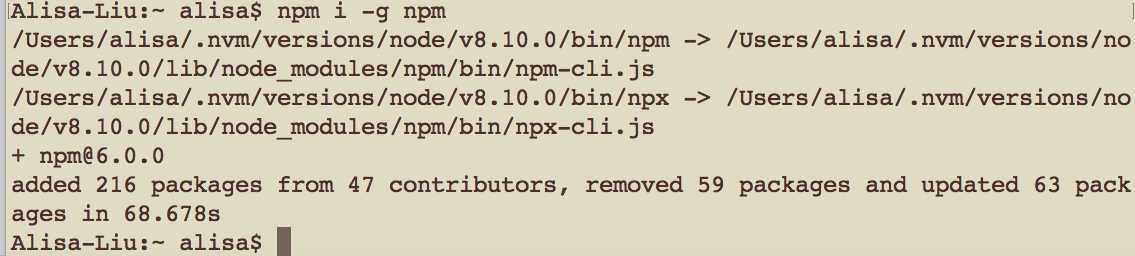
npm i -g npm

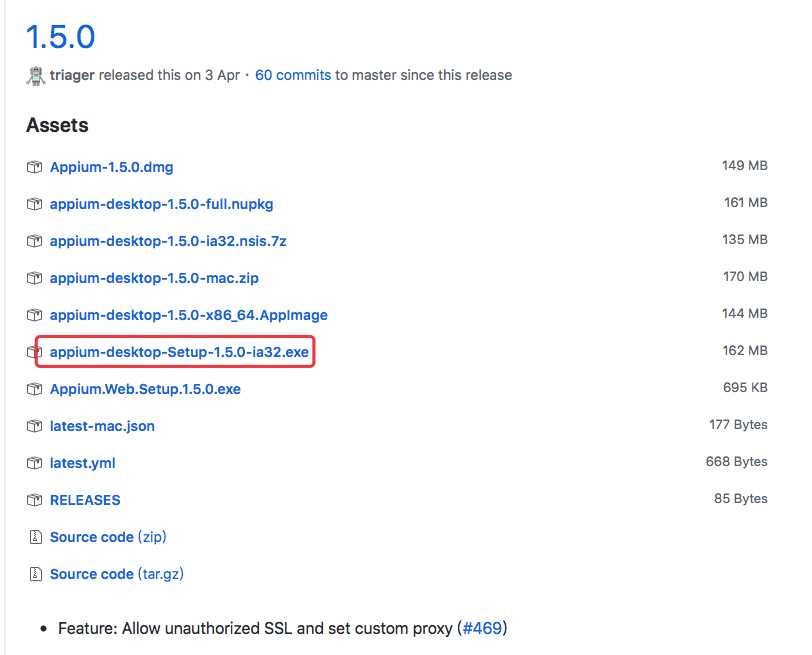
方法二: Appium Desktop
包含node.js环境,都打包好了,也包含appium server的源码
项目地址:https://github.com/appium/appium-desktop
下载地址:https://github.com/appium/appium-destop/release/latest
安装exe文件:appium-desktop-Setup-1.5.0-ia32.exe
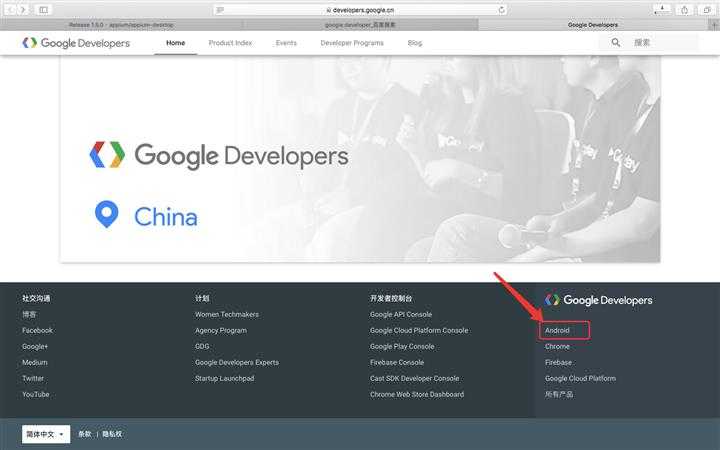
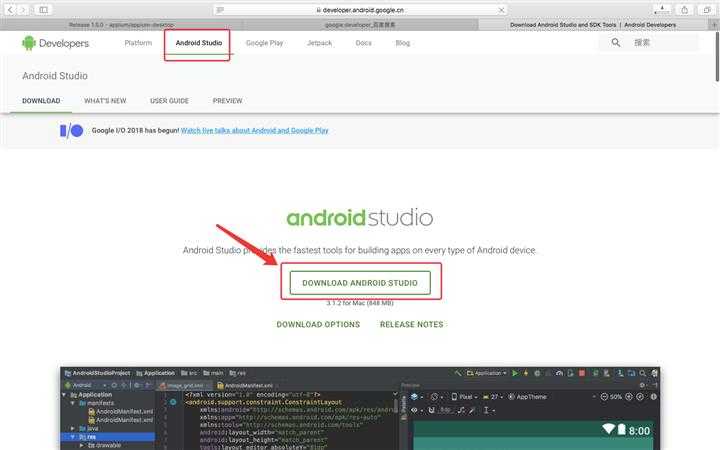
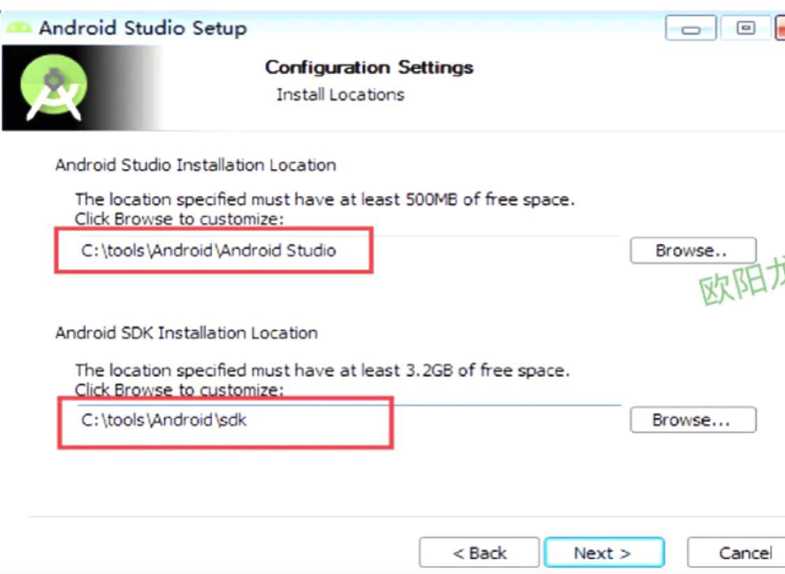
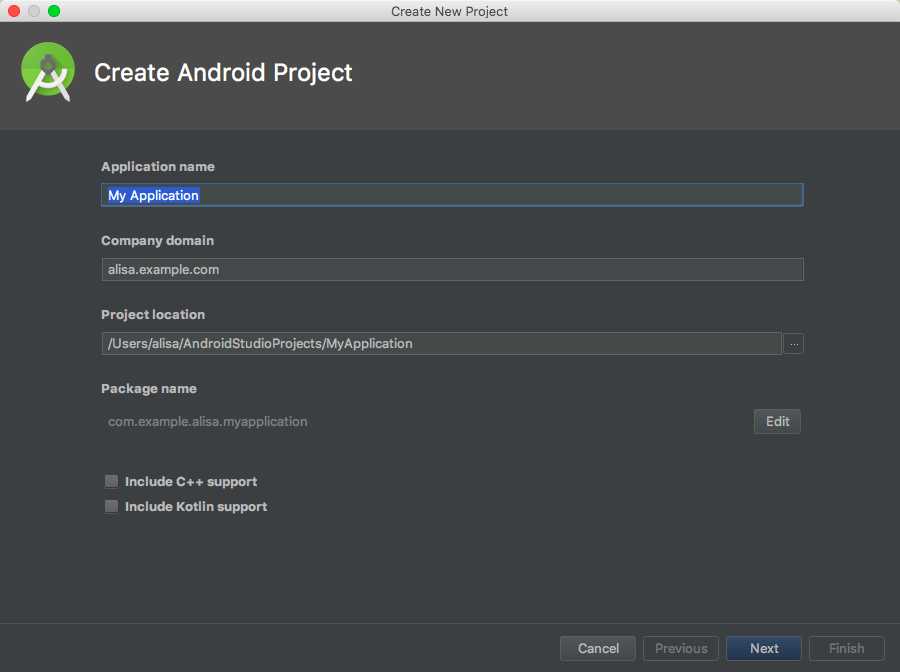
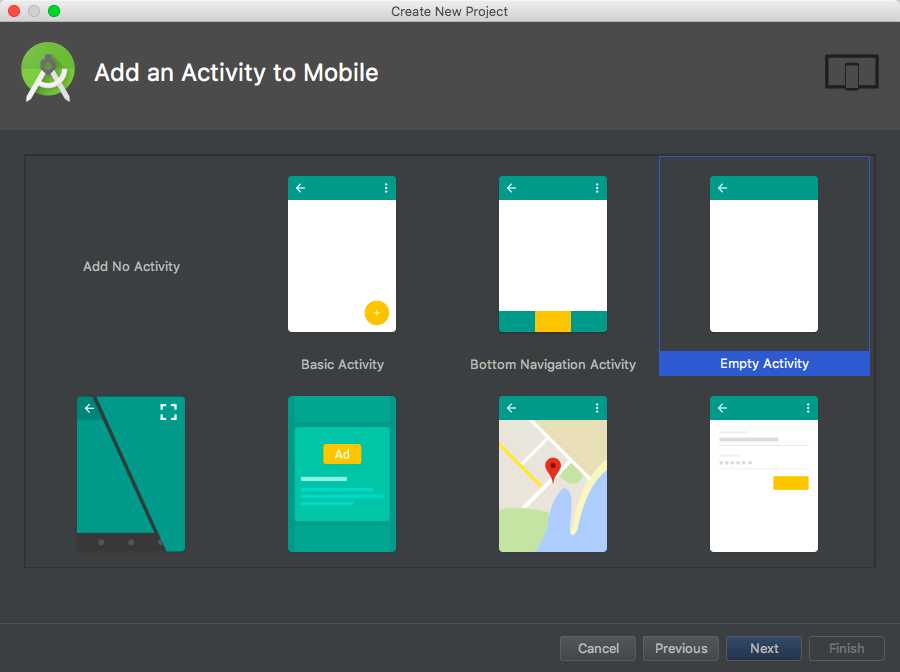
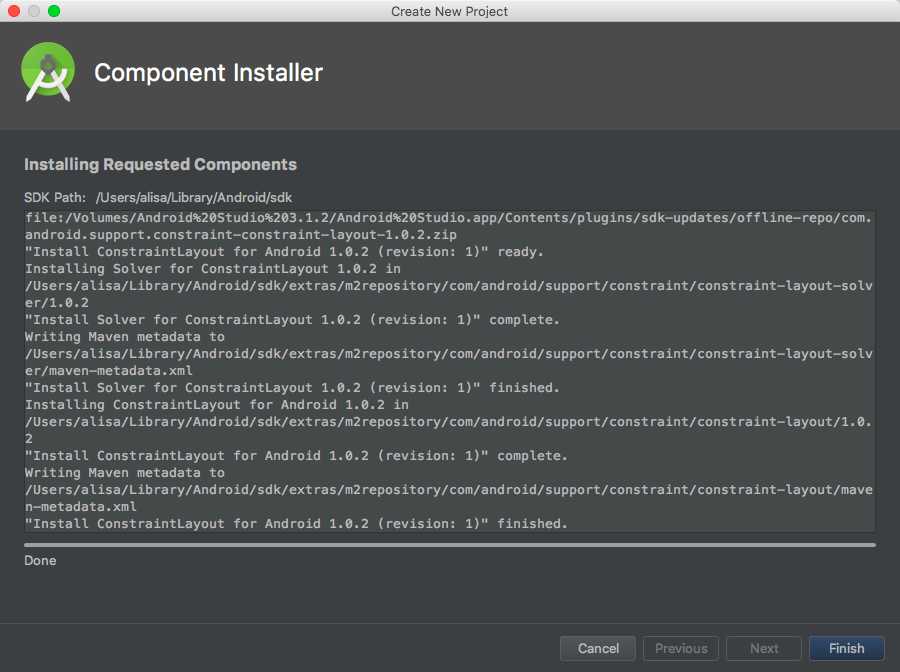
Step3,安装Adroid Studio:
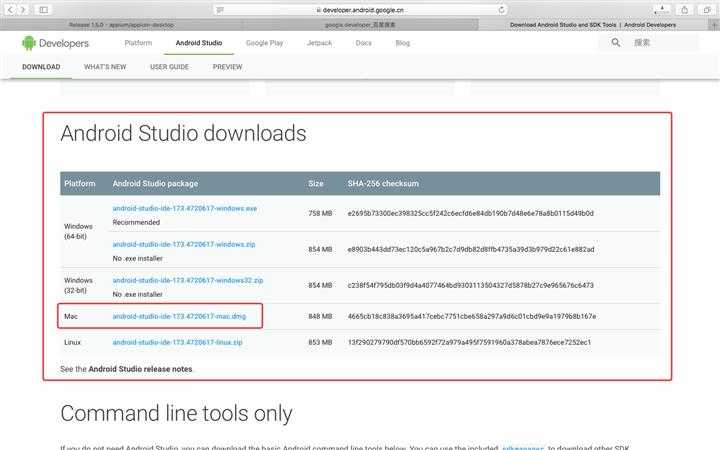
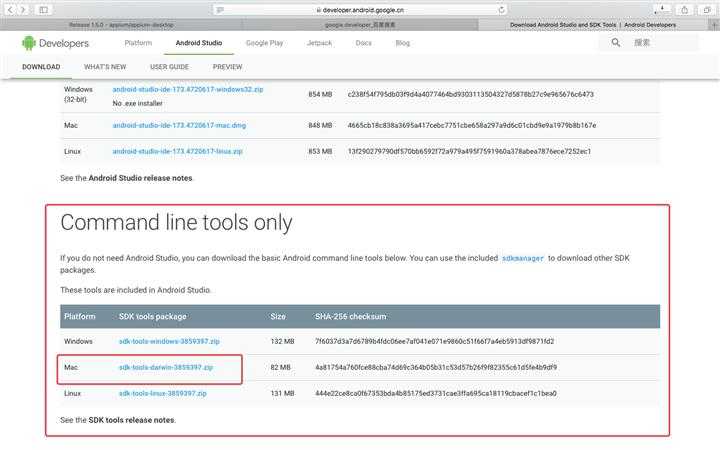
*安装路径:windows上不要有空格,除了Android Studio本身的单词之间的空格,windows要设置环境变量,会用到adb,
c:/tools/Android/sdk/platform-tools

Step4,安装JDK
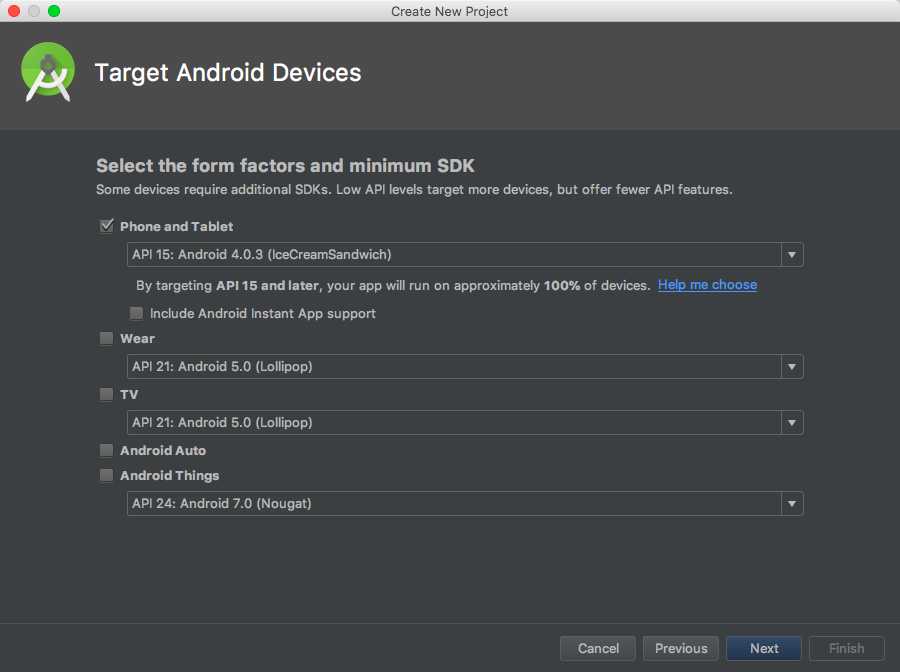
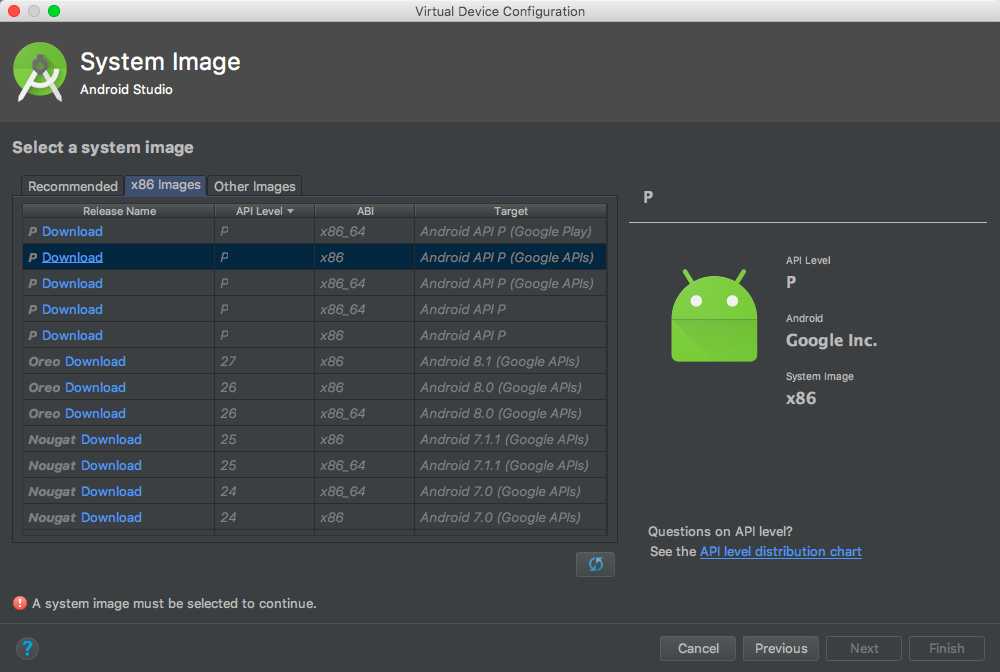
Step5,安装模拟器
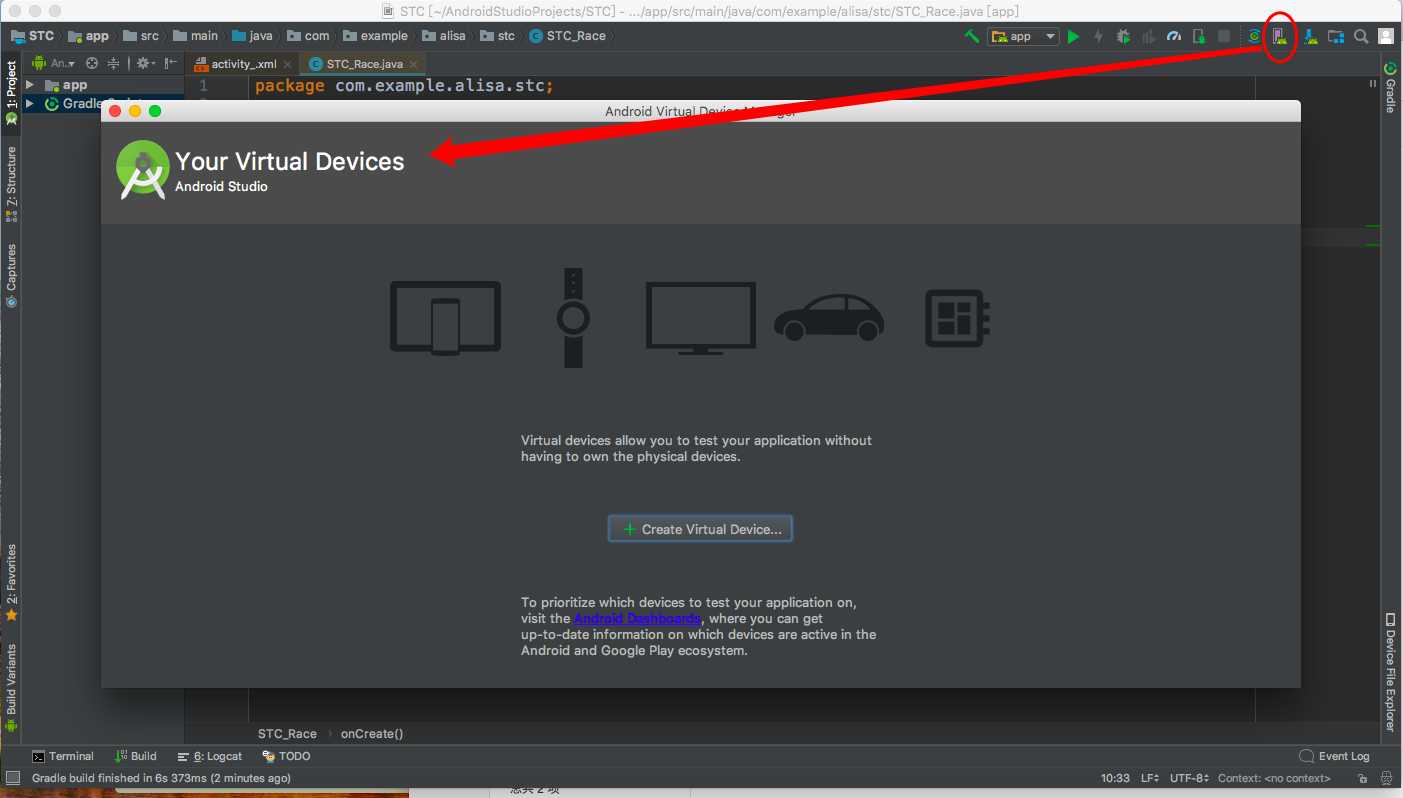
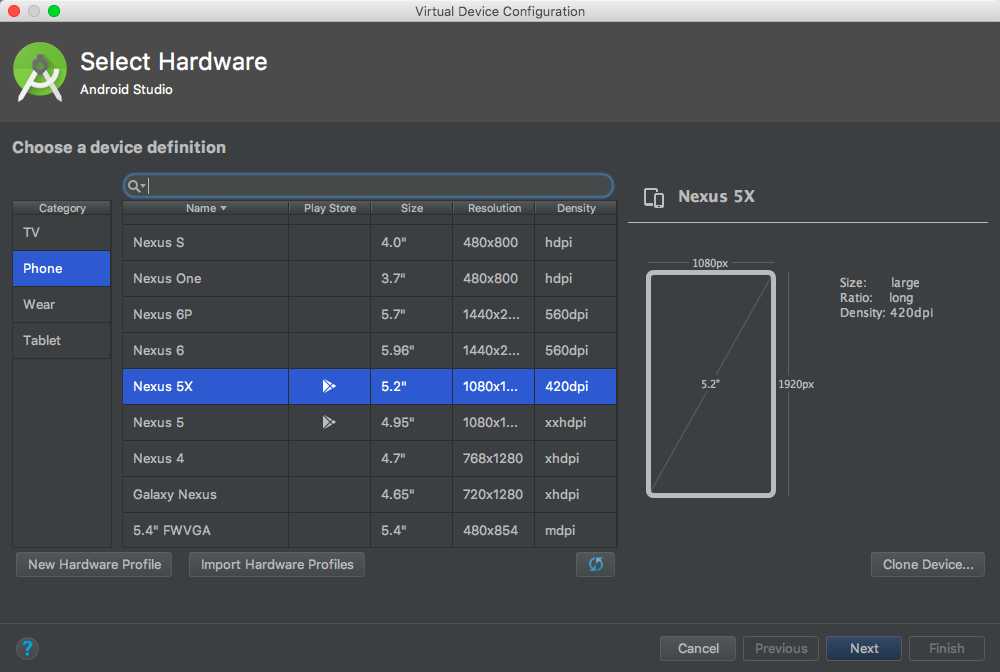
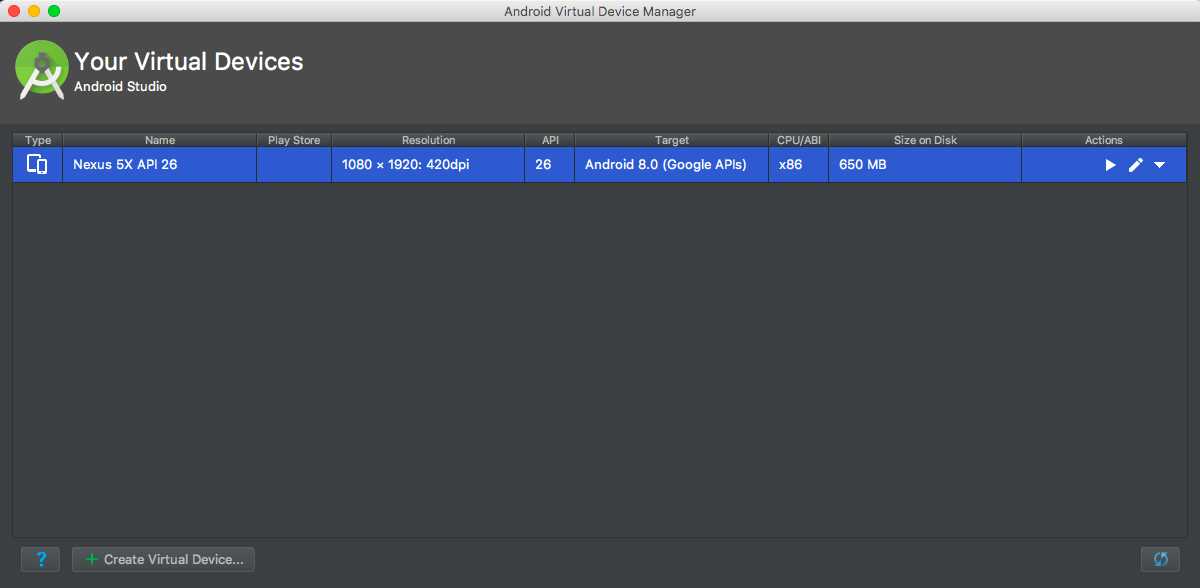
安装安卓手机模拟器:Android Studio里面自带的AVD manager(是安卓设备管理器的模拟程序)
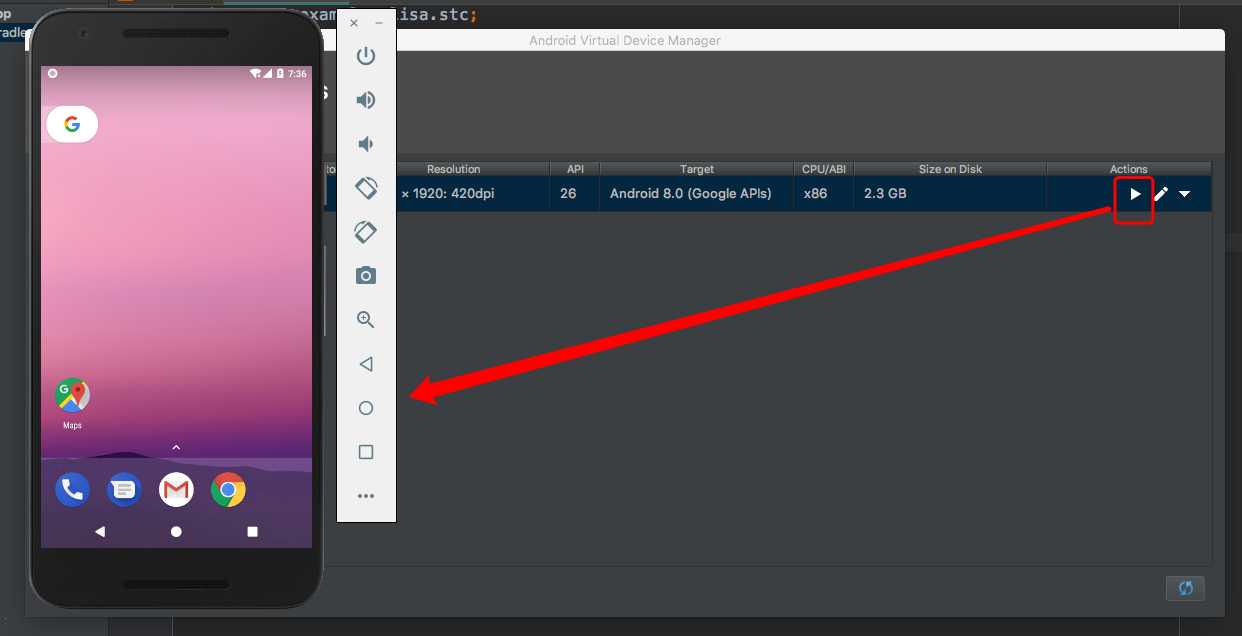
先启动Android Studio再启动虚拟机比较麻烦,可以用如下命令直接启动(windows要把/Users/alisa/Library/Android/sdk/tools路径加到环境变量)
命令: emulator @avd_name 直接启动android studio(笔者尝试此法未成功启动)

emulator @Nexus_5X_API_26
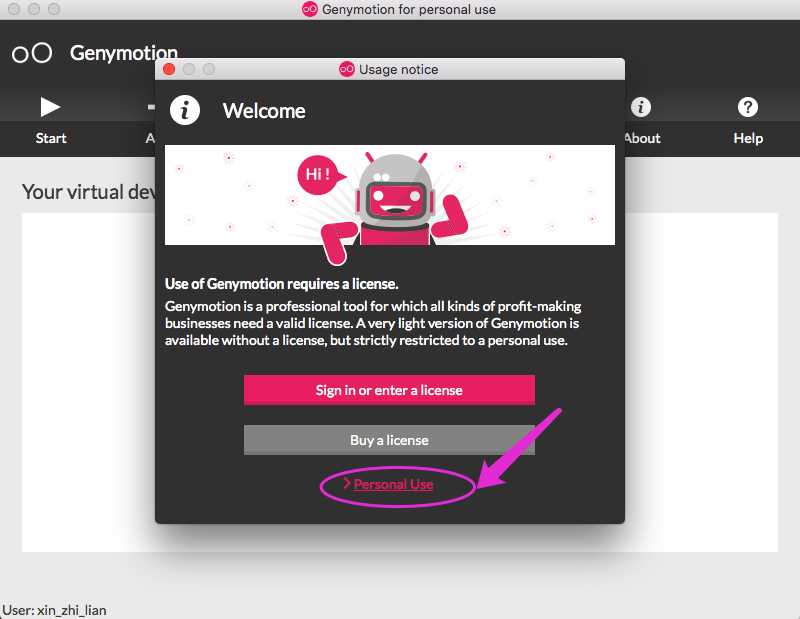
Genymotion模拟器:
下载Genymotion:
https:/www.genymotion.com ,点击resource->fun zone
必须要注册(邮箱激活)才能下载,下载个人版,使用这个模拟器时需要用到这个账号登录
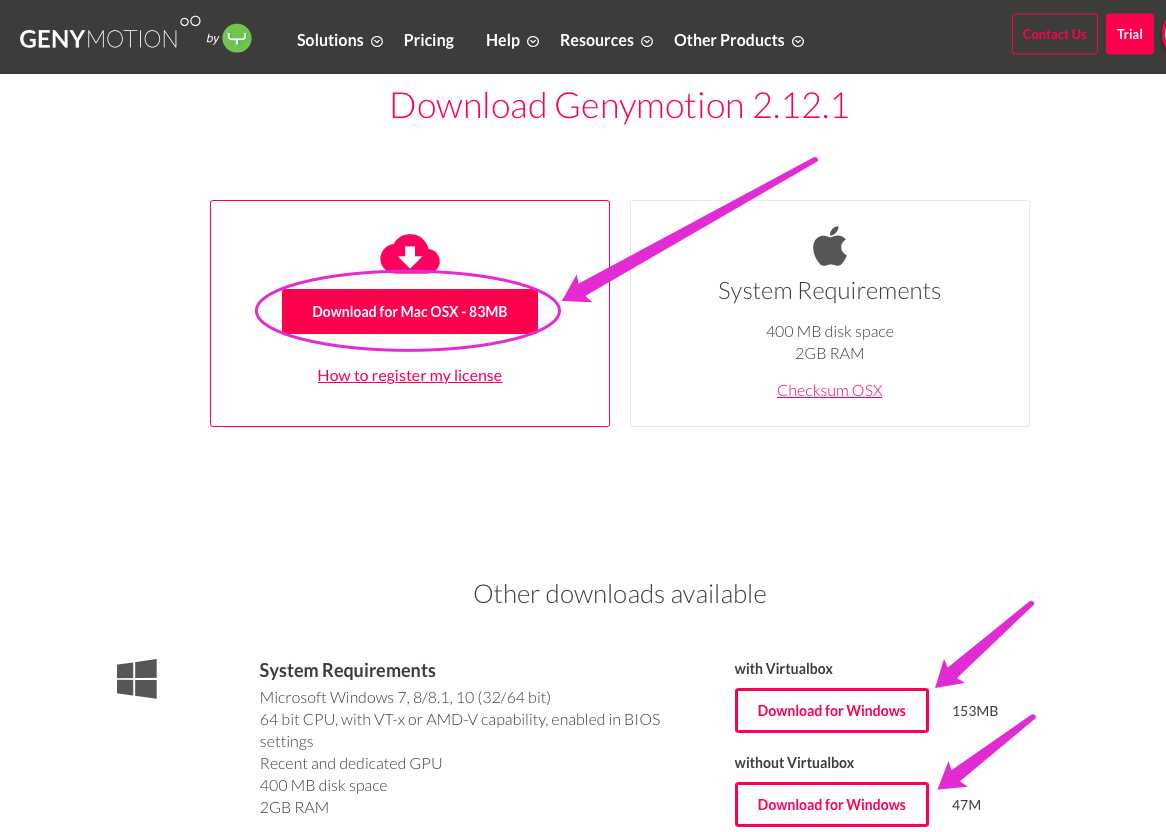
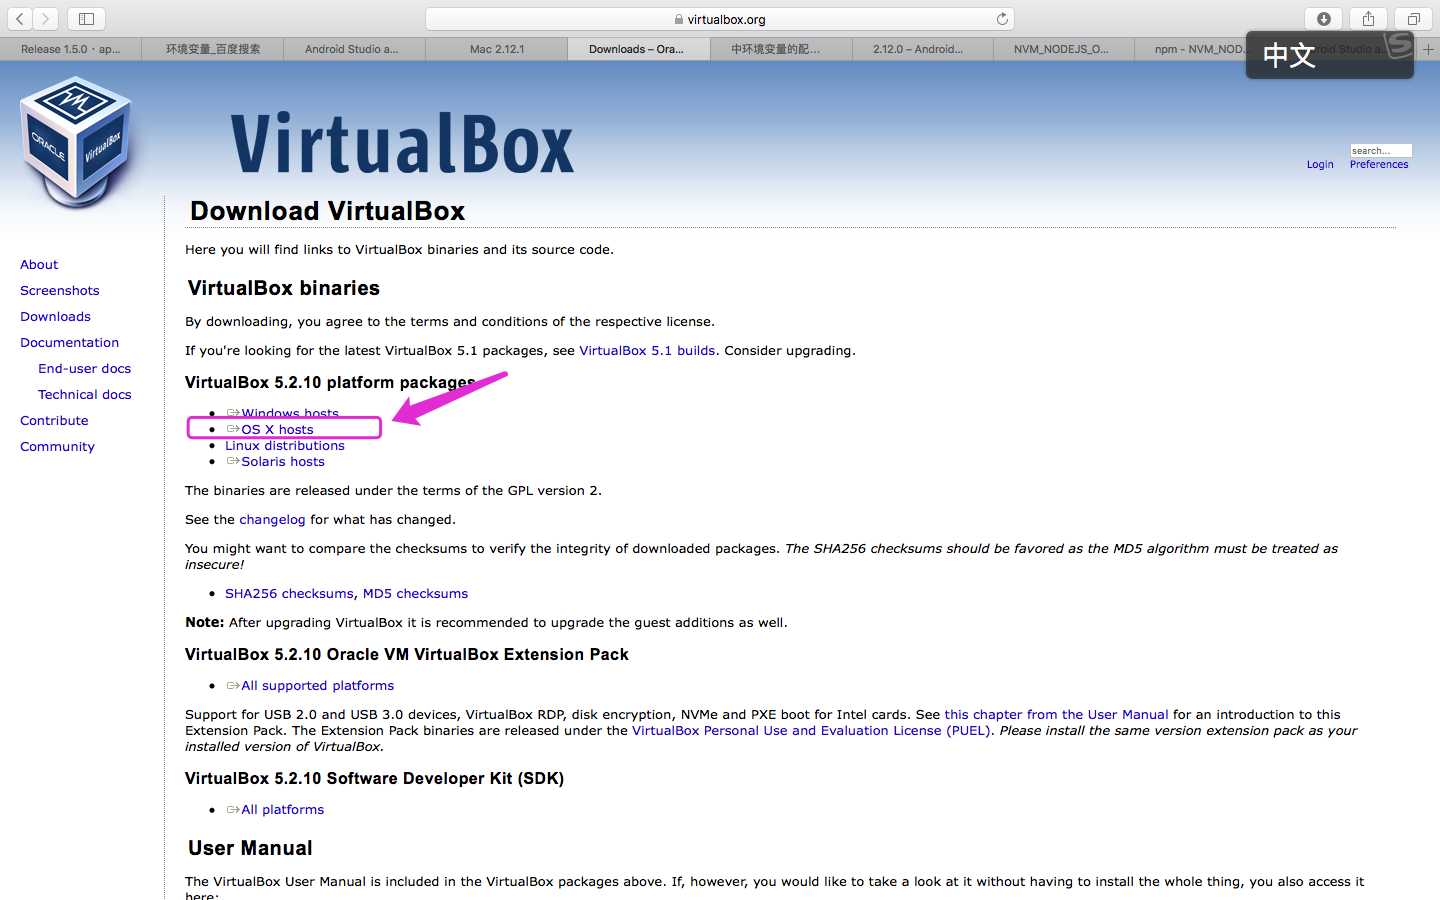
windows上Genymotion是依赖Virtual Box的
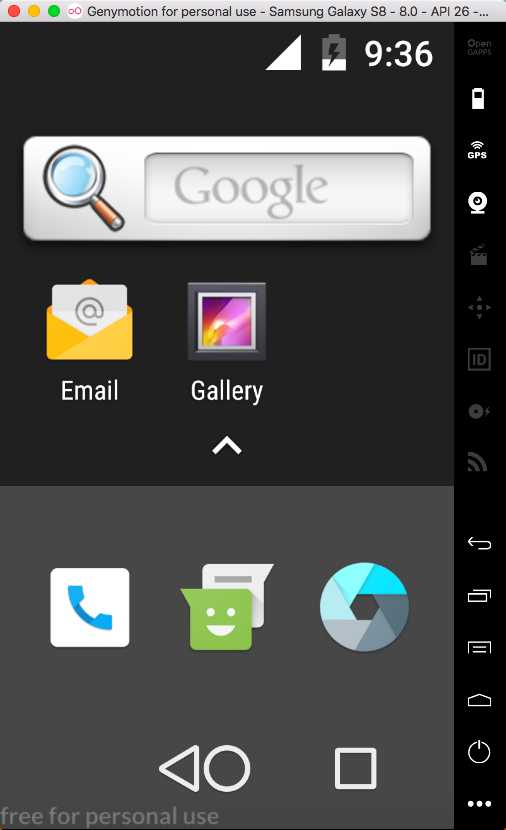
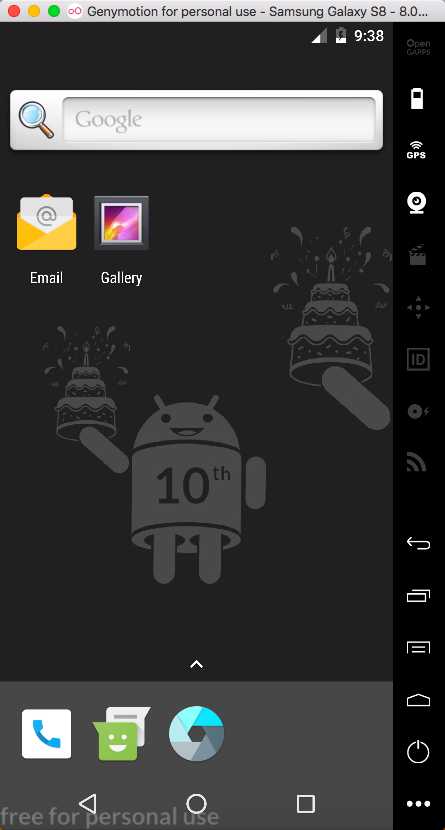
*推荐使用,启动较快
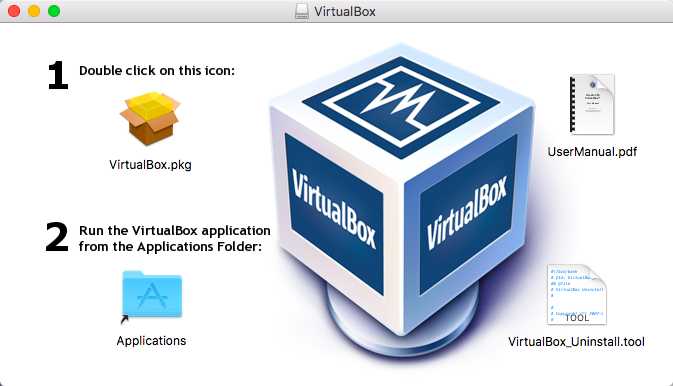
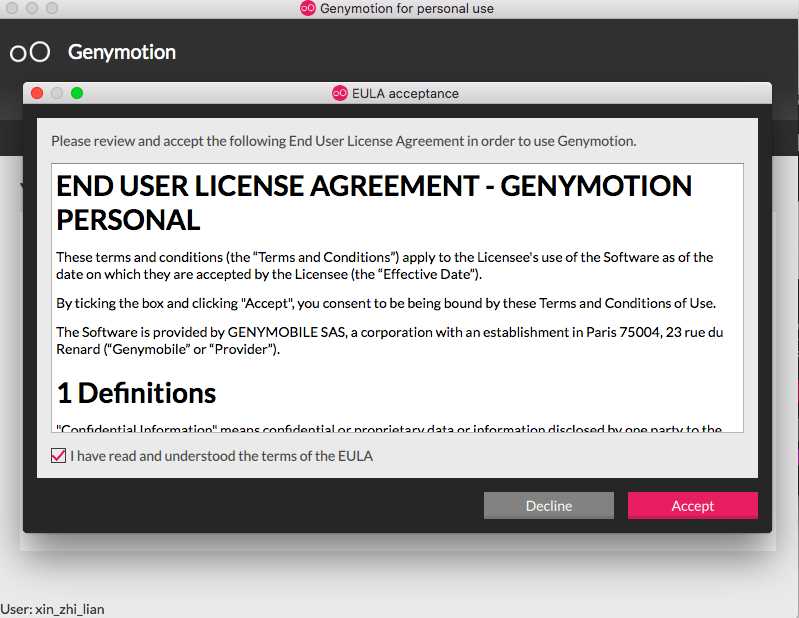
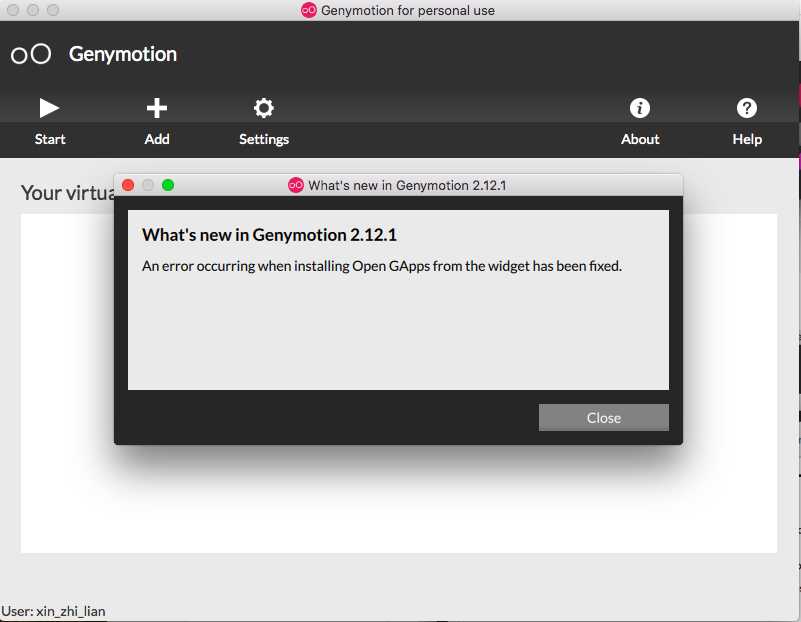
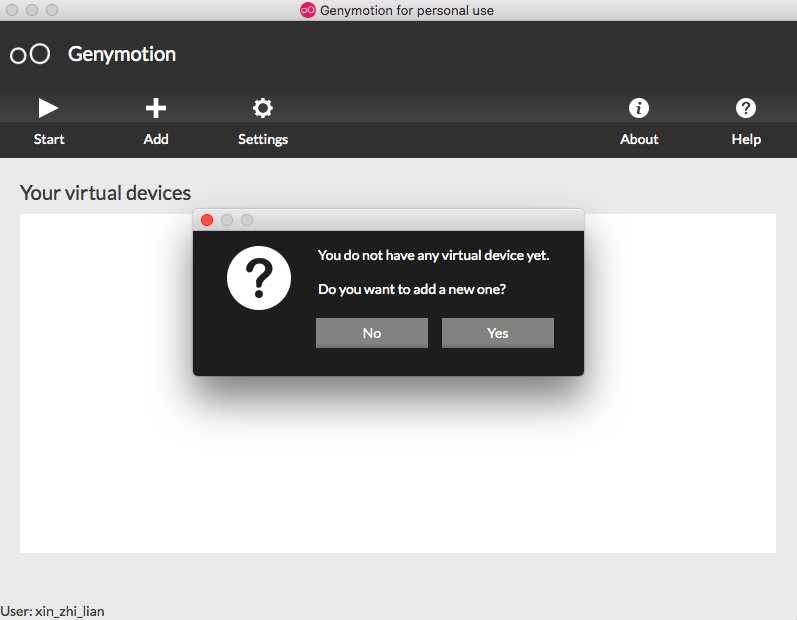
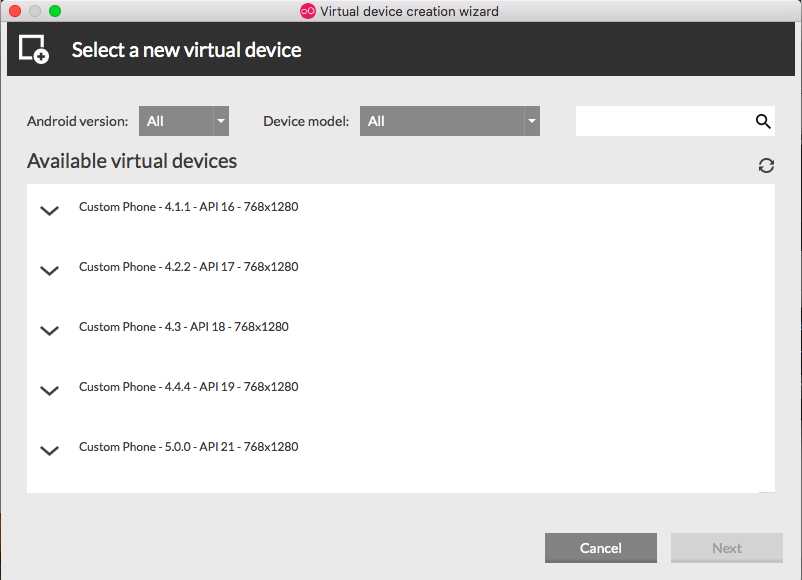
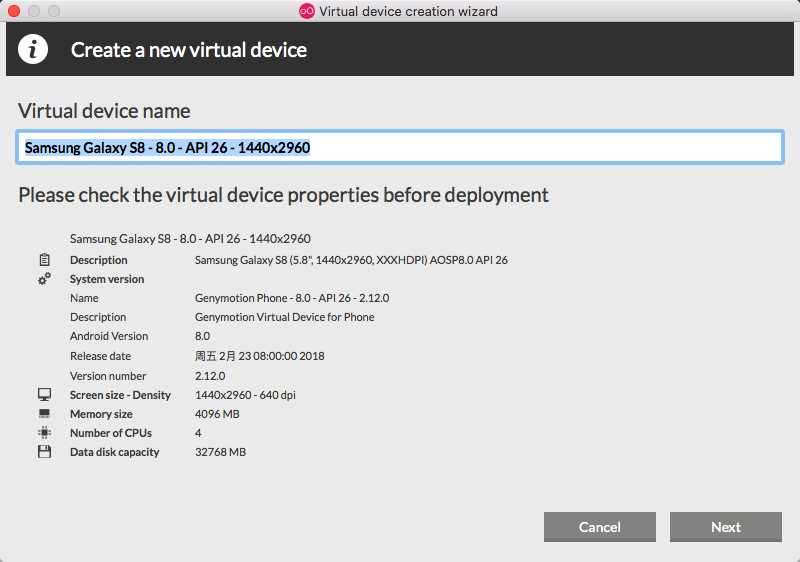
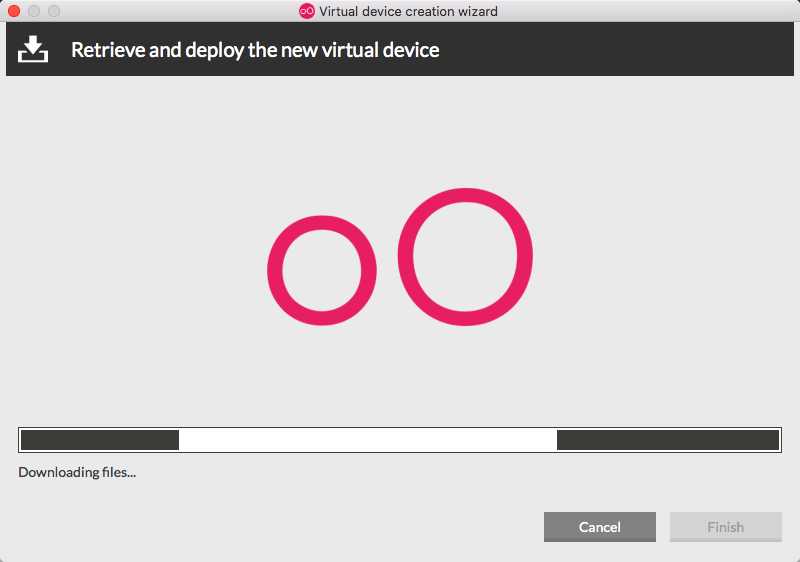
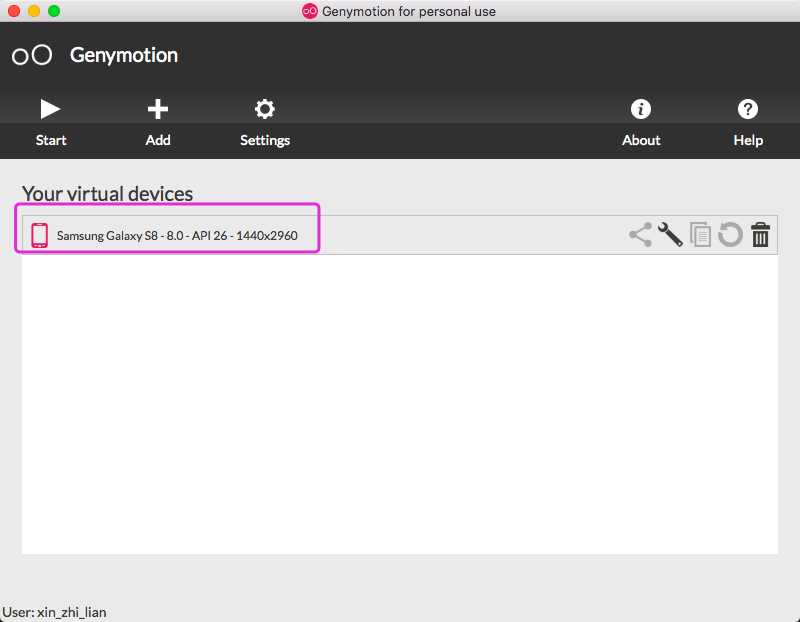
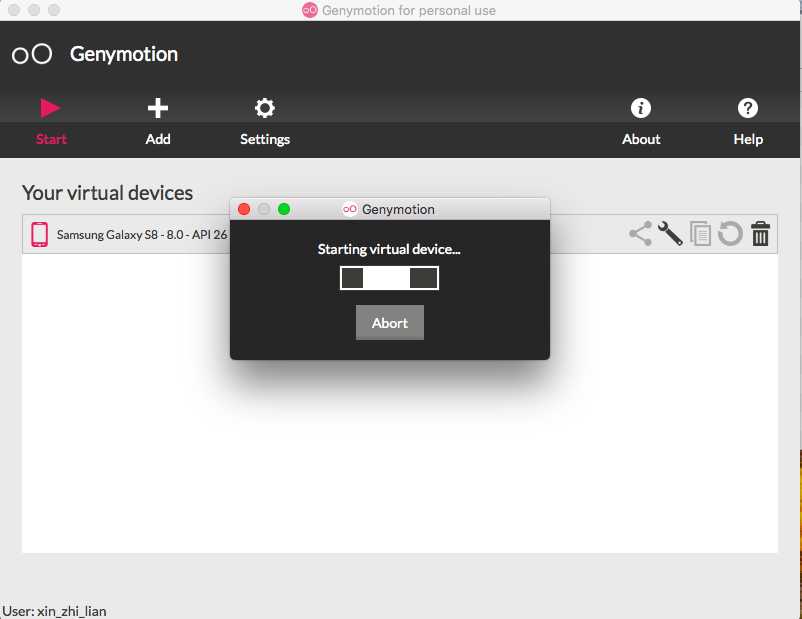
安装Genymotion:
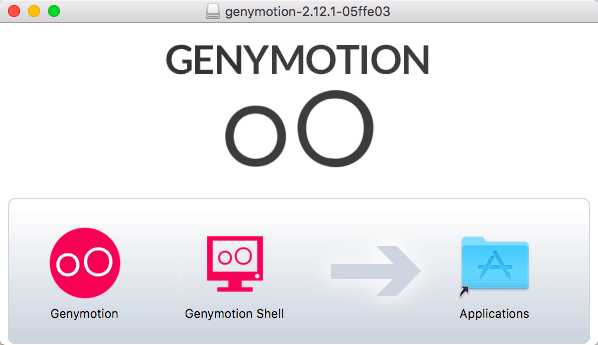
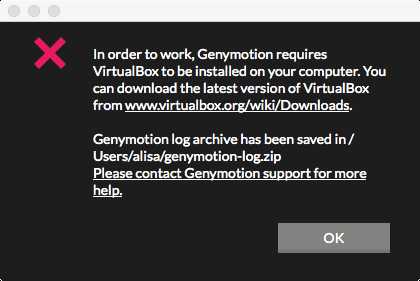
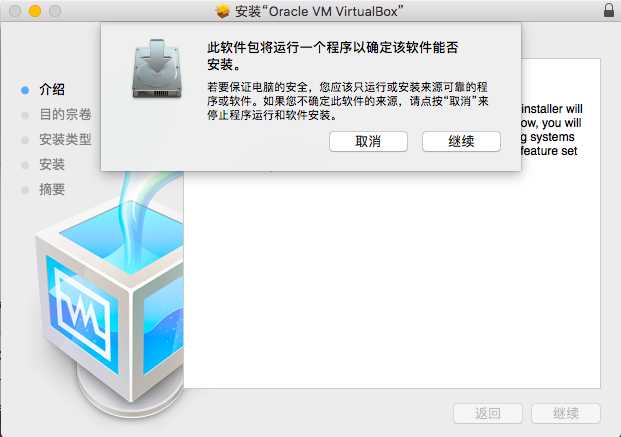
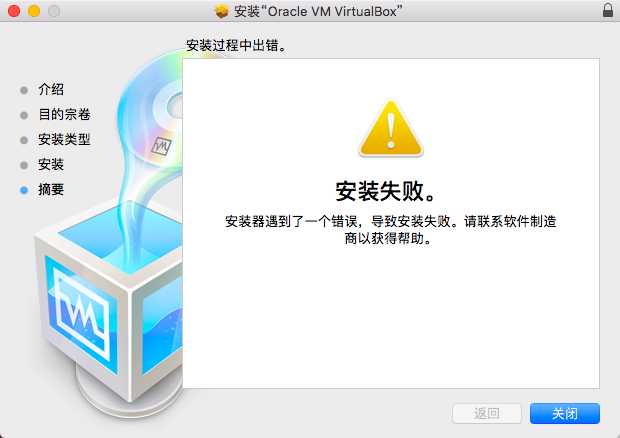
现状:Virtual Box 可以打开界面,在应用程序中也有图标
百度查找出现此问题的原因:virtualbox在安装的时候需要安装内核扩展(Kernel extenstion),而macOS 10.13 High Sierra的新安全特性会阻止外部内核扩展的安装,所以安装总是会被系统拦截,(正好本机也是10.13版本系统)
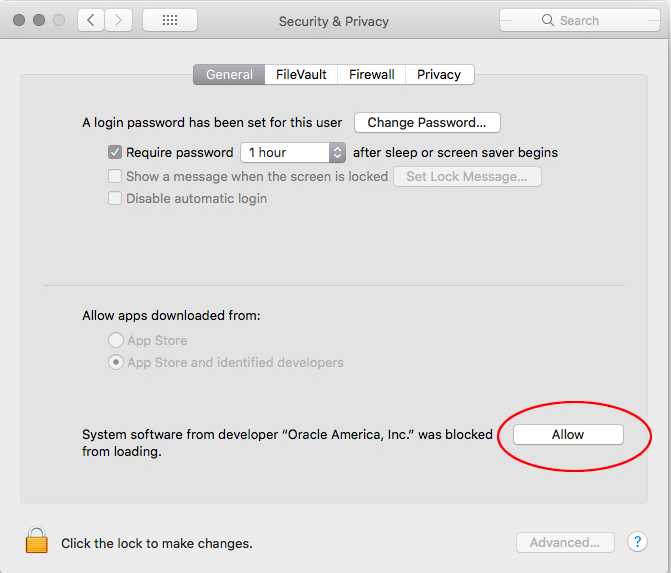
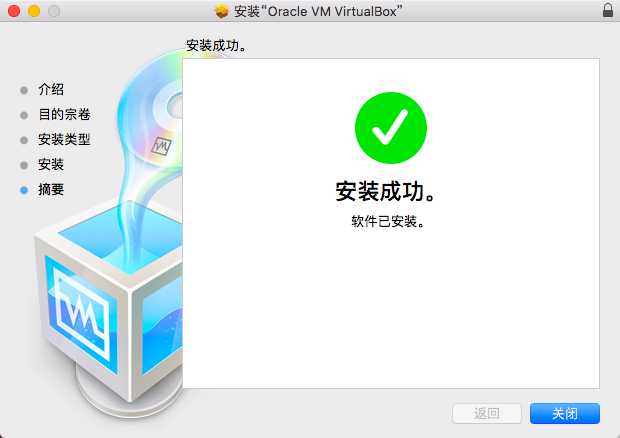
解决方法:
=>进入系统偏好设置-》安全性与隐私-》通用,点击允许,类似如下界面:


以上是关于Mac OS下Appium环境搭建及Genymotion模拟器安装的主要内容,如果未能解决你的问题,请参考以下文章
Mac&Appium&Python自动化测试-环境搭建之安卓SDK