磕磕绊绊菜鸟路之一--web项目搭建
Posted 执念saying
tags:
篇首语:本文由小常识网(cha138.com)小编为大家整理,主要介绍了磕磕绊绊菜鸟路之一--web项目搭建相关的知识,希望对你有一定的参考价值。
概述:
工作闲暇时间想要自己搭建一个web项目玩玩,没想到大半天才弄了一个springMVC+mybatis的网站,简直菜的不行,以下记录所有的步骤加深印象
使用环境
1.jdk1.8
2.maven 3.3.9
3.eclipse 4.6
4.tomcat 8.0
5.mysql
源码放在百度云
http://pan.baidu.com/s/1c5IlR4
简单说一下注意事项
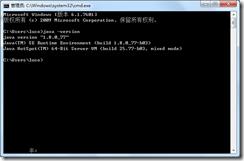
1.jdk 注意配置环境变量,配置JAVA_HOME,path等,验证如下
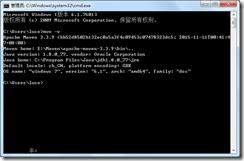
2.maven配置环境变量,配置MAVEN_HOME,path等,验证如下
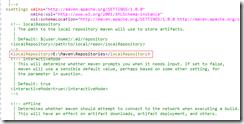
另:安装maven后修改conf文件夹的setting.xml
添加<localRepository>E:\\Maven\\Repositories</localRepository>设置本地Repositories的位置
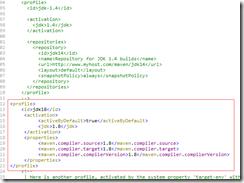
profiles节点中加入
<profile>
<id>jdk18</id>
<activation>
<activeByDefault>true</activeByDefault>
<jdk>1.8</jdk>
</activation>
<properties>
<maven.compiler.source>1.8</maven.compiler.source>
<maven.compiler.target>1.8</maven.compiler.target>
<maven.compiler.compilerVersion>1.8</maven.compiler.compilerVersion>
</properties>
</profile>3.eclipse离线加入maven插件
i.在eclipse目录下添加links和myplugins(随便命名)
ii.将插件解压到myplugins中(云盘有,或者网上下载)
iii.links下新建maven.link(随便命名) 内容:path=E:/IDE/eclipse/myplugins 对应上面myplugins的路径
项目构建
1.打开eclipse
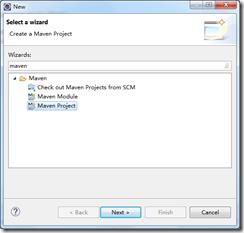
i.File--》New—》other --》输入maven选择Maven Project—》next
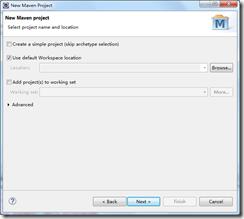
ii.添加项目路径(我使用了默认)--》next
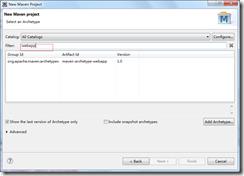
iii.输入webapp 创建一个web项目
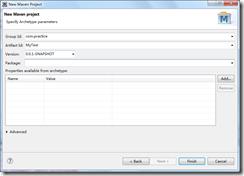
iv.填写GroupId和Artifact Id,Pakage暂时不填—>finished
2.问题解决
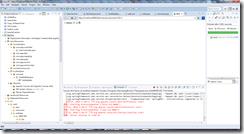
创建项目后,报错如下
解决方案:
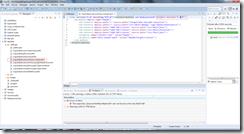
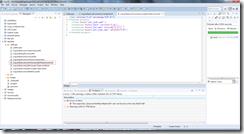
第一步:切换到navigator目录 修改以下两个文件夹信息
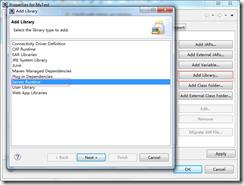
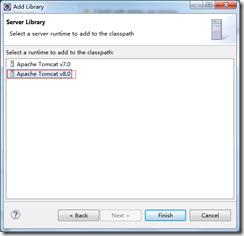
第二步:回到Project Explorer,右击项目—》build path --》Libraries目录—》Add Library—》Server Runtime --》选择一个tomcat 7、8都行 如果没有的话 需要在eclipse里面添加tomcat(install tomacat到tomcat的根目录)
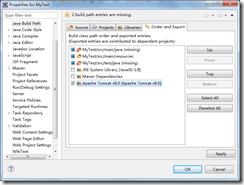
第三步:Order and Export里面勾选tomcat--》apply
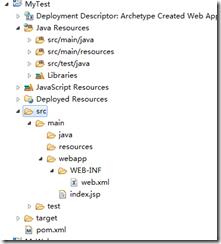
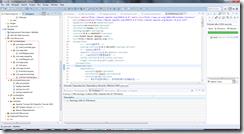
ok 问题解决 完成后文件结构如下:
2.配置文件
i.添加如下配置文件;每一行都以注释加以解释了,可下载源码来(也在云盘)
ii.添加jar包,使用maven添加,具体见pom.xml
iii.修改web.xml 默认使用servelet 2.3 改为3.1,加载配置文件,完整文件如下:
<?xml version="1.0" encoding="UTF-8"?>
<web-app xmlns:xsi="http://www.w3.org/2001/XMLSchema-instance" xmlns="http://java.sun.com/xml/ns/javaee" xmlns:web="http://java.sun.com/xml/ns/javaee/web-app_2_5.xsd" xsi:schemaLocation="http://java.sun.com/xml/ns/javaee http://java.sun.com/xml/ns/javaee/web-app_3_0.xsd" version="3.0">
<display-name>Archetype Created Web Application</display-name>
<context-param>
<param-name>contextConfigLocation</param-name>
<param-value>classpath:spring-mybatis.xml</param-value>
</context-param>
<filter>
<filter-name>encodingFilter</filter-name>
<filter-class>org.springframework.web.filter.CharacterEncodingFilter</filter-class>
<async-supported>true</async-supported>
<init-param>
<param-name>encoding</param-name>
<param-value>UTF-8</param-value>
</init-param>
</filter>
<filter-mapping>
<filter-name>encodingFilter</filter-name>
<url-pattern>/*</url-pattern>
</filter-mapping>
<listener>
<listener-class>org.springframework.web.context.ContextLoaderListener</listener-class>
</listener>
<listener>
<listener-class>org.springframework.web.util.IntrospectorCleanupListener</listener-class>
</listener>
<servlet>
<servlet-name>SpringMVC</servlet-name>
<servlet-class>org.springframework.web.servlet.DispatcherServlet</servlet-class>
<init-param>
<param-name>contextConfigLocation</param-name>
<param-value>classpath:spring-mvc.xml</param-value>
</init-param>
<load-on-startup>1</load-on-startup>
<async-supported>true</async-supported>
</servlet>
<servlet-mapping>
<servlet-name>SpringMVC</servlet-name>
<url-pattern>/</url-pattern>
</servlet-mapping>
<welcome-file-list>
<welcome-file>/index.jsp</welcome-file>
</welcome-file-list>
</web-app>
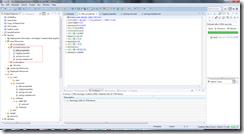
3.MVC文件结构
不涉及配置,比较简单,一般项目为以上结构
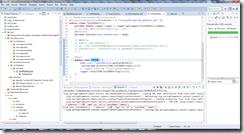
4.JUnit测试
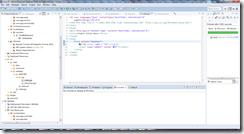
5.jsp测试
jsp如下
右击项目—》Run as—》Run on server –》tomcat 8.0
url输入http://localhost:8080/MyTest/user/index
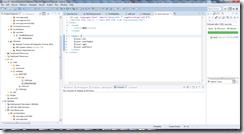
跳转如下
完成
下一步,将项目提交到github,并逐步完善
以上是关于磕磕绊绊菜鸟路之一--web项目搭建的主要内容,如果未能解决你的问题,请参考以下文章
