使用vue init生成属于自己的vueTemplate
Posted linxing
tags:
篇首语:本文由小常识网(cha138.com)小编为大家整理,主要介绍了使用vue init生成属于自己的vueTemplate相关的知识,希望对你有一定的参考价值。
相信很多接触过vue的小伙伴非常熟悉了,我们在开启项目之前都需要vue init webpack xx来初始化自己的项目目录。但是在实际开发中我们往往会根据公司要求或者业务的需要会对目录进行局部的调整,那么今天我们来说一说如何能够创建自己的项目目录机构,要做这个也是非常的容易了。
首先,我们需要全局安装vue-cli工具。
npm install vue-cli -g
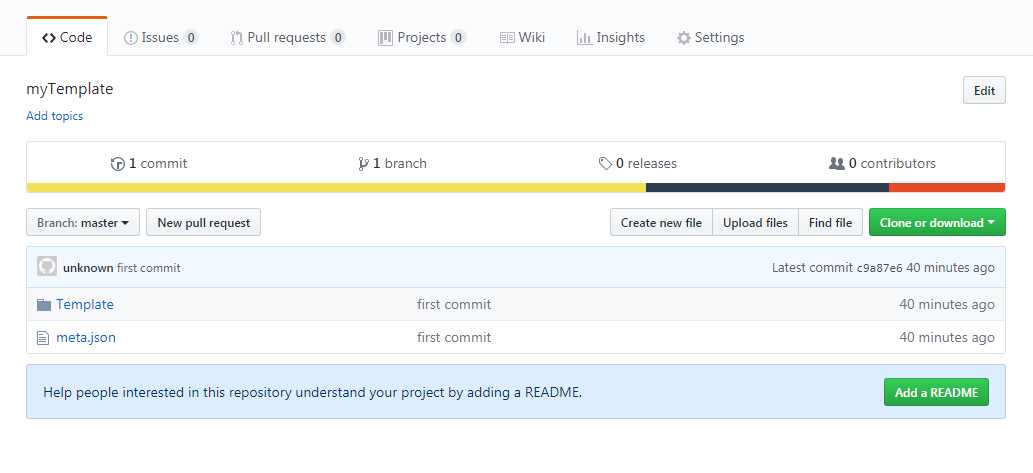
其次,我们需要在自己git仓库中上传一个包含自己项目目录机构的文件夹和一个meta.json文件。

Template文件夹中的内容放置我们自己的项目目录
meta.json中的内容如下:
{
  "prompts": {
    "name": {
      "type": "string",
      "required": true,
      "label": "Project name"
    },
    "description": {
      "type": "string",
      "required": true,
      "label": "Project description",
      "default": "A Vue.js project"
    },
    "author": {
      "type": "string",
      "label": "Author"
    }
  },
  "completeMessage": "To get started:\\n\\n  cd {{destDirName}}\\n  npm install\\n  npm run dev"
}
然后我们就可以上传到自己git远程仓库中了,大工即将告成~
最后我们只需要执行 vue init git名/仓库名 xx,这就可以生成自己想要的项目目录结构了。
以上是关于使用vue init生成属于自己的vueTemplate的主要内容,如果未能解决你的问题,请参考以下文章