工具环境
1.VMware workstation 12+;
2.Ubuntu系统+Linux Pycharm;
3.OpenStack Queens版本Horizon代码;
问题及解决
1.项目代码在P有charm中打开后需要在目录openstack_dashboard/local下创建local_settings.py文件,并将local_settings.py.sample文件的内容拷贝到local_settings.py文件,并对该文件进行修改:
# This setting controls whether compression happens on the fly, or offline
# with `python manage.py compress`
# See https://django-compressor.readthedocs.io/en/latest/usage/#offline-compression
# for more information
# COMPRESS_OFFLINE = not DEBUG
COMPRESS_OFFLINE = DEBUG    # 打开离线压缩DEBUG

# If horizon is running in production (DEBUG is False), set this
# with the list of host/domain names that the application can serve.
# For more information see:
# https://docs.djangoproject.com/en/dev/ref/settings/#allowed-hosts
ALLOWED_HOSTS = ["*"]    # 任何主机都可以访问该应用(前提是网络允许)

#AVAILABLE_REGIONS = [
#    (\'http://cluster1.example.com:5000/v3\', \'cluster1\'),
#    (\'http://cluster2.example.com:5000/v3\', \'cluster2\'),
#]

OPENSTACK_HOST = "192.168.2.100"    # openstack控制节点部署IP地址
OPENSTACK_KEYSTONE_URL = "http://%s:5000/v3" % OPENSTACK_HOST
OPENSTACK_KEYSTONE_DEFAULT_ROLE = "_member_"
经过上面配置,再指定好Django程序运行的IP端口之后,就可以启动服务进行OpenStack界面(Dashboard)的访问了:
python manage.py runserver (ip:port) # ip和port为可选参数,没有指定将默认为127.0.0.1:8000
激动人心的时刻终于到了,期待已久的界面终于可以访问了。然而....出现了下面的访问结果:

结果让人大跌眼镜....还好打开了COMPRESS_OFFLINE=DEBUG,根据提示需要执行命令,于是乎执行该命令:
python manage.py compress
卧槽!!!怎么还是这个情况。查阅资料终于得其道,需要将下面两个命令合起来使用:
python manage.py collectstatic    # 静态文件收集(js、css文件)
python manage.py compress    # 将收集的静态文件进行压缩
2.Horizon本地化(中文界面)
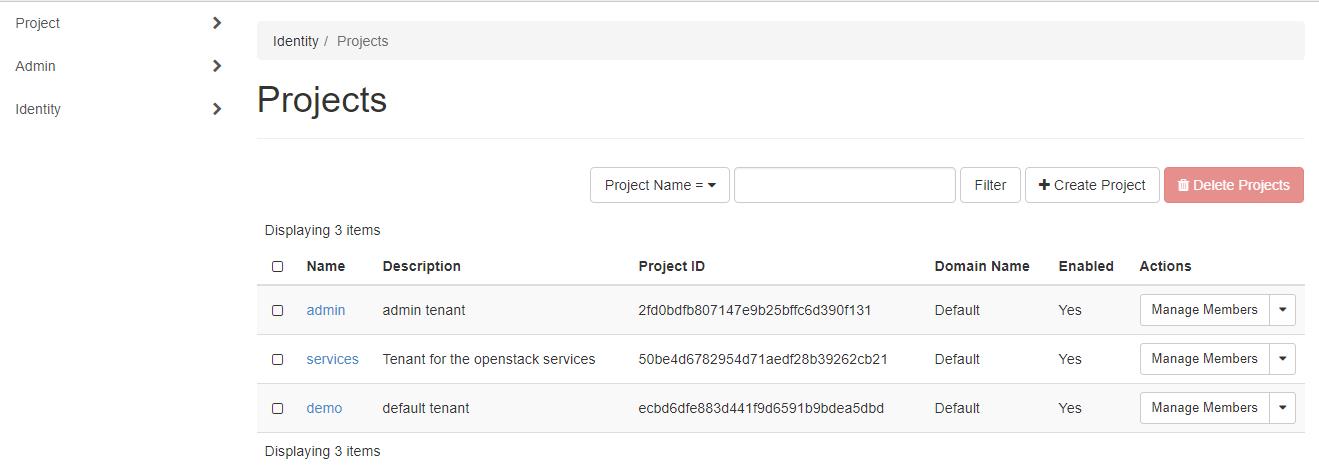
登陆Dashboard页面,发现页面是全英文的,如下图所示:

既然我们是定制化开发,那么首先就要解决语言的问题,这里就需要将界面汉化。由于OpenStack已经为我们做好了本地化的翻译工作,所以我们就不再重复。这里需要讲一下,如果OpenStack没有为我们翻译需要的语言,那么就需要我们自己去做(步骤a):
a.在应用或者项目的目录下,执行命令:
python manage.py makemessages -l zh_CN
该命令会生成如下目录:
locale/
 |── zh_CN
│   └── LC_MESSAGES
│       ├── django.mo
│       └── django.po
zh_CN指的是简体中文,每种语言都有自己的目录,在Django中,每种语言都有自己的LANGUAGE_CODE.
现在打开django.po文件,内容如下格式:
#: openstack_dashboard/api/cinder.py:53
#: openstack_dashboard/dashboards/admin/volume_types/forms.py:104
msgid "back-end"
msgstr "后端"

#: openstack_dashboard/api/cinder.py:54
#: openstack_dashboard/dashboards/admin/volume_types/forms.py:102
msgid "front-end"
msgstr "前端"

#: openstack_dashboard/api/cinder.py:55
msgctxt "Both of front-end and back-end"
msgid "both"
msgstr "前后两端"
其中,msgstr写上我们翻译的内容就行。
b.执行下面命令(非常重要):
python manage.py compilemessages
我们将会看到很多文件被编译,以下只是部分示例:
processing file django.po in /home/xh/Horizon/horizon-stable-queens/horizon/locale/en_GB/LC_MESSAGES
processing file djangojs.po in /home/xh/Horizon/horizon-stable-queens/horizon/locale/en_GB/LC_MESSAGES
processing file django.po in /home/xh/Horizon/horizon-stable-queens/horizon/locale/ja/LC_MESSAGES
processing file djangojs.po in /home/xh/Horizon/horizon-stable-queens/horizon/locale/ja/LC_MESSAGES
processing file django.po in /home/xh/Horizon/horizon-stable-queens/horizon/locale/zh_CN/LC_MESSAGES
processing file djangojs.po in /home/xh/Horizon/horizon-stable-queens/horizon/locale/zh_CN/LC_MESSAGES
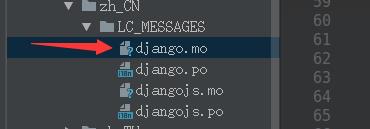
打开locale目录,将会看到编译生成的django.mo,该文件是二进制文件,如下图所示:

c.语言便宜设置好之后,需要在django的setting.py文件中对网页语言进行修改,默认情况下语言为"en",如下图所示:

我们需要做的就是将其改成如下形式:
LANGUAGE_CODE = \'zh_cn\'
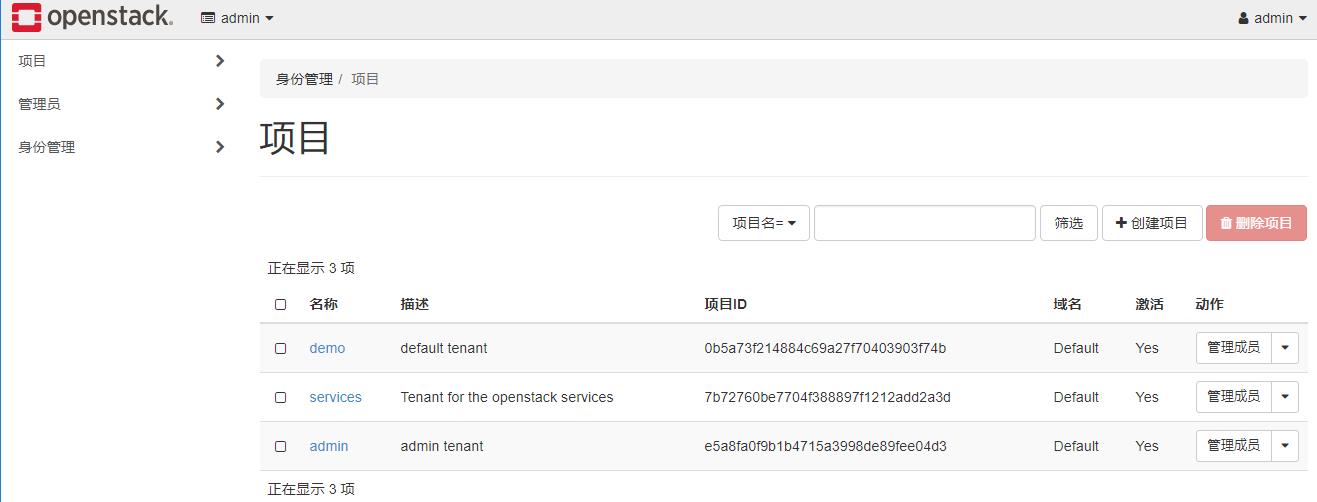
d.重启Django服务,再次访问Dashboard就会出现我们需要的中文页面了,如下图所示:

version0.01 2018-04-25