Qt 5 配置 WinPcap 开发环境
Posted iamhesir
tags:
篇首语:本文由小常识网(cha138.com)小编为大家整理,主要介绍了Qt 5 配置 WinPcap 开发环境相关的知识,希望对你有一定的参考价值。
第一步:下载必要的工具。
第二步:配置开发环境,有两种方式。
第一种:
在 C 盘下新建一个WpdPack文件夹,然后将Include和Lib两个文件夹拷贝到该文件夹中。
在项目文件.pro添加以下内容INCLUDEPATH += C:\\WpdPack\\Include LIBS += C:/WpdPack/Lib/wpcap.lib说明:这里文件夹的位置可自由选定,只要项目文件中的文件路径保持一致即可。
第二种:
将Include文件夹下的全部内容拷贝到C:\\Qt\\Qt5.6.1\\5.6\\mingw49_32\\include目录下
将Lib文件夹下的全部内容拷贝到C:\\Qt\\Qt5.6.1\\5.6\\mingw49_32\\lib目录下
这时只需在项目文件.pro添加LIBS += wpcap.lib即可
第三步:编写程序并运行,在头文件中添加以下内容:
#define HAVE_REMOTE
#include <pcap.h>
#include <remote-ext.h>
这里提供一份测试代码。
#include <QCoreApplication>
#include <QDebug>
#define HAVE_REMOTE
#include <pcap.h>
#include <remote-ext.h>

int main(int argc, char *argv[])
{
    QCoreApplication a(argc, argv);

    pcap_if_t *alldevs;
    char errbuf[PCAP_ERRBUF_SIZE];

    /* Retrieve the device list from the local machine */
    if (pcap_findalldevs_ex(PCAP_SRC_IF_STRING, NULL /* auth is not needed */,
                            &alldevs, errbuf) == -1) {
        fprintf(stderr,"Error in pcap_findalldevs_ex: %s\\n", errbuf);
        exit(1);
    }

    /* Print the list */
    pcap_if_t *d;
    int i=0;
    for(d= alldevs; d != NULL; d= d->next) {
        printf("%d. %s", ++i, d->name);
        if (d->description) {
            printf(" (%s)\\n", d->description);
        } else {
            printf(" (No description available)\\n");
        }
    }

    if (i == 0) {
        printf("\\nNo interfaces found! Make sure WinPcap is installed.\\n");
    } else {
        /* We don‘t need any more the device list. Free it */
        pcap_freealldevs(alldevs);
    }

    return a.exec();
}
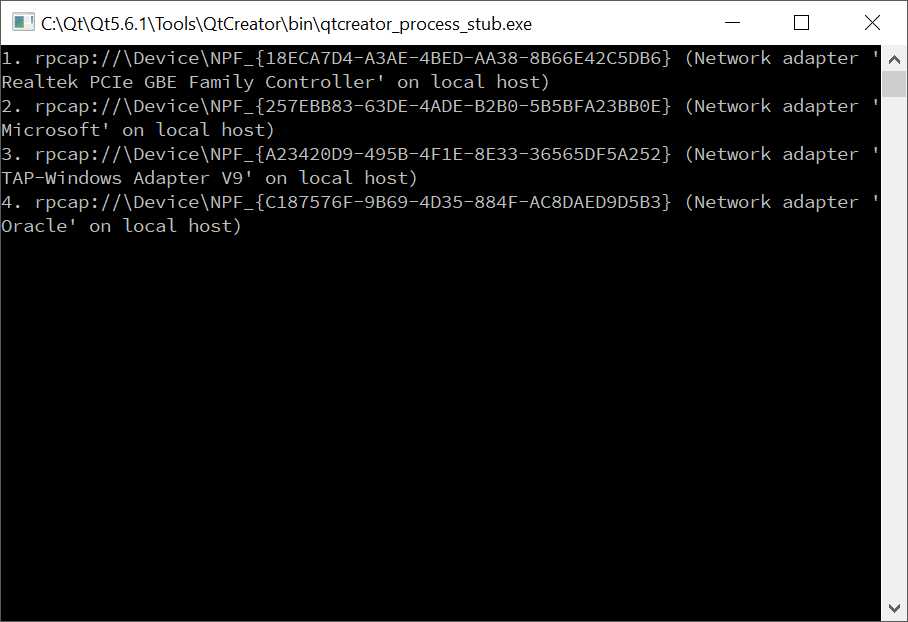
运行结果如下图:

以上是关于Qt 5 配置 WinPcap 开发环境的主要内容,如果未能解决你的问题,请参考以下文章