30Django实战第30天:修改邮箱和用户信息
Posted 何波安的博客
tags:
篇首语:本文由小常识网(cha138.com)小编为大家整理,主要介绍了30Django实战第30天:修改邮箱和用户信息相关的知识,希望对你有一定的参考价值。
修改个人邮箱需要完成两个接口,一个是获取验证码,一个是新的邮箱和验证码是否匹配
1、编辑users.views.py
class SendEmailCodeView(LoginRequiredMixin, View):
    def get(self, request):
        email = request.GET.get(\'email\', \'\')
        if UserProfile.objects.filter(email=email):
            return HttpResponse(\'{"email":"该邮箱已被注册"}\', content_type=\'application/json\')
        sendEmail(email, \'hmail\')
        return HttpResponse(\'{"status":"success"}\', content_type=\'application/json\')
2、编辑users.urls.py
from .views import SendEmailCodeView

urlpatterns = [
    ...
    url(r\'sendemail_code/$\', SendEmailCodeView.as_view(), name=\'sendemail_code\'),
]
3、编辑utils.email_send.py
from random import Random
from django.core.mail import send_mail
from users.models import  EmailVerifyRecord
from mxonline.settings import EMAIL_FROM


def random_str(randomlenght=8):
    str = \'\'
    chars = \'AaBbCcDdEeFfGgHhIiJjKkLlMmNnOoPpQqRrSsTtUuVvWwXxYyZz0123456789\'
    length = len(chars) - 1
    random = Random()
    for i in range(randomlenght):
        str += chars[random.randint(0, length)]
    return str


def sendEmail(email, send_type=\'register\'):
    email_record = EmailVerifyRecord()
    if send_type == \'hmail\':
        code = random_str(4)
    else:
        code = random_str(16)
    email_record.code = code
    email_record.email = email
    email_record.send_type = send_type
    email_record.save()

    if send_type == \'register\':
        email_title = \'慕学在线网激活链接\'
        email_body = \'请点击下面的链接激活你的账号:http://127.0.0.1:8000/active/{0}\'.format(code)

        send_status = send_mail(email_title, email_body, EMAIL_FROM, [email])
        if send_status:
            pass

    elif send_type == \'forget\':
        email_title = \'慕学在线网重置密码连接\'
        email_body = \'请点击下面的链接重置你的密码:http://127.0.0.1:8000/reset/{0}\'.format(code)

        send_status = send_mail(email_title, email_body, EMAIL_FROM, [email])
        if send_status:
            pass

    elif send_type == \'hmail\':
        email_title = \'慕学在线网修改邮箱\'
        email_body = \'您的邮箱验证为:{0}\'.format(code)
        send_status = send_mail(email_title, email_body, EMAIL_FROM, [email])
        if send_status:
            pass
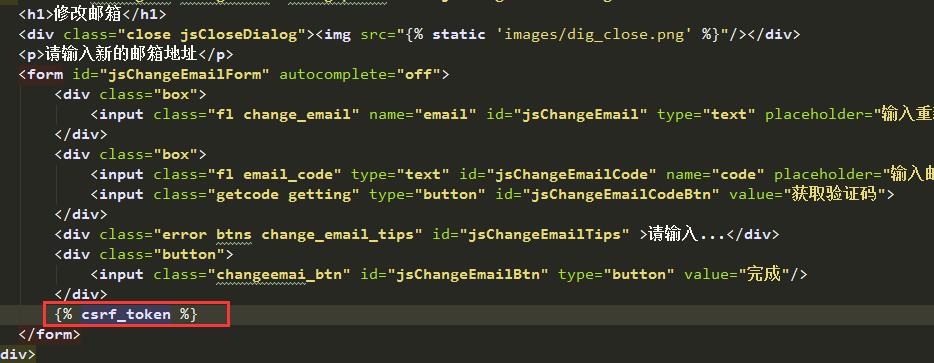
4、编辑usercenter-base.html
5、编辑deco-user.js
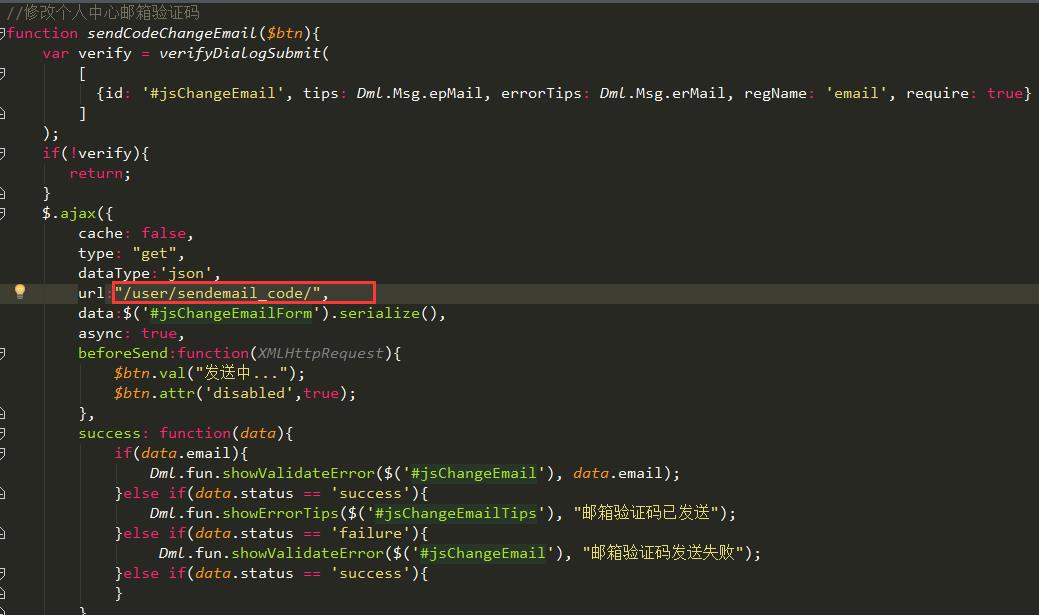
现在输入新邮箱,点击获取验证码,邮箱就能收到邮件了

现在我们来完成另外一个接口,验证验证码
编辑users.views.py
class UpdateEmailView(LoginRequiredMixin, View):
    def post(self, request):
        email = request.POST.get(\'email\', \'\')
        code = request.POST.get(\'code\', \'\')

        existed_records = EmailVerifyRecord.objects.filter(email=email, code=code, send_type=\'hmail\')
        if existed_records:
            user = request.user
            user.email = email
            user.username = email
            user.save()
            return HttpResponse(\'{"status":"success"}\', content_type=\'application/json\')
        else:
            return HttpResponse(\'{"email":"验证码错误"}\', content_type=\'application/json\')
编辑users.urls.py
...
from .views import UpdateEmailView

urlpatterns = [
   ...
    url(r\'update_email/$\', UpdateEmailView.as_view(), name=\'update_email\'),
]
编辑 deco-user.js
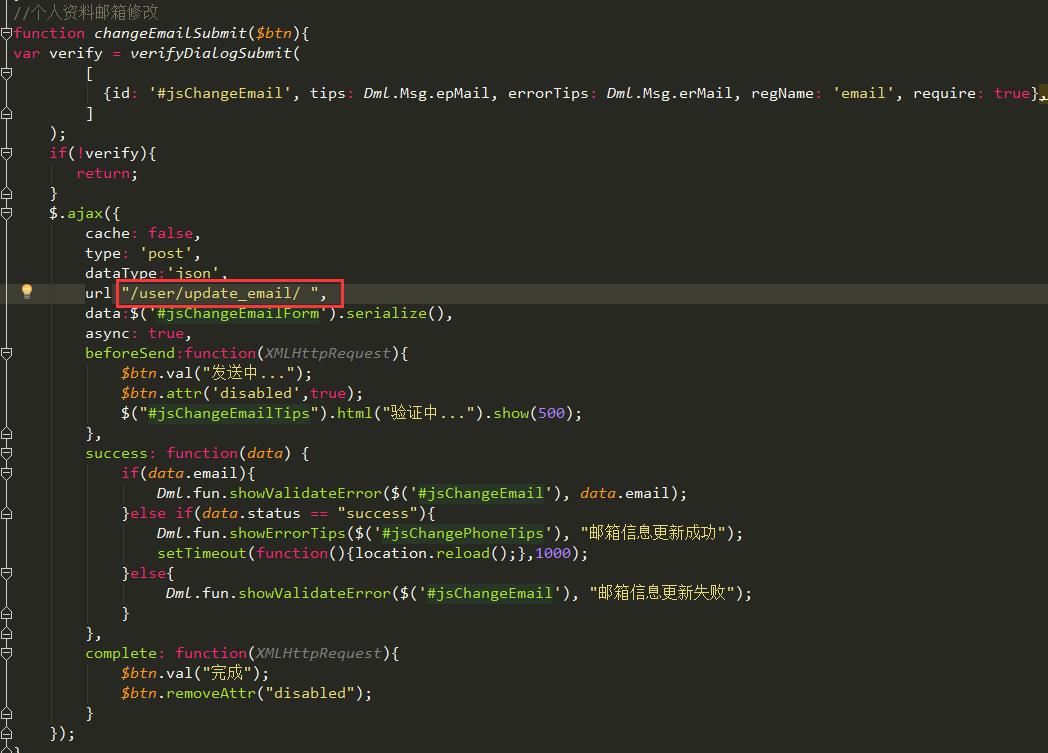
现在输入验证码,就可以完成邮箱修改了
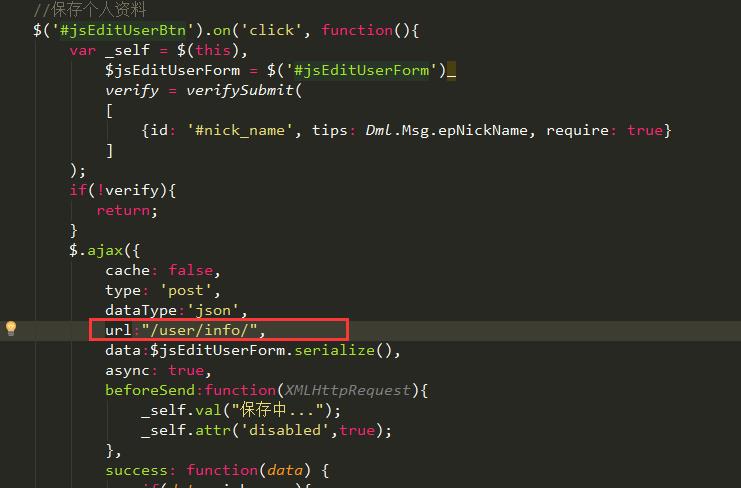
最后我们来完成用户信息的提交
我们之前定义了UserInfoView使用了get方法来显示,现在我们可以定义post方法完成用户信息的提交
编辑users.forms.py对提交的数据进行验证
class UserInfoForm(forms.ModelForm):
    class Meta:
        model = UserProfile
        fields = [\'nick_name\', \'gender\', \'birthday\', \'address\', \'mobile\']
        # 因为头像、密码、邮箱是单独修改的,这里就不取出来
编辑users.view.py
...
from .forms import UserInfoForm

class UserInfoView(LoginRequiredMixin, View):
    def get(self, request):
        return render(request, \'usercenter-info.html\', {})

    def post(self, request):
        user_info_form = UserInfoForm(request.POST, instance=request.user)
        if user_info_form.is_valid():
            user_info_form.save()
            return HttpResponse(\'{"status":"success"}\', content_type=\'application/json\')
        else:
            return HttpResponse(json.dumps(user_info_form.errors), content_type=\'application/json\')
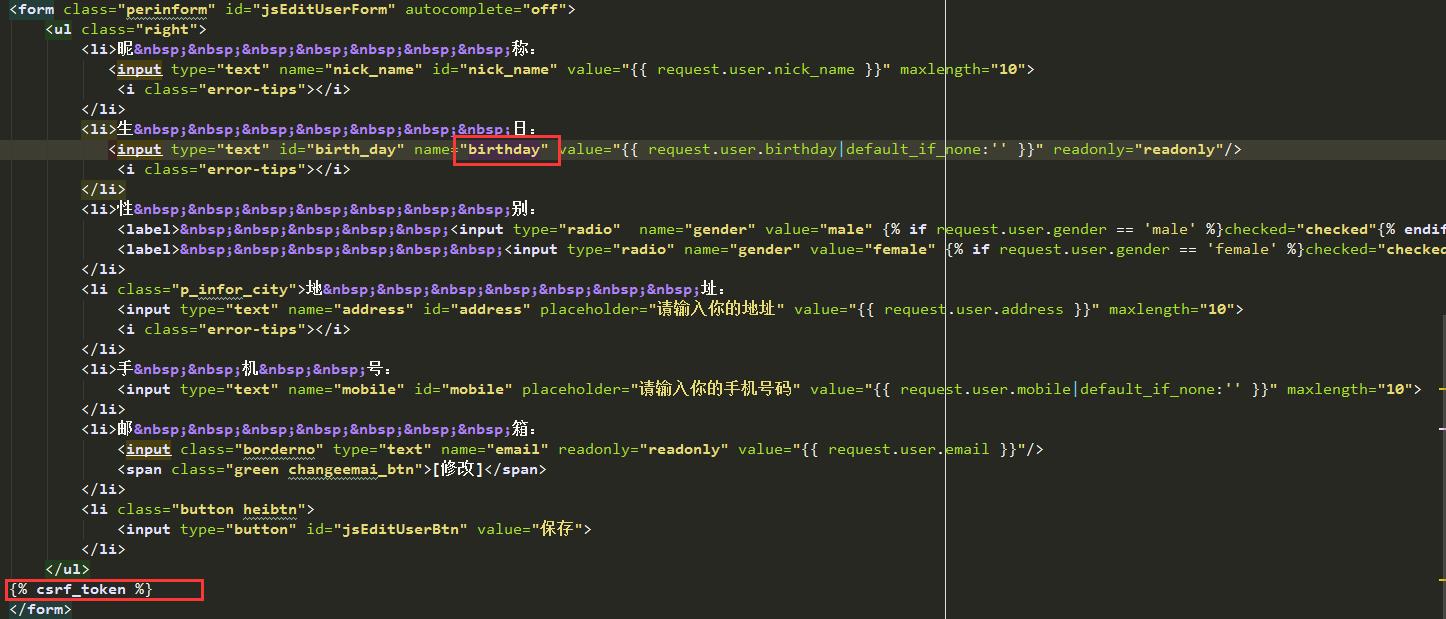
编辑usercenter-info.html
编辑 deco-user.js
以上是关于30Django实战第30天:修改邮箱和用户信息的主要内容,如果未能解决你的问题,请参考以下文章