学习OpenStack Mitaka单节点部署笔记
Posted
tags:
篇首语:本文由小常识网(cha138.com)小编为大家整理,主要介绍了学习OpenStack Mitaka单节点部署笔记相关的知识,希望对你有一定的参考价值。
还处在基础学习过程,写这篇文章也是壮着胆子来写的,因为好多的基础知识还不太明白(鸟哥的那本私房菜都还没学完呢呵呵),正好赶上有同事需要搭一个环境在上边开发,既然有需求了那就试试吧,下边就把部署过程中遇到的问题记录下来,以备以后可能还会遇到相同的问题知道怎么解决了。
言归正传,本来也是学习为主,好多还处于一知半解当中就找了一个Packstack 自动化部署工具,下面所有的操作配置都是用它完成。
# yum install -y centos-release-openstack-mitaka
# yum update -y
# sudo yum install -y openstack-packstack
# packstack --allinone
执行上边操作过程如果一切顺利大概需要40分钟吧(预估),遇到的问题就在packstack --allinone部署时出现的:
1.
PuppetError: Error appeared during Puppet run: 10.10.15.14_amqp.pp
Error: Execution of ‘/usr/bin/yum -d 0 -e 0 -y install erlang‘ returned 1: Error downloading packages:
You will find full trace in log /var/tmp/packstack/20160518-220204-u2bfTF/manifests/10.10.15.14_amqp.pp.log
这个错误困扰了半天,网上查一些资料说是主机名的问题,好休息/etc/hosts:
127.0.0.1   localhost ops
10.10.15.14 ops
保存后再去执行
# packstack --allinone
此时出现第二个问题,这个问题是第二天出现的:
2.
PuppetError: Error appeared during Puppet run: 10.10.15.14_horizon.pp
Error: Execution of ‘/usr/bin/yum -d 0 -e 0 -y install openstack-dashboard‘ returned 1: Error downloading packages:
You will find full trace in log /var/tmp/packstack/20160519-142443-mES6ez/manifests/10.10.15.14_horizon.pp.log
知识储备不够还是解决不了,上网找资料吧度娘不给力还是谷歌靠谱,有说需要再次运行yum update直到没有软件需要更新就可以了,接着试运行更新命令确实有一个软件更新了,但感觉应该对部署影响不大,继续执行:
# packstack --allinone
没想到还真顺利过去了,具体是什么原因还是没搞懂,只不过高兴没一会第三个问题接踵而至:
3.
ERROR : Error appeared during Puppet run: 10.10.15.14_gnocchi.pp
Error: Execution of ‘/usr/bin/yum -d 0 -e 0 -y install openstack-gnocchi-metricd‘ returned 1: Error downloading packages:
You will find full trace in log /var/tmp/packstack/20160519-160900-aneTEN/manifests/10.10.15.14_gnocchi.pp.log
不碰真东西是真不到自己掌握的知识是多么的匮乏,一个都解决不了,接着google,文章里说需要将
NetworkManager停掉,还有防火墙以及SELinux,好吧,接着试:
# systemctl list-unit-files |grep NeworkManager
NetworkManager-dispatcher.service             disabled
NetworkManager-wait-online.service            disabled
NetworkManager.service                        disabled
# systemctl disable NetworkManager
#setenforce 0
一切都关闭妥当,继续packstack --allinone
**** Installation completed successfully ******

Additional information:
 * A new answerfile was created in: /root/packstack-answers-20160519-204455.txt
 * Time synchronization installation was skipped. Please note that unsynchronized time on server instances might be problem for some OpenStack components.
 * File /root/keystonerc_admin has been created on OpenStack client host 10.10.15.14. To use the command line tools you need to source the file.
 * To access the OpenStack Dashboard browse to http://10.10.15.14/dashboard .
Please, find your login credentials stored in the keystonerc_admin in your home directory.
 * To use Nagios, browse to http://10.10.15.14/nagios username: nagiosadmin, password: 7e49305b747b4a5e
 * The installation log file is available at: /var/tmp/packstack/20160519-204454-Q57aSm/openstack-setup.log
 * The generated manifests are available at: /var/tmp/packstack/20160519-204454-Q57aSm/manifests
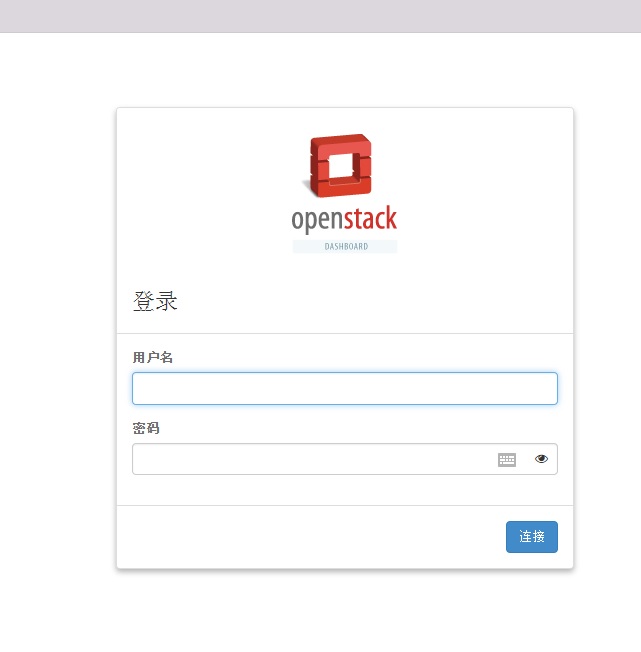
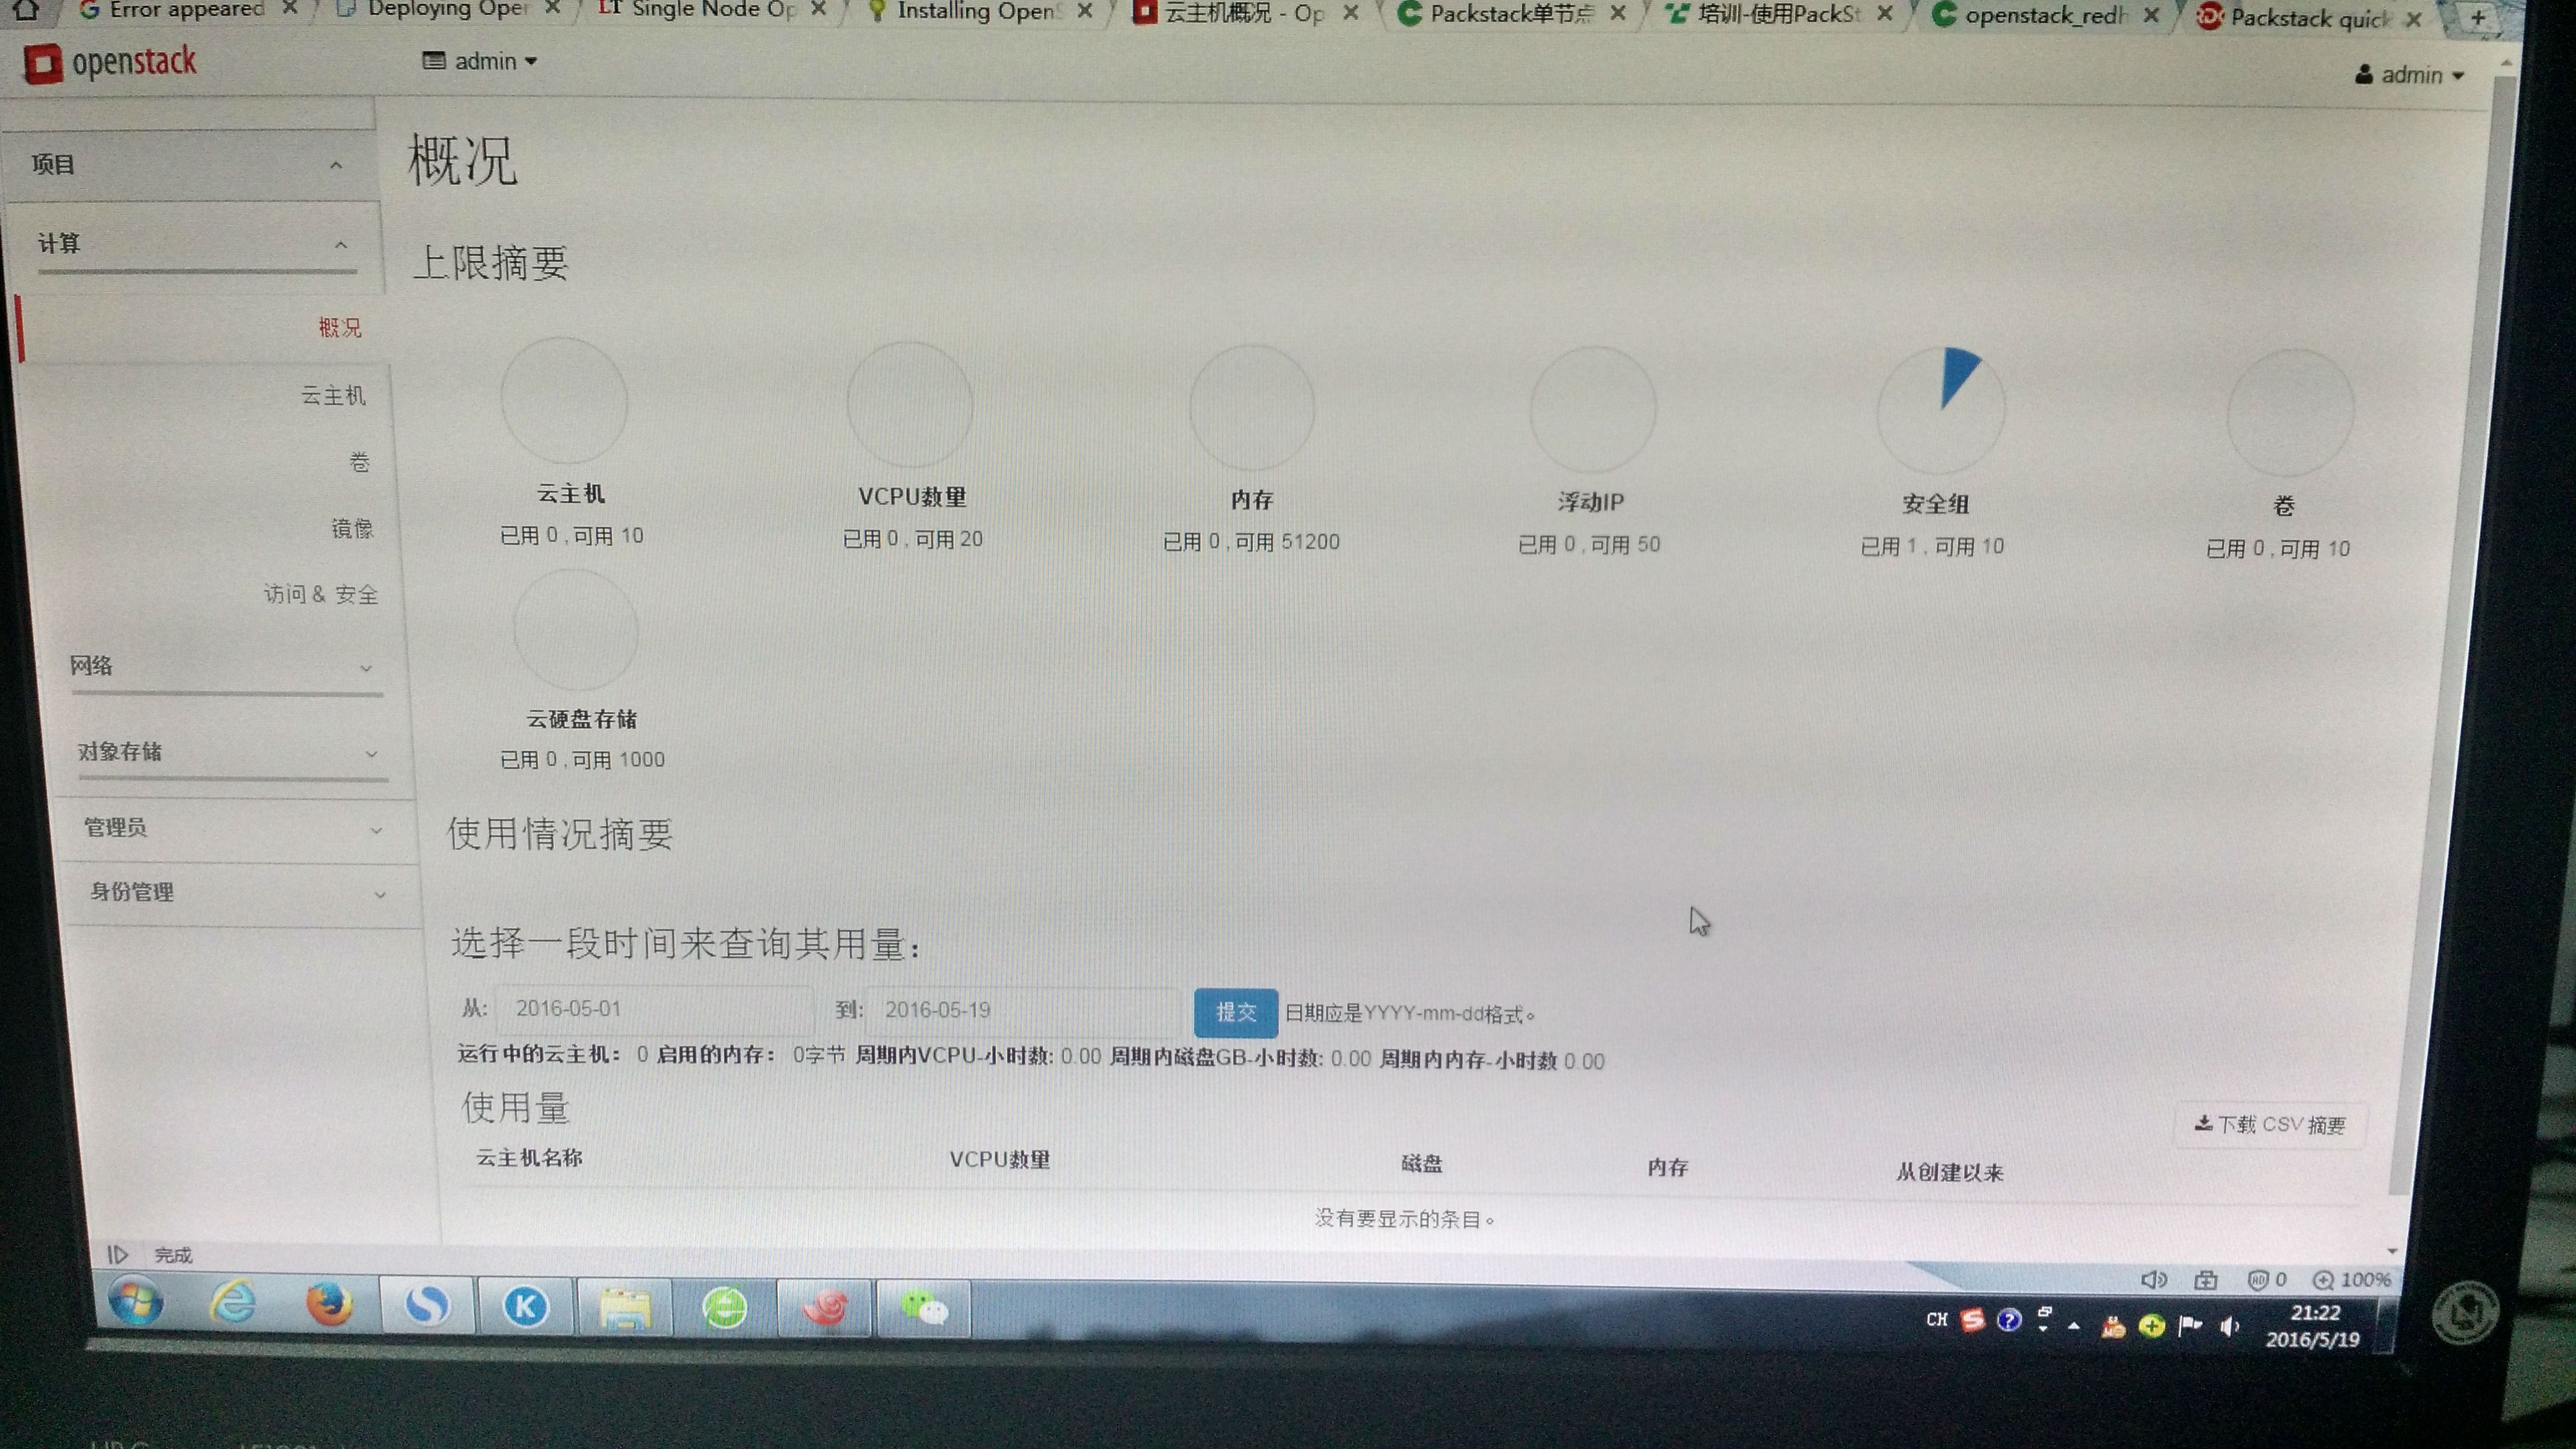
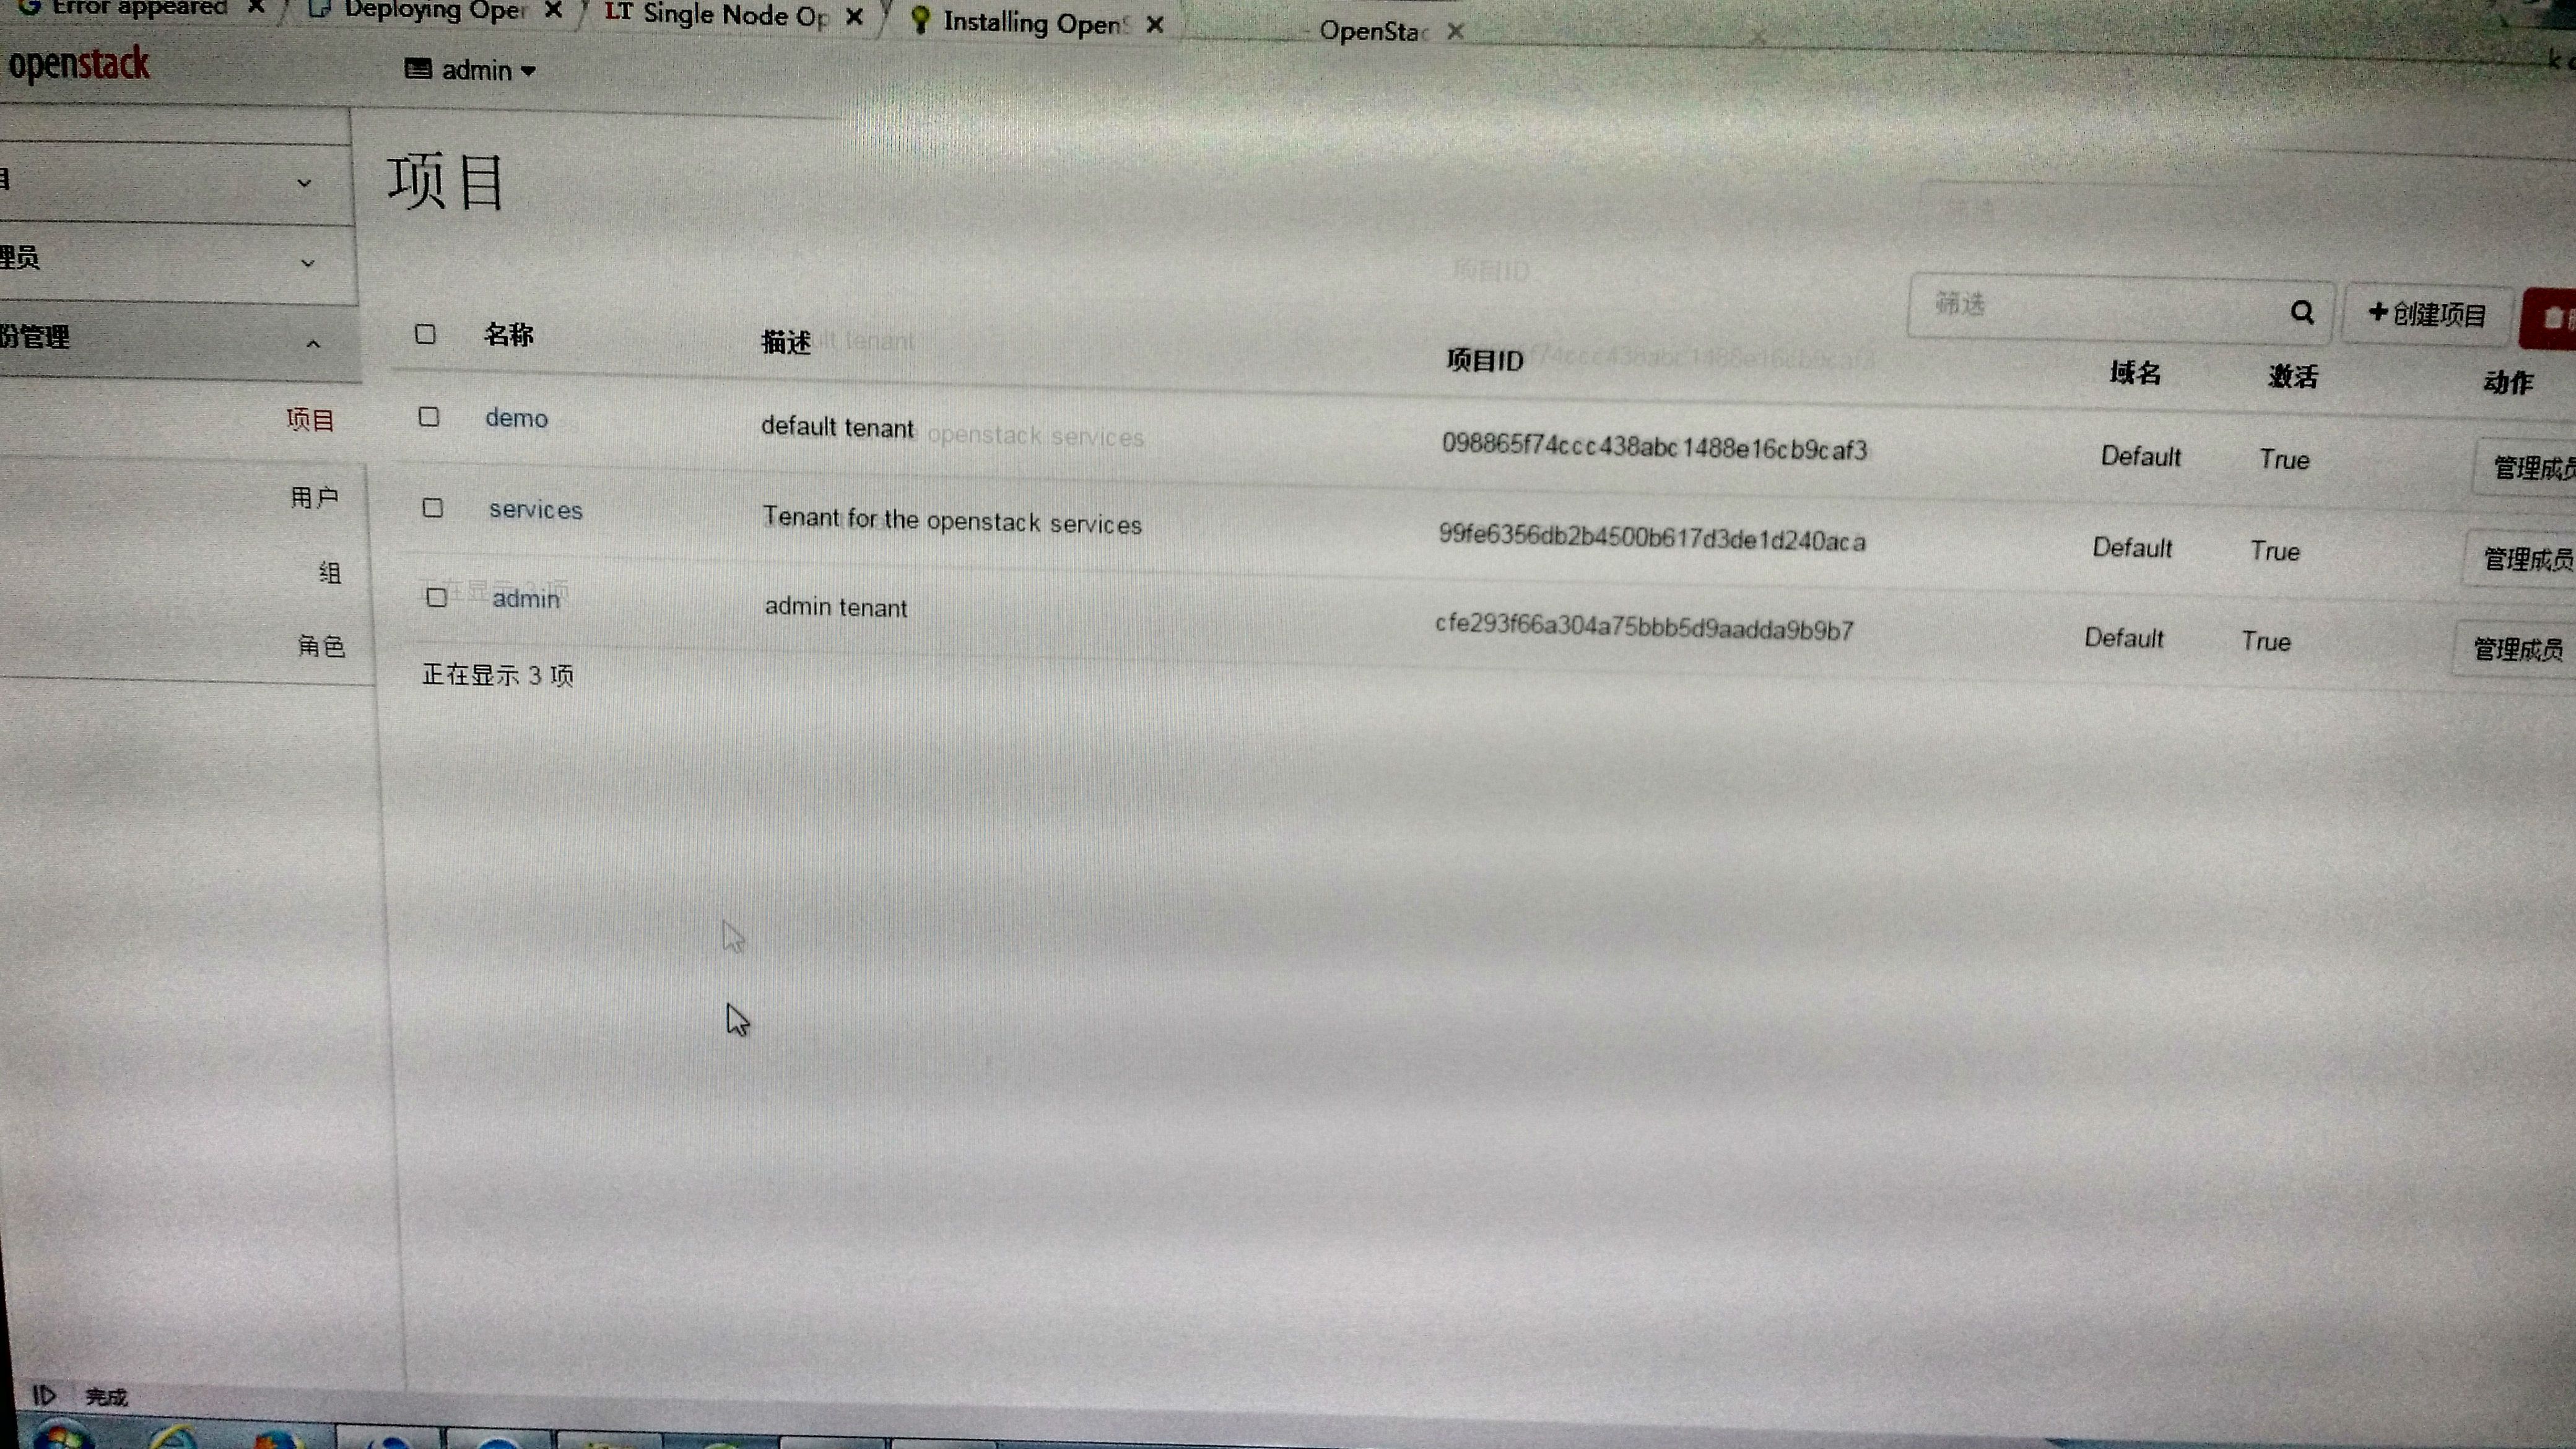
successfully !!这回可以小激动一下了,试试吧!
总算是可以登录了,不过配置可能不太对,现在8个G的内存外加5G的交换分区全部被占满了,导致后边开网页敲代码都卡的不行,等明天再好好研究研究吧。
也算是迈出了第一步,继续加油!
附上参考的网站:
https://www.rdoproject.org/install/quickstart/
http://www.flashguides.co.uk/guide/Installing_OpenStack_Kilo_on_CentOS_with_Packstack
http://www.linuxtechi.com/single-node-openstack-liberty-installation-centos-7/
本文出自 “积小流,成江海” 博客,请务必保留此出处http://goodjoe.blog.51cto.com/9173556/1775223
以上是关于学习OpenStack Mitaka单节点部署笔记的主要内容,如果未能解决你的问题,请参考以下文章
openstack-mitaka之计算服务管理安装配置部署(计算节点安装部署)
openstack-mitaka之Telemetry服务(computer节点安装部署)
openstack-mitaka之Telemetry服务(blockstorage节点安装部署)


