数字图像处理-频域滤波
Posted 小楼札记
tags:
篇首语:本文由小常识网(cha138.com)小编为大家整理,主要介绍了数字图像处理-频域滤波相关的知识,希望对你有一定的参考价值。
频域滤波
频域滤波是在频率域对图像做处理的一种方法。步骤如下:

滤波器大小和频谱大小相同,相乘即可得到新的频谱。
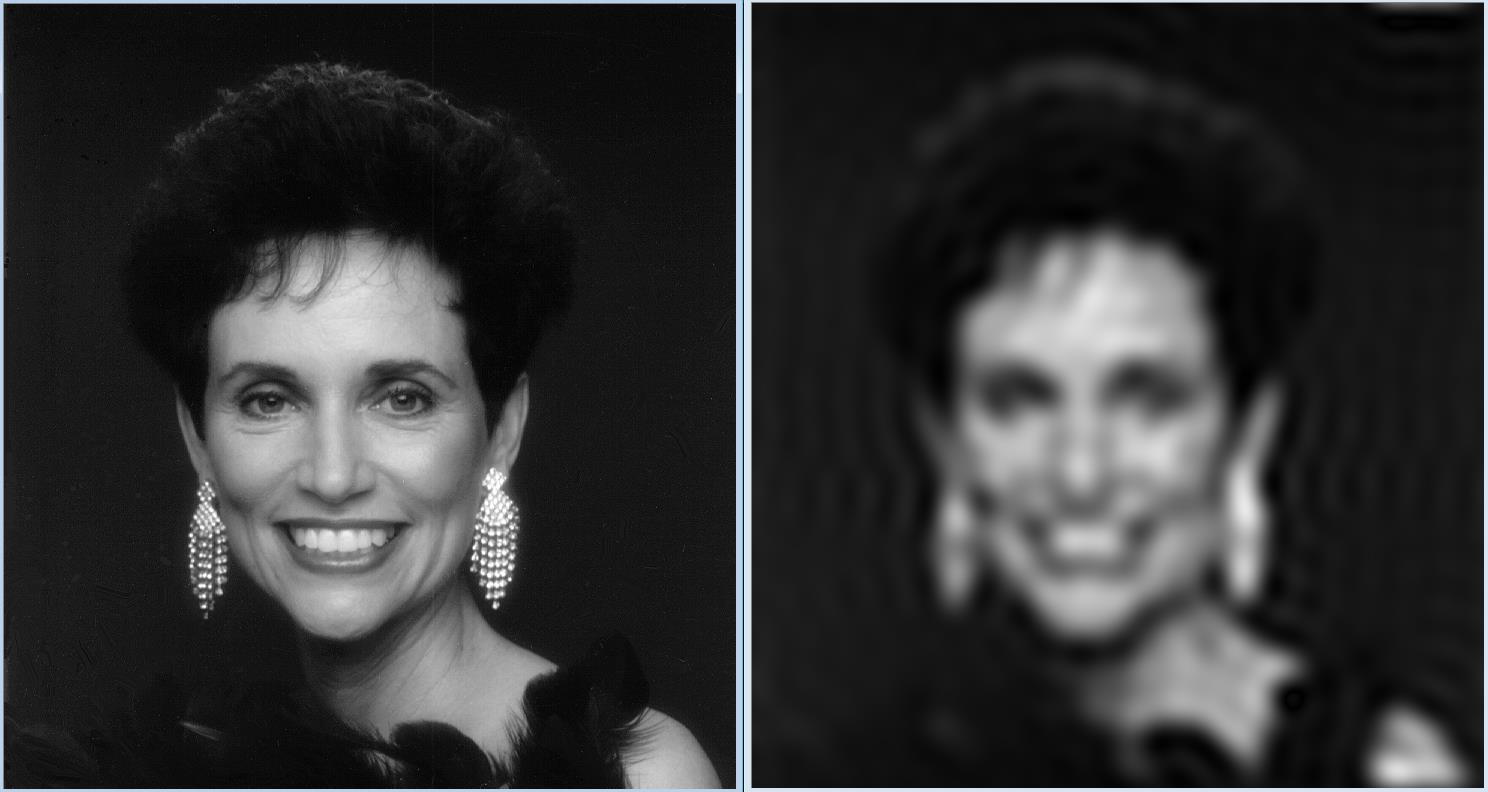
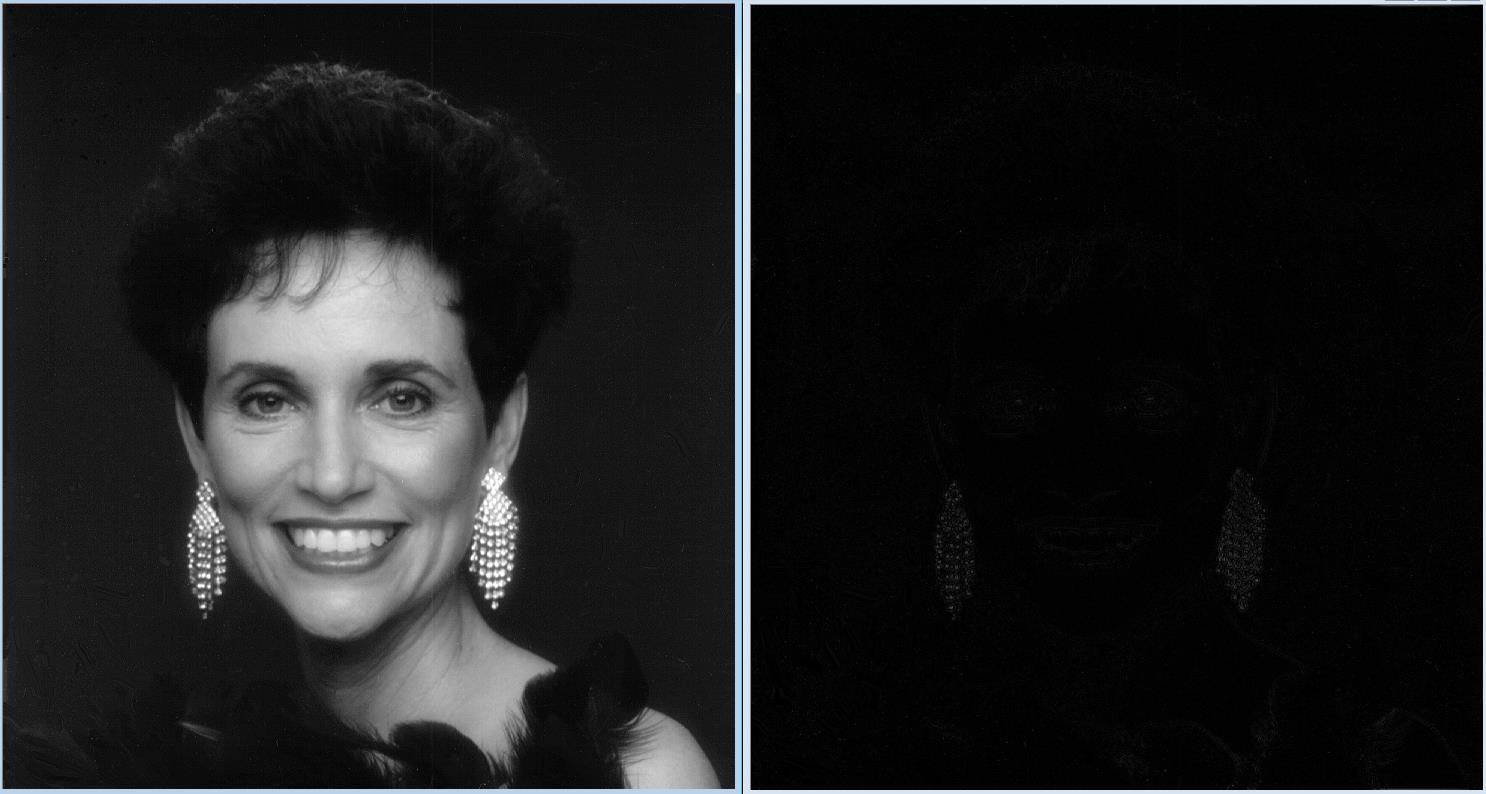
滤波后结果显示,低通滤波去掉了高频信息,即细节信息,留下的低频信息代表了概貌。常用的例子,比如美图秀秀的磨皮,去掉了脸部细节信息(痘坑,痘印,暗斑等)。高通滤波则相反。
高通/低通滤波
1.理想的高/低通滤波
顾名思义,高通滤波器为:让高频信息通过,过滤低频信息;低通滤波相反。
理想的低通滤波器模板为:

其中,D0表示通带半径,D(u,v)是到频谱中心的距离(欧式距离),计算公式如下:

M和N表示频谱图像的大小,(M/2,N/2)即为频谱中心
理想的高通滤波器与此相反,1减去低通滤波模板即可。


部分代码:

# 定义函数,显示滤波器模板
def showTemplate(template):
    temp = np.uint8(template*255)
    cv2.imshow(\'Template\', temp)
    return


# 定义函数,显示滤波函数
def showFunction(template):
    row, col = template.shape
    row = np.uint16(row/2)
    col = np.uint16(col/2)
    y = template[row, col:]
    x = np.arange(len(y))
    plt.plot(x, y, \'b-\', linewidth=2)
    plt.axis([0, len(x), -0.2, 1.2])
    plt.show()
    return


# 定义函数,理想的低通/高通滤波模板
def Ideal(src, d0, ftype):
    template = np.zeros(src.shape, dtype=np.float32)  # 构建滤波器
    r, c = src.shape
    for i in range(r):
        for j in range(c):
            distance = np.sqrt((i - r/2)**2 + (j - c/2)**2)
            if distance < d0:
                template[i, j] = 1
            else:
                template[i, j] = 0

    if ftype == \'high\':
        template = 1 - template
    return template
2. Butterworth高/低通滤波
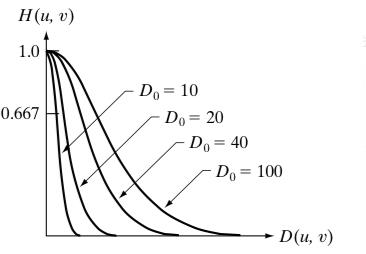
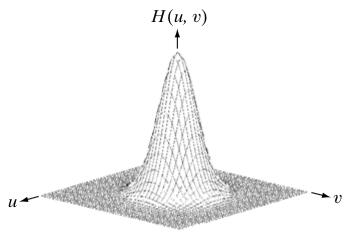
Butterworth低通滤波器函数为:

从函数图上看,更圆滑,用幂系数n可以改变滤波器的形状。n越大,则该滤波器越接近于理想滤波器


1减去低通滤波模板即可得到高通滤波模板


部分代码:

# 定义函数,巴特沃斯高/低通滤波模板
def Butterworth(src, d0, n, ftype):
    template = np.zeros(src.shape, dtype=np.float32)  # 构建滤波器
    r, c = src.shape
    for i in np.arange(r):
        for j in np.arange(c):
            distance = np.sqrt((i - r/2)**2 + (j - c/2)**2)
            template[i, j] = 1/(1 + (distance/d0)**(2*n))  # Butterworth 滤波函数
            template[i, j] = np.e ** (-1 * (distance**2 / (2 * d0**2)))  # Gaussian滤波函数
    if ftype == \'high\':
        template = 1 - template
    return template
3. Gaussian高/低通滤波
Guassian低通滤波器函数为:

1减去低通滤波模板即可得到高通滤波模板


部分代码:

# 定义函数,高斯高/低通滤波模板
def Gaussian(src, d0, ftype):
    template = np.zeros(src.shape, dtype=np.float32)  # 构建滤波器
    r, c = src.shape
    for i in np.arange(r):
        for j in np.arange(c):
            distance = np.sqrt((i - r / 2) ** 2 + (j - c / 2) ** 2)
            template[i, j] = np.e ** (-1 * (distance ** 2 / (2 * d0 ** 2)))  # Gaussian滤波函数
    if ftype == \'high\':
        template = 1 - template
    return template
以上是关于数字图像处理-频域滤波的主要内容,如果未能解决你的问题,请参考以下文章
