第二十二 BBS
Posted ckl893
tags:
篇首语:本文由小常识网(cha138.com)小编为大家整理,主要介绍了第二十二 BBS相关的知识,希望对你有一定的参考价值。
对评论内容进行评论
1.1.增加评论按钮
comment_hander.py
def render_tree_node(tree_dic,margin_val):
    html = ""
    #展示子集评论
    for k, v in tree_dic.items():
        #合成评论、日期、用户名及评论按钮
        ele = "<div class=\'comment-node\' style=\'margin-left:%spx\'>" % margin_val + k.comment + "<span style=\'margin-left:20px\'>%s</span>" %k.date \\
              + "<span style=\'margin-left:20px\'>%s</span>" %k.user.name \\
              + \'<span comment-id="%s"\' %k.id +\' style="margin-left:10px" class="glyphicon glyphicon-comment add-comment" aria-hidden="true"></span>\' \\
              + "</div>"
        html += ele
        html += render_tree_node(v,margin_val+10)
    return html

def render_comment_tree(tree_dic):
    #展示父级评论
    html = ""
    for k,v in tree_dic.items():
        ele = "<div class=\'root-comment\'>" + k.comment + "<span style=\'margin-left:20px\'>%s</span>" %k.date \\
              + "<span style=\'margin-left:20px\'>%s</span>" %k.user.name \\
              + \'<span comment-id="%s"\' %k.id + \'style="margin-left:10px" class="glyphicon glyphicon-comment add-comment" aria-hidden="true"></span>\' \\
              + "</div>"
        html += ele
        html += render_tree_node(v,10)
    return html
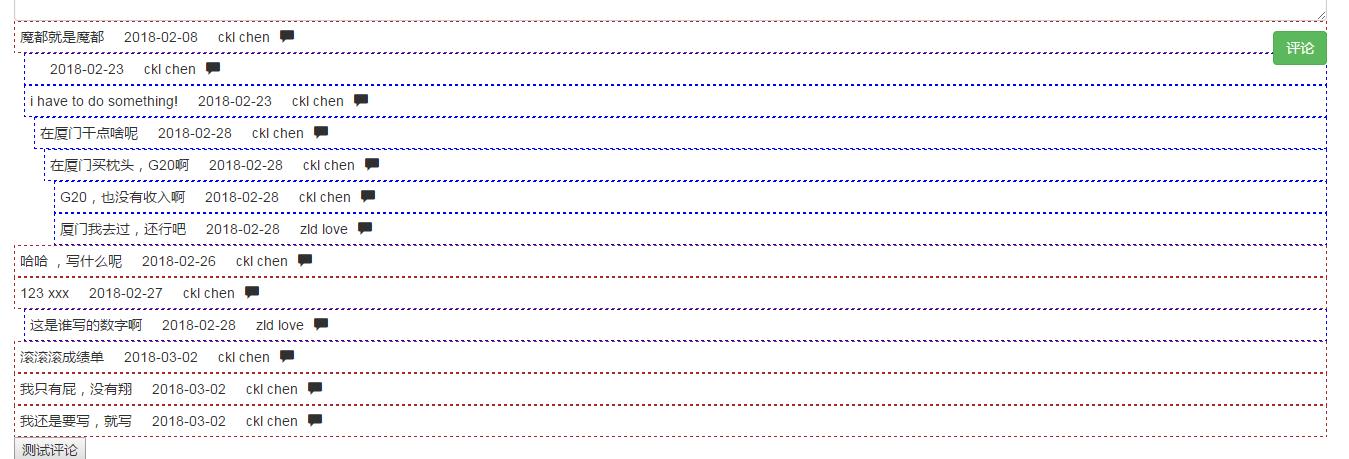
查看效果:
1.2.点击评论按钮,展示评论框
1.2.1.克隆原来评论框
article_detail.html
 {% if request.user.is_authenticated %}
                <!-- 判断用户已经登录,输入框输入评论 -->
                <div class="new-comment-box"> <!-- 评论框增加样式 -->
                    <textarea class="form-control" rows="3"></textarea>
                    <!-- 按钮样式 -->
                    <button type="button" style="margin-top: 10px;" class="btn btn-success pull-right">评论</button>
                </div>
            {% else %}
                <div class="jumbotron">
                 <!-- 点击登录后,跳转到原先准备评论的页面,也就是给原路径加next?xxx -->
                  <h4 class="text-center"><a class="btn-link" href="{% url \'login\' %}?next={{ request.path }}">登录</a>后评论</h4>
                </div>
            {% endif %}
<script>
    //评论展示
    function getComments() {
        $.get("{% url \'get_comments\' article_obj.id %}",function(callback){
            //console.log(callback);
            $(".comment-list").html(callback);

            //start add comment
            $(".add-comment").click(function () {
                var comment_id = $(this).attr("comment-id");
                console.log("comment id" + comment_id);
                //克隆评论框并添加
                var new_comment_box_div = $(".new-comment-box").clone();
                $(".new-comment-box").remove();//删除之前的评论框,不删除会展示所有评论框
                $(this).parent().append(new_comment_box_div);
            })
        });
    }
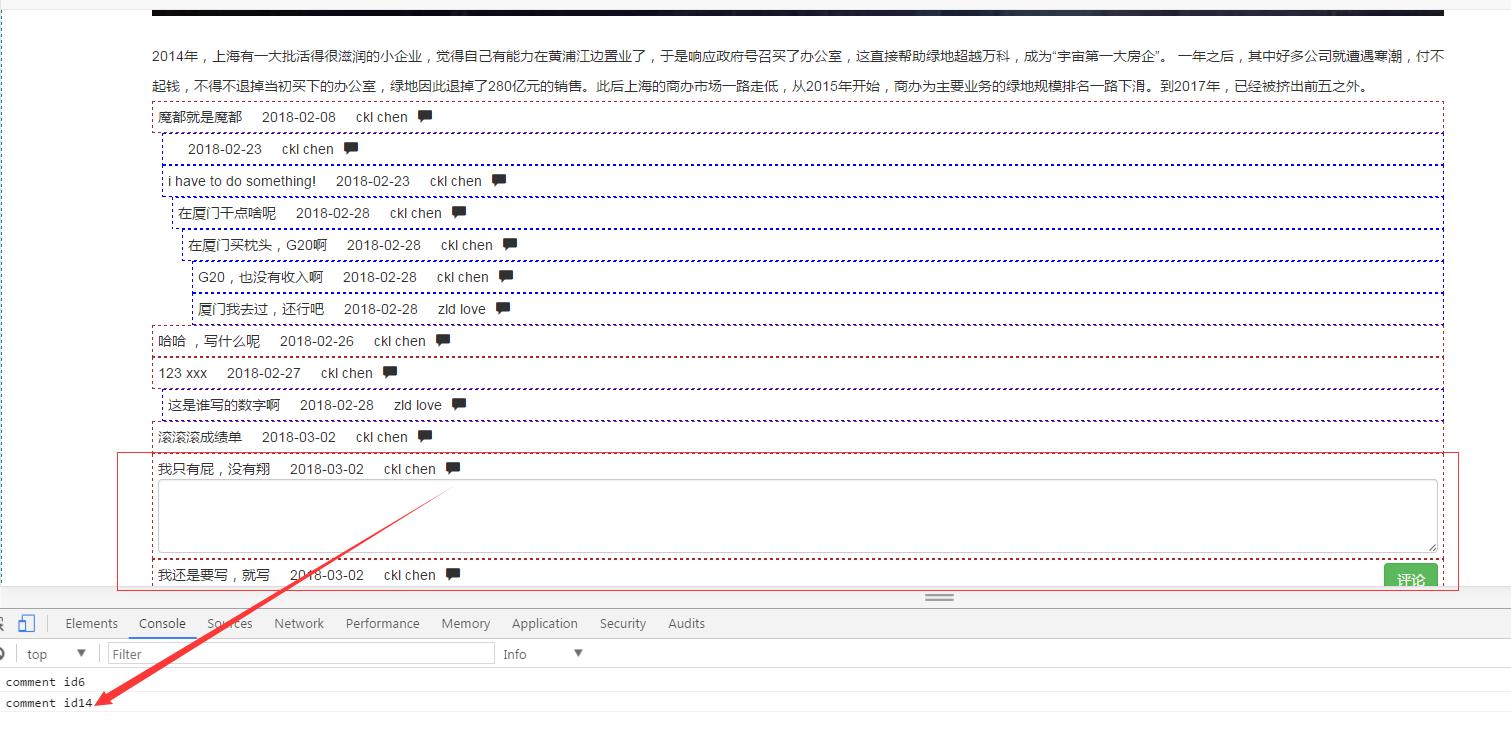
1.2.2.查看效果

1.3.新加评论内容并加到底部
1.3.1.评论新增
article_detail.html
<script>
    //评论展示
    function getComments() {
        $.get("{% url \'get_comments\' article_obj.id %}",function(callback){
            //console.log(callback);
            $(".comment-list").html(callback);

            //start add comment
            $(".add-comment").click(function () {
                var comment_id = $(this).attr("comment-id");
                console.log("comment id" + comment_id);
                //克隆评论框并添加
                var new_comment_box_div = $(".new-comment-box").clone(true);
                $(".new-comment-box").remove();//删除之前的评论框,不删除会展示所有评论框
                $(this).parent().append(new_comment_box_div);
            })
        });
    }
       $(".comment-box button").click(function () {
           var comment_text = $(".comment-box textarea").val()
           if (comment_text.trim().length < 5){
               alert("评论字数不能少于5");
           }else{
               //post
               //添加评论id
               var parent_comment_id = $(this).parent().prev().attr(\'comment-id\');

               $.post("{% url \'post_comment\' %}",
                   {
                       //1为评论
                       \'comment_type\':1,
                       article_id:"{{ article_obj.id }}",
                       parent_comment_id:parent_comment_id,
                       //评论内容
                       \'comment\':comment_text.trim(),
                       //获取csrf
                       \'csrfmiddlewaretoken\':getCsrf()
                   },
                   function(callback){
                       console.log(callback);
                       if (callback == "success"){
                           var new_comment_box_div = $(".new-comment-box").clone(true);
                           //在刷新评论之前,把评论框再放回文章底部
                           $(".comment-list").before(new_comment_box_div);
                           $(".new-comment-box textarea").val("");
                           //alert("hahhahahahha")
                           getComments();
                       }
               })//end post
           }//end if
       });//end button click
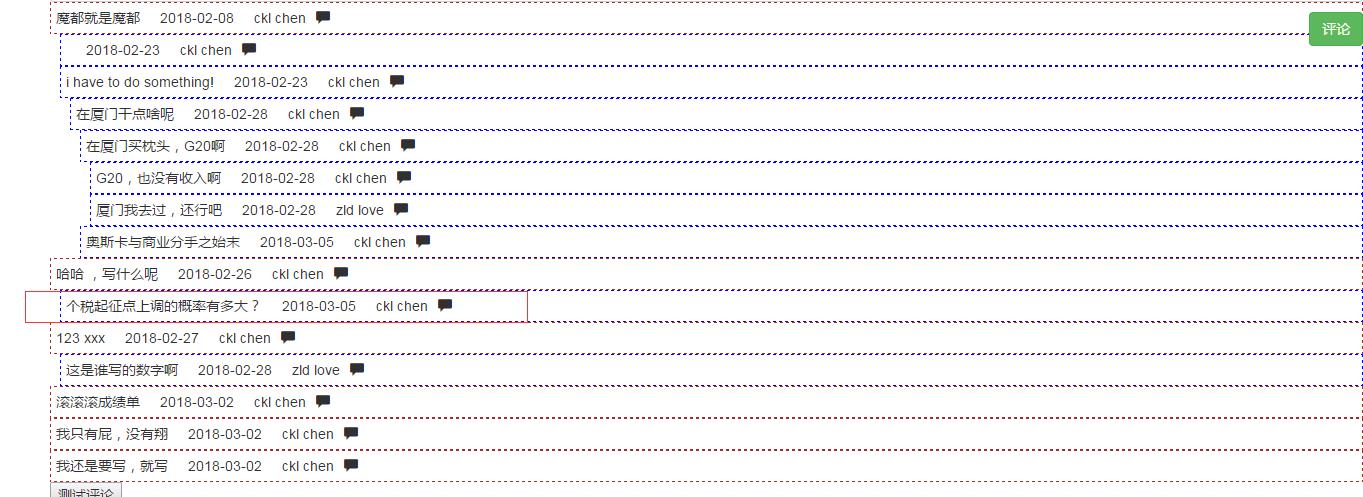
1.3.2.新增评论

2.配置发帖
2.1.主页新增发帖选项
base.html
       <ul class="nav navbar-nav navbar-right">
              <!-- 如果用户登录,则显示用户名及注销,否则显示登录 -->
              {% if request.user.is_authenticated %}
                  <li class=""><a href="#">{{ request.user.userprofile.name }}</a></li>
                  <li class=""><a href="{% url \'logout\' %}">注销</a></li>
              {% else %}
                  <li class=""><a href="{% url \'login\' %}">登录/注册</a></li>
              {% endif %}
              <li class=""><a href="{% url \'new-article\' %}">发帖</a></li>
          </ul>
2.2.配置url
from django.conf.urls import url,include
from bbs import views
urlpatterns = [
    url(r\'^$\', views.index),
    url(r\'category/(\\d+)/$\', views.category),
    url(r\'detail/(\\d+)/$\', views.article_detail,name="article_detail"),
    url(r\'comment/$\', views.comment,name="post_comment"),
    url(r\'^comment_list/(\\d+)/$\', views.get_comments,name="get_comments"),
    url(r\'^new_article/$\', views.new_article,name="new-article"),
]
2.3.配置方法
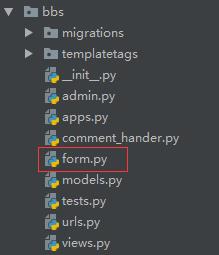
2.3.1.配置modelForm
#!/usr/bin/env python
# -*- coding: utf-8 -*-

from django.forms import ModelForm
from bbs import models

class ArticleModelForm(ModelForm):
    class Meta:
        model = models.Article
        exclude = ()
2.3.2.配置views
view.py
from bbs import form
def new_article(request):
    if request.method == \'GET\':
        article_form = form.ArticleModelForm()
        return render(request,\'bbs/new_article.html\',{\'article_form\':article_form})
2.4.配置静态返回页面
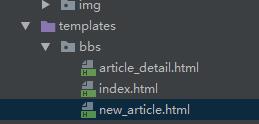
{% extends \'base.html\' %}
{% load custom %}
{% block page-container %}
    <div class="wrap-left">
        <form>
            {{ article_form }}
        </form>
    </div>
    <div class="wrap-right">
        right
    </div>
    <div class="clear-both"></div>
{% endblock %}
2.5.查看结果


2.6.配置编辑页面
2.6.1.下载文件
https://docs.ckeditor.com/ckeditor4/latest/guide/dev_installation.html#download
2.6.2.配置引用
添加文件目录
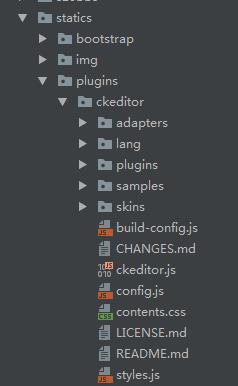
配置文件引用
{% extends \'base.html\' %}
{% load custom %}
{% block page-container %}
    <div class="wrap-left">
        <form>
            <textarea name="ckl" id="article-fatie"></textarea>
            {{ article_form }}
        </form>
    </div>
    <div class="wrap-right">
        right
    </div>
    <div class="clear-both"></div>
{% endblock %}
{% block bottom-js %}
    <script src="/static/plugins/ckeditor/ckeditor.js"></script>
    <script>
            CKEDITOR.replace(\'article-fatie\');
    </script>
{% endblock %}
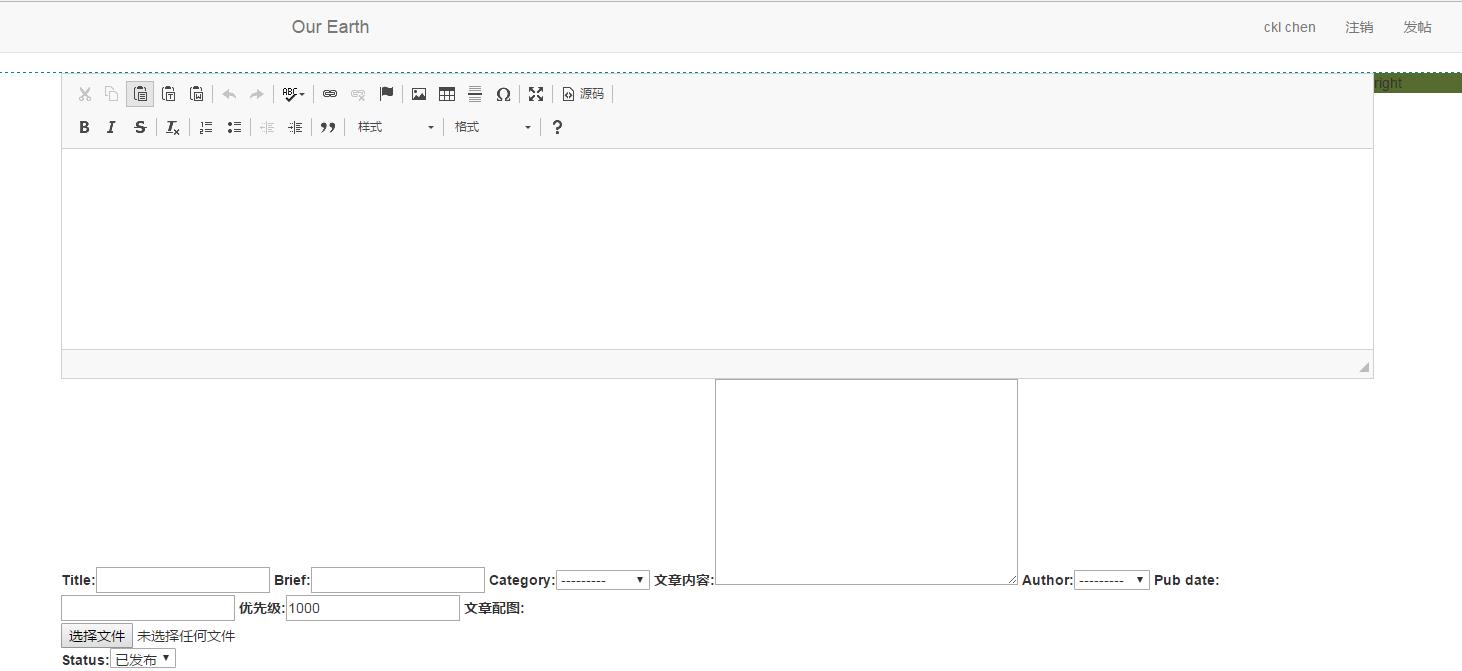
查看效果:
2.7.美化form表单
2.7.1.配置列表排列方式
拷贝之前的代码 form.py
#!/usr/bin/env python
# -*- coding: utf-8 -*-

from django.forms import ModelForm
from bbs import models

class ArticleModelForm(ModelForm):
    class Meta:
        model = models.Article
        exclude = ()

    def __init__(self, *args, **kwargs):
        super(ArticleModelForm, self).__init__(*args, **kwargs)
        # self.fields[\'qq\'].widget.attrs["class"] = "form-control"

        for filed_name in self.base_fields:
            filed = self.base_fields[filed_name]
            filed.widget.attrs.update({\'class\': \'form-control\'})
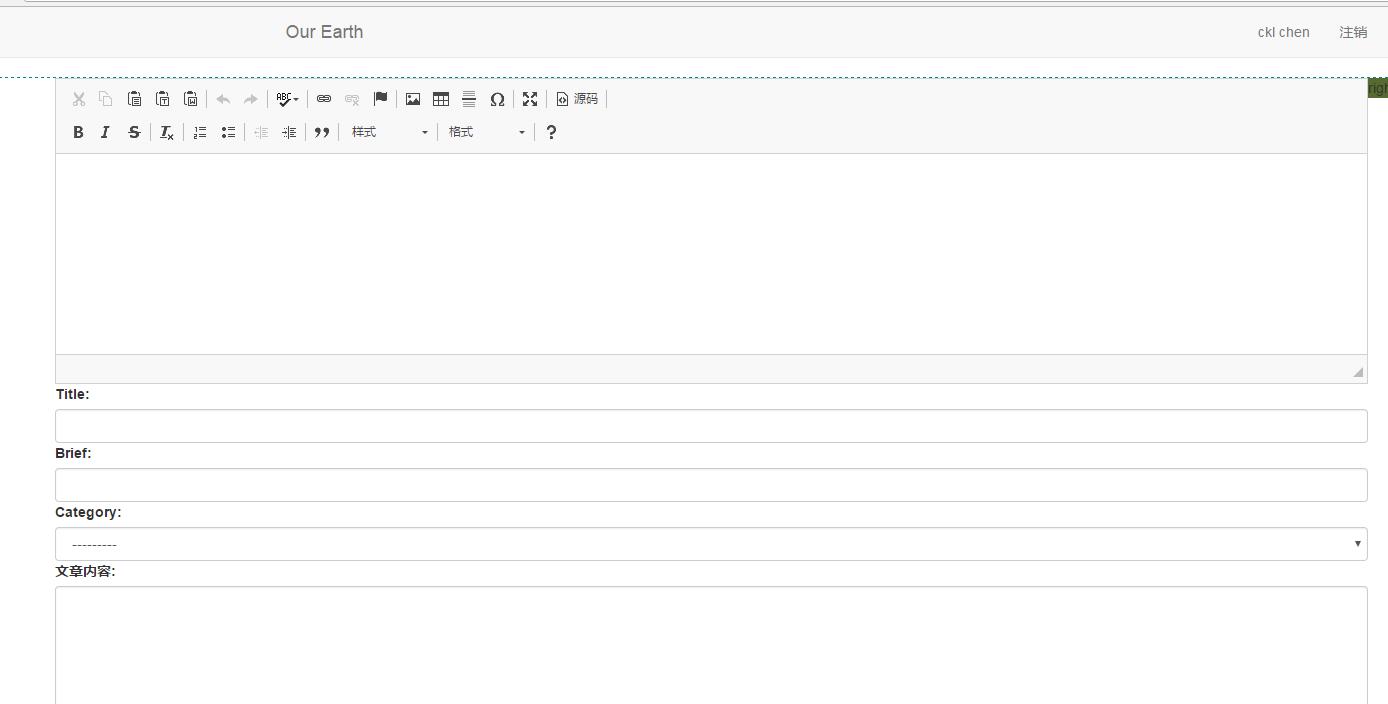
查看效果:
2.7.2.过滤掉不需要的选项
form.py
#!/usr/bin/env python
# -*- coding: utf-8 -*-

from django.forms import ModelForm
from bbs import models

class ArticleModelForm(ModelForm):
    class Meta:
        model = models.Article
        exclude = (\'author\',\'pub_date\',\'priority\')

    def __init__(self, *args, **kwargs):
        super(ArticleModelForm, self).__init__(*args, **kwargs)
        # self.fields[\'qq\'].widget.attrs["class"] = "form-control"

        for filed_name in self.base_fields:
            filed = self.base_fields[filed_name]
            filed.widget.attrs.update({\'class\': \'form-control\'})
2.7.3.引用替换原有的textarea
{% extends \'base.html\' %}
{% load custom %}
{% block page-container %}
    <div class="wrap-left">
        <form>
            {{ article_form }}
        </form>
    </div>
    <div class="wrap-right">
        right
    </div>
    <div class="clear-both"></div>
{% endblock %}
{% block bottom-js %}
    <script src="/static/plugins/ckeditor/ckeditor.js"></script>
    <script>
            CKEDITOR.replace(\'id_content\');
    </script>
{% endblock %}
查看效果:
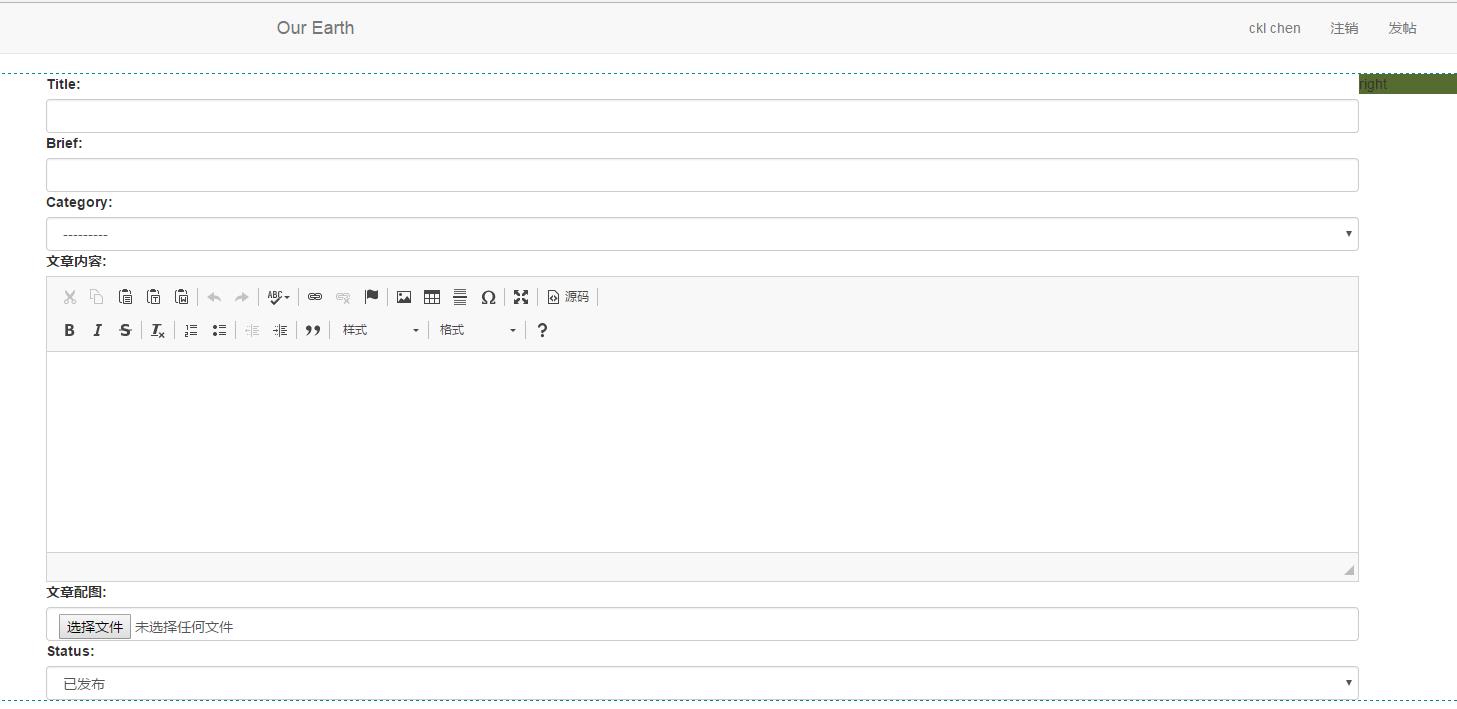
2.8.发布文章
2.8.1.配置views.py
def new_article(request):
    if request.method == \'GET\':
        article_form = form.ArticleModelForm()
        return render(request,\'bbs/new_article.html\',{\'article_form\':article_form})
    elif request.method == \'POST\':
        print(request.POST)
        article_form = form.ArticleModelForm(request.POST)
        if article_form.is_valid():
            article_form.save()
        return HttpResponse(\'new article has been published!\')
2.8.2.配置发布按钮
new_article.html
....
        <form>
            {{ article_form }}
            <input type="submit" class="btn btn-success pull-right" value="发布"/>
        </form>
....
2.8.3.发布文章测试
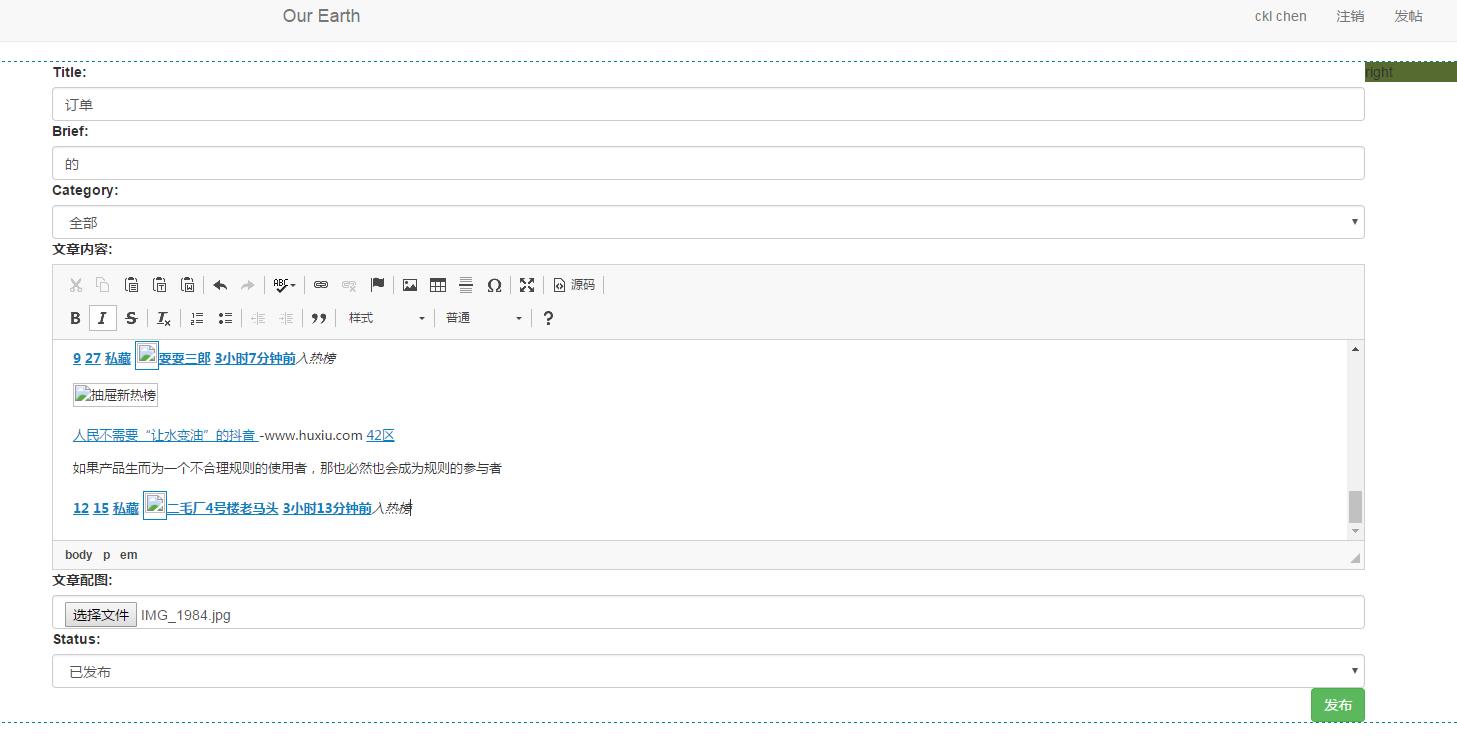
2.8.4.报错
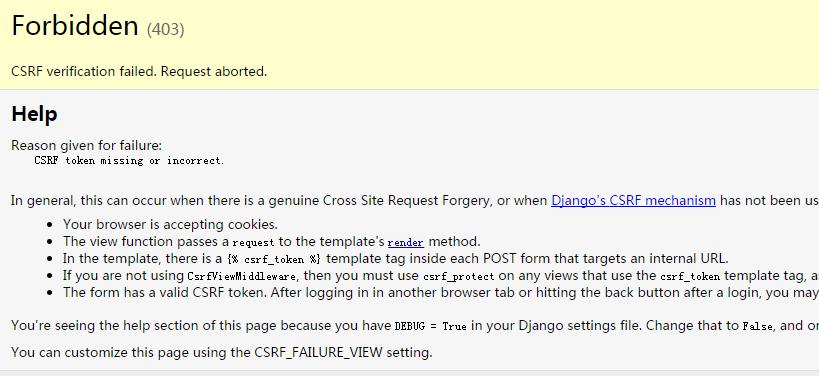
2.8.5.新增CSRF
new_article.html
    <div class="wrap-left">
        <form method="post">{% csrf_token %}
            {{ article_form }}
            <input type="submit" class="btn btn-success pull-right" value="发布"/>
        </form>
    </div>
提交报错:
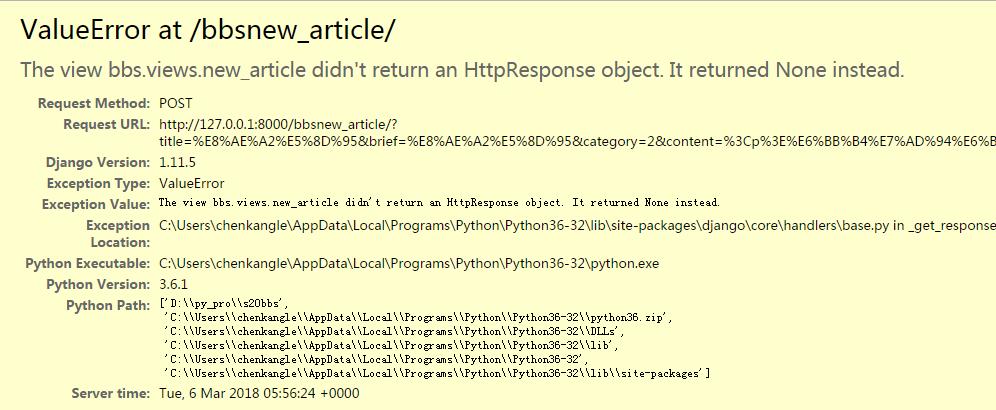
2.8.6.增加post方法
def new_article(request):
    if request.method == \'GET\':
        print("this is get")
        print(request.method)
        article_form = form.ArticleModelForm()
        return render(request,\'bbs/new_article.html\',{\'article_form\':article_form})
    elif request.method == \'POST\':
        print(request.POST)
        article_form = form.ArticleModelForm(request.POST)
        if article_form.is_valid():
            article_form.save()
            return HttpResponse(\'new article has been published!\')
        else:
            return render(request,\'bbs/new_article.html\',{\'article_form\':article_form})
再次提交:
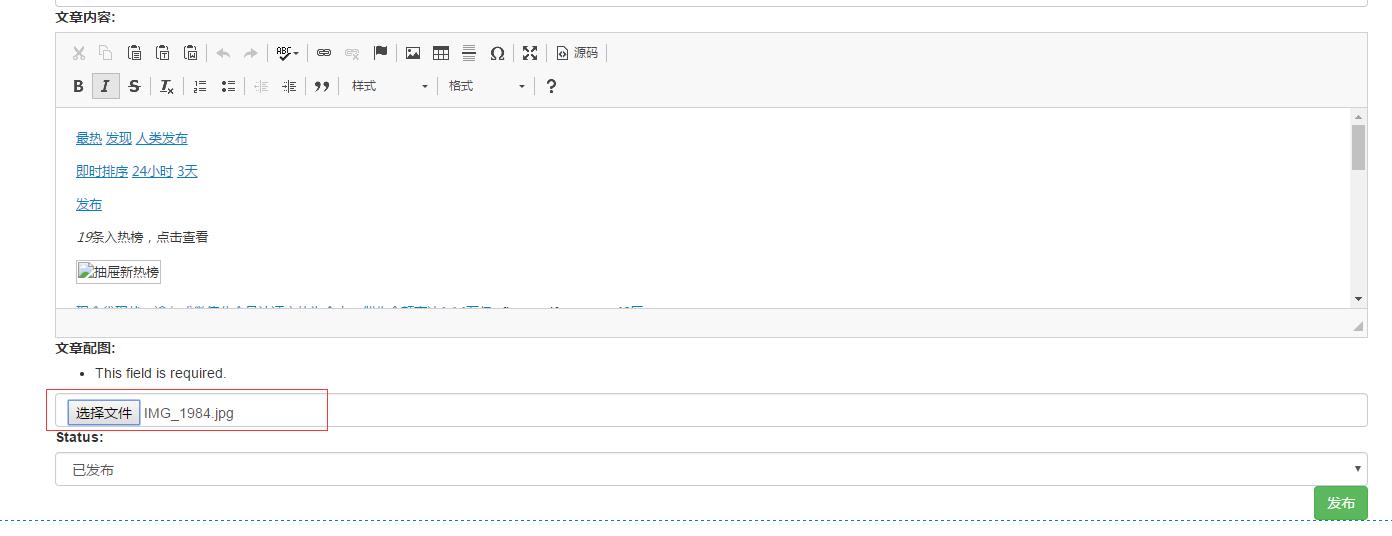
2.8.7.文件已经选择,仍然报错
django 上传文件需要加字段
def new_article(request):
    if request.method == \'GET\':
        print("this is get")
        print(request.method)
        article_form = form.ArticleModelForm()
        return render(request,\'bbs/new_article.html\',{\'article_form\':article_form})
    elif request.method == \'POST\':
        print(request.POST)
        article_form = form.ArticleModelForm(request.POST,request.FILES)
        if article_form.is_valid():
            article_form.save()
            return HttpResponse(\'new article has been published!\')
        else:
            return render(request,\'bbs/new_article.html\',{\'article_form\':article_form})
再次提交:

仍然提示,未选择任何文件,解决如下:
修改new_article.html
    <div class="wrap-left">
        <form method="post" enctype="multipart/form-data">{% csrf_token %}
            {{ article_form }}
            <input type="submit" class="btn btn-success pull-right" value="发布"/>
        </form>
再次提交:

作者id不能为空
2.8.8.处理作者id
修改方法,插入作者id数据:
def new_article(request):
    if request.method == \'GET\':
        print("this is get")
        print(request.method)
        article_form = form.ArticleModelForm()
        return render(request,\'bbs/new_article.html\',{\'article_form\':article_form})
    elif request.method == \'POST\':
        print(request.POST)
        article_form = form.ArticleModelForm(request.POST,request.FILES)
        if article_form.is_valid():
            #获取数据
            data = article_form.cleaned_data
            data[\'author_id\'] = request.user.userprofile.id
            article_obj = models.Article(**data)
            article_obj.save()
            #article_form.save()
            return HttpResponse(\'new article has been published!\')
        else:
            return render(request,\'bbs/new_article.html\',{\'article_form\':article_form})
提交内容:
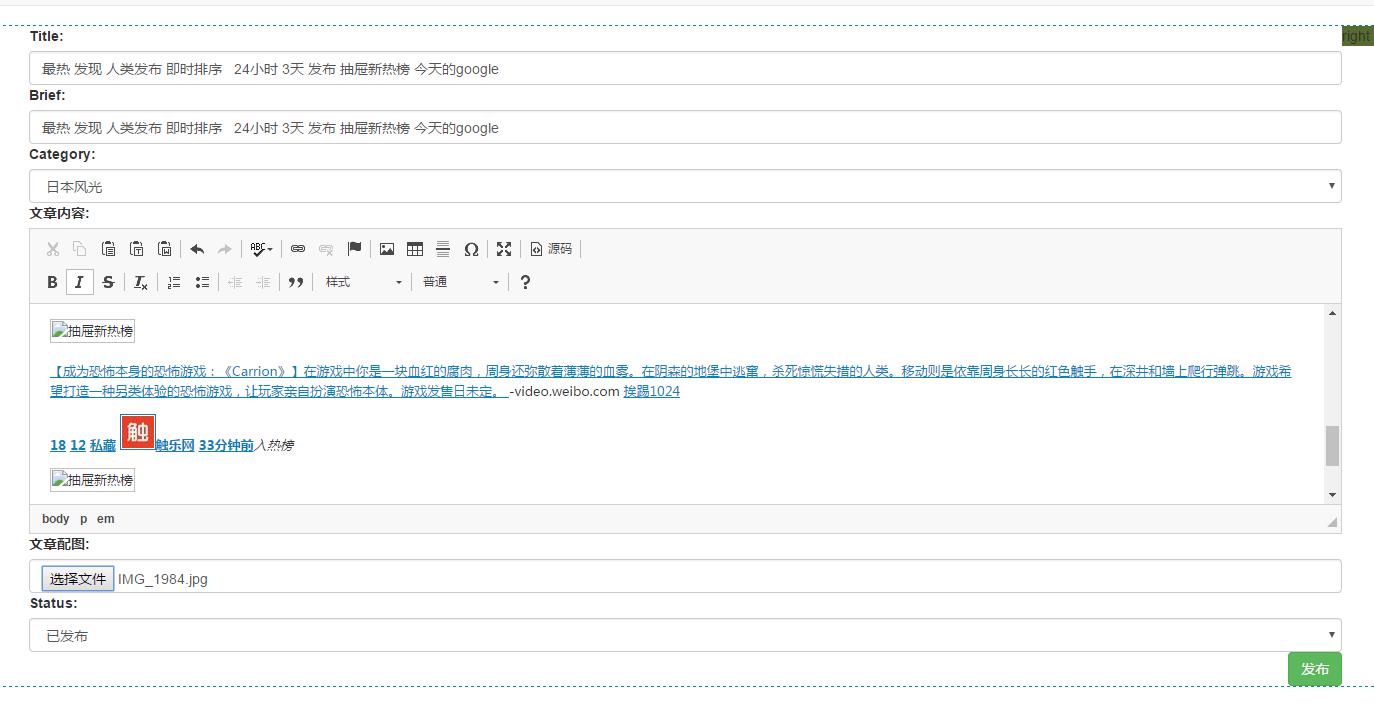
发布成功:

查看页面:
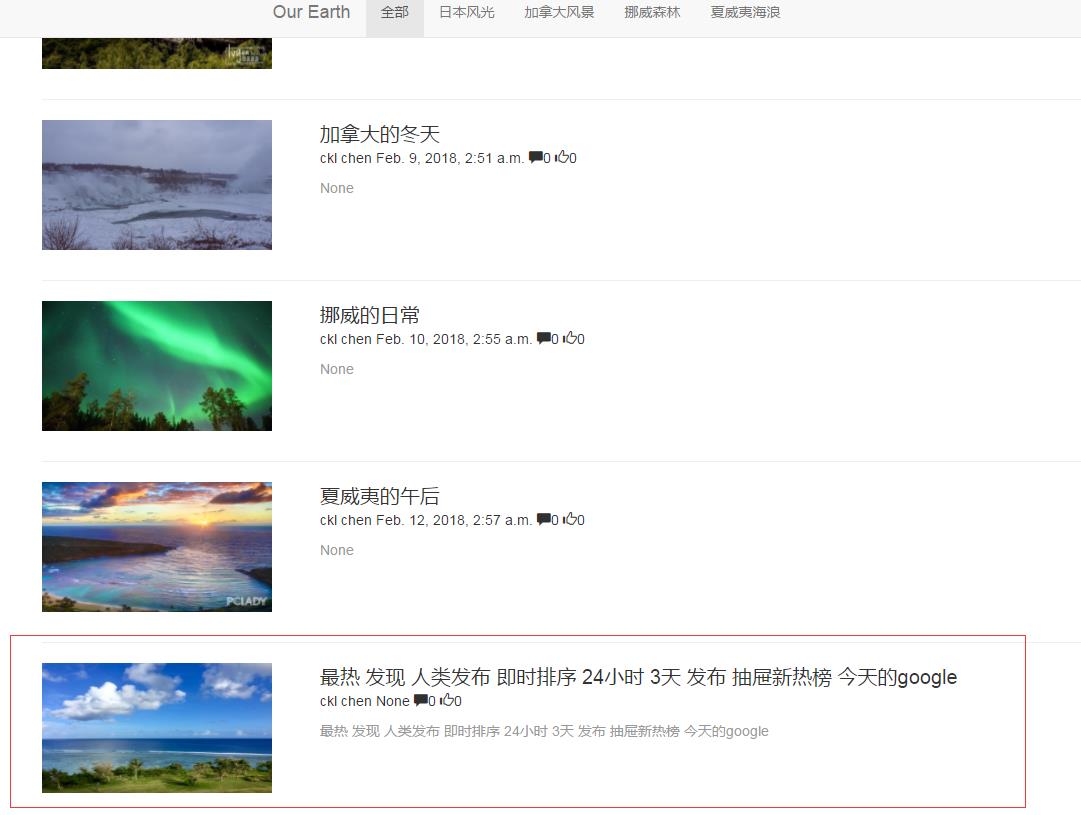
页面却是html元素格式:
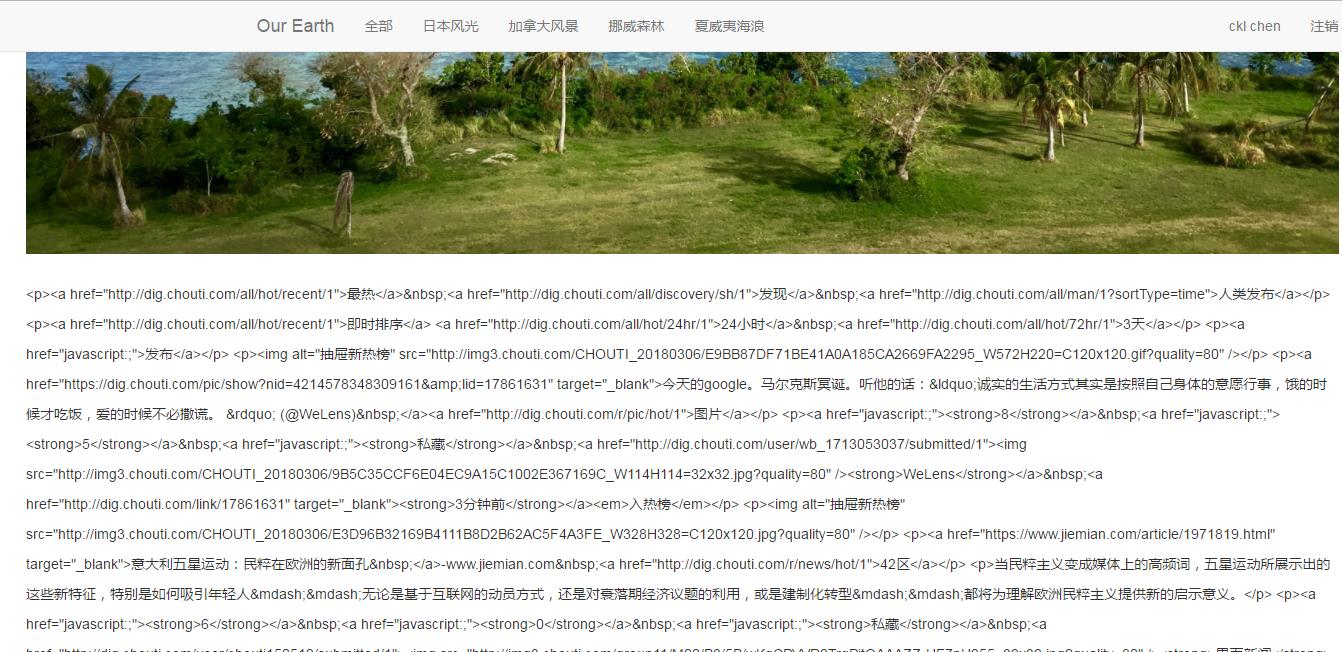
修改如下:
article_detail.html
        <div class="article-content">
            <img class="article-detail-head-img" src="/static/{{ article_obj.head_img|truncate_url }}">
            <!-- 文章内容 -->
            {{ article_obj.content|safe }}
        </div>
再次查看
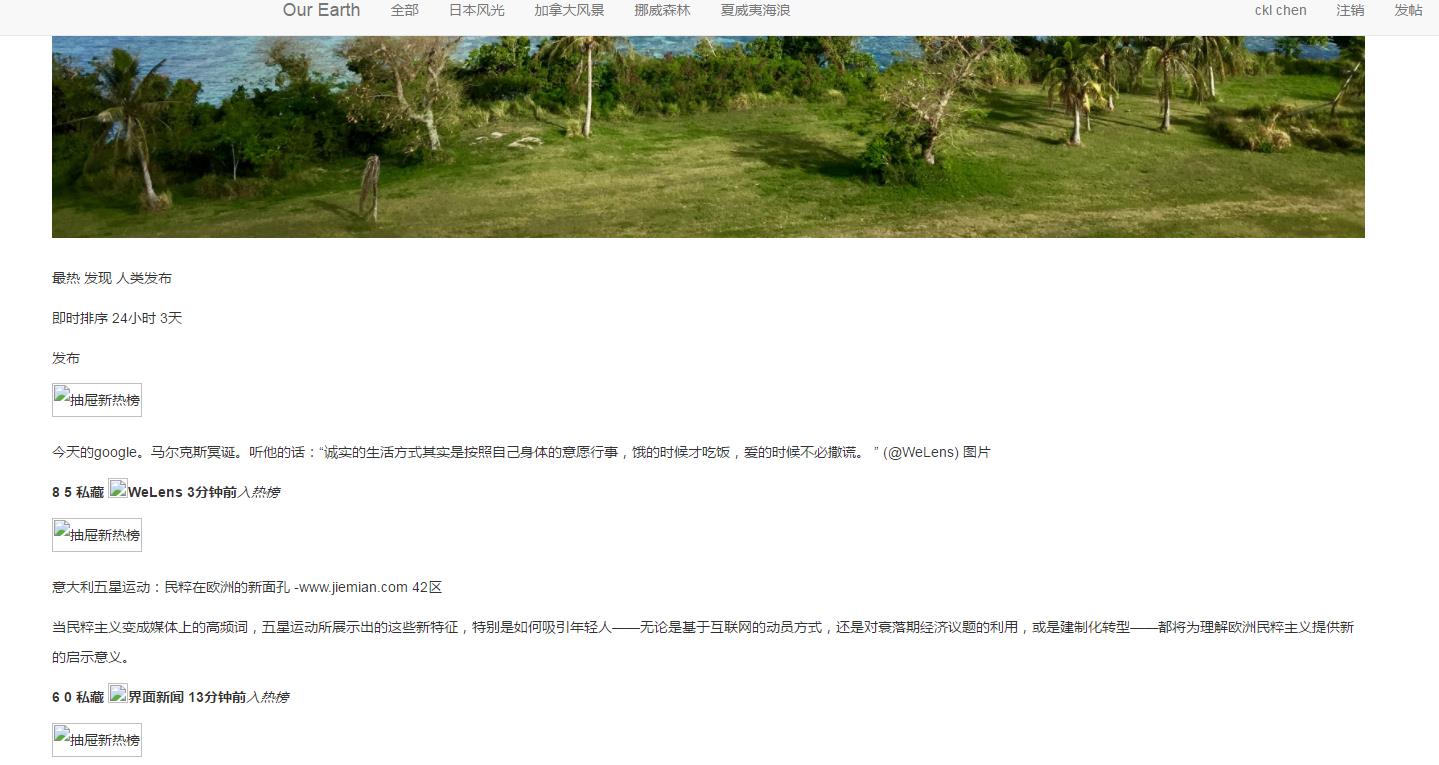
页面排序,按最新发布排序,修改index.html
以上是关于第二十二 BBS的主要内容,如果未能解决你的问题,请参考以下文章