IT管理平台---glpi搭建
Posted 被风吹醒
tags:
篇首语:本文由小常识网(cha138.com)小编为大家整理,主要介绍了IT管理平台---glpi搭建相关的知识,希望对你有一定的参考价值。
GLPI是法语GESTIONNAIRE LIBRE DE PARC INFORMATIQUE的缩写,是一款功能多,稳定性好的开源的IT资产管理软件。中文网站http://www.glpi.org.cn/
安装过程和discuz差不多,刚开始选择的是nginx + php + mysql的组合,测试下来nginx的功能并不能满足glpi的要求,最终还是选择的apache。
环境的选择:centos6.6 (Desktop)+ apache + php + mysql
软件版本:
httpd-2.4.23
php-5.6.27
mysql-server-5.1.73
glpi-9.1.7.1
1.安装环境
httpd和php是编译安装的,mysql是yum安装的。
安装mysql server
yum install -y mysql mysql-server
chkconfig mysqld on
service mysqld start
#进入mysql交互式命令界面,新建一个空白数据库和一个用户,后面会用到
mysql
mysql>create database glpi;
mysql>grant all privileges on glpi.* to \'glpi\'@\'localhost\' identified by \'glpi\';
mysql>flush privileges;
mysql>\\q
安装httpd和php
httpd和php的编译安装略过了,网上的教程很多,这里写一下编译的选项
http的编译选项(首先要编译apr和apr-util两个包,安装路径都在/usr/local下面)
1 ./configure --prefix=/usr/local/apache --sysconfdir=/etc/httpd --enable-so --enable-ssl  \\
2 --enable-cgi --enable-rewrite --with-zlib --with-pcre --with-apr=/usr/local/apr \\
3 --with-apr-util=/usr/local/apr-util --enable-modules=most --enable-mpms-shared=all --with-mpm=event
php的编译选项
1 ./configure --prefix=/usr/local/php --with-mysql --with-openssl --with-mysqli --enable-mbstring \\
2 --with-freetype-dir --with-jpeg-dir --with-png-dir --with-zlib --with-libxml-dir=/usr --enable-xml \\
3 --enable-sockets --enable-fpm --with-mcrypt --with-config-file-path=/etc \\
4 --with-config-file-scan-dir=/etc/php.d --with-bz2 --with-imap --with-imap-ssl \\
5 --enable-opcache --with-xmlrpc --with-kerberos
php的两个个注意点
1).这里用的是fastcgi模式,如果要用httpd模块模式,请把 --enable-fpm 变成 --with-apxs2=/usr/local/apache/bin/apxs
2).记得要把php添加至PATH环境中,否则下面使用composer安装的时候会报错误。
echo "export PATH=/usr/local/php/bin:$PATH" > /etc/profile.d/php.sh
source /etc/profile.d/php.sh
安装完成后各自启动服务
service httpd start
service php-fpm start
2.glpi的安装
安装composer
#下载composer
curl -sS https://getcomposer.org/installer | php
#把composer文件移动到环境变量PATH的路径下面
mv composer.phar /usr/local/bin/composer
#添加执行权限
chmod +x /usr/local/bin/composer
#测试composer
composer -v
安装glpi
tar xf glpi-9.1.7.1.tar.gz -C /usr/local/apache/htdocs/
#为了方便后面浏览器访问。把/etc/httpd/httpd.conf中的DocumnetRoot改成了/usr/local/apache/htdocs/glpi,
cd /usr/local/apache/htdocs/glpi
composer install --no-dev
这里报了一个错误
[root@localhost glpi]# composer install --no-dev
Do not run Composer as root/super user! See https://getcomposer.org/root for details
Loading composer repositories with package information
Installing dependencies from lock file
Your requirements could not be resolved to an installable set of packages.

  Problem 1
    - The requested PHP extension ext-gd * is missing from your system. Install or enable PHP\'s gd extension.
很明显php缺少gd extension
安装gd
#要编译gd,首先需要编译jpegsrc freetype libpng这三个包
#去网上搜索并下载这三个包,然后安装。
#安装jpegsrc
tar xf jpegsrc.v9.tar.gz
cd jpeg-9/
CFLAGS="-O3 -fPIC" ./configure --prefix=/usr/local/jpeg
make && make install
#安装freetype
cd ..
tar xf freetype-2.7.1.tar.gz
cd freetype-2.7.1
./configure --prefix=/usr/local/freetype
make && make install
#安装libpng
cd ..
tar xf libpng-1.6.29.tar.gz
cd libpng-1.6.29
CFLAGS="-O3 -fPIC" ./configure --prefix=/usr/local/libpng
make && make install
#安装gd,和大多数得php扩展安装类似,进入到php源码包下面
cd ../php-5.6.27/ext/gd/
./configure --prefix=/usr/local/php-gd \\
--with-php-config=/usr/local/php/bin/php-config \\
--with-jpeg-dir=/usr/local/jpeg \\
--with-png-dir=/usr/local/libpng \\
--with-freetype-dir=/usr/local/freetype
make && make install
echo "extension = /usr/local/php/lib/php/extensions/no-debug-non-zts-20131226/gd.so" >> /etc/php.ini
#重启服务
service php-fpm restart
#再次运行
composer install --no-dev
3.网页配置
至此应该可以通过网页访问glpi的配置页面了
浏览器输入http://192.168.1.100/install/install.php
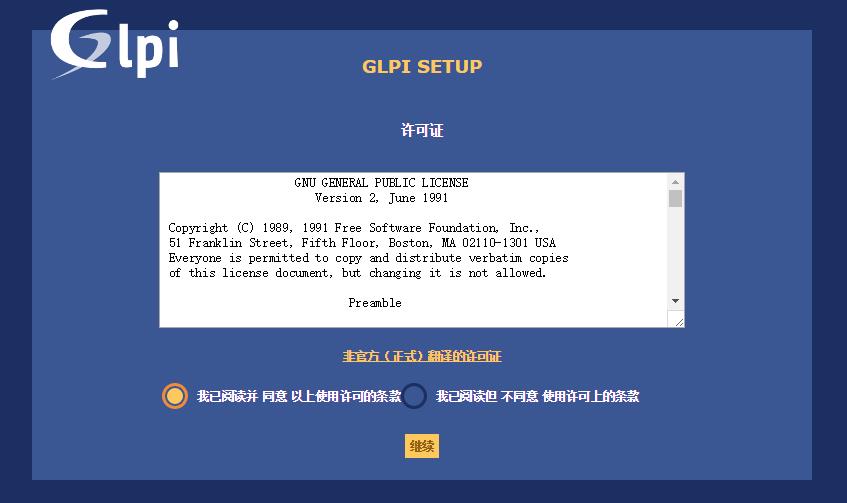
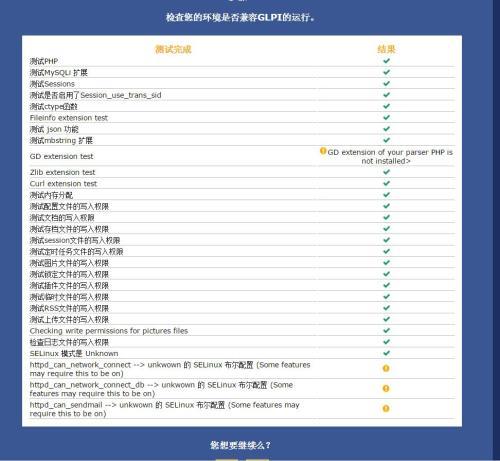
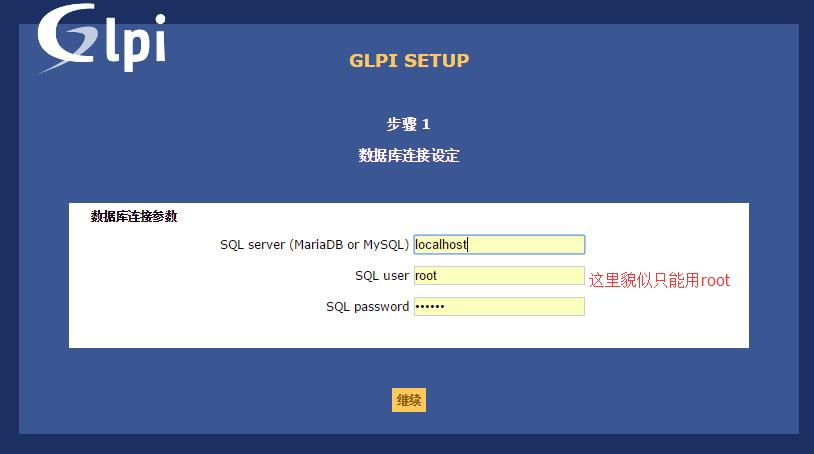
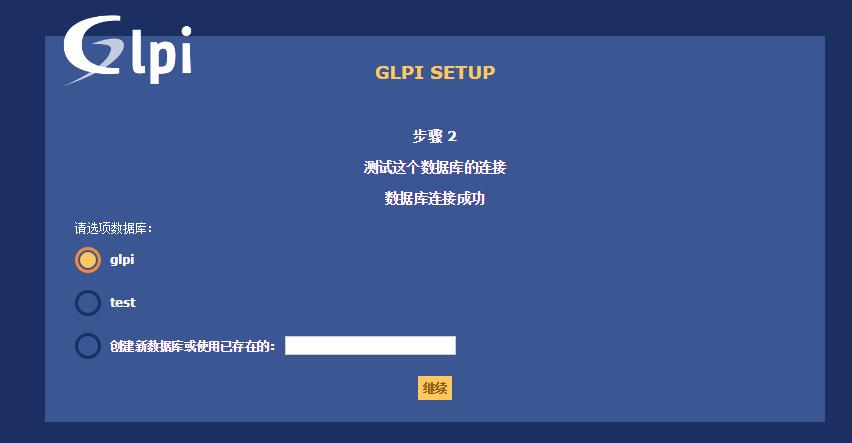
下面的截图是盗的别人的图片,选择语言,同意协议,选择全新安装还是升级安装,检查组件。


检查组件这里,我自己的和图片上的有一些差别,有两点
1).还是提示缺少php扩展,imap ldap opcache apcu,依次安装就可以了,参考另一篇文章 http://www.cnblogs.com/tangj-enth/p/8435096.html
2).文件权限,主要是两个文件
chmod o+w -R files/ config/


后面就不贴了,到后面登录就可以了
安装完后记得把install/install.php删掉,或者重命名(我习惯性的选择了后者)
以上是关于IT管理平台---glpi搭建的主要内容,如果未能解决你的问题,请参考以下文章