CentOS 安装 php7
下载HongKong
tar -zxvf mirror安装相关的编译器
sudo yum install g++ gcc libxml2-devel编译安装 php
首先进入 解压后的php 文件夹
安装配置:./configure --prefix=/usr/local/php --enable-fpm如果没有报错就可以编译 编译安装
make && make install
配置一条软链接
sudo ln -sv /usr/local/php7/bin/php /usr/bin/php测试如下:
[php-7.2.1] php -v
PHP 7.2.1 (cli) (built: Jan 21 2018 07:36:15) ( NTS )
Copyright (c) 1997-2017 The PHP Group
Zend Engine v3.2.0, Copyright (c) 1998-2017 Zend Technologies
CentOS 安装 mysql5.7
配置YUM源
在MySQL官网中下载YUM源rpm安装包
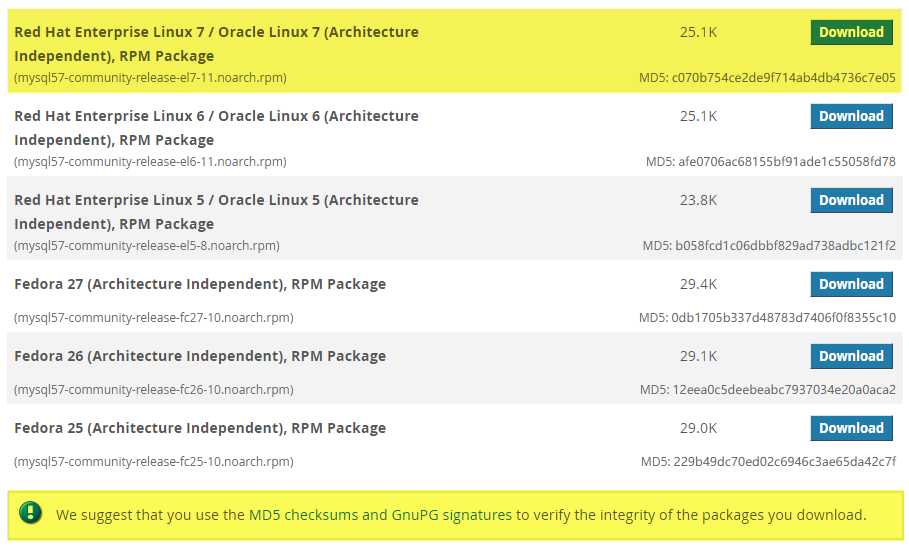
下载mysql源安装包
wget http://dev.mysql.com/get/mysql57-community-release-el7-8.noarch.rpm安装mysql源
yum localinstall mysql57-community-release-el7-8.noarch.rpm检查mysql源是否安装成功
yum repolist enabled | grep "mysql.*-community.*"
如上则说明源安装成功,
选择要安装的版本
sudo vim /etc/yum.repos.d/mysql-community.repo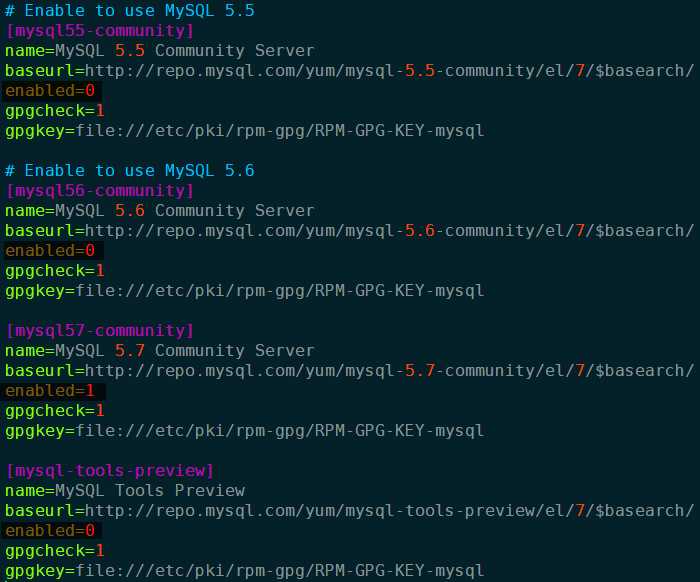
其中
enabled=1表示将被安装及更新。开始安装
yum install mysql-community-server启动MySQL服务
sudo systemctl start mysqld查看服务状态
sudoi systemctl status mysqld设置守护进程,以便开机启动服务
sudo systemctl enable mysqld
sudo systemctl daemon-reload修改root本地登录密码
grep ‘temporary password‘ /var/log/mysqld.log使用获取的临时密码登录更改
root用户密码ALTER USER ‘root‘@‘localhost‘ IDENTIFIED BY ‘xxxxxxx‘;或者
set password for ‘root‘@‘localhost‘=password(‘xxxxxxx‘);当然上述的密码肯定是不会通过的。mysql5.7默认安装了密码安全检查插件
(validate_password),默认密码检查策略要求密码必须包含:大小写字母、数字和特殊符号,并且长度不能少于8位。否则会提示ERROR 1819 (HY000): Your password does not satisfy the current policy requirements密码校验规则如下
SHOW variables LIKE ‘%password%‘;: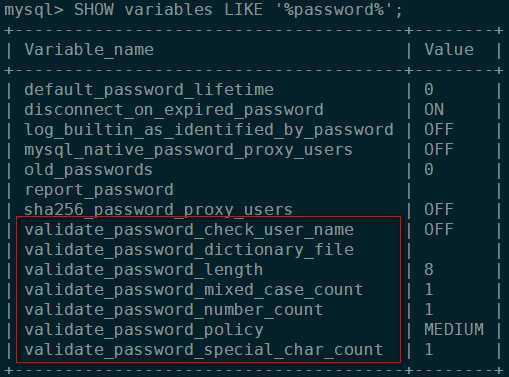
validate_password_policy
密码策略,默认为MEDIUM策略validate_password_dictionary_file
密码策略文件,策略为STRONG才需要validate_password_length
密码最少长度validate_password_mixed_case_count
大小写字符长度,至少1个validate_password_number_count
数字至少1个validate_password_special_char_count
特殊字符至少1个共有以下几种密码策略:
策略 检查规则 0 or LOW Length 1 or MEDIUM Length; numeric, lowercase/uppercase, and special characters 2 or STRONG Length; numeric, lowercase/uppercase, and special characters; dictionary file 修改密码策略
在/etc/my.cnf文件添加validate_password_policy配置,指定密码策略
# 选择0(LOW),1(MEDIUM),2(STRONG)其中一种,选择2需要提供密码字典文件
validate_password_policy=0
如果不需要密码策略,添加my.cnf文件中添加如下配置禁用即可:
validate_password = off重新启动mysql服务使配置生效:
sudo systemctl restart mysqld添加远程登录用户
默认只允许root帐户在本地登录,如果要在其它机器上连接mysql,必须修改root允许远程连接,或者添加一个允许远程连接的帐户,为了安全起见,我添加一个新的帐户:
GRANT ALL PRIVILEGES ON *.* TO 'username'@'%' IDENTIFIED BY 'password' WITH GRANT OPTION;更改默认字符编码
- 查看默认的编码是什么
SHOW variables LIKE '%character%';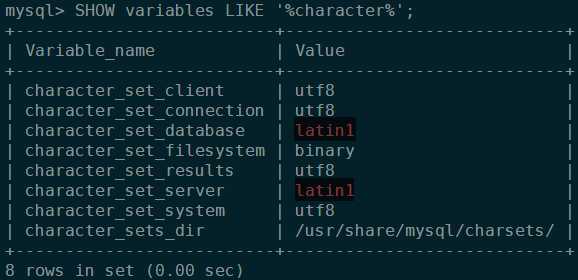
更改
修改/etc/my.cnf配置文件,在[mysqld]下添加编码配置,如下所示:
[mysqld]
character_set_server=utf8
init_connect='SET NAMES utf8'
重启服务,后查看字符集的变化
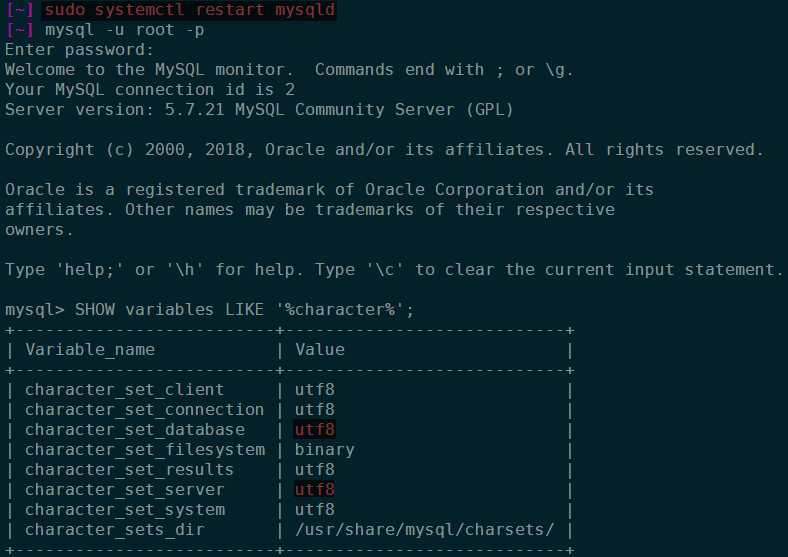
- 默认配置文件路径:
- 配置文件:
/etc/my.cnf - 日志文件:
/var/log//var/log/mysqld.log - 服务启动脚本:
/usr/lib/systemd/system/mysqld.service socket文件:
/var/run/mysqld/mysqld.pid每次修改完配置文档后,都需要重启服务以生效!
CentOS 安装 Apache2
从这里下载
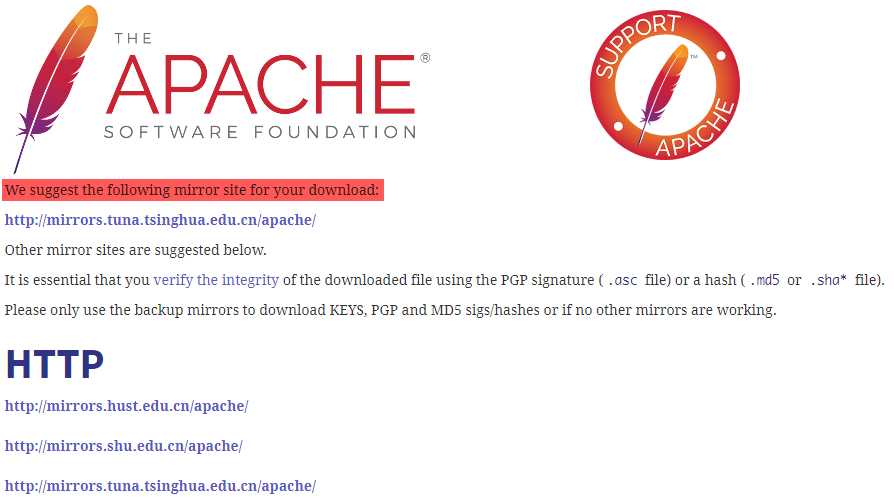
wget http://mirrors.tuna.tsinghua.edu.cn/apache//httpd/httpd-2.4.29.tar.gzcd httpd-2.4.29编译安装
./configure --prefix=/usr/local/apache2没有apr和apr-until
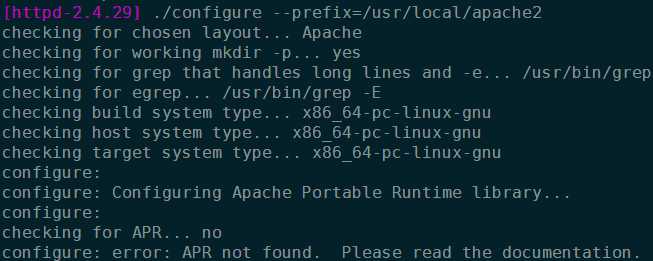
cd
wget http://oss.aliyuncs.com/aliyunecs/onekey/apache/apr-1.5.0.tar.gz
wget http://oss.aliyuncs.com/aliyunecs/onekey/apache/apr-util-1.5.3.tar.gz
tar zxvf apr-1.5.0.tar.gz
tar zxvf apr-util-1.5.3.tar.gz
mv apr-1.5.0 apr
mv apr-util-1.5.3 apr-util
mv apr apr-util httpd-2.4.29/srclib/

[~] tree -L 1 httpd-2.4.29/srclib
httpd-2.4.29/srclib
├── apr
├── apr-util
└── Makefile.in

# 安装依赖
wget https://sourceforge.net/projects/pcre/files/pcre/8.38/pcre-8.38.tar.gz
tar -zxf pcre-8.38.tar.gz
cd pcre-8.38/
./configure --prefix=/usr/local/pcre-8.38
make
sudo make install
所有的依赖完成,开始编译Apache2
cd httpd-2.4.29
./configure --prefix=/usr/local/apache -with-pcre=/usr/local/pcre-8.38/bin/pcre-config \\
--with-included-apr
make
sudo make install
验证
cd /usr/local/apache/bin/
sudo ./apachectl -k start
可能会出现错误如下:
[bin] sudo ./apachectl -k start
[sudo] whoami 的密码:
AH00558: httpd: Could not reliably determine the server's fully qualified domain name, using localhost.localdomain. Set the 'ServerName' directive globally to suppress this message
这是一个配置虚拟主机的问题,可以暂时不用管!此时应当开启服务器的80端口先!
[bin] sudo firewall-cmd --zone=public --add-port=80/tcp --permanent
success
[bin] sudo systemctl restart firewalld.service # 重启防火墙
最后在本地机器中访问虚拟机
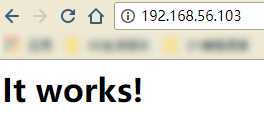
CentOS 安装 nginx
nginx源码包(nginx.org)
wget http://nginx.org/download/nginx-1.10.1.tar.gztar -zxvf nginx-1.10.1.tar.gz./configure --prefix=/usr/local/nginx --with-pcre=../pcre-8.38pcre源码目录使用相对路径,因为一开始下载在root目录之下了,使用绝对路径有权限问题!
make
make install安装验证

ps命令查看一下apache ,httpd,已经有进程在为apache工作了,用暴力的方式杀掉已启动的apache进程
启动
sudo ./nginx
?
安装php-fpm
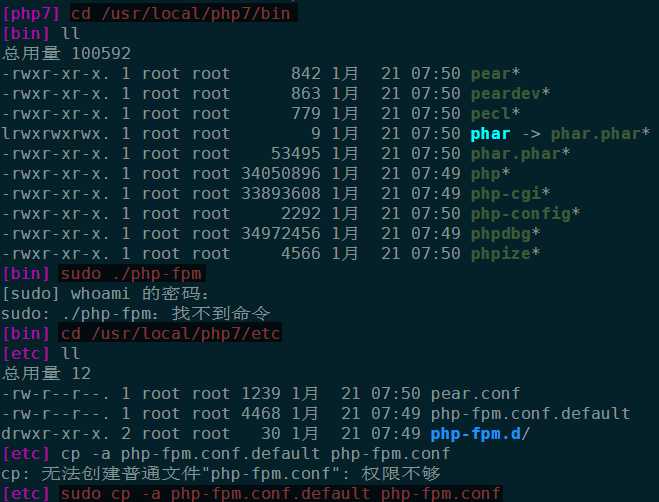
启动fpm 提示125错误
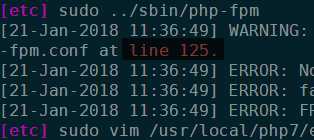
找到125行,普通模式下:125得到这一行
include=/usr/local/php7/etc/php-fpm.d/*.conf说明目录
/usr/local/php7/etc/php-fpm.d/之下没有符合规则的文件

继续安装`sudo ./php-fpm`配置NGINX-PHP
[sbin] cd /usr/local/nginx/conf     # 配置文件存放目录
[conf] ll
总用量 60
-rw-r--r--. 1 root root 1077 1月  21 11:08 fastcgi.conf
-rw-r--r--. 1 root root 1077 1月  21 11:08 fastcgi.conf.default
-rw-r--r--. 1 root root 1007 1月  21 11:08 fastcgi_params
-rw-r--r--. 1 root root 1007 1月  21 11:08 fastcgi_params.default
-rw-r--r--. 1 root root 2837 1月  21 11:08 koi-utf
-rw-r--r--. 1 root root 2223 1月  21 11:08 koi-win
-rw-r--r--. 1 root root 3957 1月  21 11:08 mime.types
-rw-r--r--. 1 root root 3957 1月  21 11:08 mime.types.default
-rw-r--r--. 1 root root 2656 1月  21 11:08 nginx.conf
-rw-r--r--. 1 root root 2656 1月  21 11:08 nginx.conf.default
-rw-r--r--. 1 root root  636 1月  21 11:08 scgi_params
-rw-r--r--. 1 root root  636 1月  21 11:08 scgi_params.default
-rw-r--r--. 1 root root  664 1月  21 11:08 uwsgi_params
-rw-r--r--. 1 root root  664 1月  21 11:08 uwsgi_params.default
-rw-r--r--. 1 root root 3610 1月  21 11:08 win-utf
sudo vim nginx.conf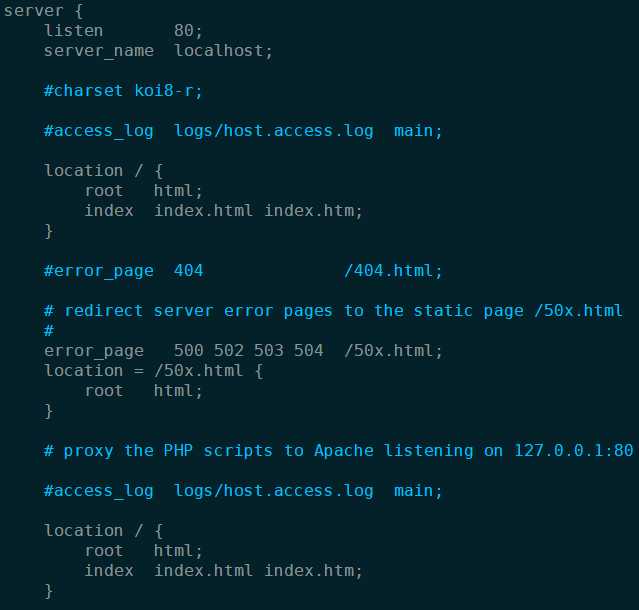
在server之中添加这么一段:
# pass the PHP scripts to FastCGI server listening on 127.0.0.1:9000

location ~ \\.php$ {
    root /usr/local/nginx/html;
    fastcgi_pass 127.0.0.1:9000;
    fastcgi_index index.php;
    fastcgi_param SCRIPT_FILENAME $document_root$fastcgi_script_name;
    include fastcgi_params;
    index index.php;
}
保存退出即可。这么一段的意思是如果有本机访问php文件,通过是9000端口。
测试在
html目录中新建index.php其内容如下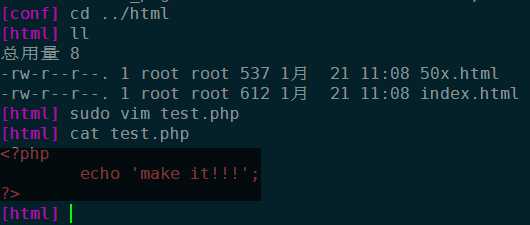
建立一个软链接
sudo ln -sv /usr/local/nginx/sbin/nginx /usr/bin/nginx重启服务
sudo ./nginx -s reload
FPM 配置
进行配置文件存放目录
cd /usr/local/php7/etc/php-fpm.d查看配置文件
cat www.conf子进程用户和用户组
user = nobody
group = nobody
子进程数量
pm = dynamic 设置静态还是动态解析
pm.max_children = 5 最大子进程数
pm.start_servers = 2 启动时先启动两个进程
当为static静态时,子进程数量永远是固定的即为pm.start_servers