Material Design学习之 Switch(详细解释)
Posted
tags:
篇首语:本文由小常识网(cha138.com)小编为大家整理,主要介绍了Material Design学习之 Switch(详细解释)相关的知识,希望对你有一定的参考价值。
转载请注明出处:王亟亟的大牛之路
继续这一系列的Material Design之行,昨天讲的是Sliders链接如下:http://blog.csdn.net/ddwhan0123/article/details/50586510
今天讲的是Switch,本来有考虑把它和CheckBox一起做了,但是毕竟实现不同,还是分开做吧,废话不多,开始正题
开关
On/off 开关切换单一设置选择的状态。开关控制的选项以及它的状态,应该明确的展示出来并且与内部的标签相一致。开关应该单选按钮呈现相同的视觉特性。
开关通过动画来传达被聚焦和被按下的状态。
开关滑块上标明 “on” 和 “off” 的做法被弃用,取而代之的是下图所示的开关。

当然,也有暗主题

他的好基友的介绍可以看:http://blog.csdn.net/ddwhan0123/article/details/50578348
原文地址:http://www.google.com/design/spec/components/switches.html
我们来贴下我们代码实现的效果:

包结构:
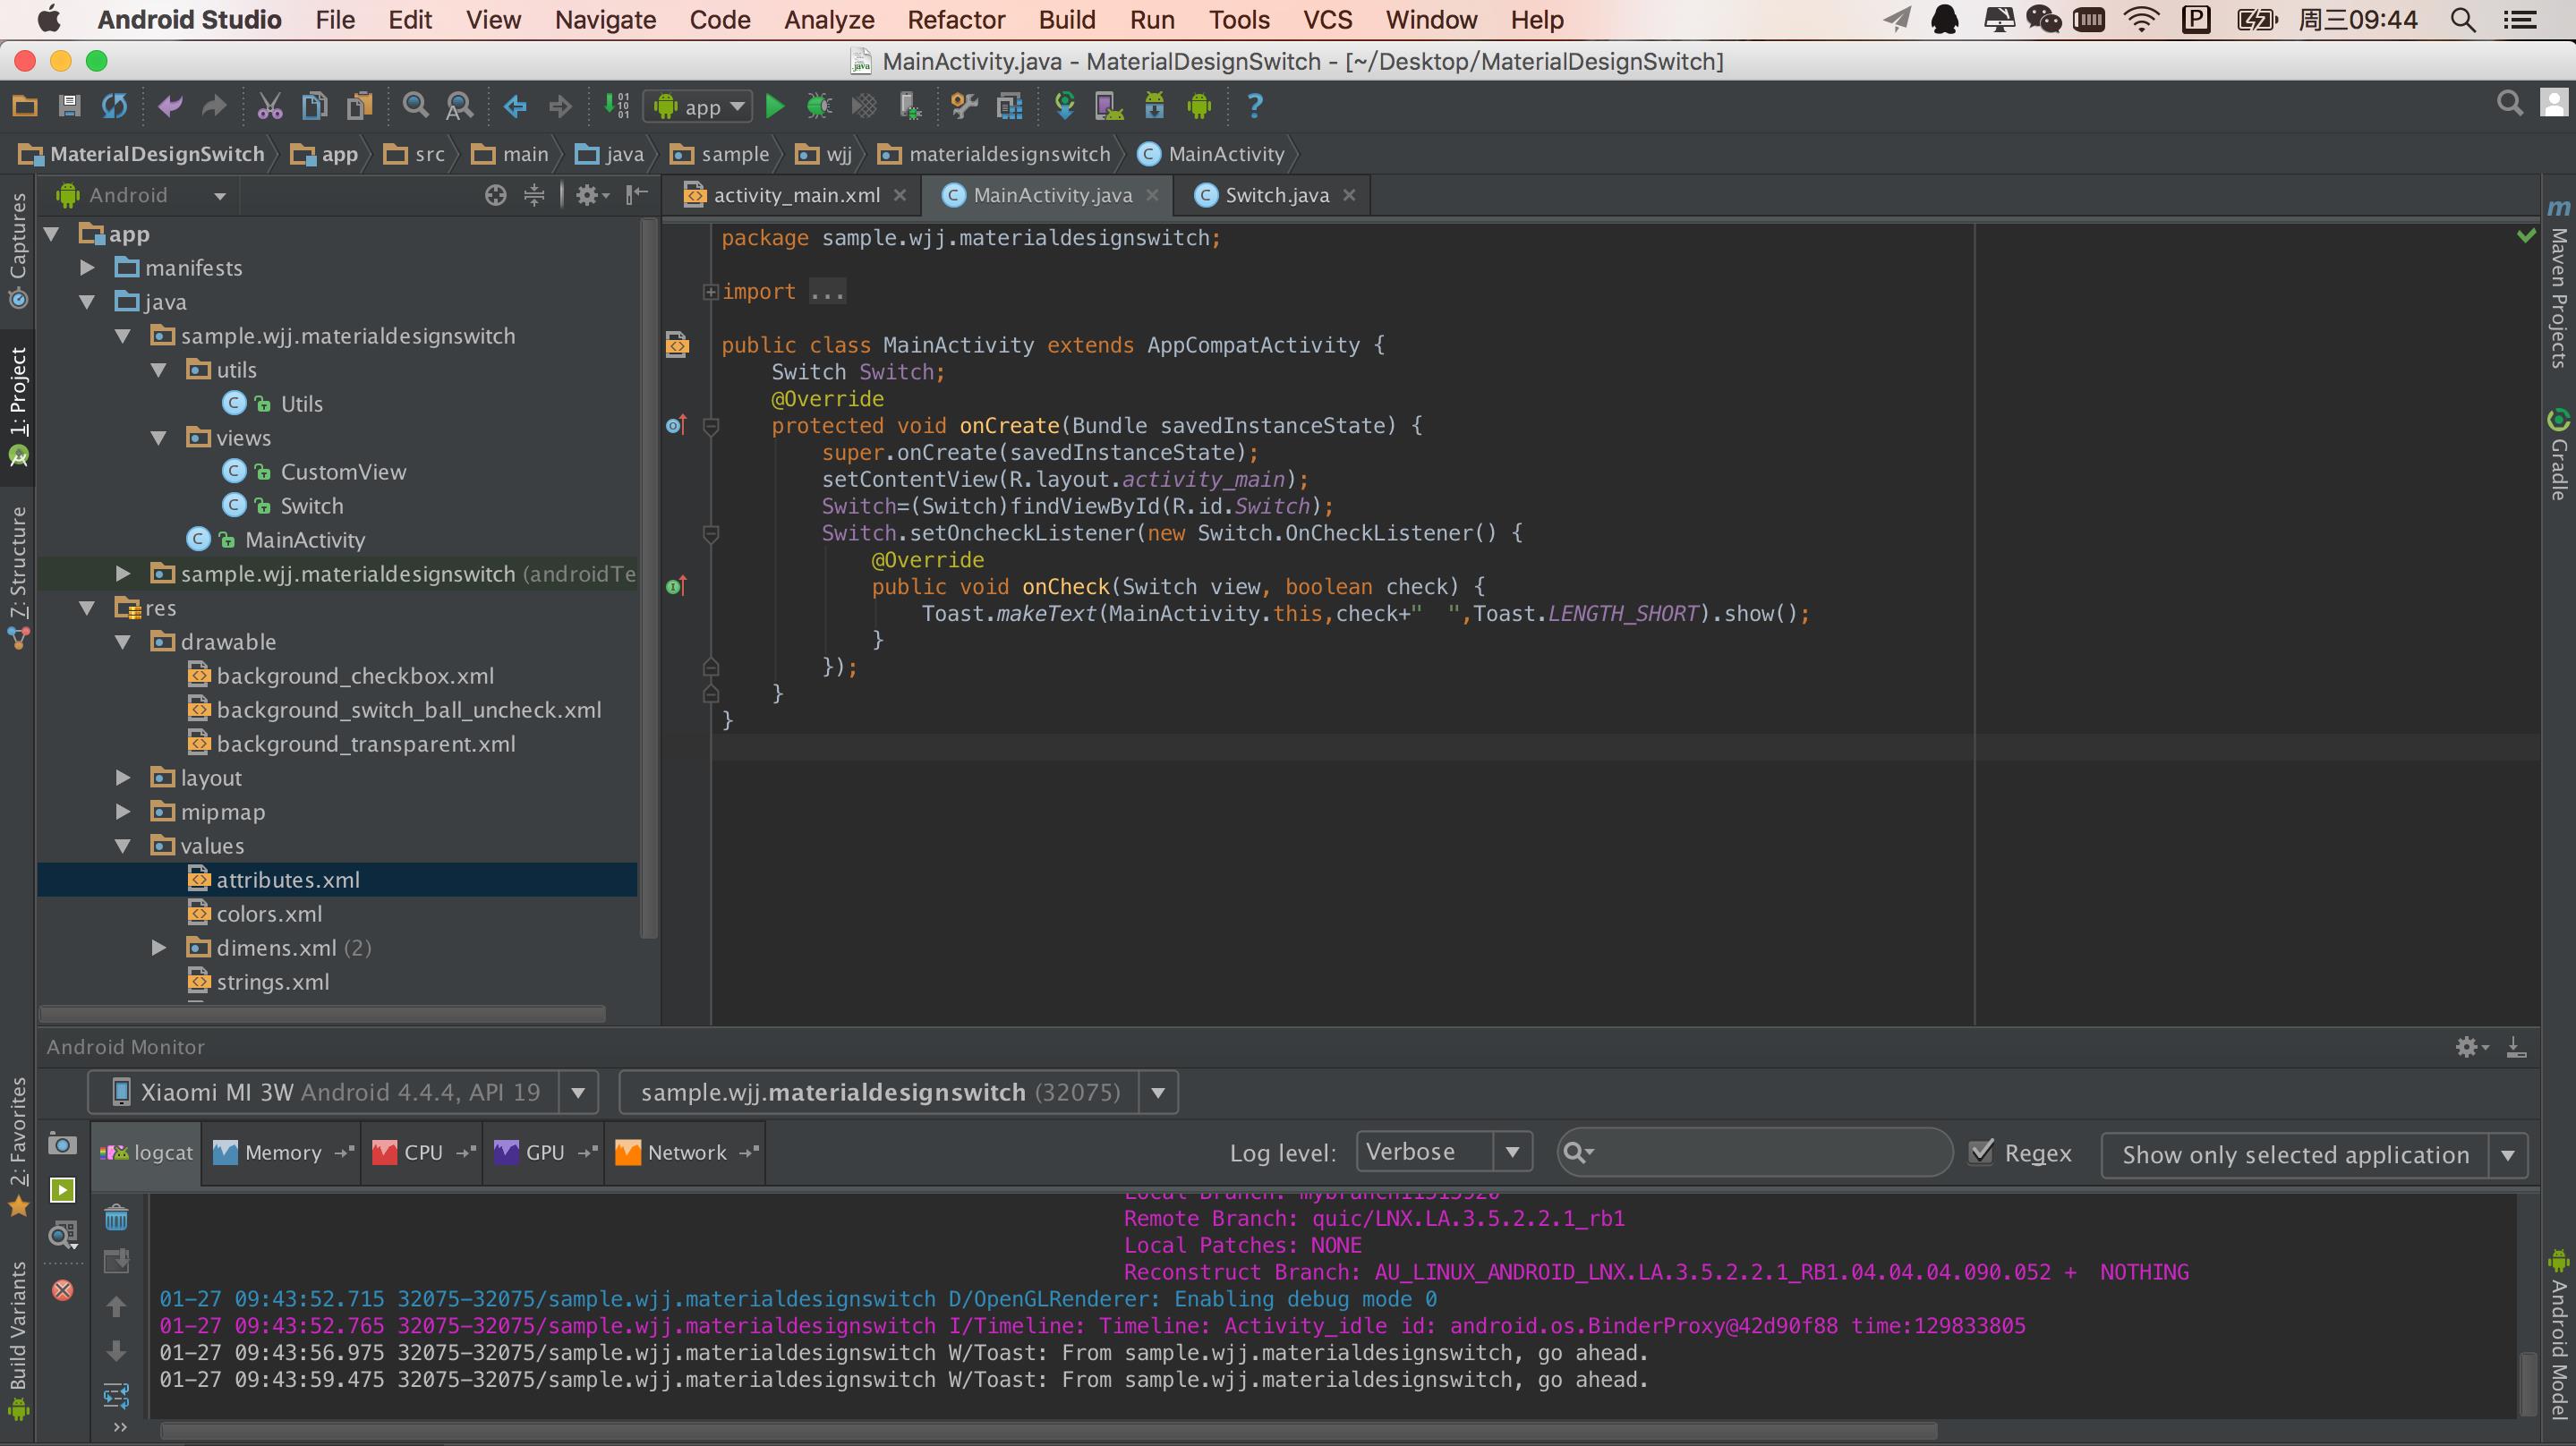
这边就说下Switch这个类,别的在之前文章里有。
     private int backgroundColor = Color.parseColor("#4CAF50");

    private Ball ball;

    private boolean check      = false;
    private boolean eventCheck = false;
    private boolean press      = false;

    private OnCheckListener onCheckListener;
    private Bitmap bitmap;
28-37,一系列的变量声明。
   public Switch(Context context, AttributeSet attrs) {
        super(context, attrs);
        setAttributes(attrs);
        setOnClickListener(new OnClickListener() {

            @Override
            public void onClick(View arg0) {
                if (check)
                    setChecked(false);
                else
                    setChecked(true);
            }
        });
    }
39-52行,构造函数,设置监听事件,根据是否被按来做相应初始化操作
   protected void setAttributes(AttributeSet attrs) {

        setBackgroundResource(R.drawable.background_transparent);

        // Set size of view
        setMinimumHeight(Utils.dpToPx(48, getResources()));
        setMinimumWidth(Utils.dpToPx(80, getResources()));

        // Set background Color
        // Color by resource
        int bacgroundColor = attrs.getAttributeResourceValue(androidXML,
                "background", -1);
        if (bacgroundColor != -1) {
            setBackgroundColor(getResources().getColor(bacgroundColor));
        } else {
            // Color by hexadecimal
            int background = attrs.getAttributeIntValue(ANDROIDXML, "background", -1);
            if (background != -1)
                setBackgroundColor(background);
        }

        check = attrs.getAttributeBooleanValue(MATERIALDESIGNXML, "check",
                false);
        eventCheck = check;
        ball = new Ball(getContext());
        RelativeLayout.LayoutParams params = new LayoutParams(Utils.dpToPx(20,
                getResources()), Utils.dpToPx(20, getResources()));
        params.addRule(RelativeLayout.CENTER_VERTICAL, RelativeLayout.TRUE);
        ball.setLayoutParams(params);
        addView(ball);

    }
55-86行,具体获取xml参数的方法,在这里操作了放置了小球的位置。
    @Override
    public boolean onTouchEvent(MotionEvent event) {
        if (isEnabled()) {
            isLastTouch = true;
            if (event.getAction() == MotionEvent.ACTION_DOWN) {
                press = true;
            } else if (event.getAction() == MotionEvent.ACTION_MOVE) {
                float x = event.getX();
                x = (x < ball.xIni) ? ball.xIni : x;
                x = (x > ball.xFin) ? ball.xFin : x;
                if (x > ball.xCen) {
                    eventCheck = true;
                } else {
                    eventCheck = false;
                }
                ViewHelper.setX(ball, x);
                ball.changeBackground();
                if ((event.getX() <= getWidth() && event.getX() >= 0)) {
                    isLastTouch = false;
                    press = false;
                }
            } else if (event.getAction() == MotionEvent.ACTION_UP ||
                    event.getAction() == MotionEvent.ACTION_CANCEL) {
                press = false;
                isLastTouch = false;
                if (eventCheck != check) {
                    check = eventCheck;
                    if (onCheckListener != null)
                        onCheckListener.onCheck(Switch.this,check);
                }
                if ((event.getX() <= getWidth() && event.getX() >= 0)) {
                    ball.animateCheck();
                }
            }
        }
        return true;
    }
88-124行,具体的业务逻辑。
在控件按下去的时候勾勒出手指触控反馈,合理移动的情况下(并且手指操作距离满足条件的情况下),控件状态发生改变。如果移动不合理的情况下默认不执行操作。如果触控点为另一端点(在最左OR最右的对立点),让控件状态发生改变,未被点击时为空心圆,被选中的状态为实心圆。操作有效才执行小球挪动动画。
  @Override
    protected void onDraw(Canvas canvas) {
        super.onDraw(canvas);
        if (!placedBall) {
            placeBall();
        }

        // Crop line to transparent effect
        if(null == bitmap) {
            bitmap = Bitmap.createBitmap(canvas.getWidth(),
                    canvas.getHeight(), Bitmap.Config.ARGB_8888);
        }
        Canvas temp = new Canvas(bitmap);
        Paint paint = new Paint();
        paint.setAntiAlias(true);
        paint.setColor((eventCheck) ? backgroundColor : Color.parseColor("#B0B0B0"));
        paint.setStrokeWidth(Utils.dpToPx(2, getResources()));
        temp.drawLine(getHeight() / 2, getHeight() / 2, getWidth()
                - getHeight() / 2, getHeight() / 2, paint);
        Paint transparentPaint = new Paint();
        transparentPaint.setAntiAlias(true);
        transparentPaint.setColor(getResources().getColor(
                android.R.color.transparent));
        transparentPaint.setXfermode(new PorterDuffXfermode(
                PorterDuff.Mode.CLEAR));
        temp.drawCircle(ViewHelper.getX(ball) + ball.getWidth() / 2,
                ViewHelper.getY(ball) + ball.getHeight() / 2,
                ball.getWidth() / 2, transparentPaint);

        canvas.drawBitmap(bitmap, 0, 0, new Paint());

        if (press) {
            paint.setColor((check) ? makePressColor() : Color
                    .parseColor("#446D6D6D"));
            canvas.drawCircle(ViewHelper.getX(ball) + ball.getWidth() / 2,
                    getHeight() / 2, getHeight() / 2, paint);
        }
        invalidate();

    }
126-165行,如果是第一次绘制,默认在起始位置,如果xml配置默认为选中则做被选中绘制。
先设置画布,为整个View的区域块画一条线作为ball运行的轨迹,未选中为灰色,选中为background颜色值。
再画球,默认空心球
如果手势压着我们的控件再绘制一个触控反馈“圆阴影”
  protected int makePressColor() {
        int r = (this.backgroundColor >> 16) & 0xFF;
        int g = (this.backgroundColor >> 8) & 0xFF;
        int b = (this.backgroundColor >> 0) & 0xFF;
        r = (r - 30 < 0) ? 0 : r - 30;
        g = (g - 30 < 0) ? 0 : g - 30;
        b = (b - 30 < 0) ? 0 : b - 30;
        return Color.argb(70, r, g, b);
    }
172-180行,手势阴影实现.
 boolean placedBall = false;

    private void placeBall() {
        ViewHelper.setX(ball, getHeight() / 2 - ball.getWidth() / 2);
        ball.xIni = ViewHelper.getX(ball);
        ball.xFin = getWidth() - getHeight() / 2 - ball.getWidth() / 2;
        ball.xCen = getWidth() / 2 - ball.getWidth() / 2;
        placedBall = true;
        ball.animateCheck();
    }
183-192,小球初始化坐标操作。
 @Override
    public void setBackgroundColor(int color) {
        backgroundColor = color;
        if (isEnabled())
            beforeBackground = backgroundColor;

    }

    public void setChecked(boolean check) {
        invalidate();
        this.check = check;
        this.eventCheck = check;
        ball.animateCheck();
    }

    public boolean isCheck() {
        return check;
    }
196-213一系列的设置操作。
   class Ball extends View {

        float xIni, xFin, xCen;

        public Ball(Context context) {
            super(context);
            setBackgroundResource(R.drawable.background_switch_ball_uncheck);
        }

        public void changeBackground() {
            if (eventCheck) {
                setBackgroundResource(R.drawable.background_checkbox);
                LayerDrawable layer = (LayerDrawable) getBackground();
                GradientDrawable shape = (GradientDrawable) layer
                        .findDrawableByLayerId(R.id.shape_bacground);
                shape.setColor(backgroundColor);
            } else {
                setBackgroundResource(R.drawable.background_switch_ball_uncheck);
            }
        }

        public void animateCheck() {
            changeBackground();
            ObjectAnimator objectAnimator;
            if (eventCheck) {
                objectAnimator = ObjectAnimator.ofFloat(this, "x", ball.xFin);

            } else {
                objectAnimator = ObjectAnimator.ofFloat(this, "x", ball.xIni);
            }
            objectAnimator.setDuration(300);
            objectAnimator.start();
        }

    }
215-249行,小球的实现,昨天也有出现,唯一的区别就是动画是一个从左到右或从右到左 300毫秒的变化。
实现跟之前的有些许共同点,这里总结下:
先制定一个区域,作为我们的画区,画一个底层的线,画小球,根据操作做小球的运动和UI的变化!!! 就是啦么 简单!!!
Eclipse 所需Jar包地址:https://github.com/ddwhan0123/BlogSample/tree/master/JAR
这个包的源码地址:https://github.com/ddwhan0123/BlogSample/blob/master/MaterialDesignSwitch.zip
记得点个赞哦!!
以上是关于Material Design学习之 Switch(详细解释)的主要内容,如果未能解决你的问题,请参考以下文章
Material Design学习之 ProgreesBar
Android Material Design学习之RecyclerView代替 ListView