回归篇-iOS APP上架流程
Posted 喵渣渣
tags:
篇首语:本文由小常识网(cha138.com)小编为大家整理,主要介绍了回归篇-iOS APP上架流程相关的知识,希望对你有一定的参考价值。
好久没有更博客了,就近两年的工作学习,感觉收获很多!目前移动互联网开发在目前移动数据大时代下,发展迅猛,因为一直钟爱苹果产品,所有投身ios开发当中,今天就给大家科普一下iOS APP上架流程!
1.打开苹果开发者中心:https://developer.apple.com
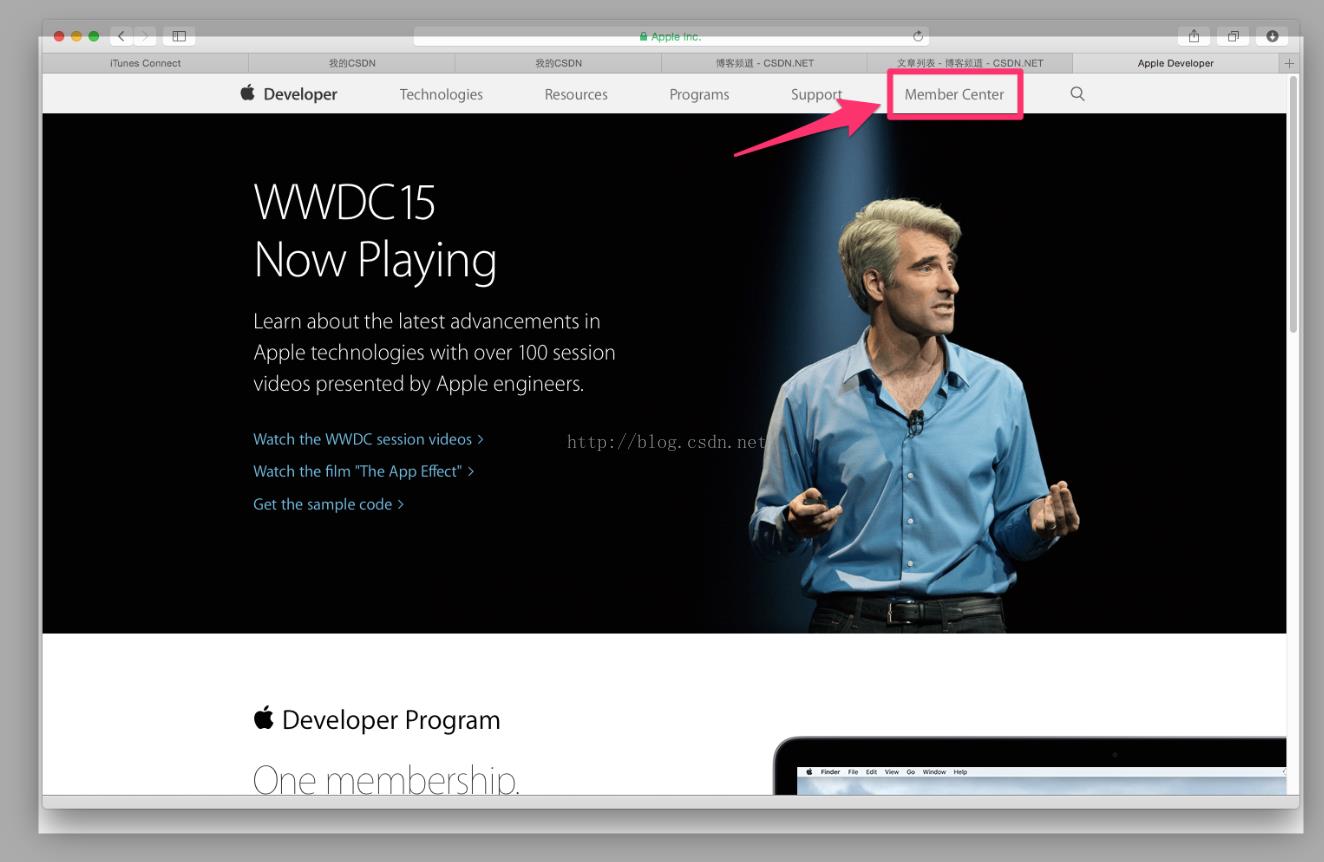
打开后点击:Member Center 如果你的电脑没有保存密码,则会提示你输入开发者帐号和密码,因为我的电脑已经保存了,所以直接进入。
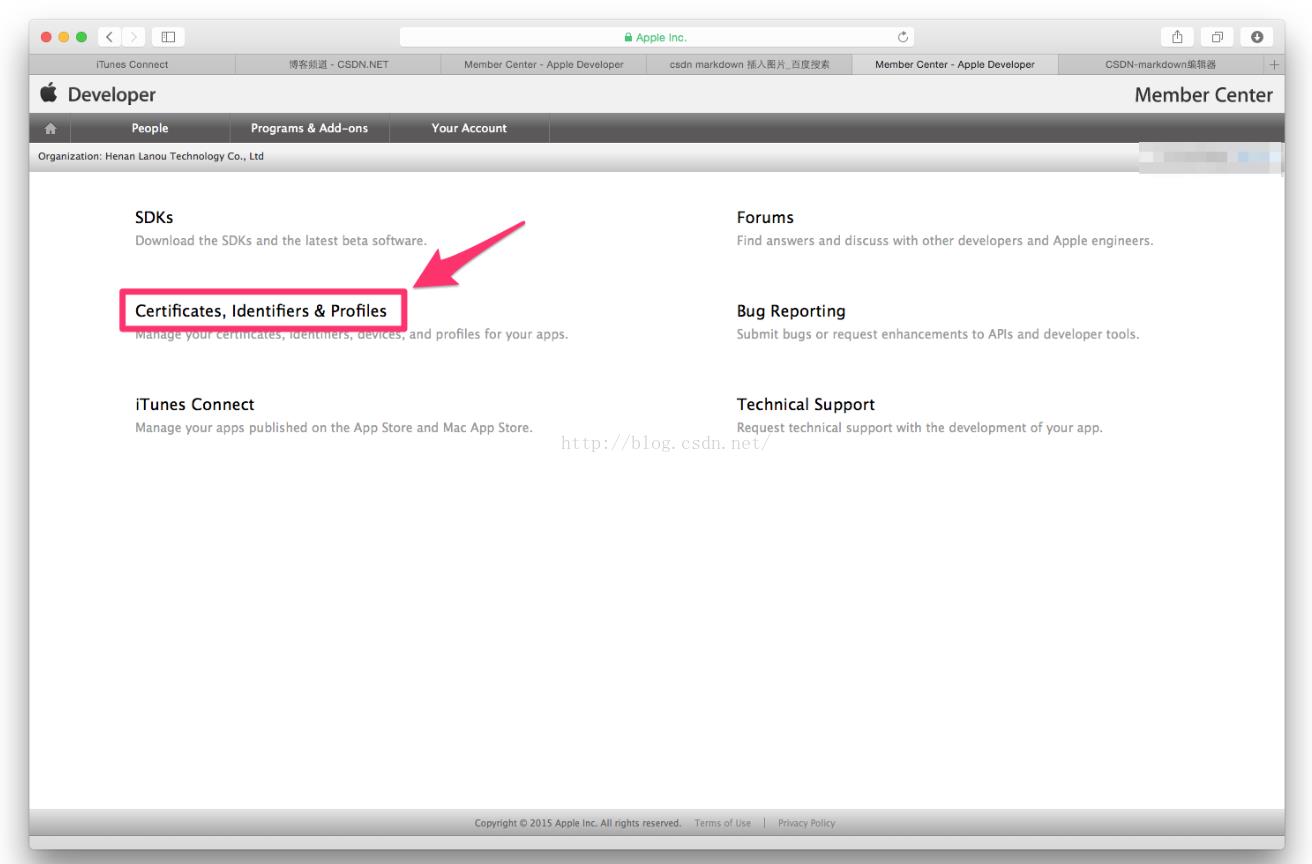
2.点击:Certificates, Identifiers & Profiles
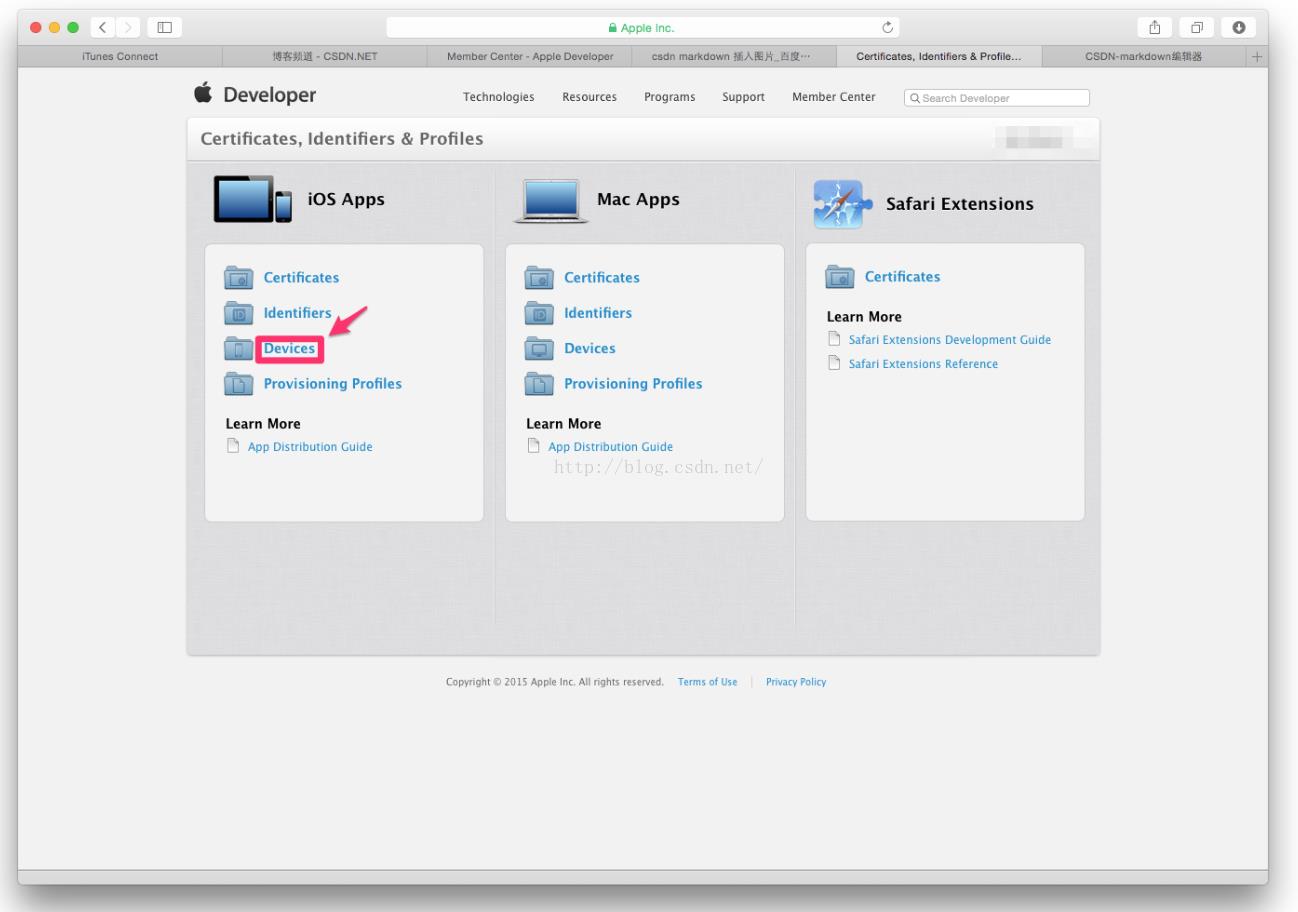
3.点击Devices

6.点击continue

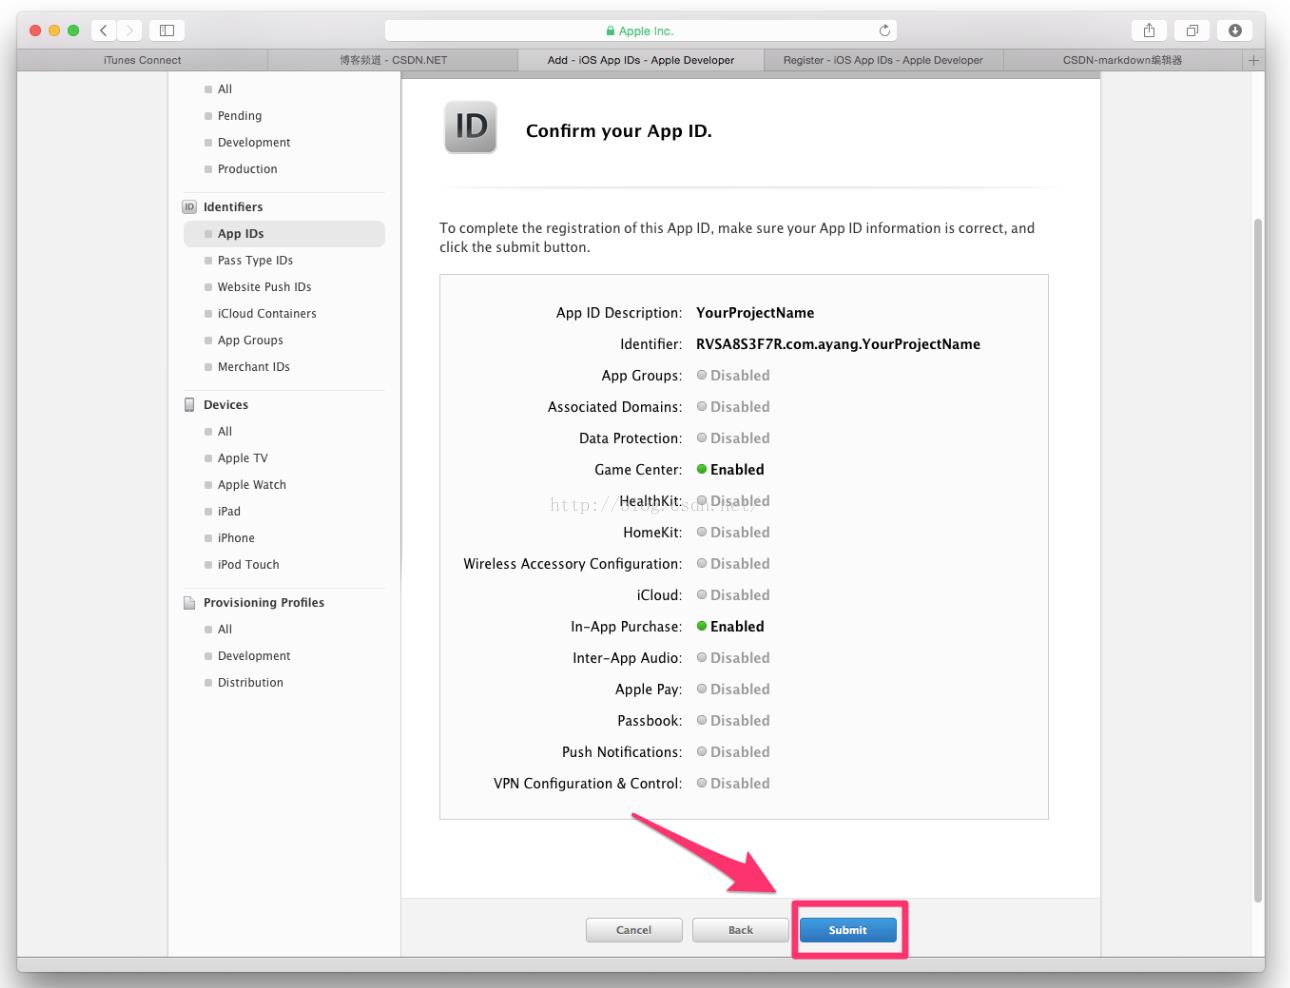
7.点击Submit
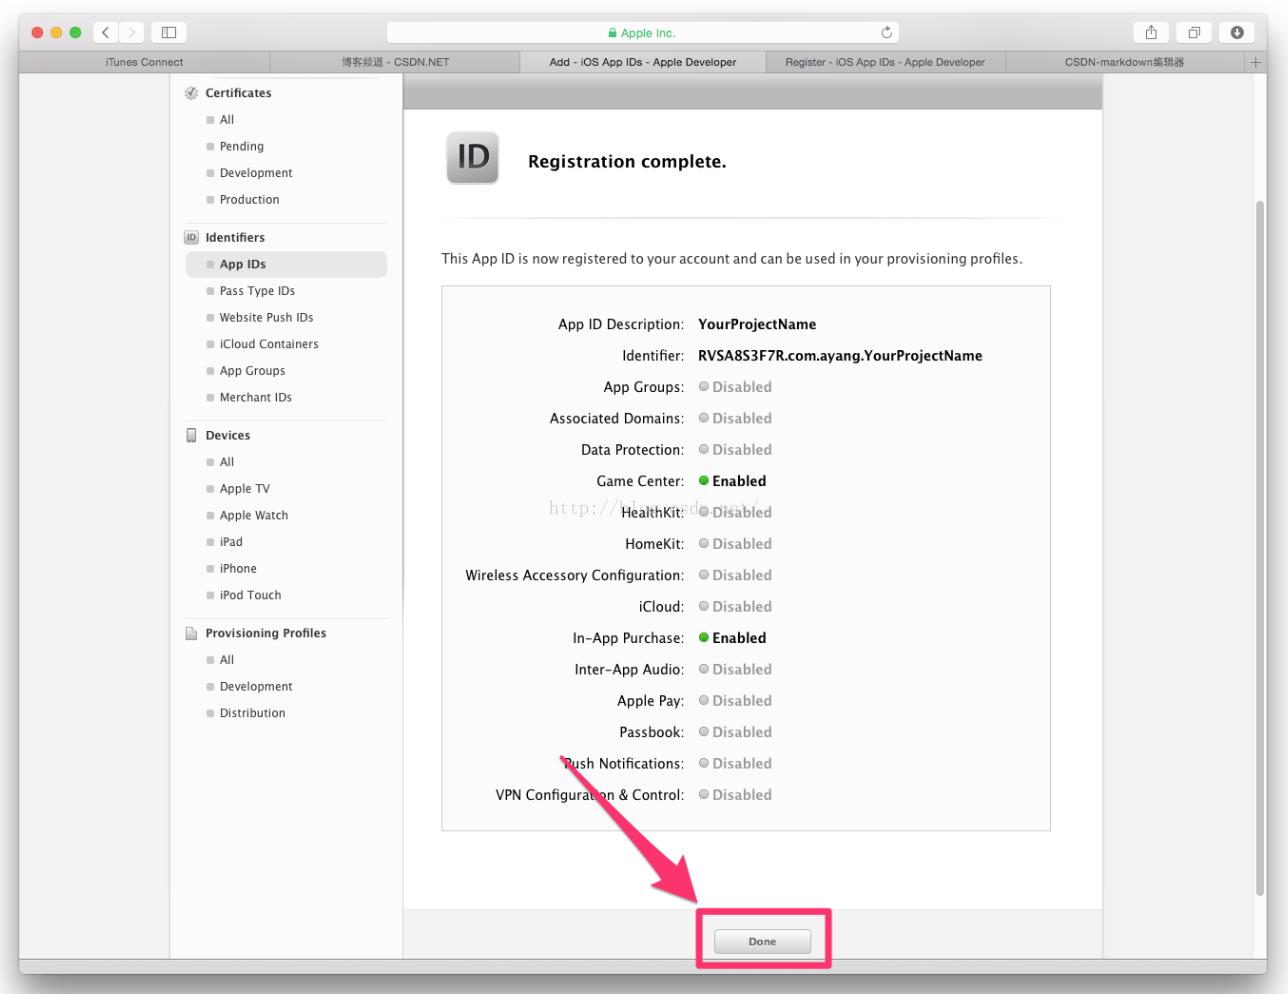
8.点击Done
二.创建发布证书(若已创建过发布证书,现在用的是p12文件,可直接跳到第21步)
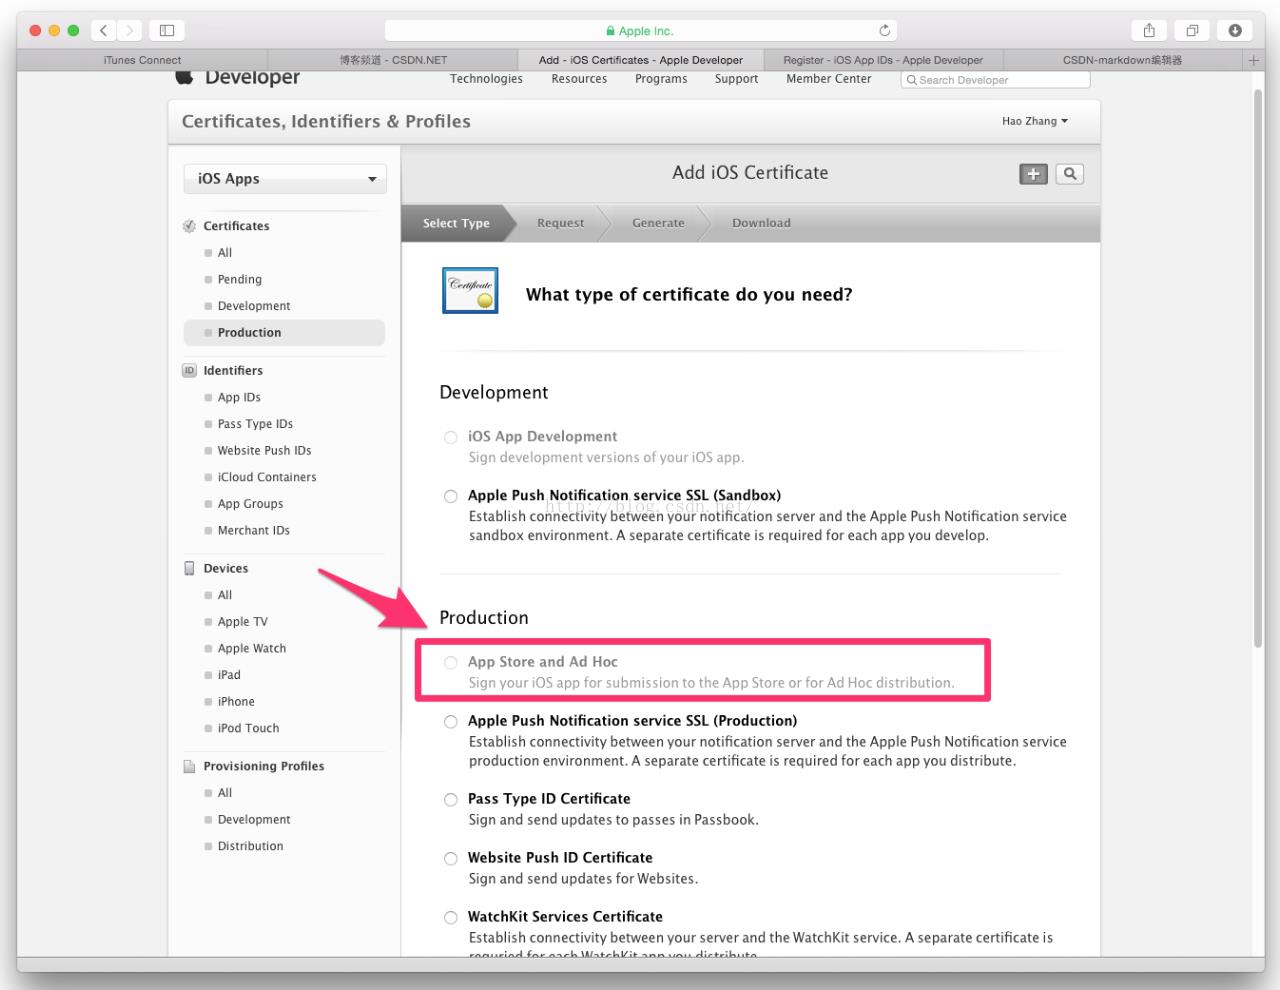
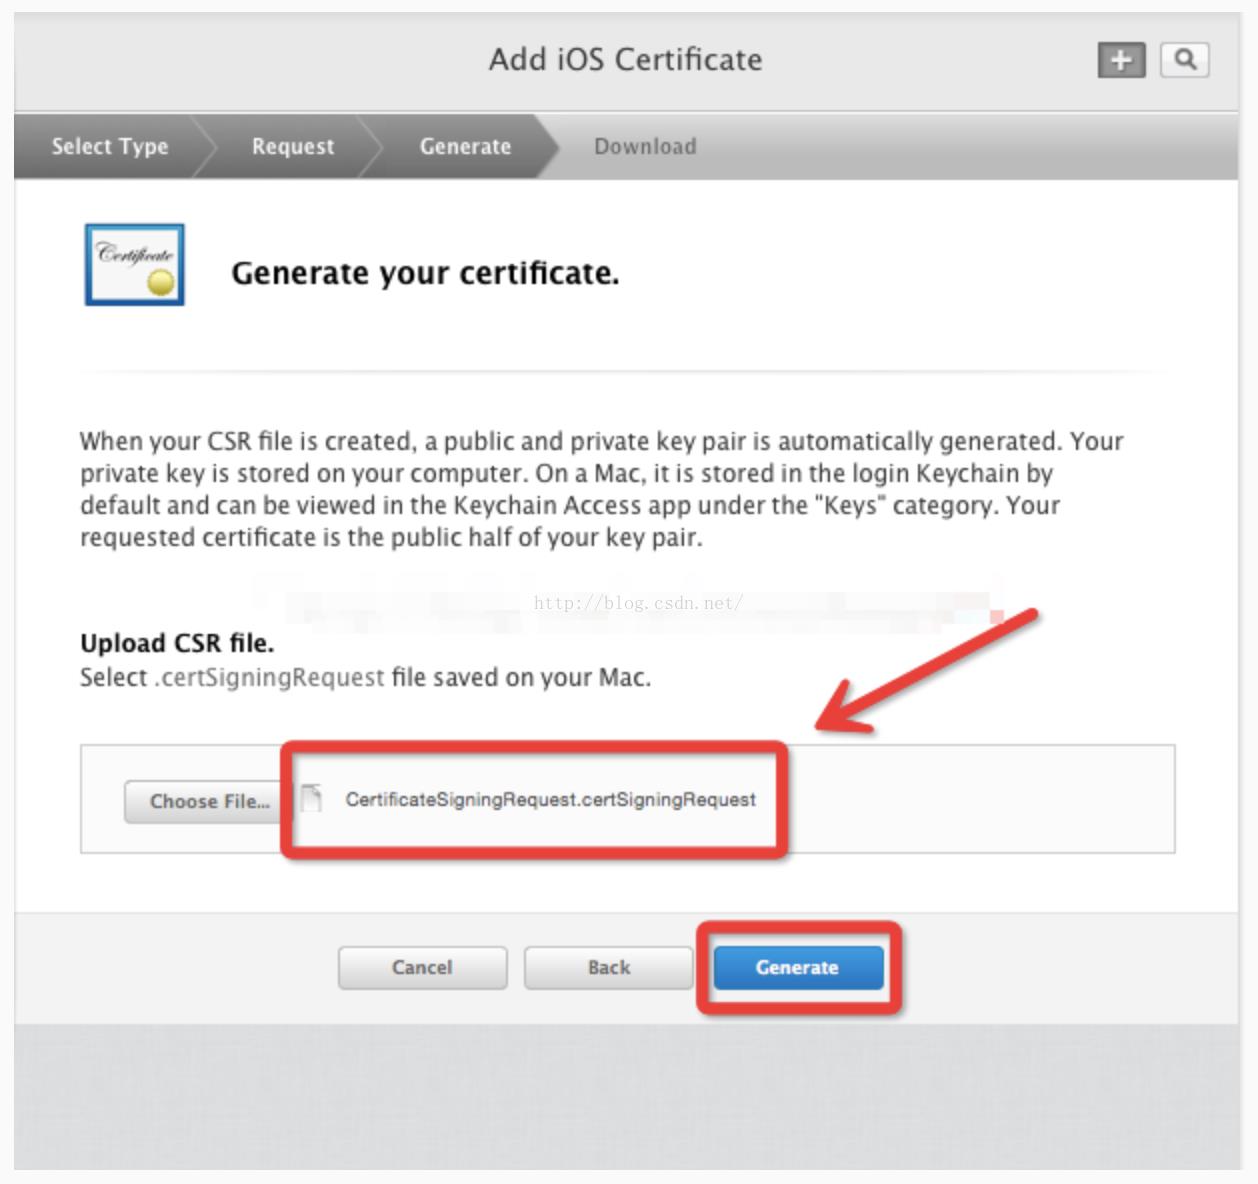
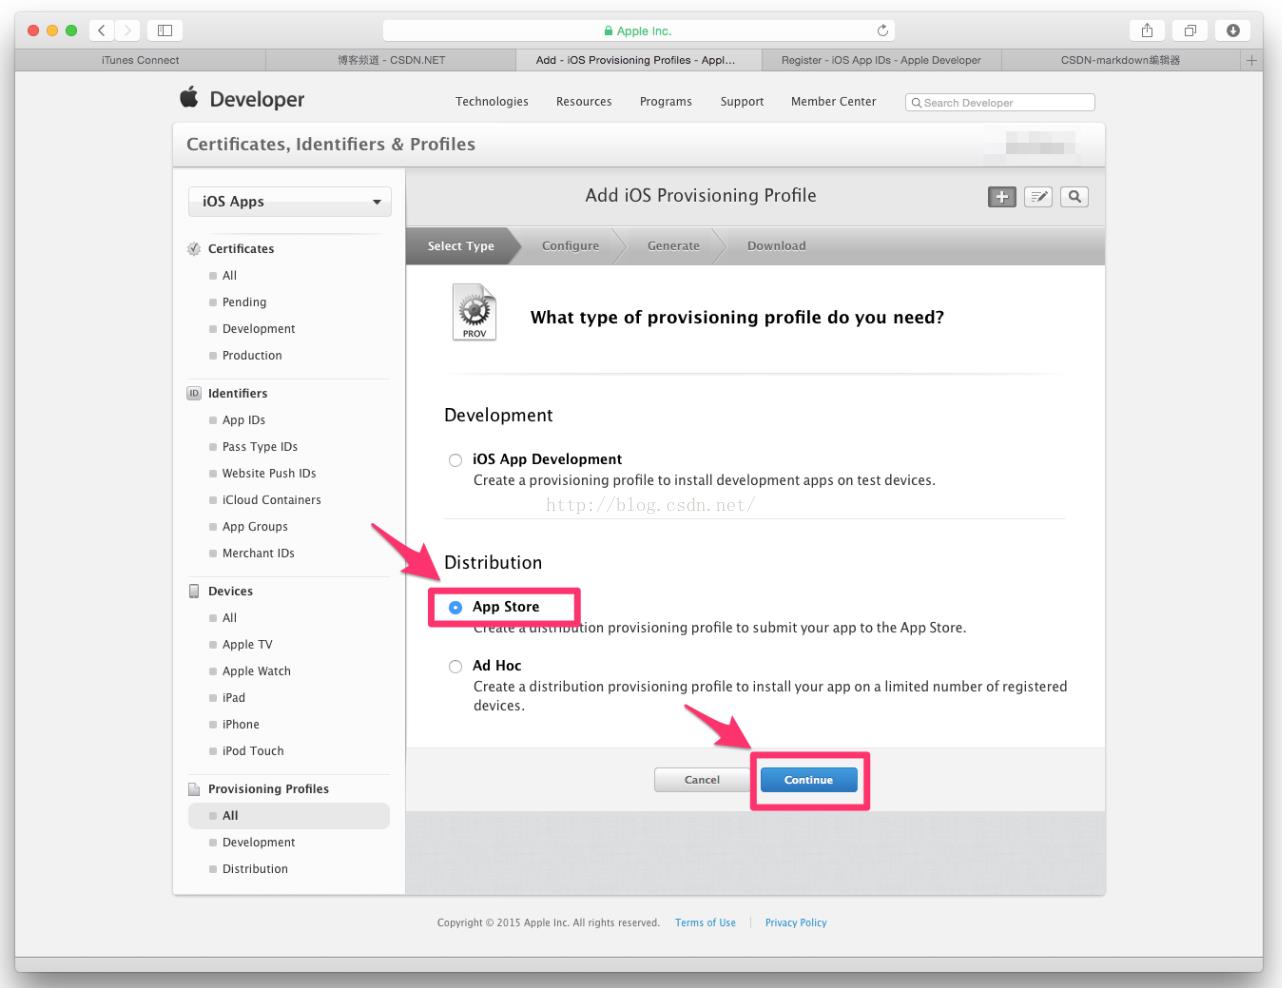
9.点击Production后,点击 + 号

10.点击App
Store and Ad Hoc
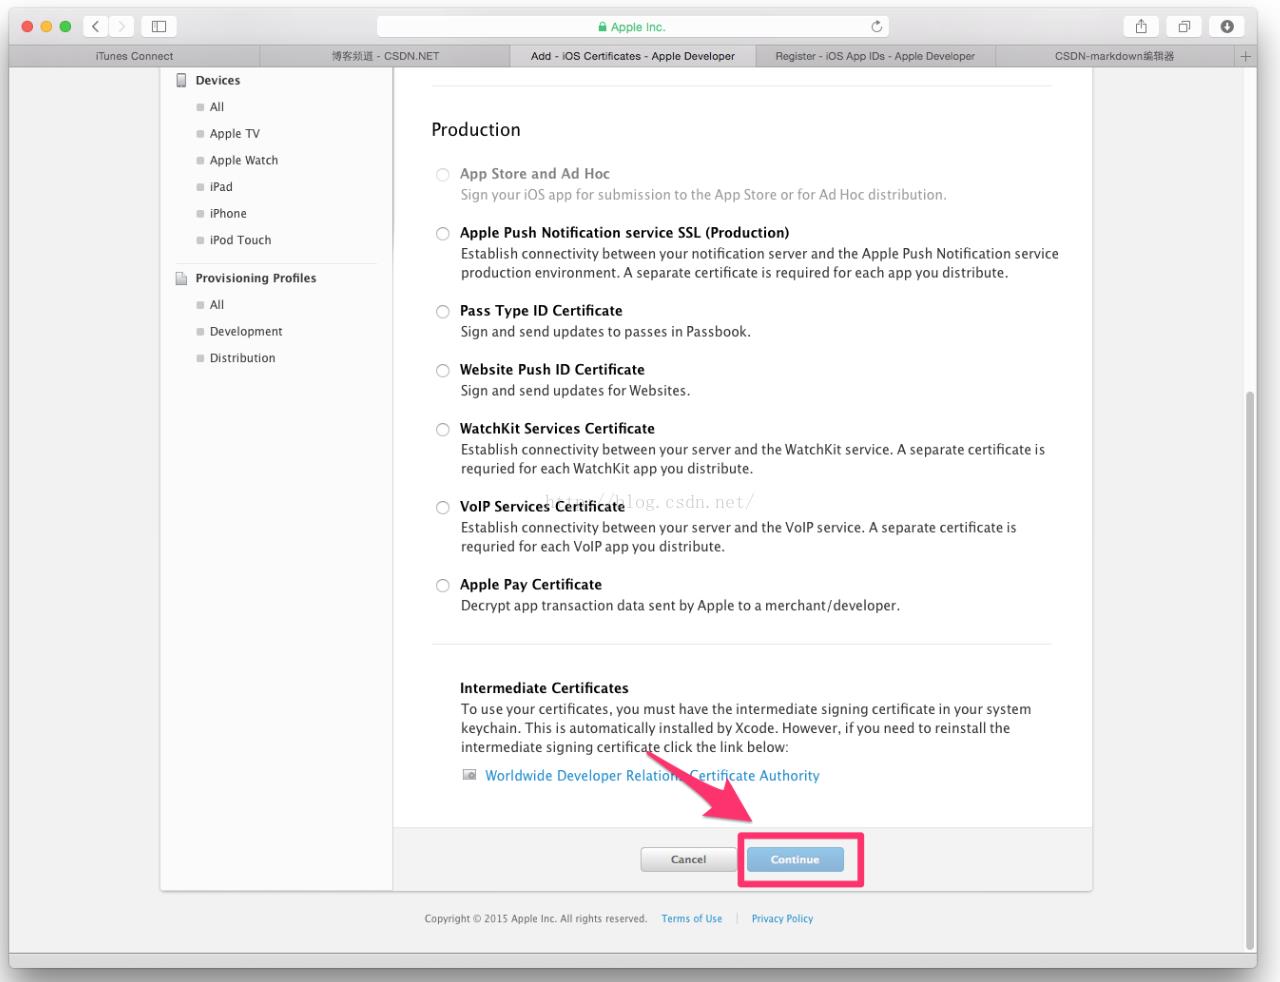
11.点击Continue
12.点击Continue
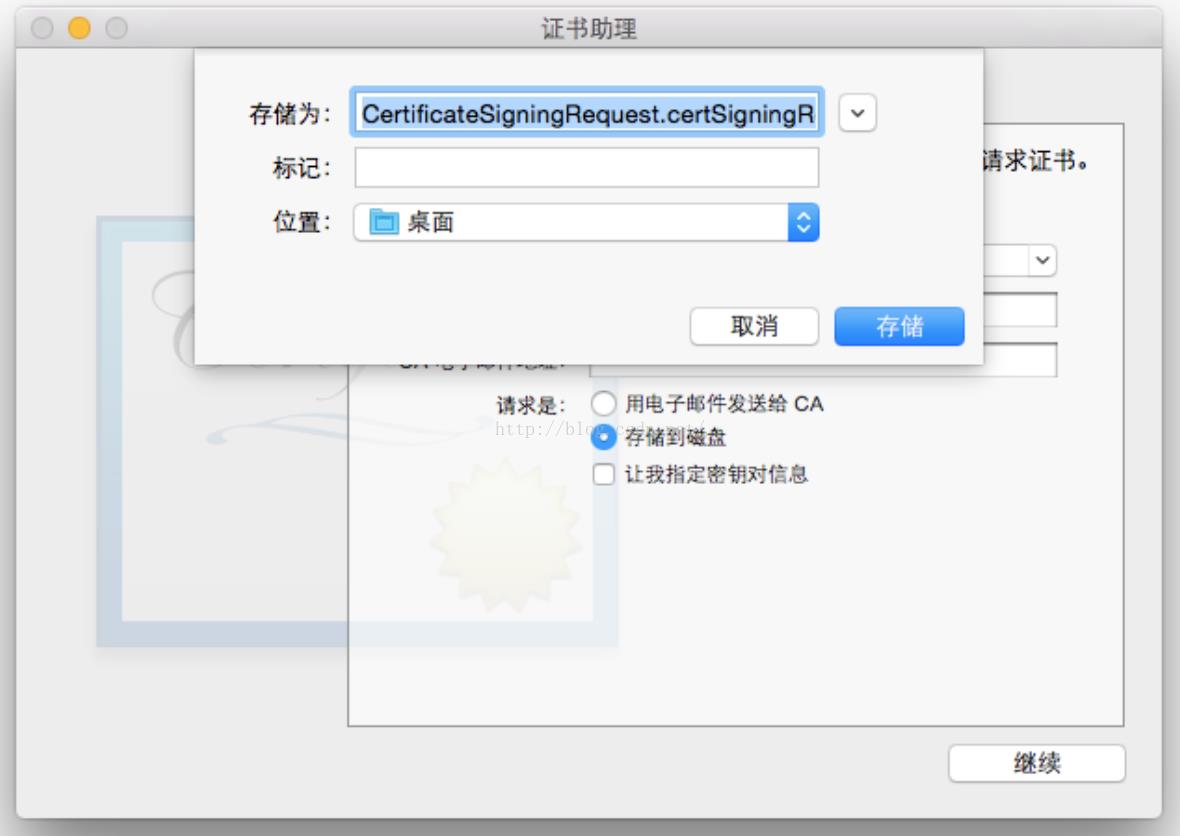
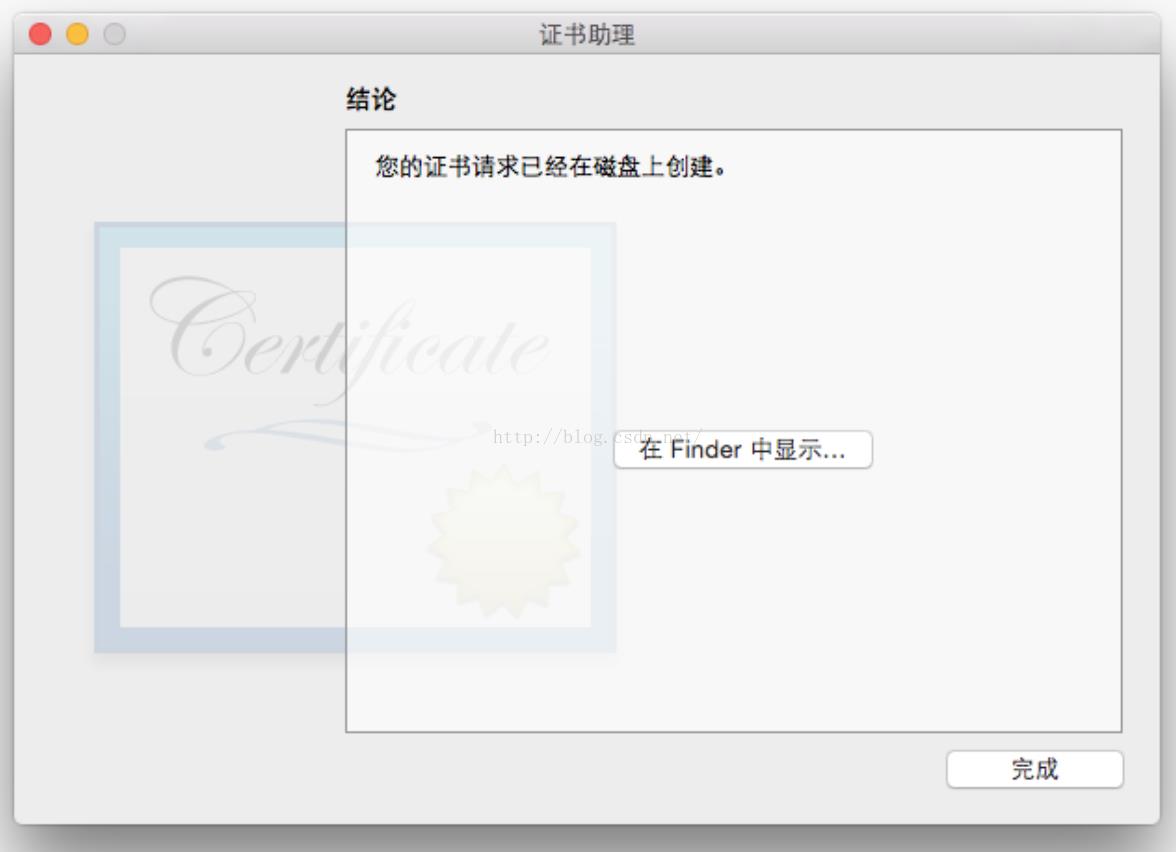
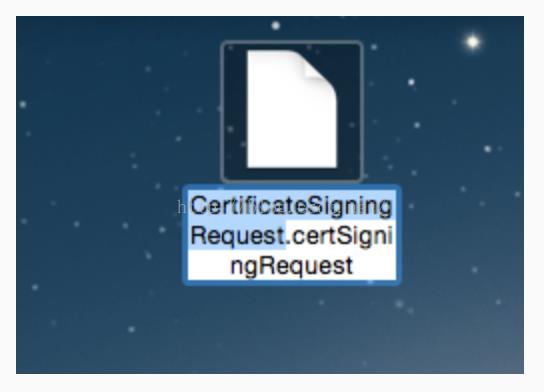
16.选择存储到桌面,存储
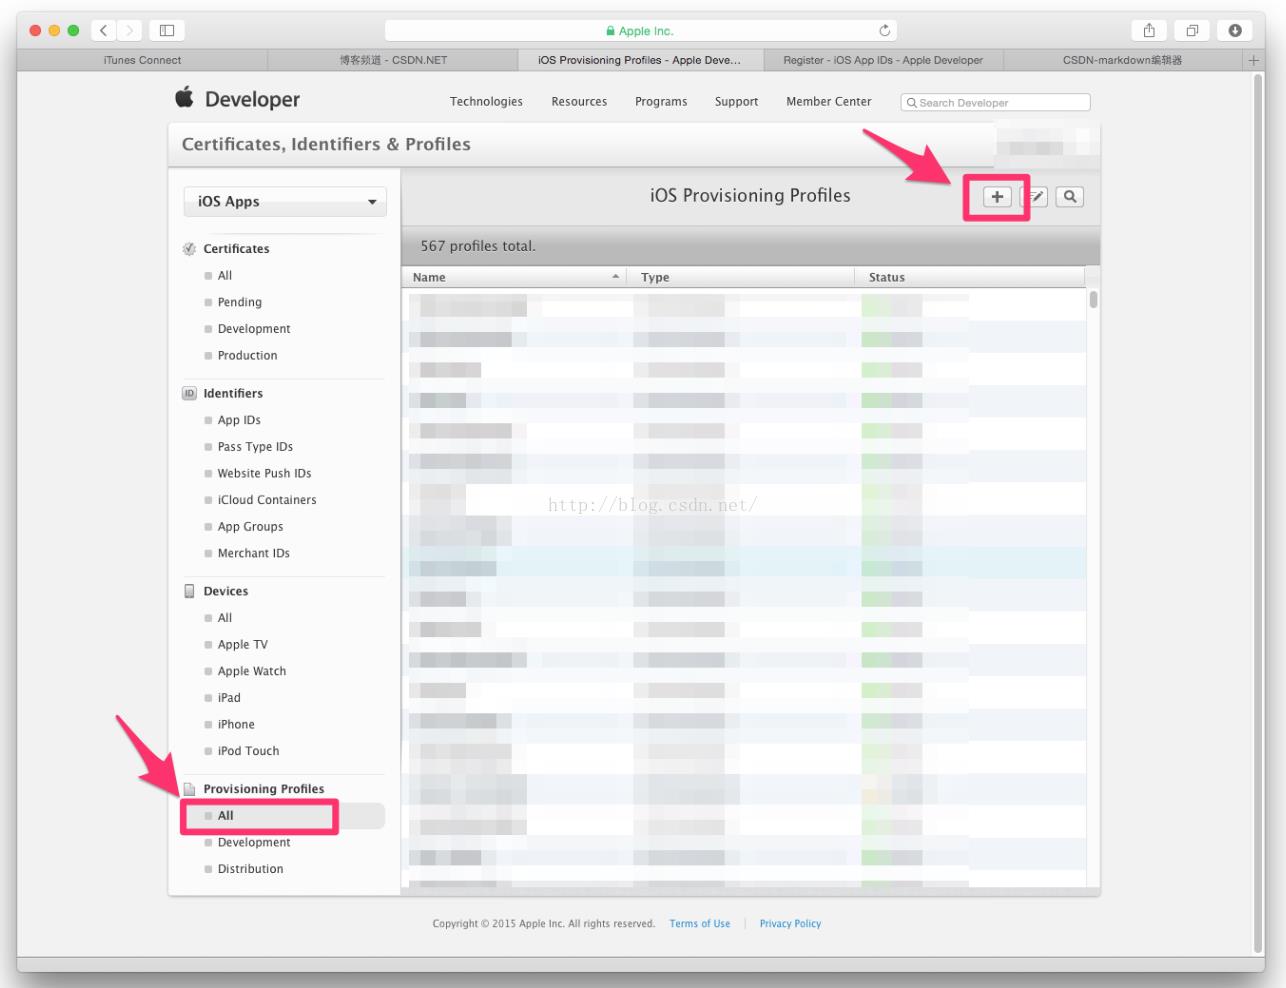
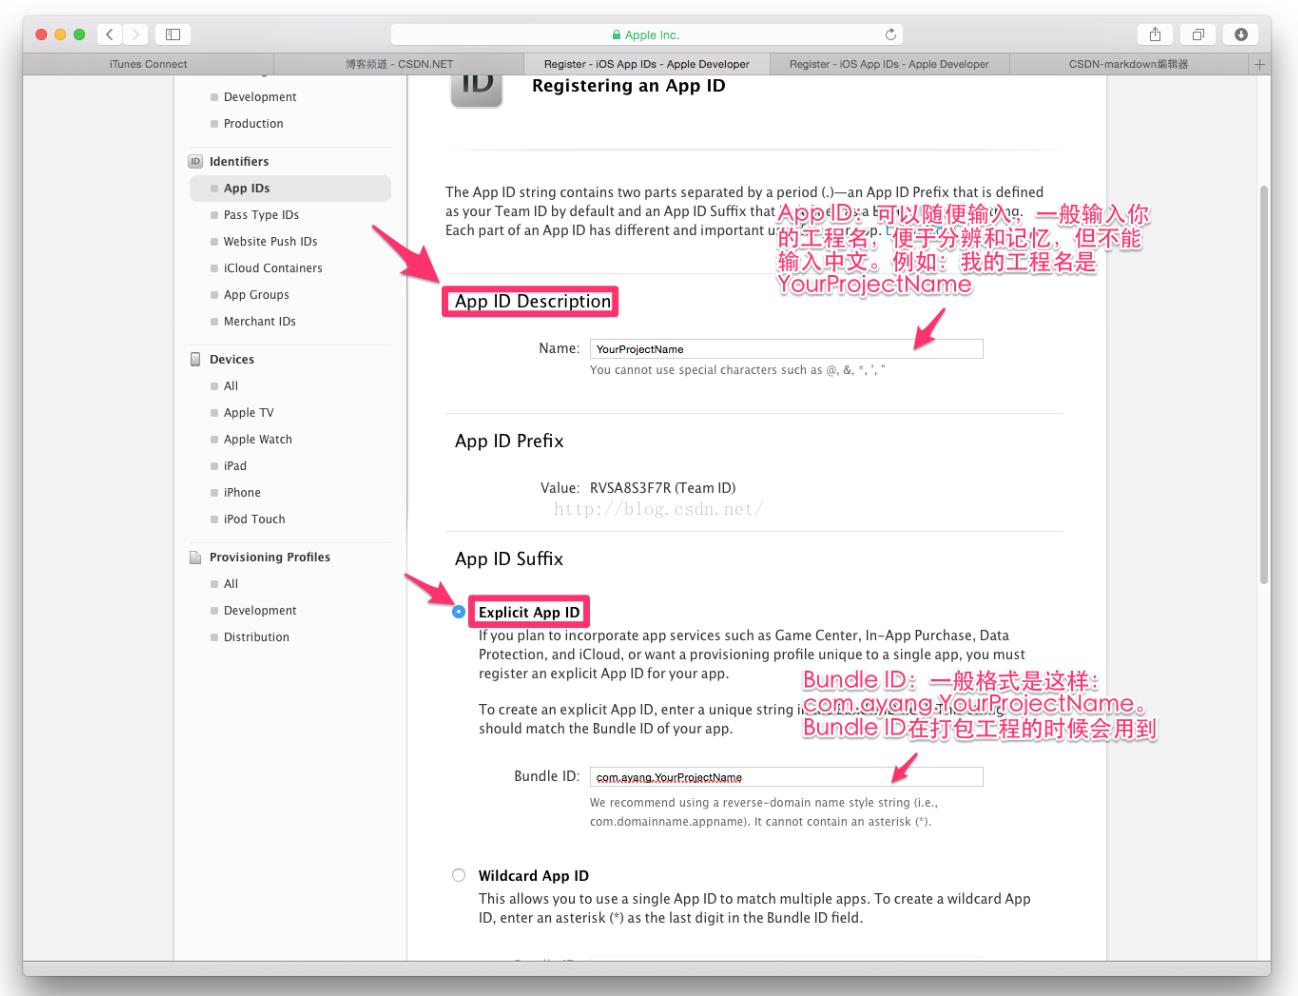
23.在App ID 这个选项栏里面找到你刚刚创建的:App IDs(Bundle ID) 类型的套装,点击Continue

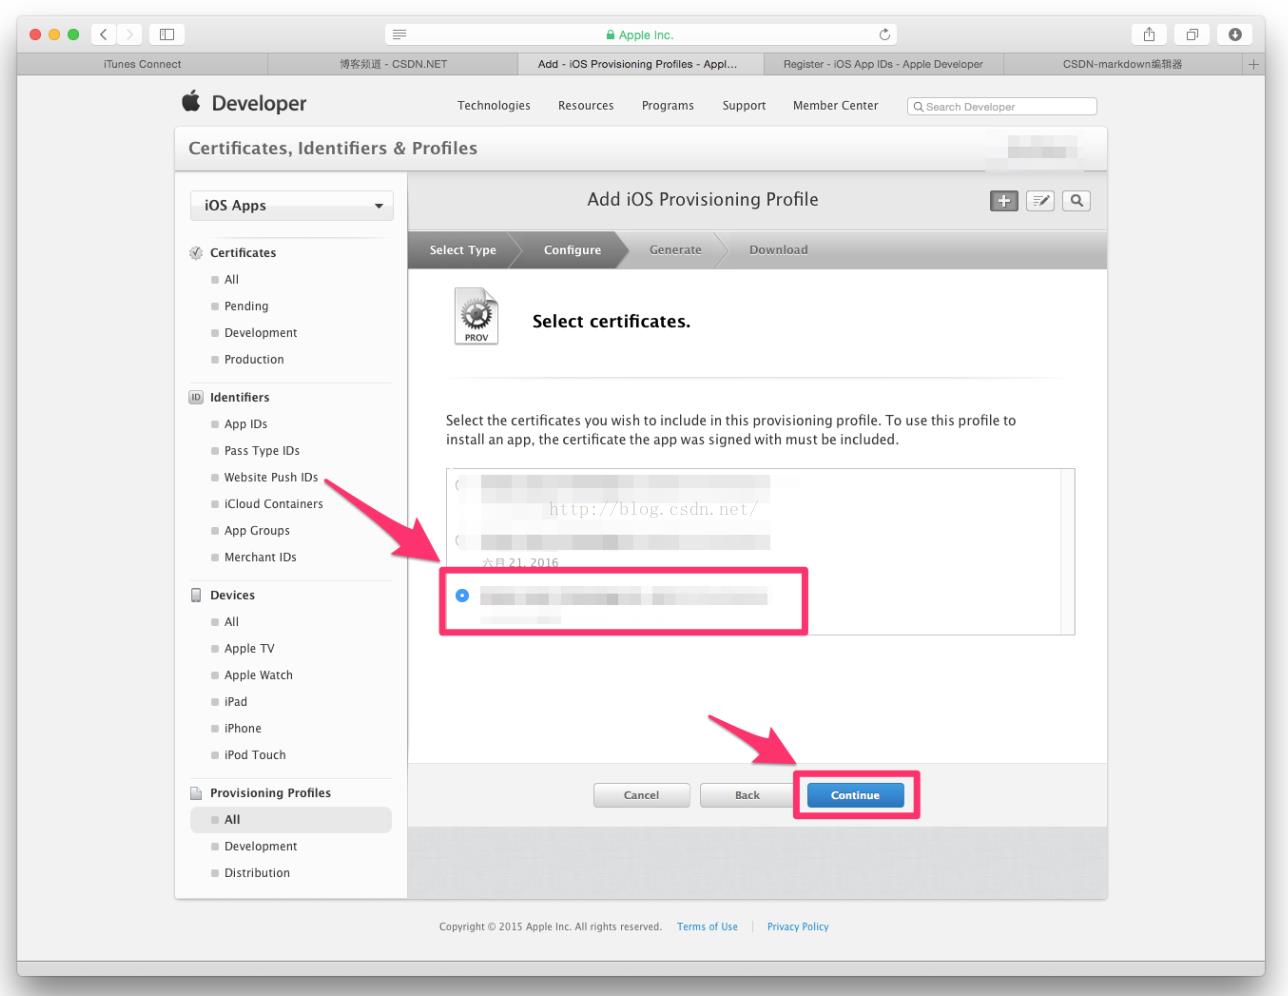
24.选择你刚创建的发布证书(或者生成p12文件的那个发布证书),点击Continue
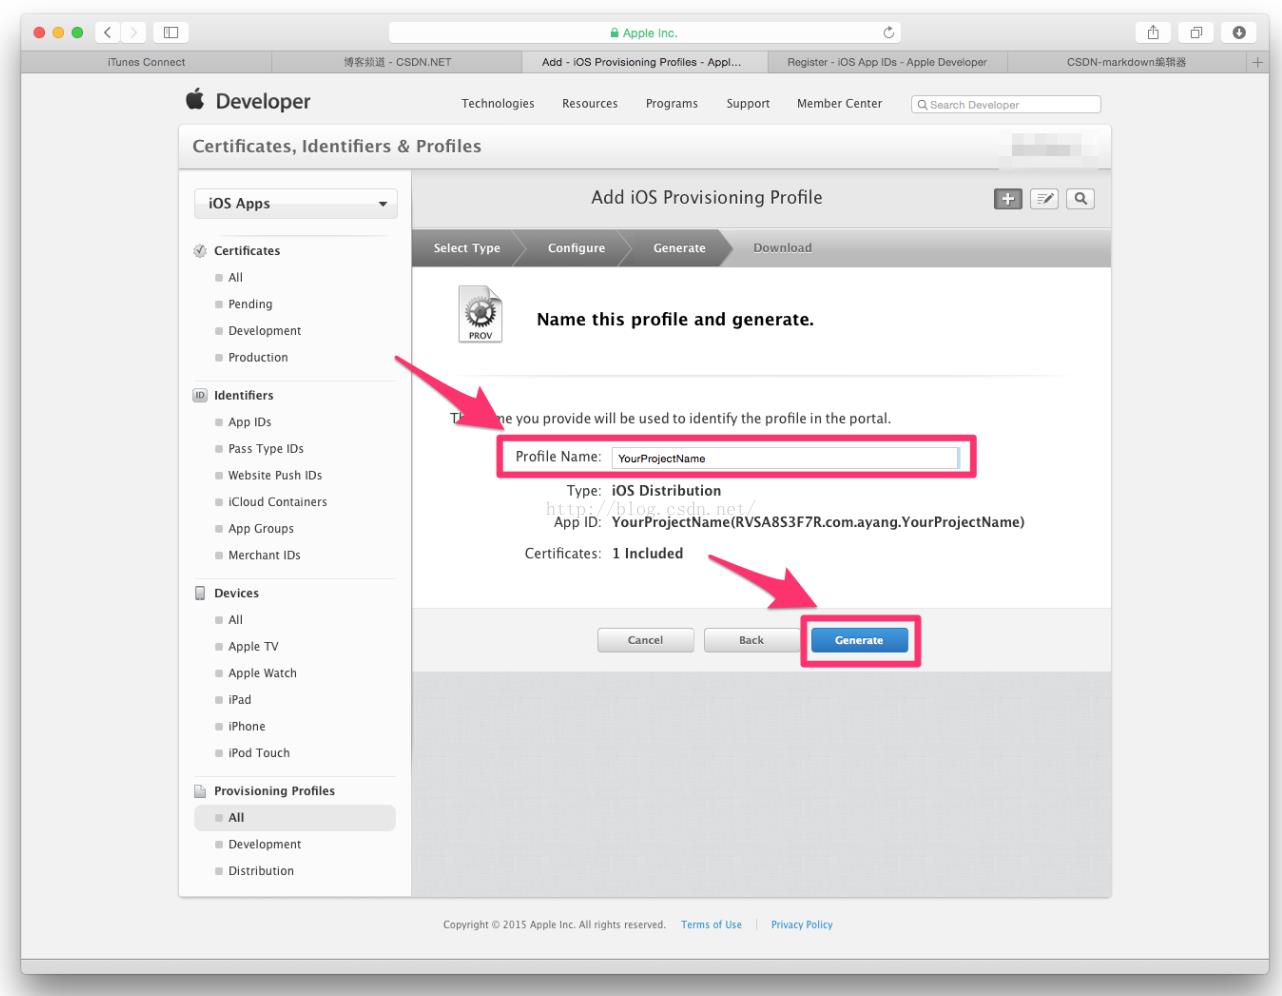
25.在Profile
Name栏里输入一个名字(这个是PP文件的名字,可随便输入,在这里我用工程名字,便于分别),然后点击Generate
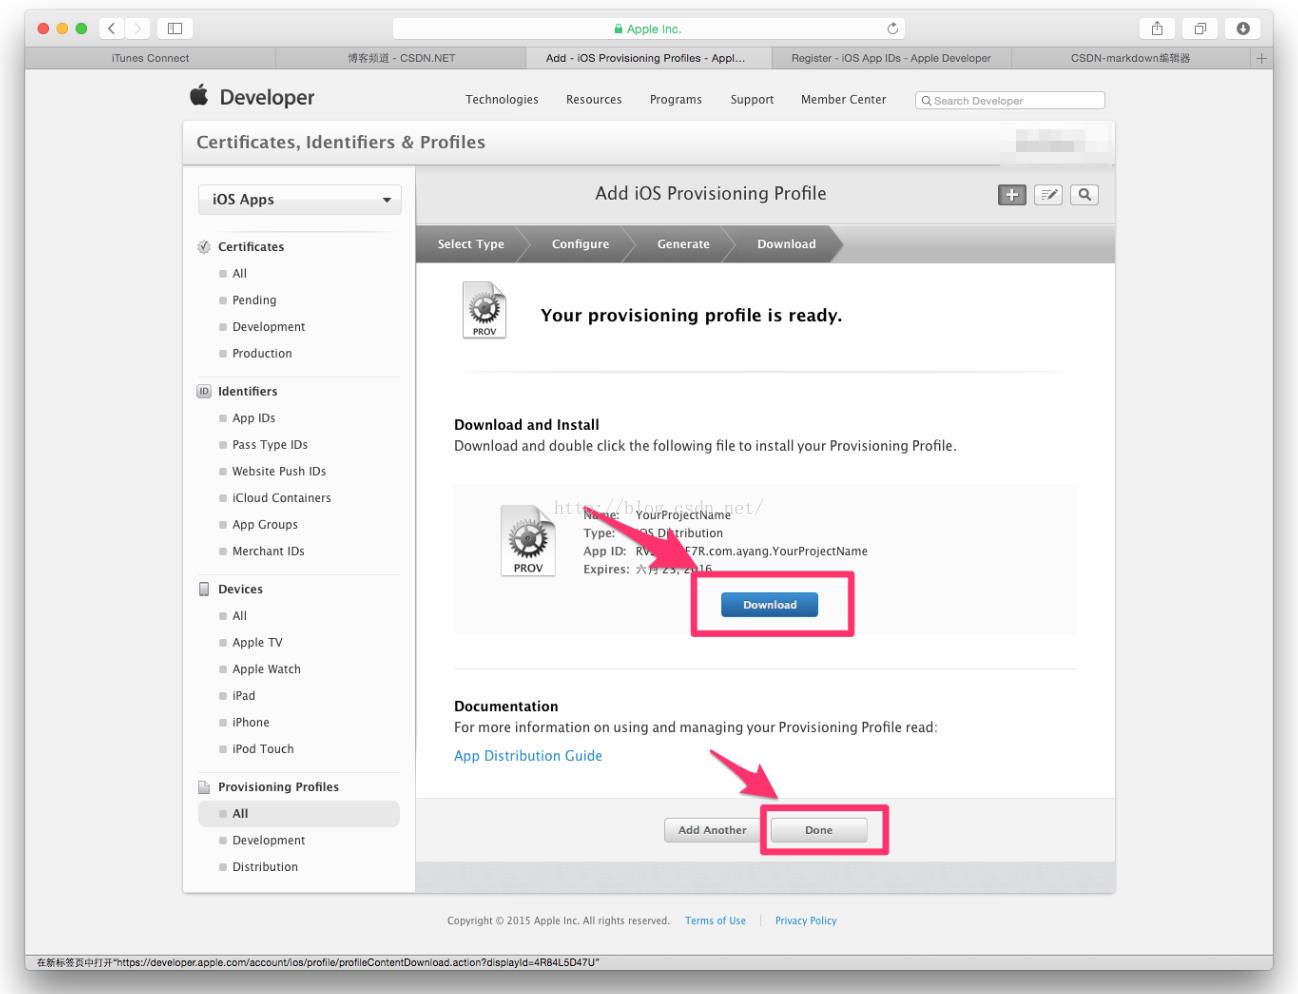
26.Download生成的PP文件,然后点击Done
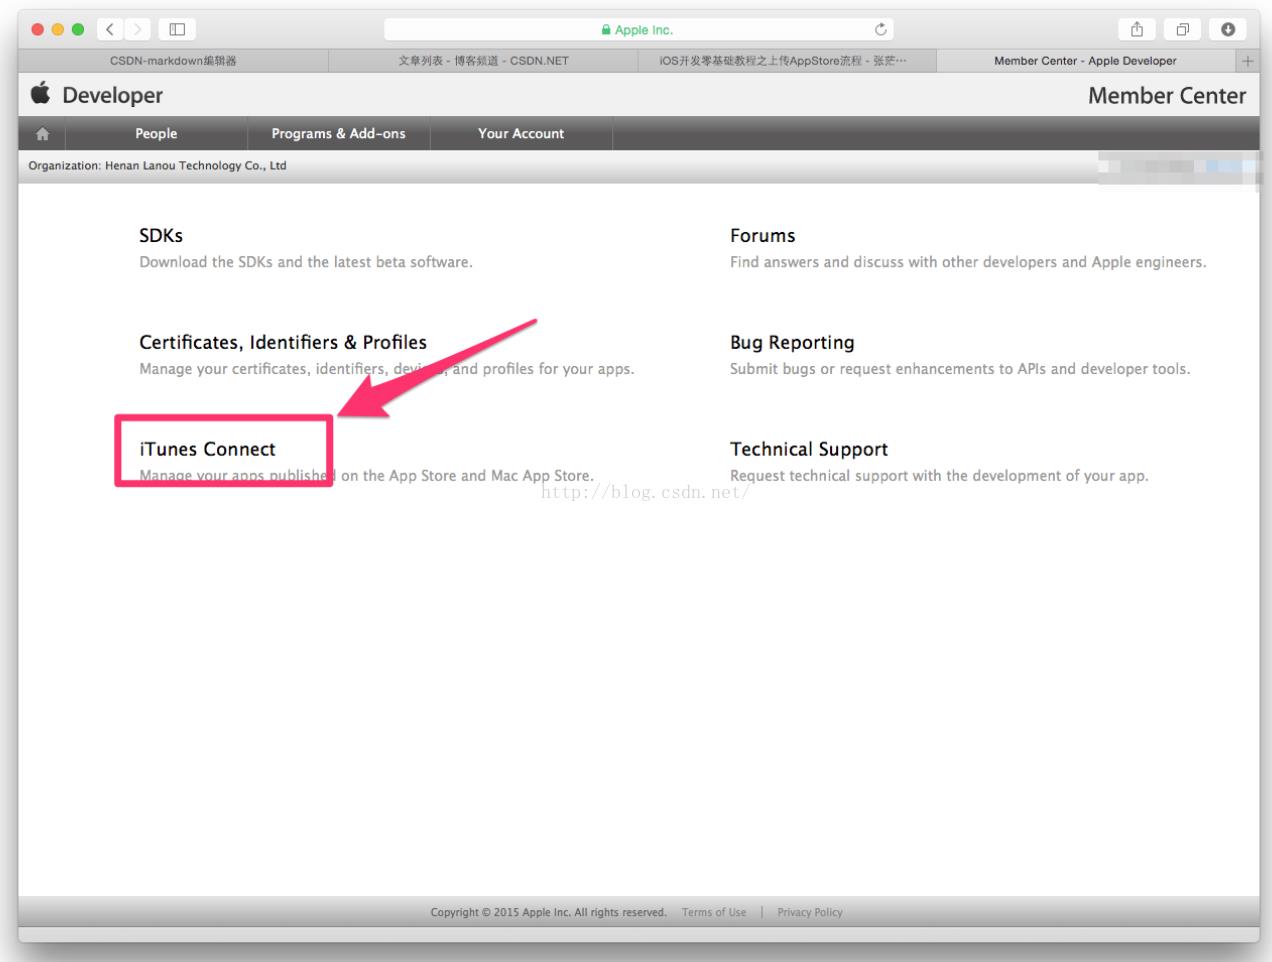
在App Store开辟空间 27.回到Member Center,点击iTunes Connect
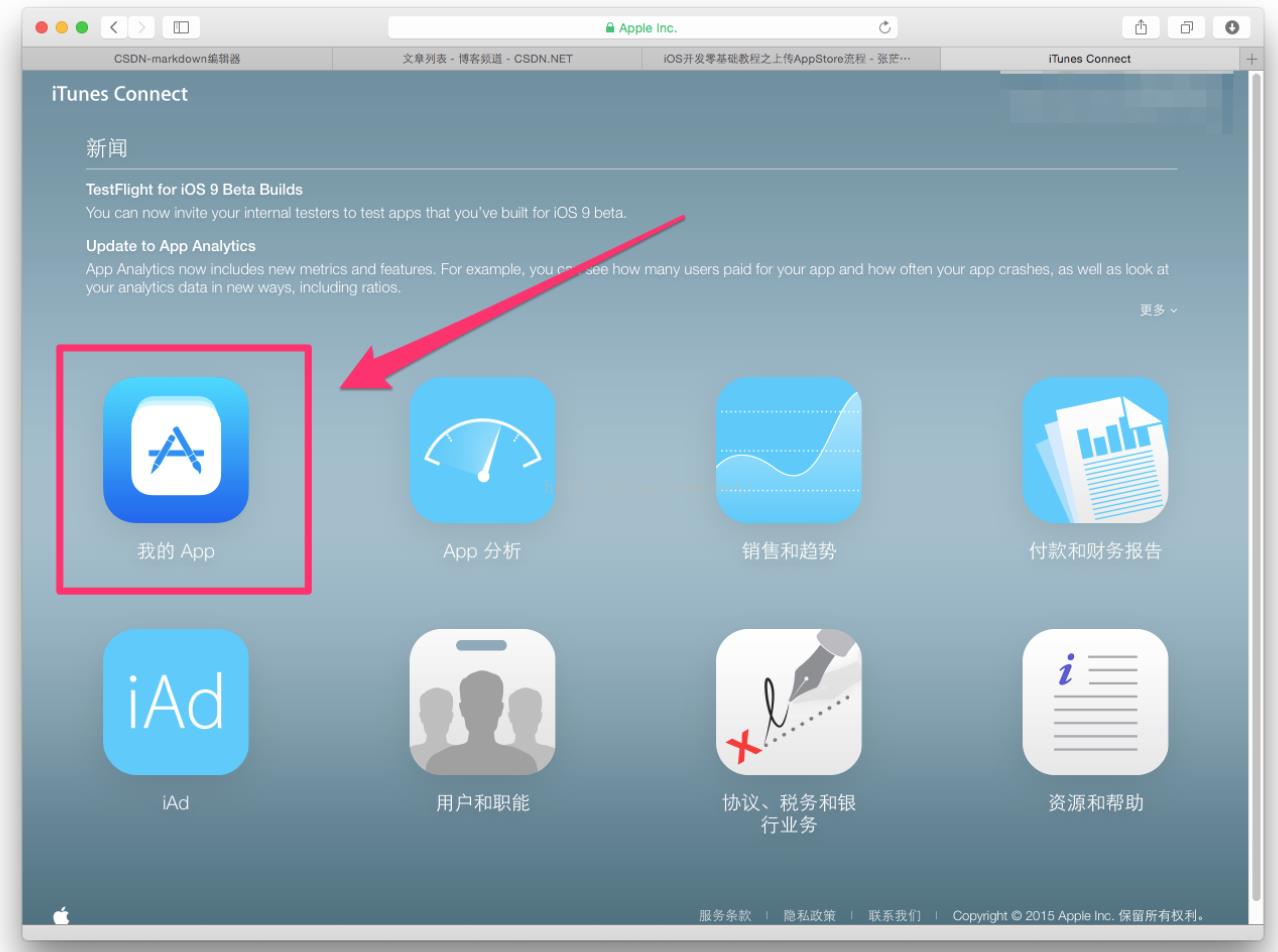
28.点击我的App
29.点击新建
iOSApp
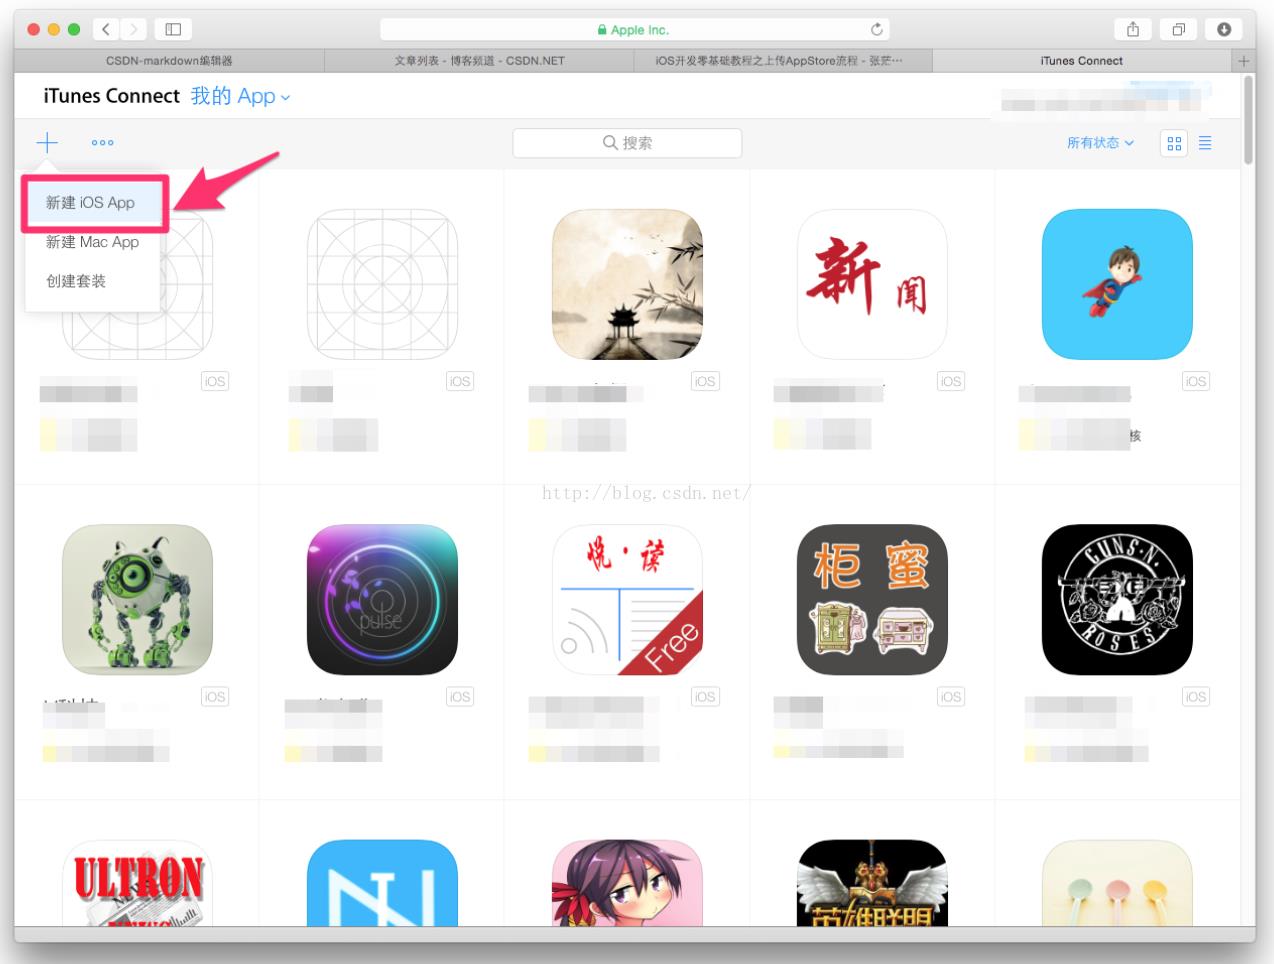
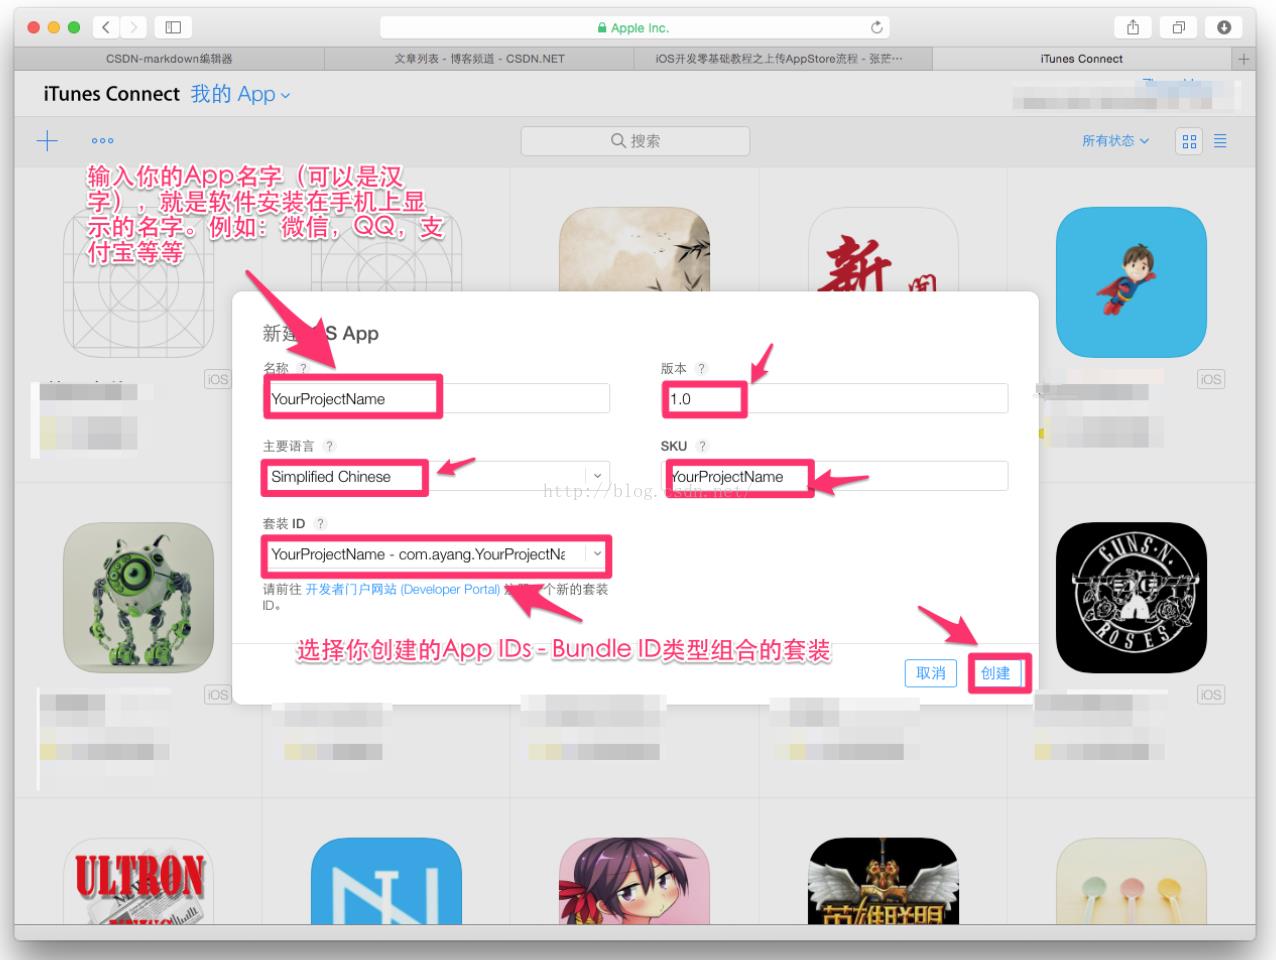
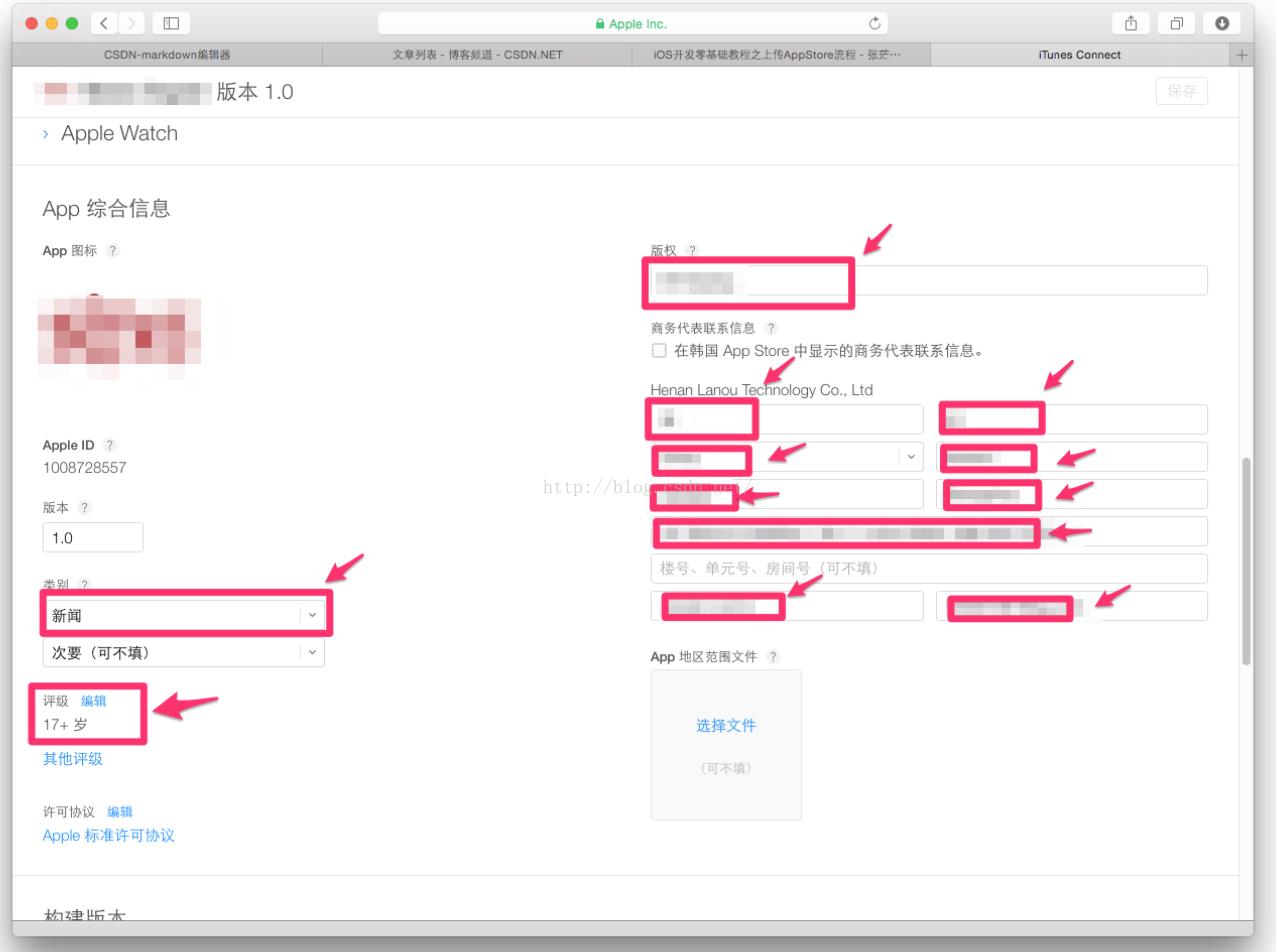
30.依次按提示填入对应信息,然后点击创建
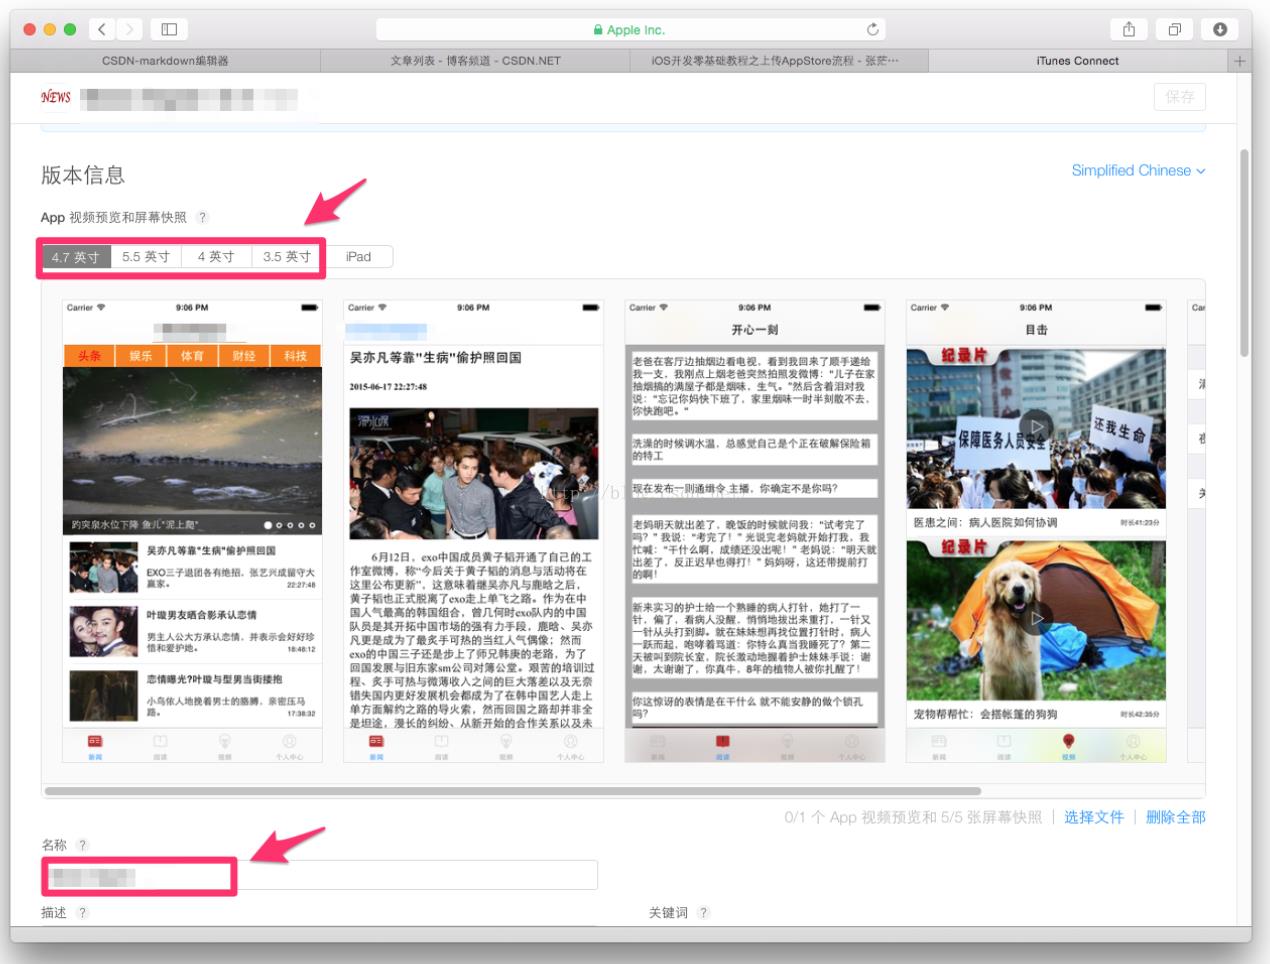
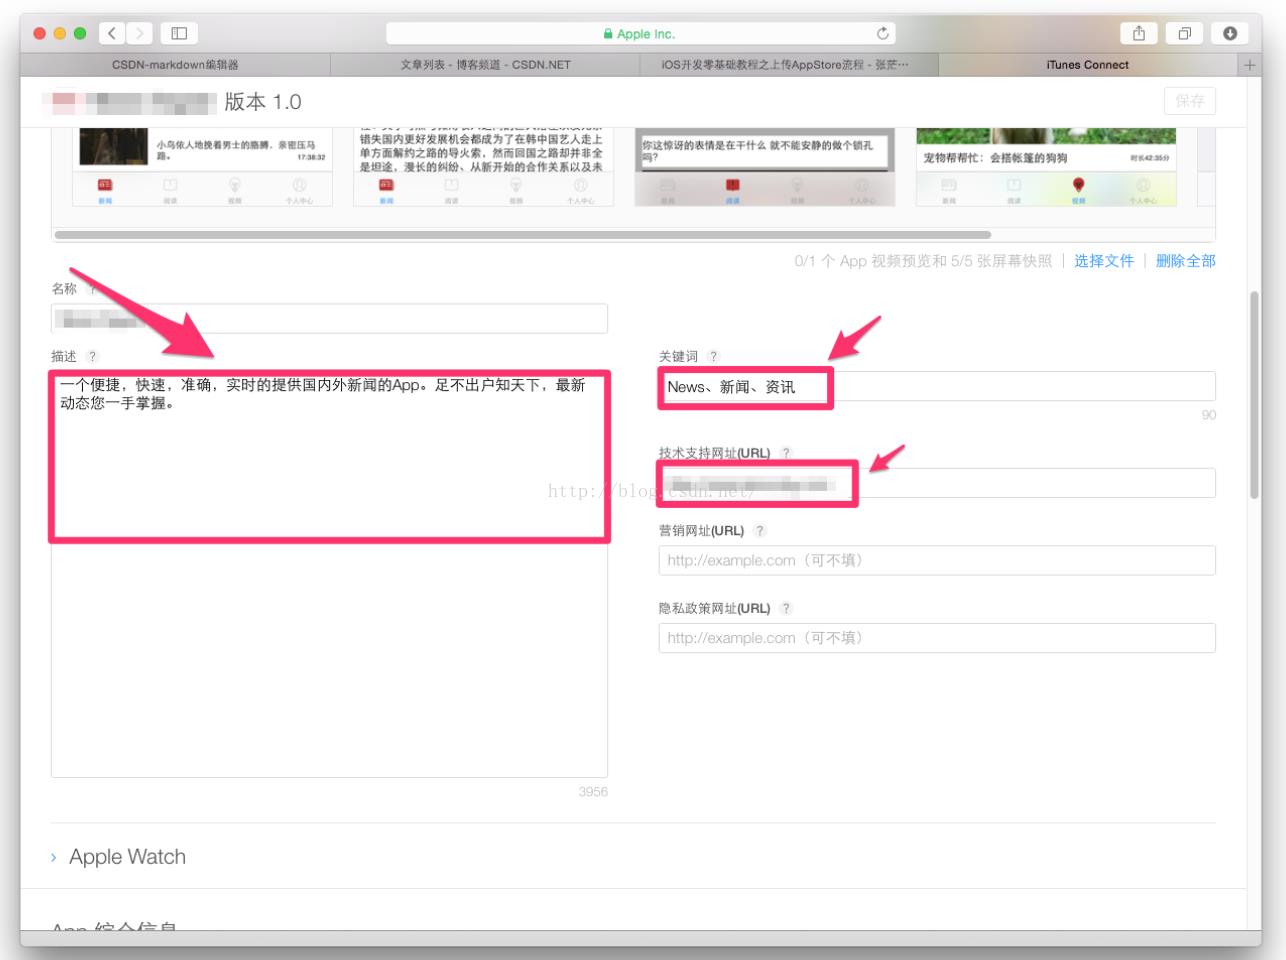
32.填入App简介
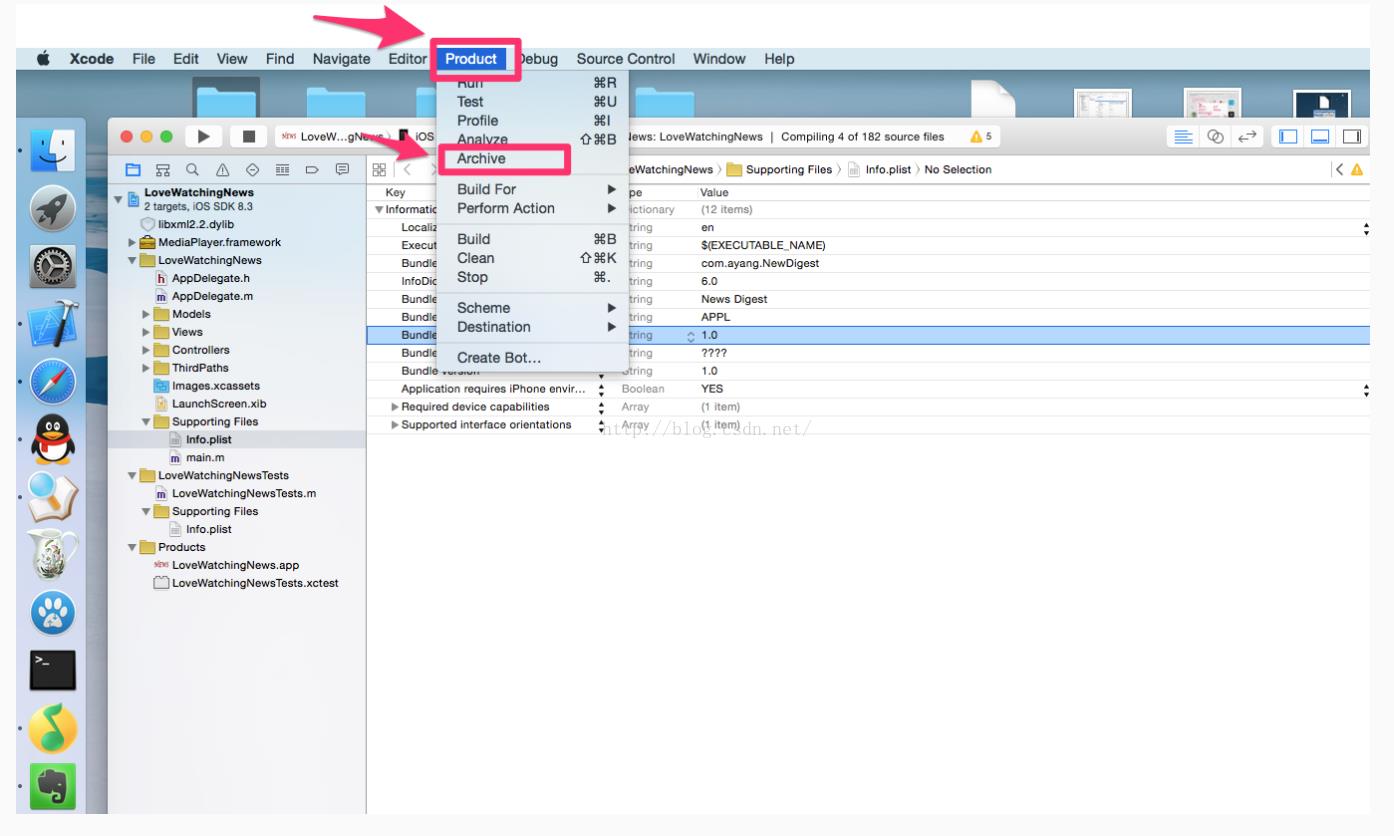
在Xcode中打包工程
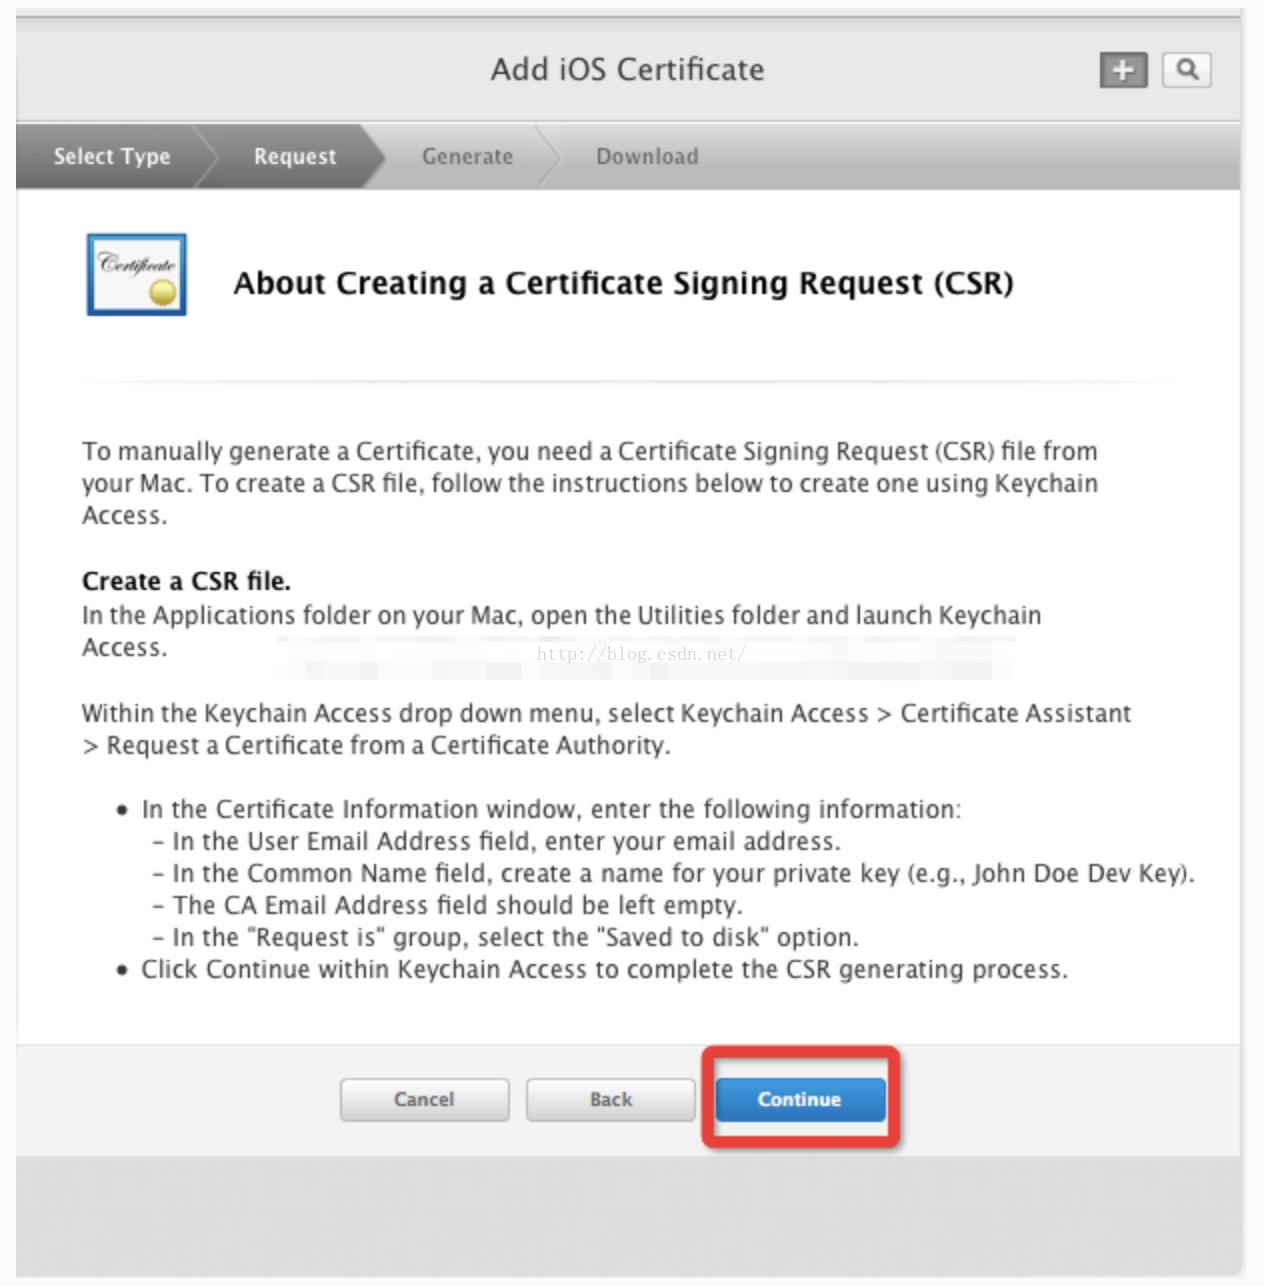
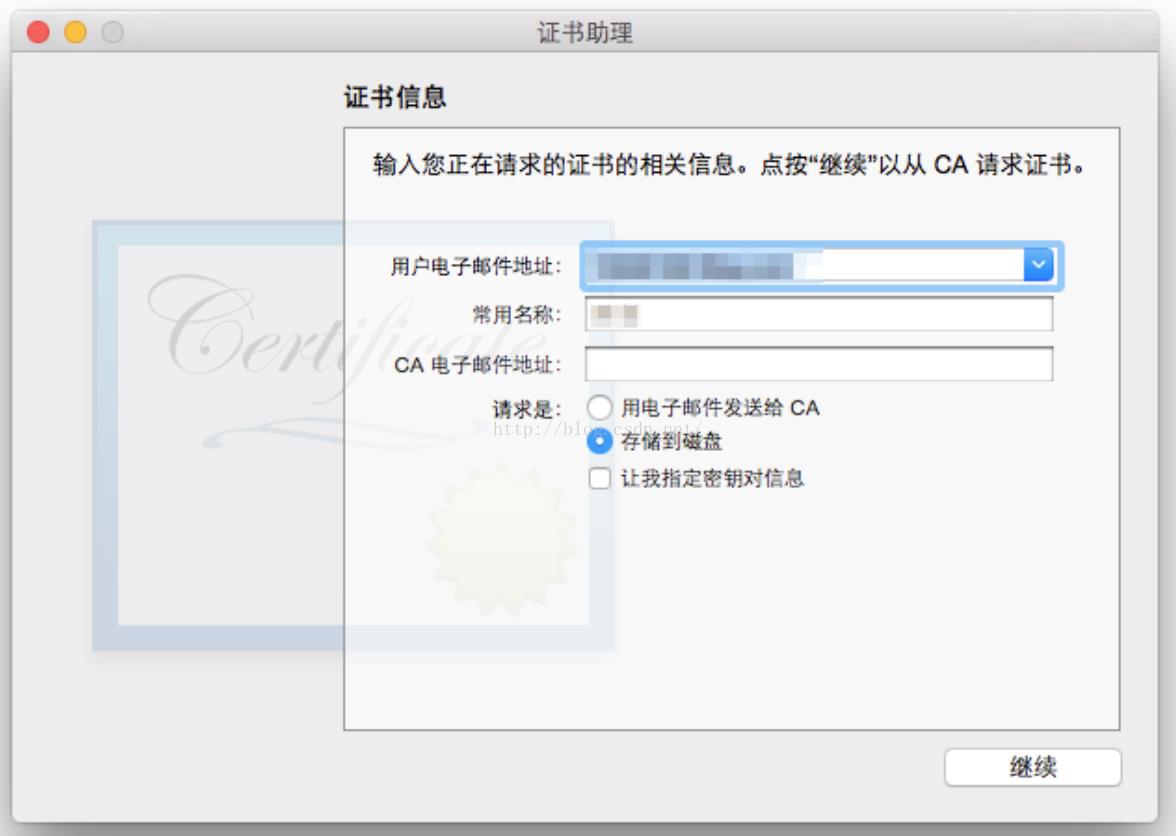
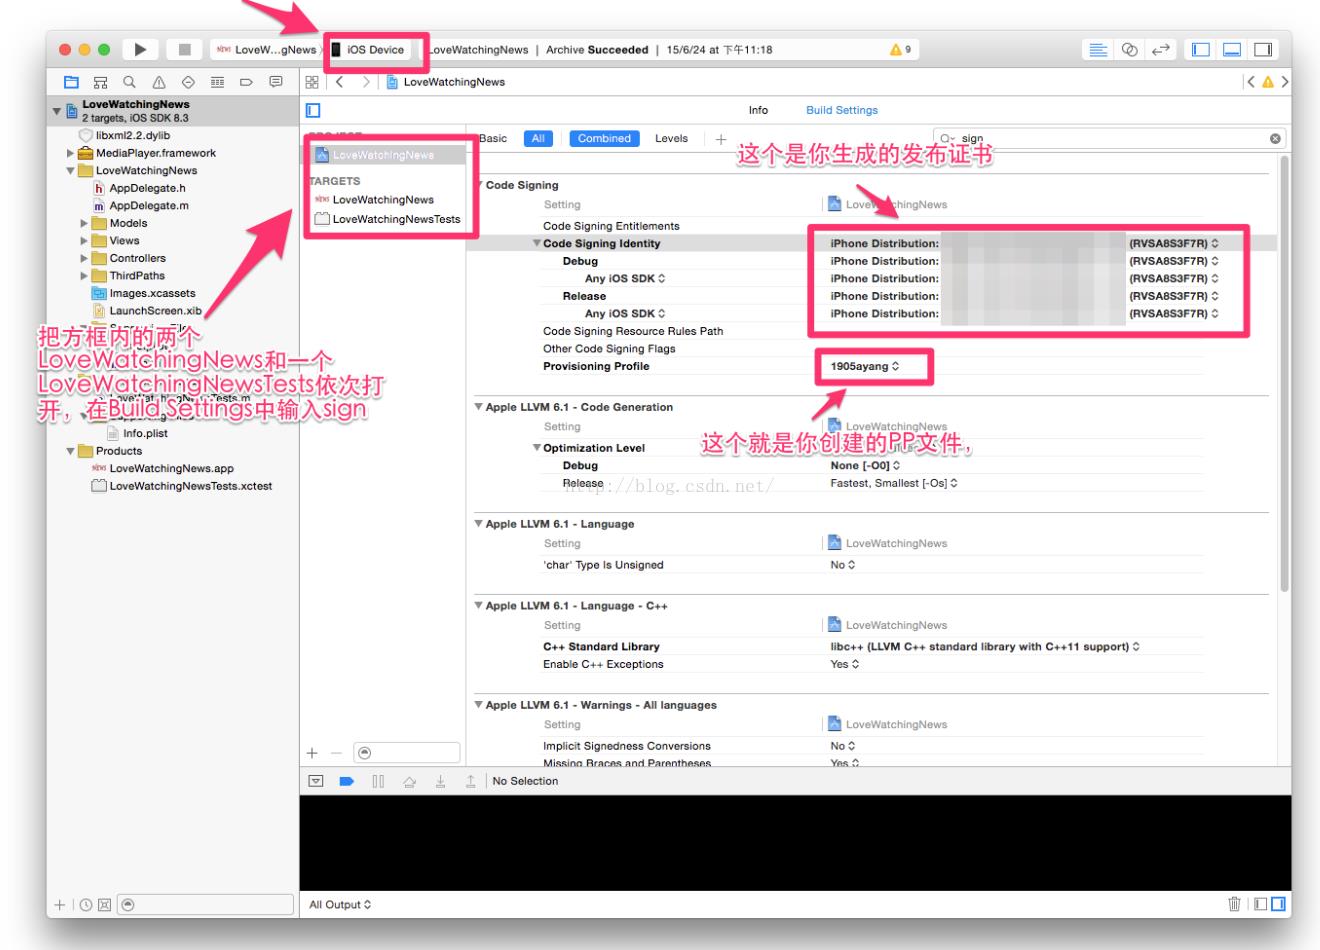
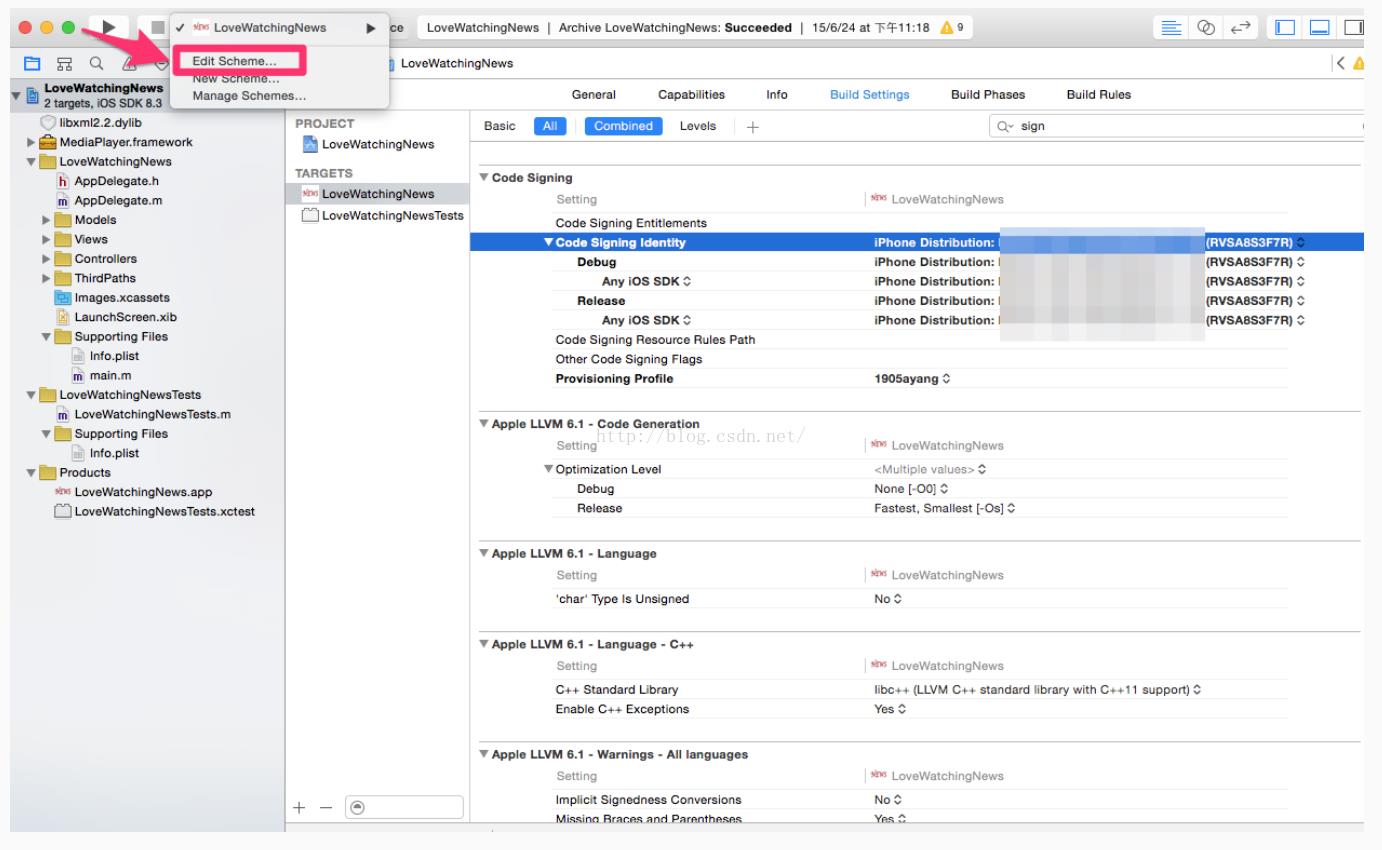
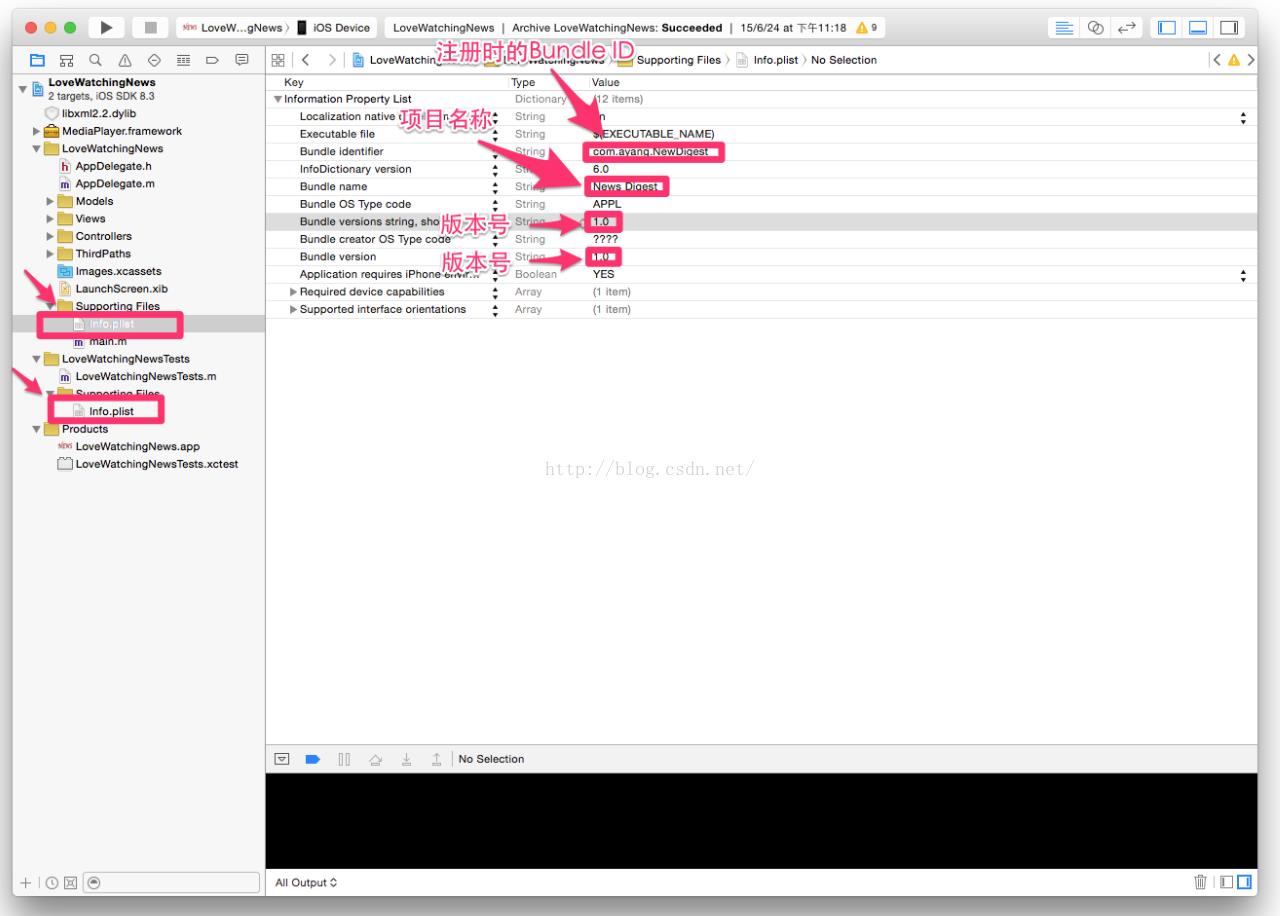
找到你刚刚下载的发布证书(后缀为.cer)或者p12文件,和PP文件,双击,看起来没反应,但是他们已经加入到你的钥匙串中。
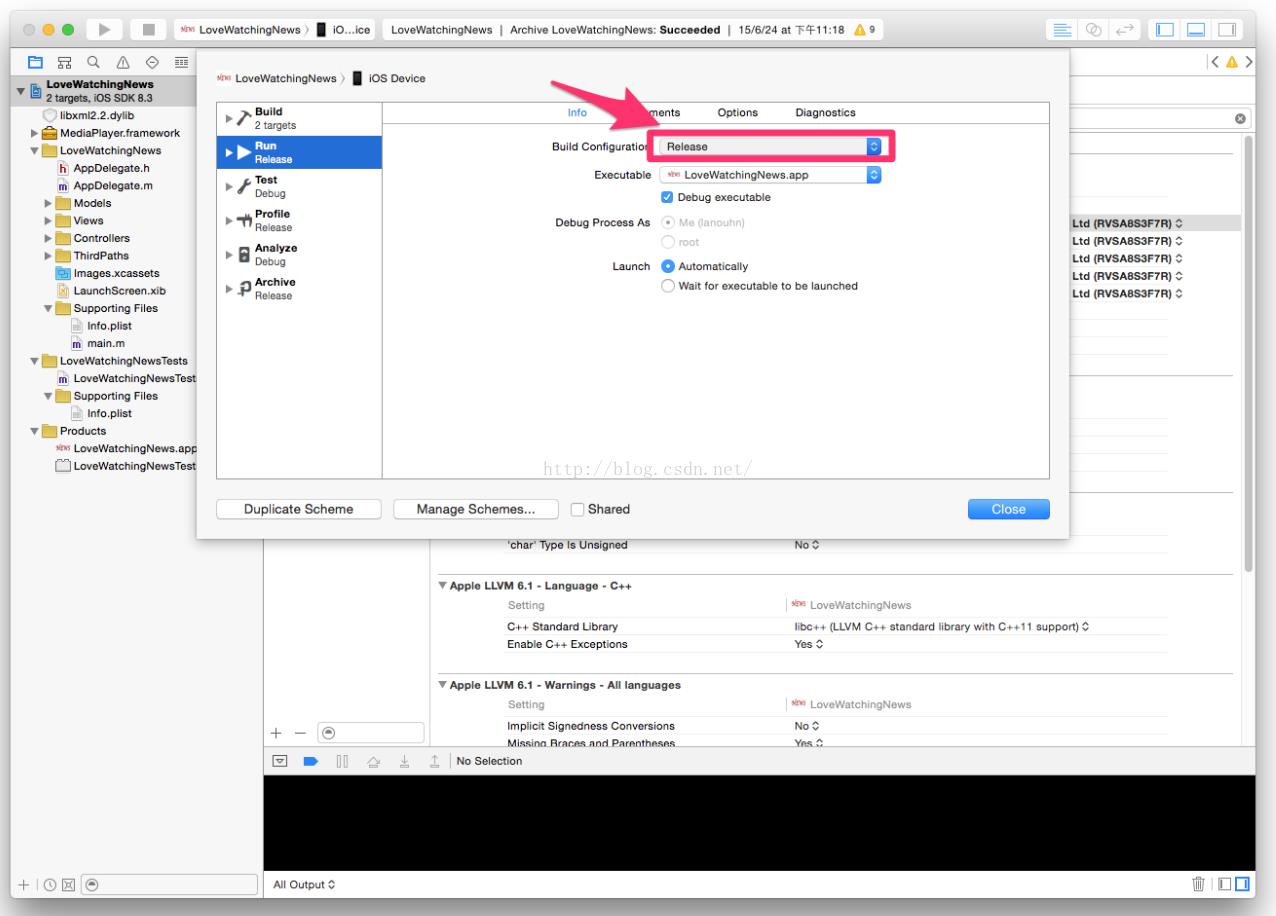
35.在Xcode中选择模拟器为iOS Device,按照下图提示操作
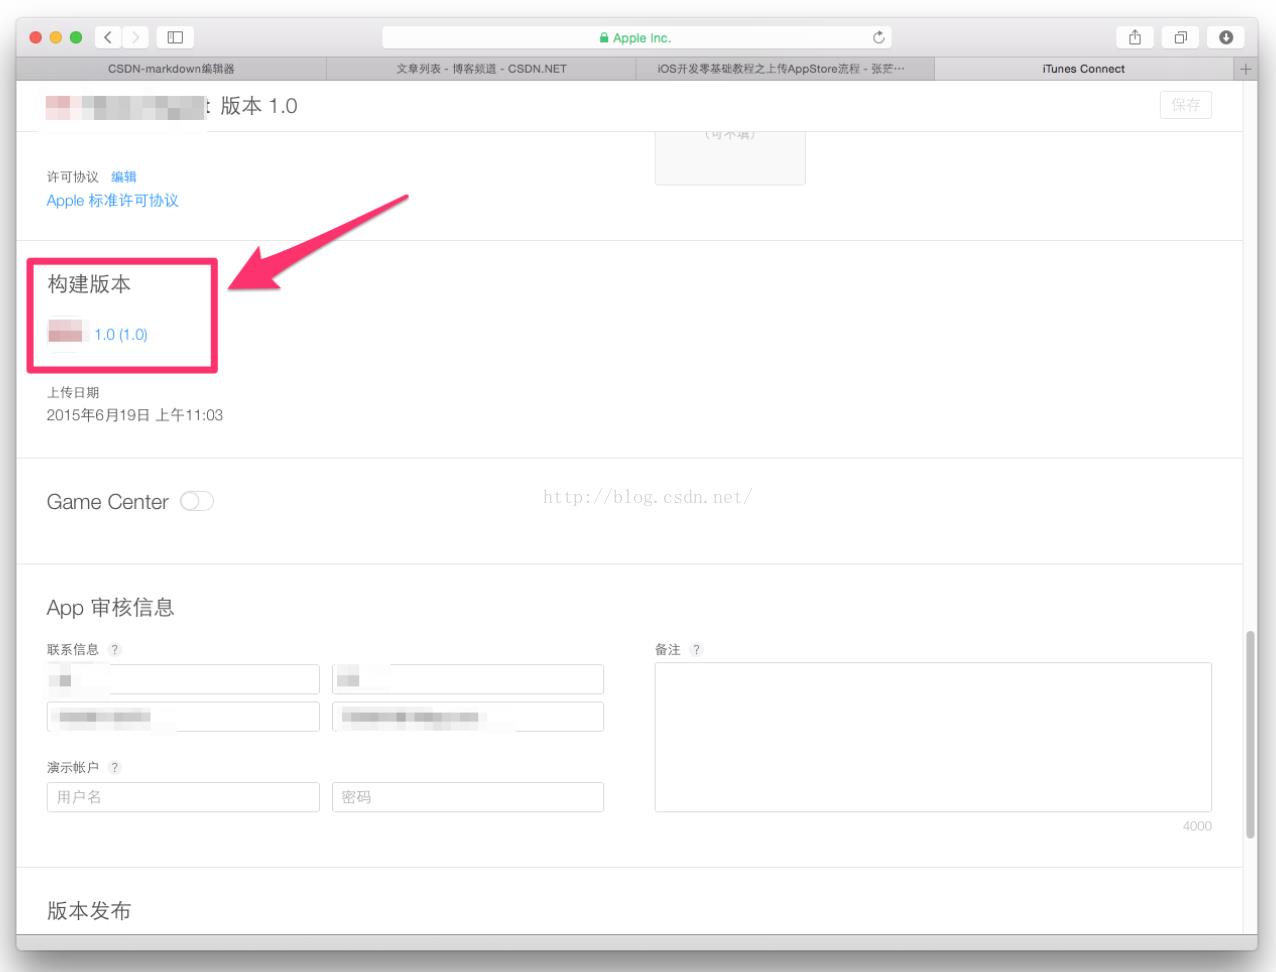
37.然后发送到我的App
38.发送成功后返回到我对App,刷新页面,在构建版本处就会有个 + 号,点击 + 号把发送过来的程序添加上去就行了
39.然后在定价处设置你的App上架后是免费还是收费。
40.回到我的App,点击发布就ok了。
以上是关于回归篇-iOS APP上架流程的主要内容,如果未能解决你的问题,请参考以下文章