KindeEditor图片上传插件用法
Posted 慧&超
tags:
篇首语:本文由小常识网(cha138.com)小编为大家整理,主要介绍了KindeEditor图片上传插件用法相关的知识,希望对你有一定的参考价值。
KindeEditor图片上传插件用法
1.aspx页面
<%@ Page Language="C#" AutoEventWireup="true" CodeBehind="img.aspx.cs" Inherits="_5amcn.admin.img" %>

<!DOCTYPE html PUBLIC "-//W3C//DTD XHTML 1.0 Transitional//EN" "http://www.w3.org/TR/xhtml1/DTD/xhtml1-transitional.dtd">

<html xmlns="http://www.w3.org/1999/xhtml">
<head runat="server">
    <title></title>
   <!--编辑器-->


<script charset="utf-8" src="../kindeditor/kindeditor.js"></script>
    <link rel="stylesheet"  href="../kindeditor/themes/default/default.css" />
    <link rel="stylesheet" href="../kindeditor/plugins/code/prettify.css" />

    <script charset="utf-8" src="../kindeditor/lang/zh_CN.js"></script>
    <script charset="utf-8" src="../kindeditor/plugins/code/prettify.js"></script>

</head>
<body>
    <form id="form1" runat="server">
    <div>
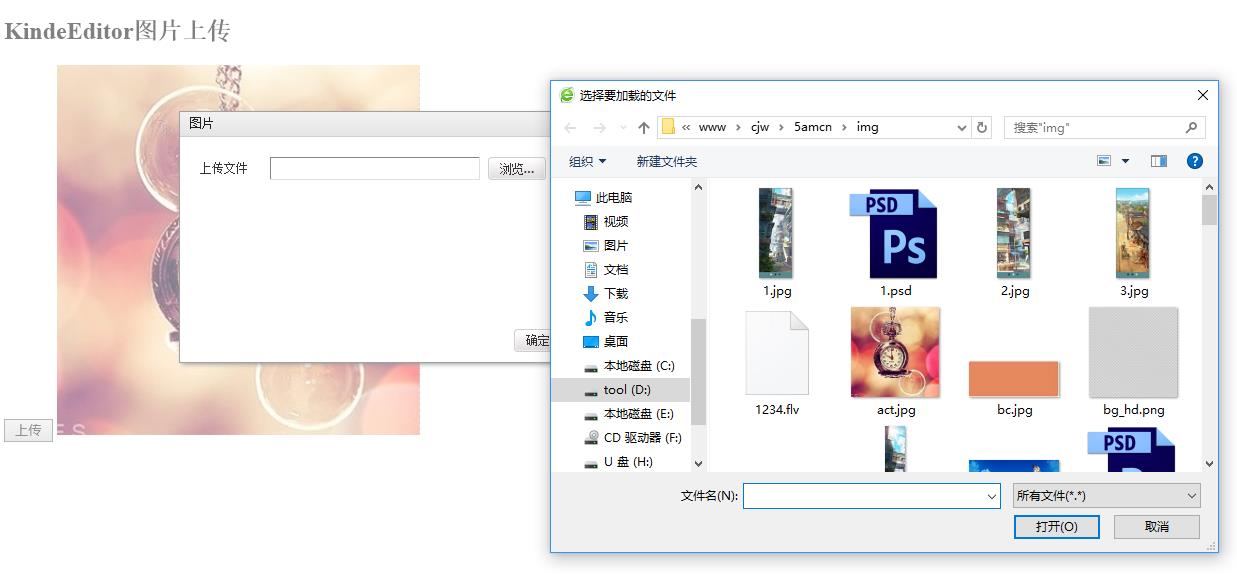
    <h2>KindeEditor图片上传</h2>
<input type="button" value="上传" id="chooseImage" onclick="return chooseImage_onclick()" />

<img id="imgbox" src="#" style="display: none"/>

<script src="../js/jquery-1.8.2.min.js"></script>
<script src="../kindeditor/kindeditor-min.js"></script>
<script src="../kindeditor/lang/zh_CN.js"></script>
<script type="text/javascript">
    KindEditor.ready(function (K) {
        var editor = K.editor({
            uploadJson: \'../kindeditor/asp.net/upload_json.ashx\',
            allowFileManager: false
        });

        K(\'#chooseImage\').click(function () {
            editor.loadPlugin(\'image\', function () {
                editor.plugin.imageDialog({
                    showRemote: false,
                    imageUrl: K(\'#PicUrl\').val(),
                    clickFn: function (url, message, error) {
                        alert("上传成功!");
                        K("#imgbox").attr("src", url);
                        K("#imgbox").show();
                        editor.hideDialog();
                    }
                });
            });
        });
    });
    function chooseImage_onclick() {

    }

</script>
    </div>
    </form>
</body>
</html>


2.译器错误消息: CS0246: 未能找到类型或命名空间名称“LitJson”(是否缺少 using 指令或程序集引用?)
解决方法:将kindeditor---asp.net----bin文件夹内的LitJSON.dll文件复制到,网站项目根目录的bin文件夹中,重新生成解决方案即可:
以上是关于KindeEditor图片上传插件用法的主要内容,如果未能解决你的问题,请参考以下文章