IOS 手势详解
Posted 旭宝爱吃鱼
tags:
篇首语:本文由小常识网(cha138.com)小编为大家整理,主要介绍了IOS 手势详解相关的知识,希望对你有一定的参考价值。
在ios中手势可以让用户有很好的体验,因此我们有必要去了解一下手势。
(在设置手势是有很多值得注意的地方)
*是需要设置为Yes的点击无法响应*
*要把手势添加到所需点击的View,否则无法响应*
手势共有六种,下面我会分开介绍。
点击手势
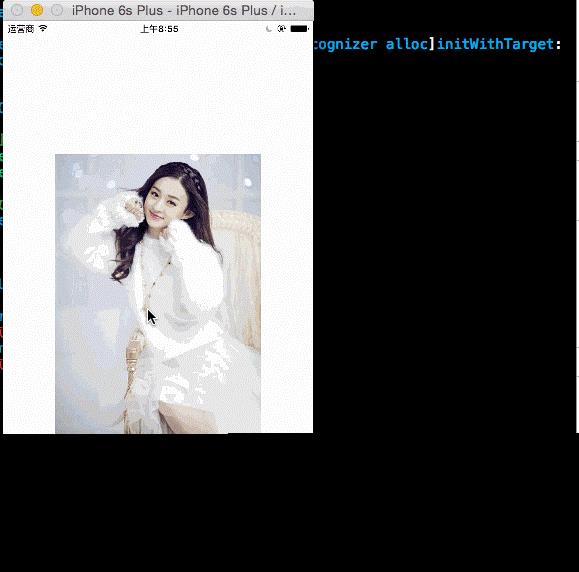
//
//  ViewController.m
//  CX-手势详解
//
//  Created by ma c on 16/3/24.
//  Copyright © 2016年 xubaoaichiyu. All rights reserved.
//

#import "ViewController.h"

@interface ViewController ()

@property (nonatomic, strong) UIImageView * imageView;

@end

@implementation ViewController
#pragma mark - set_and_get
-(UIImageView *)imageView{
    if (!_imageView) {

        _imageView = [[UIImageView alloc]init];

        UIImage * image = [UIImage imageNamed:@"nvshen.jpg"];

        _imageView.bounds = (CGRect){CGPointZero,image.size};

        _imageView.center = self.view.center;
        //交互一定要设置为YES 否则无法实现手势
        _imageView.userInteractionEnabled = YES;

        _imageView.image = image;

    }
    return _imageView;
}
- (void)viewDidLoad {
    [super viewDidLoad];

    [self.view addSubview:self.imageView];

    //点击手势

    UITapGestureRecognizer * tap = [[UITapGestureRecognizer alloc]initWithTarget:self action:@selector(doAction:)];

    //点击一下生效
    tap.numberOfTapsRequired = 1;

    UITapGestureRecognizer * tapNew = [[UITapGestureRecognizer alloc]initWithTarget:self action:@selector(doAction:)];

    //点击两下生效
    tapNew.numberOfTapsRequired = 2;

    //在imageView上添加手势
    [self.imageView addGestureRecognizer:tap];
    [self.imageView addGestureRecognizer:tapNew];

    //当点击两下生效时,使点击一下失效
    [tap requireGestureRecognizerToFail:tapNew];

}

-(void)doAction:(UITapGestureRecognizer *)tap{

    if (tap.numberOfTapsRequired == 1) {
        NSLog(@"点击一下");
    }else if(tap.numberOfTapsRequired == 2 ){
        NSLog(@"点击两下");
    }

}

@end
拖动手势
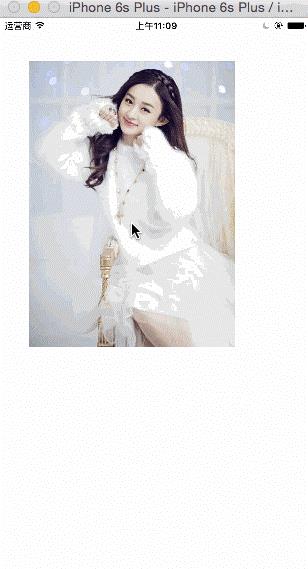
//
//  ViewController.m
//  CX-手势详解
//
//  Created by ma c on 16/3/24.
//  Copyright © 2016年 xubaoaichiyu. All rights reserved.
//

#import "ViewController.h"

@interface ViewController ()

@property (nonatomic, strong) UIImageView * imageView;

@end

@implementation ViewController
#pragma mark - set_and_get
-(UIImageView *)imageView{
    if (!_imageView) {

        _imageView = [[UIImageView alloc]init];

        UIImage * image = [UIImage imageNamed:@"nvshen.jpg"];

        _imageView.bounds = (CGRect){CGPointZero,image.size};

        _imageView.center = self.view.center;
        //交互一定要设置为YES 否则无法实现手势
        _imageView.userInteractionEnabled = YES;

        _imageView.image = image;

    }
    return _imageView;
}
- (void)viewDidLoad {
    [super viewDidLoad];

    [self.view addSubview:self.imageView];

    //拖动手势

    UIPanGestureRecognizer * pan = [[UIPanGestureRecognizer alloc]initWithTarget:self action:@selector(doAction:)];

    [self.view addGestureRecognizer:pan];

}

-(void)doAction:(UIPanGestureRecognizer *)pan{
    //获取偏移量
    CGPoint point = [pan translationInView:self.imageView];

    //通过改变self。imageView的Center来实现拖动
    self.imageView.center = CGPointMake(self.imageView.center.x + point.x
                                        , self.imageView.center.y + point.y);

    //复位 如果不进行复位 会在改变的基础上改变 从而使效果不对
    [pan setTranslation:CGPointZero inView:self.imageView];

}

@end
长按手势
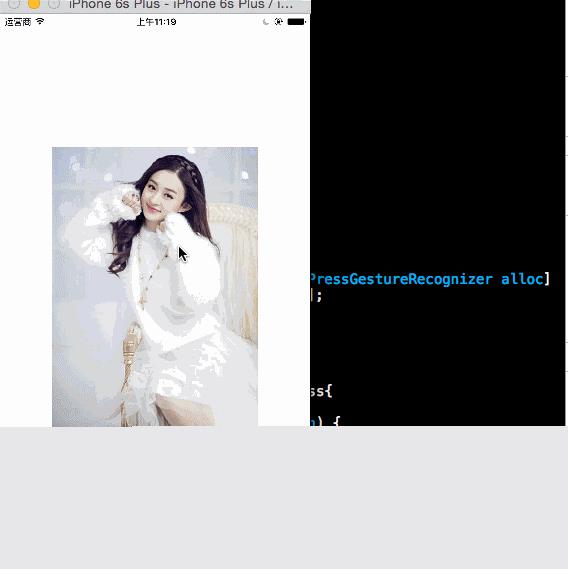
//
//  ViewController.m
//  CX-手势详解
//
//  Created by ma c on 16/3/24.
//  Copyright © 2016年 xubaoaichiyu. All rights reserved.
//

#import "ViewController.h"

@interface ViewController ()

@property (nonatomic, strong) UIImageView * imageView;

@end

@implementation ViewController
#pragma mark - set_and_get
-(UIImageView *)imageView{
    if (!_imageView) {

        _imageView = [[UIImageView alloc]init];

        UIImage * image = [UIImage imageNamed:@"nvshen.jpg"];

        _imageView.bounds = (CGRect){CGPointZero,image.size};

        _imageView.center = self.view.center;
        //交互一定要设置为YES 否则无法实现手势
        _imageView.userInteractionEnabled = YES;

        _imageView.image = image;

    }
    return _imageView;
}
- (void)viewDidLoad {
    [super viewDidLoad];

    [self.view addSubview:self.imageView];

    //长按手势

    UILongPressGestureRecognizer * longPress = [[UILongPressGestureRecognizer alloc]initWithTarget:self action:@selector(doAction:)];

    [self.imageView addGestureRecognizer:longPress];

}

-(void)doAction:(UILongPressGestureRecognizer *)longPress{

    if (longPress.state == UIGestureRecognizerStateBegan) {
        NSLog(@"开始");
    }
    else if (longPress.state == UIGestureRecognizerStateEnded){
        NSLog(@"结束");
    }

}

@end
轻扫手势
//
//  ViewController.m
//  CX-手势详解
//
//  Created by ma c on 16/3/24.
//  Copyright © 2016年 xubaoaichiyu. All rights reserved.
//

#import "ViewController.h"

@interface ViewController ()

@property (nonatomic, strong) UIImageView * imageView;

@end

@implementation ViewController
#pragma mark - set_and_get
-(UIImageView *)imageView{
    if (!_imageView) {

        _imageView = [[UIImageView alloc]init];

        UIImage * image = [UIImage imageNamed:@"nvshen.jpg"];

        _imageView.bounds = (CGRect){CGPointZero,image.size};

        _imageView.center = self.view.center;
        //交互一定要设置为YES 否则无法实现手势
        _imageView.userInteractionEnabled = YES;

        _imageView.image = image;

    }
    return _imageView;
}
- (void)viewDidLoad {
    [super viewDidLoad];

    [self.view addSubview:self.imageView];

    //轻扫手势

    UISwipeGestureRecognizer * swipe = [[UISwipeGestureRecognizer alloc]initWithTarget:self action:@selector(doAction:)];
   //需要设置 默认为右
    /*
     默认是UISwipeGestureRecognizerDirectionRight。所需的方向刷。可指定多个方向是否会导致相同的行为(例如,UITableView滑动删除)
     */
    swipe.direction = UISwipeGestureRecognizerDirectionLeft;

    [self.imageView addGestureRecognizer:swipe];

}

-(void)doAction:(UISwipeGestureRecognizer *)swipe{

    if (swipe.direction == UISwipeGestureRecognizerDirectionLeft) {
        NSLog(@"左");
    }
    else if (swipe.direction == UISwipeGestureRecognizerDirectionRight){
        NSLog(@"右");
    }
    else if (swipe.direction == UISwipeGestureRecognizerDirectionDown){
        NSLog(@"下");
    }
    else if (swipe.direction == UISwipeGestureRecognizerDirectionUp){
        NSLog(@"上");
    }
}

@end
捏合手势
(在捏合和旋转手势中我们需要一些操作)
*按住option 在触碰到触摸板的时候会出现模拟出现的两根手指*
*如果你所操作的view不在两个触摸点的位置,可以按住shift进行移动*
*当进行捏合旋转的时候,一定要把触摸板按下,才可进行操作*
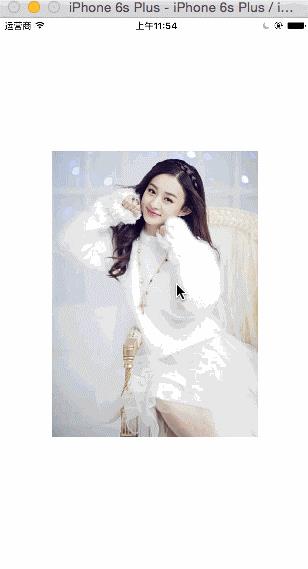
//
//  ViewController.m
//  CX-手势详解
//
//  Created by ma c on 16/3/24.
//  Copyright © 2016年 xubaoaichiyu. All rights reserved.
//

#import "ViewController.h"

@interface ViewController ()

@property (nonatomic, strong) UIImageView * imageView;

@end

@implementation ViewController
#pragma mark - set_and_get
-(UIImageView *)imageView{
    if (!_imageView) {

        _imageView = [[UIImageView alloc]init];

        UIImage * image = [UIImage imageNamed:@"nvshen.jpg"];

        _imageView.bounds = (CGRect){CGPointZero,image.size};

        _imageView.center = self.view.center;
        //交互一定要设置为YES 否则无法实现手势
        _imageView.userInteractionEnabled = YES;

        _imageView.image = image;

    }
    return _imageView;
}
- (void)viewDidLoad {
    [super viewDidLoad];

    [self.view addSubview:self.imageView];

    //捏合手势

    UIPinchGestureRecognizer * pinch = [[UIPinchGestureRecognizer alloc]initWithTarget:self action:@selector(doAction:)];

    [self.imageView addGestureRecognizer:pinch];

}

-(void)doAction:(UIPinchGestureRecognizer *)pinch{
    //持续改变
    self.imageView.transform = CGAffineTransformScale(self.imageView.transform, pinch.scale, pinch.scale);
    //复位
    pinch.scale = 1;

}

@end
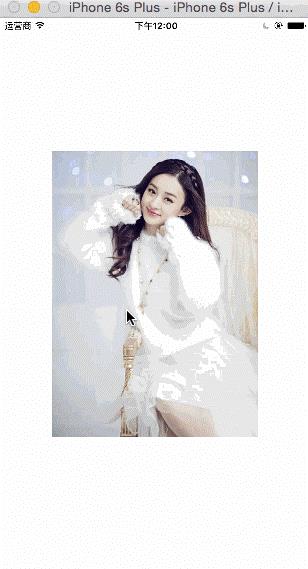
旋转手势
//
//  ViewController.m
//  CX-手势详解
//
//  Created by ma c on 16/3/24.
//  Copyright © 2016年 xubaoaichiyu. All rights reserved.
//

#import "ViewController.h"

@interface ViewController ()

@property (nonatomic, strong) UIImageView * imageView;

@end

@implementation ViewController
#pragma mark - set_and_get
-(UIImageView *)imageView{
    if (!_imageView) {

        _imageView = [[UIImageView alloc]init];

        UIImage * image = [UIImage imageNamed:@"nvshen.jpg"];

        _imageView.bounds = (CGRect){CGPointZero,image.size};

        _imageView.center = self.view.center;
        //交互一定要设置为YES 否则无法实现手势
        _imageView.userInteractionEnabled = YES;

        _imageView.image = image;

    }
    return _imageView;
}
- (void)viewDidLoad {
    [super viewDidLoad];

    [self.view addSubview:self.imageView];

    //旋转手势

    UIRotationGestureRecognizer * rotation = [[UIRotationGestureRecognizer alloc]initWithTarget:self action:@selector(doAction:)];

    [self.imageView addGestureRecognizer:rotation];

}

-(void)doAction:(UIRotationGestureRecognizer *)rotation{
    //持续改变
    self.imageView.transform = CGAffineTransformRotate(self.imageView.transform, rotation.rotation);
    //复位
    rotation.rotation = 0;

}

@end
有一点值得注意的是,旋转手势和捏合手势是不可以同时操作的,想要同时操作可以通过代理实现,如下。
- (BOOL)gestureRecognizer:(UIGestureRecognizer *)gestureRecognizer shouldRecognizeSimultaneouslyWithGestureRecognizer:(UIGestureRecognizer *)otherGestureRecognizer;
在上面的代码实现时返回YES即可。
以上是关于IOS 手势详解的主要内容,如果未能解决你的问题,请参考以下文章