Cg入门21:Fragment shader - 2D纹理采样
Posted Potter
tags:
篇首语:本文由小常识网(cha138.com)小编为大家整理,主要介绍了Cg入门21:Fragment shader - 2D纹理采样相关的知识,希望对你有一定的参考价值。
体纹理:是啥?
tex2D 以前只能在Fragment程序中纹理采样
UV坐标系:其实点为左下角,范围为【0,1】,U为x轴,V为y轴
.png)
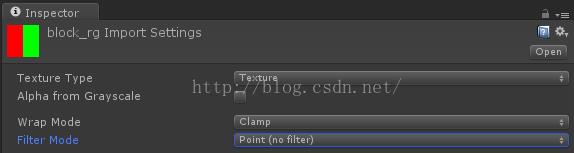
Texture.wrapMode 循环模式:
TextureWrapMode.Clamp:设置纹理充满拉伸使用
TextureWrapMode.Repeat:纹理重复平铺使用
如果采用Repeat,那么等于U>=1的情况就会用纹理图在右边在平铺一张图
Texture.filterMode 过滤模式:
Point:像素过滤(不进行过滤 )
Bilinear:双线性
Trilinear:三线的
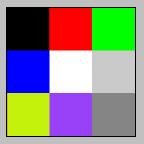
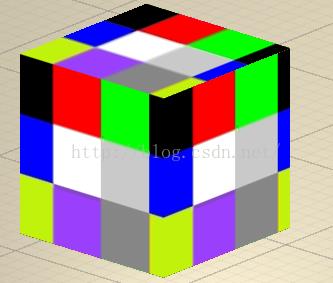
UV纹理采样:

UV 纹理
.png)
贴图后效果:立体空间的UV坐标为左上角,U为水平向右方向,V为垂直向下方向 ,默认范围[0,1]
.png)
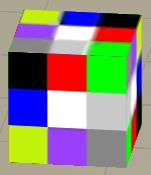
源代码:
Shader "Sbin/TexShader"
{
	Properties
	{
		_MainTex ("Texture", 2D) = "white" {}
		_U("U",range(-0001,0.001)) = 0
		_V("V",range(0,1)) = 0
	}
	SubShader
	{
		Pass
		{
			CGPROGRAM
			#pragma vertex vert
			#pragma fragment frag
			#include "UnityCG.cginc"

			sampler2D _MainTex;
			float _U;
			float _V;

			struct v2f{
				float4 pos:POSITION;
				float2 uv:TEXCOORD0;
			};

			v2f vert (appdata_base v)
			{
				v2f o;
				o.pos = mul(UNITY_MATRIX_MVP, v.vertex);
				o.uv = v.texcoord.xy;
				return o;
			}

			fixed4 frag (v2f v) : COLOR
			{
				fixed4 col = tex2D(_MainTex, v.uv);//第一个参数:纹理,第二个参数UV向量
				return col;
			}
			ENDCG
		}
	}
}
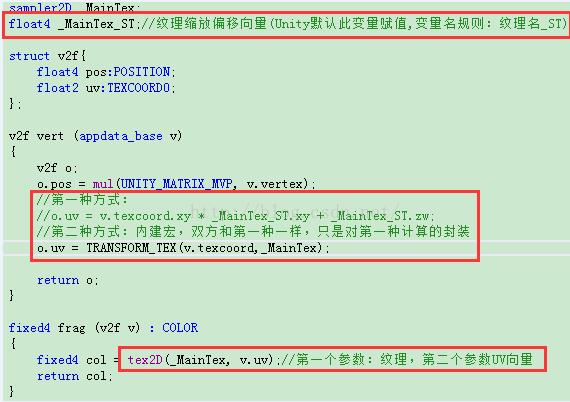
纹理平铺缩放和偏移:
.png)
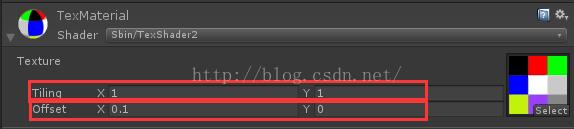
Tiling :缩放模型UV纹理采样坐标;比如:Tiling x=2,表示把模型UV坐标的U扩大2倍,U范围值变成2,纹理如果WrapMode选择Repeat,那么U轴方向就会纹理采样两次。V轴同理

.png)
Offset:偏移模型UV纹理采样坐标;比如:Offset x = 0.1,表示把模型UV坐标往左编译,然后再采样UV纹理贴图。
.png)

以上两种操作导致如下效果:
.png)
以上是关于Cg入门21:Fragment shader - 2D纹理采样的主要内容,如果未能解决你的问题,请参考以下文章