openstack-o版-horizon安装
Posted
tags:
篇首语:本文由小常识网(cha138.com)小编为大家整理,主要介绍了openstack-o版-horizon安装相关的知识,希望对你有一定的参考价值。
horizon是通过web界面管理openstack各个服务,那么我们来搭建horizon服务。
下载安装包
[[email protected] ~]# yum install openstack-dashboard -y
修改配置文件
[[email protected] ~]# cp /etc/openstack-dashboard/local_settings /etc/openstack-dashboard/local_settings.bak
[[email protected] ~]# cat /etc/openstack-dashboard/local_settings.bak | grep -v ^# | uniq > /etc/openstack-dashboard/local_settings
[[email protected] ~]# sed -i ‘s/OPENSTACK_HOST = "127.0.0.1"/ OPENSTACK_HOST = "wang02"/g‘ /etc/openstack-dashboard/local_settings
[[email protected] ~]# sed -i "s/ALLOWED_HOSTS = \[‘horizon.example.com‘, ‘localhost‘\]/ALLOWED_HOSTS = \[\‘*\‘\]/g" /etc/openstack-dashboard/local_settings
[[email protected] ~]# sed -i "s/http:\/\/%s:5000\/v2.0/http:\/\/%s:5000\/v3/g" /etc/openstack-dashboard/local_settings
[[email protected] ~]# sed -i "s/#OPENSTACK_KEYSTONE_MULTIDOMAIN_SUPPORT = False/OPENSTACK_KEYSTONE_MULTIDOMAIN_SUPPORT = True/g" /etc/openstack-dashboard/local_settings
[[email protected] ~]# sed -i "s/#OPENSTACK_KEYSTONE_DEFAULT_DOMAIN/OPENSTACK_KEYSTONE_DEFAULT_DOMAIN/g" /etc/openstack-dashboard/local_settings
[[email protected] ~]# sed -i "s/OPENSTACK_KEYSTONE_DEFAULT_ROLE = "_member_"/OPENSTACK_KEYSTONE_DEFAULT_ROLE = "user"/g" /etc/openstack-dashboard/local_settings
[[email protected] ~]# sed -i "s/‘enable_router‘: True,/‘enable_router‘: False,/g" /etc/openstack-dashboard/local_settings
[[email protected] ~]# sed -i "s/‘enable_ipv6‘: True,/‘enable_ipv6‘: False,/g" /etc/openstack-dashboard/local_settings
[[email protected] ~]# sed -i "s/‘enable_ha_router‘: True,/‘enable_ha_router‘: False,/g" /etc/openstack-dashboard/local_settings
[[email protected] ~]# sed -i "s/‘enable_lb‘: True,/‘enable_lb‘: False,/g" /etc/openstack-dashboard/local_settings
[[email protected] ~]# sed -i "s/‘enable_firewall‘: True,/‘enable_firewall‘: False,/g" /etc/openstack-dashboard/local_settings
[[email protected] ~]# sed -i "s/‘enable_vpn‘: True,/‘enable_vpn‘: False,/g" /etc/openstack-dashboard/local_settings
[[email protected] ~]# sed -i "s/‘enable_fip_topology_check‘: True,/‘enable_fip_topology_check‘: False,/g" /etc/openstack-dashboard/local_settings
[[email protected] ~]# echo -e "SESSION_ENGINE = ‘django.contrib.sessions.backends.cache‘\nCACHES = {\n ‘default‘: {\n ‘BACKEND‘: ‘django.core.cache.backends.memcached.MemcachedCache‘,\n ‘LOCATION‘: ‘wang01:11211‘,\n }\n}" >> /etc/openstack-dashboard/local_settings
[[email protected] ~]# echo -e "OPENSTACK_API_VERSIONS = {\n \"identity\": 3,\n \"image\": 2,\n \"volume\": 2,\n}" >> /etc/openstack-dashboard/local_settings
重启服务
[[email protected] ~]# systemctl restart httpd.service memcached.service
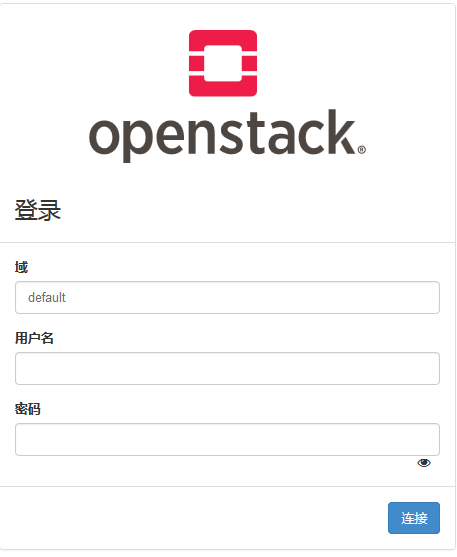
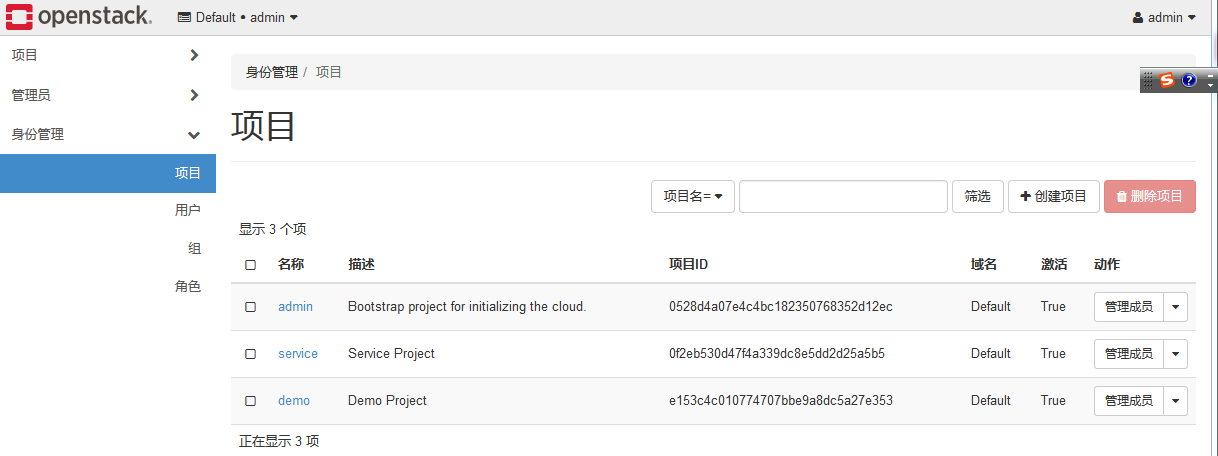
验证服务(最好用火狐游览器)
192.16.7.20:/dashboard
用户名:admin
密码 : ADMIN_PASS
本文出自 “openstack+kvm+linux” 博客,请务必保留此出处http://wangzhice.blog.51cto.com/12875919/1946647
以上是关于openstack-o版-horizon安装的主要内容,如果未能解决你的问题,请参考以下文章

