如何把wifidog安装到tomato固件里面呢?
Posted
tags:
篇首语:本文由小常识网(cha138.com)小编为大家整理,主要介绍了如何把wifidog安装到tomato固件里面呢?相关的知识,希望对你有一定的参考价值。
手里有款Q3的路由器,自己编译了shibby RT-N的tomato路由器固件,我想把wifidog编译到路由器固件里面,请问该怎么做呢?
参考技术A tomato原系统是不带WIFIDOG,如果要添加需要在内核编译目前只有集客固件支持
你可以去下载研究一下
http://pan.baidu.com/share/home?uk=1984164784
wifidog authpuppy 服务器搭建
安装环境
(64位 Ubuntu 14.04.4 LTS \\n \\l )
一、安装各种软件包1、apache和php
- sudo apt-get update
- sudo apt-get install apache2 php5
2、安装数据库(postgresql或者mysql)
- sudo apt-get install postgresql
3、安装需要的库
- sudo apt-get install php5-cgi
二、安装authpuppy
1、到 authpuppy官网 下载authpuppy-1.0.0-stable.tgz。解压后放到到ubuntu /var/www/目录下
- tar zxvf authpuppy-1.0.0-stable.tgz
- sudo mv authpuppy /var/www/
2、修改authpuppy的权限和用户
- sudo chmod 777 -R /var/www/authpuppy/
- sudo chown root:root -R /var/www/authpuppy/
3、配置apache2中web路径为authpuppy目录下的web (可以直接覆盖原文件)
- <VirtualHost *:80>
- ServerAdmin webmaster@localhost
- ServerName authpuppy.localhost
- ServerAlias authpuppy.test
- DocumentRoot /var/www/authpuppy/web
- DirectoryIndex index.php
- <Directory /var/www/authpuppy/web/>
- Options Indexes FollowSymLinks MultiViews
- AllowOverride All
- Order allow,deny
- allow from all
- </Directory>
- Alias /sf /var/www/authpuppy/lib/vendor/symfony/data/web/sf
- <Directory "/var/www/authpuppy/lib/vendor/symfony/data/web/sf">
- AllowOverride All
- Allow from All
- </Directory>
- #ErrorLog /var/log/apache2/authpuppy/error.log
- # Possible values include: debug, info, notice, warn, error, crit,
- # alert, emerg.
- LogLevel warn
- #CustomLog /var/log/apache2/authpuppy/access.log combined
- </VirtualHost>
修改完了apache2的配置,重启apache2,如果出现告警,按照下面操作
- vi /etc/apache2/apache2.conf
- 在文件最后面添加一行
- ServerName localhost:80
sudo /etc/init.d/apache2 restart
4、启用apache rewrite,否则会出现(Therequested URL /install/3 was not found on this server.)错误
- sudo a2enmod rewrite
三、配置数据库1、进入数据库命令操作
- sudo su - postgres
2、创建一个wifidog用户
- createuser wifidog --pwprompt
3、创建属于wifidog的数据库,数据库名字为wifidog
- createdb wifidog --encoding=UTF-8 --owner=wifidog
四、web配置authpuppy
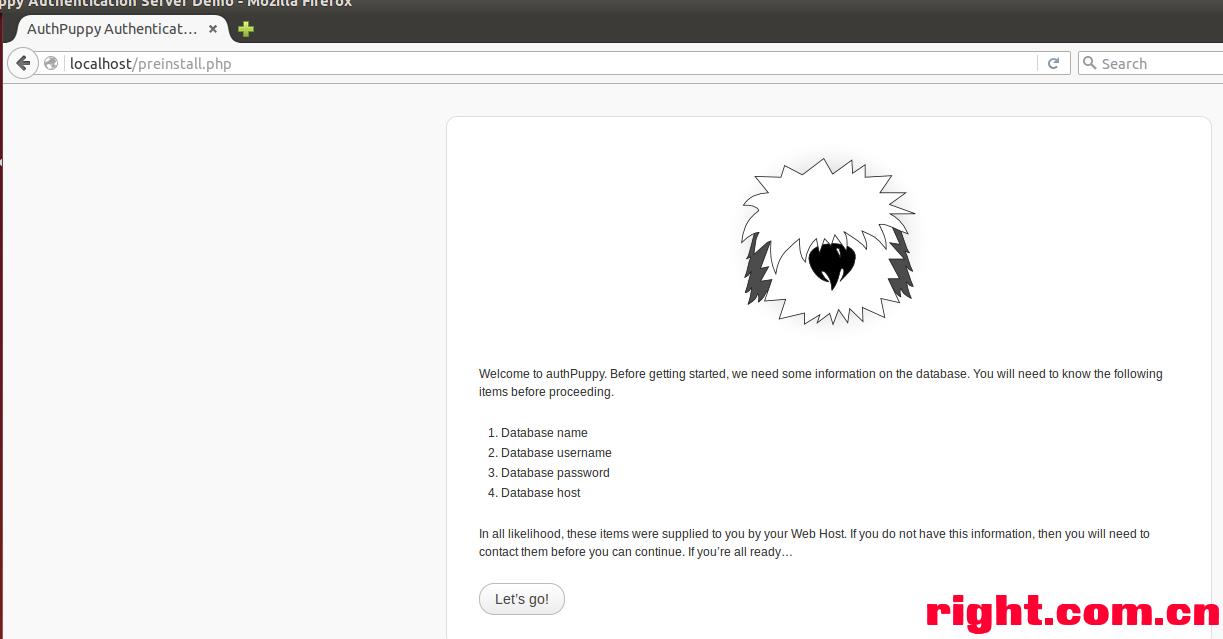
1、在ubuntu里面访问localhost页面,跳转到authpuppy配置文件如下图4-1所示
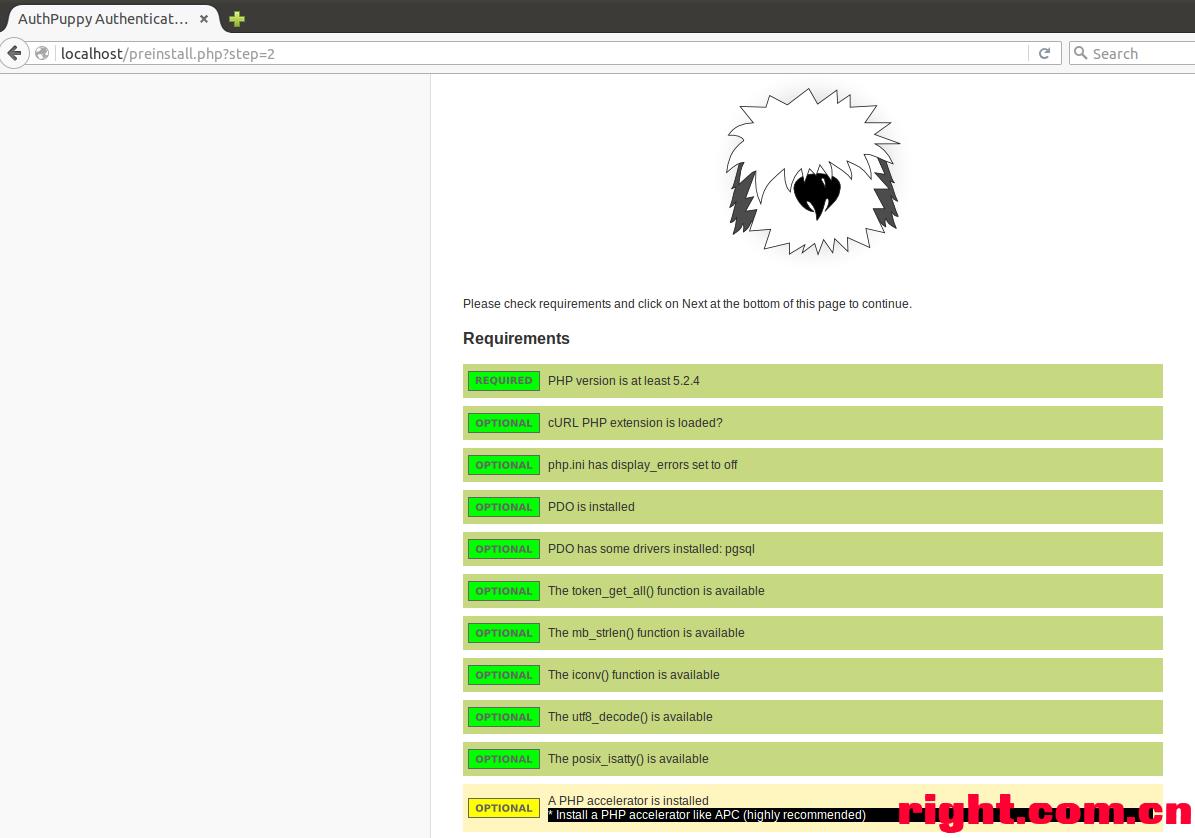
- sudo apt-get install php-apc

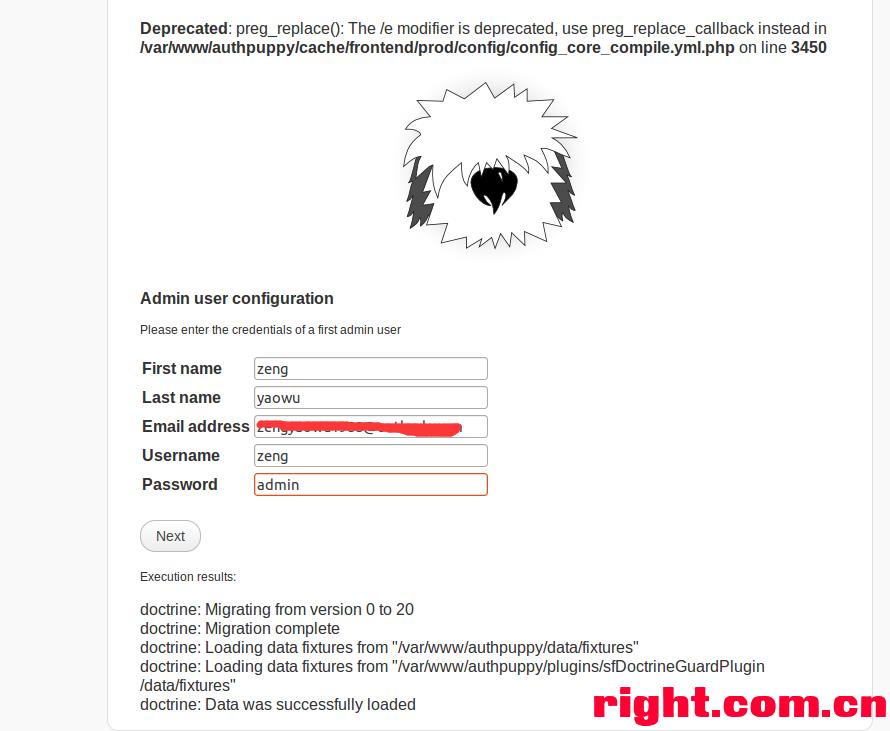
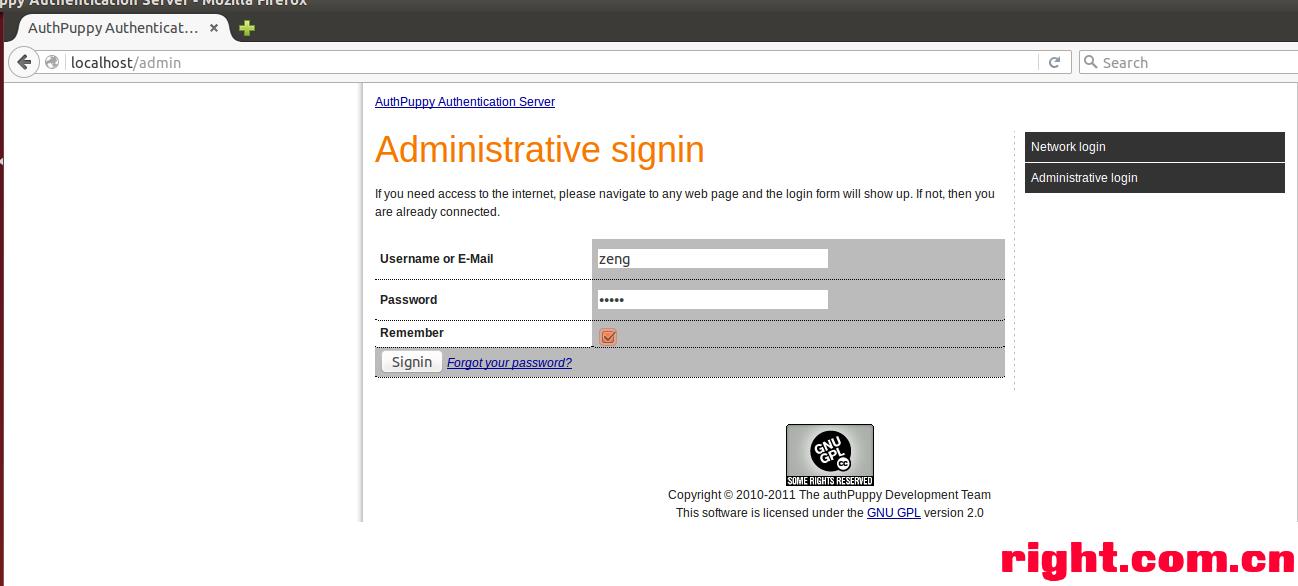
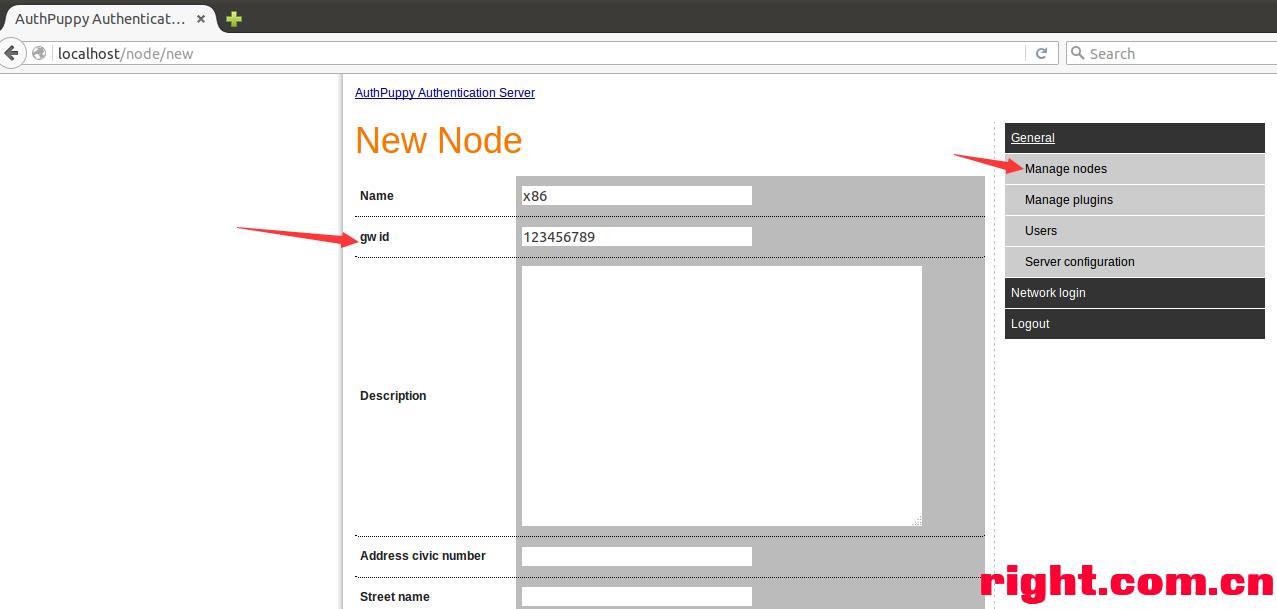
2、添加节点openwrt上wifidog配置里面要配置设备的GatewayID,所以这里需要先在认证服务器上面添加GatewayID,如下图5-2所示
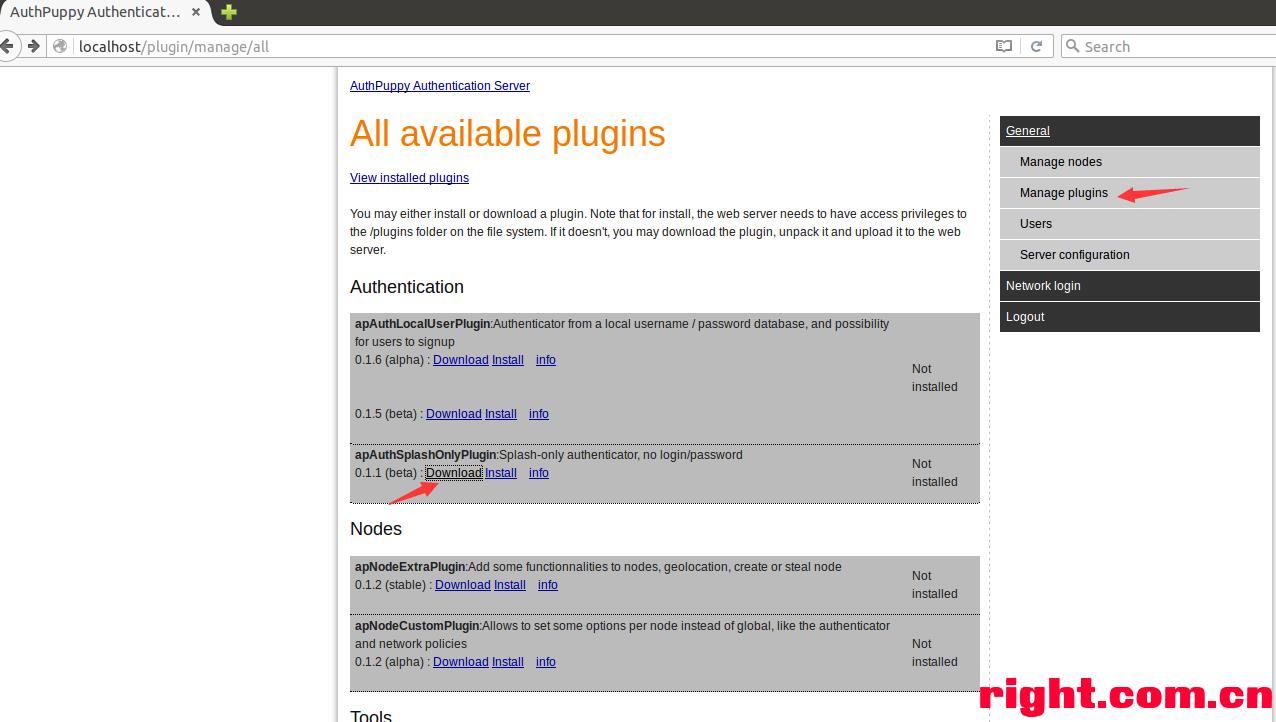
- tar zxvf apAuthSplashOnlyPlugin-0.1.1-beta.tgz
- sudo mv apAuthSplashOnlyPlugin /var/www/authpuppy/plugins/
- sudo chown root:root /var/www/authpuppy/plugins/apAuthSplashOnlyPlugin/ -R
- sudo chmod 777 /var/www/authpuppy/plugins/apAuthSplashOnlyPlugin/ -R


- GatewayID 123456789
- GatewayInterface br-lan
- GatewayAddress 192.168.10.1
- HtmlMessageFile /etc/wifidog-msg.html
- AuthServer
- Hostname 192.168.10.250
- SSLAvailable no
- HTTPPort 80
- Path /authpuppy/web/
以上是关于如何把wifidog安装到tomato固件里面呢?的主要内容,如果未能解决你的问题,请参考以下文章