vue-router如何根据不同的用户给不同的权限
Posted 爱喝酸奶的吃货
tags:
篇首语:本文由小常识网(cha138.com)小编为大家整理,主要介绍了vue-router如何根据不同的用户给不同的权限相关的知识,希望对你有一定的参考价值。
闲聊:
小颖去年在上家公司用的vue1.0之前在做路由这块用的router.map,但是现在vue2.0里已经不能用了,所以之前解决权限问题的例子,小颖也参考不了呜呜
之前看一个美女写的:elememtui(有关权限的那些事) 小颖也想试试怎么根据不同的用户,给不同的访问菜单权限,昨天下午小颖试了好久,都没弄好,用户刚登陆进去菜单栏是好的,但是当页面一刷新,左侧的菜单就不见了,但当小颖点击了别的地方后,左侧的菜单栏又能出来了,阿西吧擦,昨天折腾了小颖一下午,在下班前还是没弄好,回去因为才搬了家房子乱的得收拾房间,所以也就没带电脑回去,早上来竟然弄好啦弄好啦弄好啦嘻嘻嘻,下面我们就一起来看看小颖写的代码吧嘻嘻。

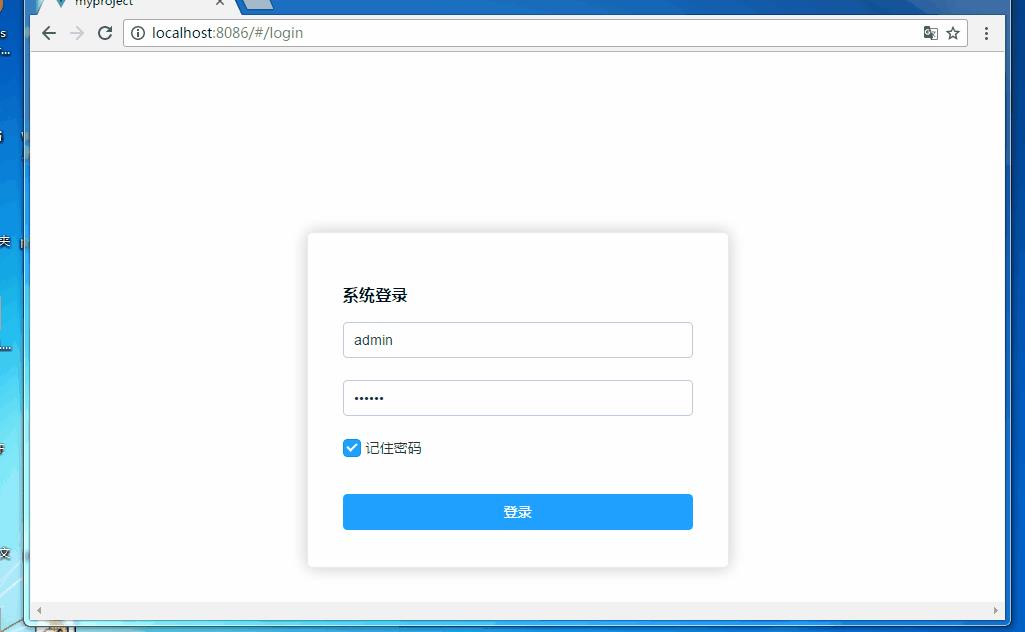
效果图:

项目是基于小颖之前写的那个demo来写的这里小颖就只把重要的代码给大家粘出来,剩下的大家请移驾到:vue2.0+element+node+webpack搭建的一个简单的后台管理界面 来看其他的代码。
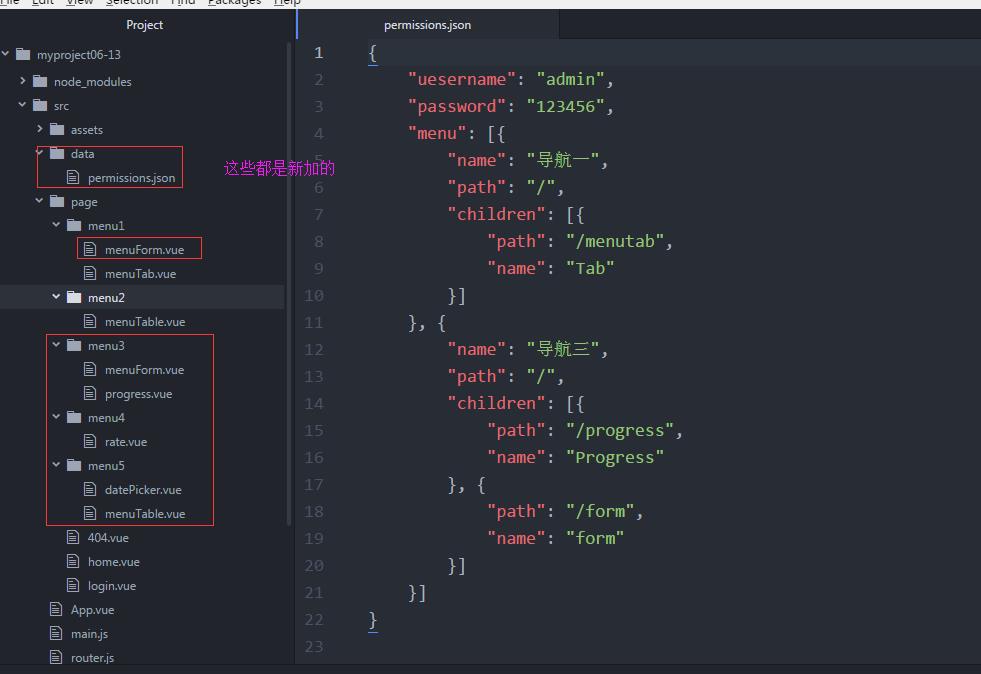
更新后的项目目录:

注意:小颖之前没有用到es6,现在小颖引了es6,具体怎么引请看这里:webpack es6支持配置
如果遇到问题:Vue2.0 新手完全填坑攻略—从环境搭建到发布——DT
新建json文件:
permissions.json
{
    "uesername": "admin",
    "password": "123456",
    "menu": [{
        "name": "导航一",
        "path": "/",
        "children": [{
            "path": "/menutab",
            "name": "Tab"
        }]
    }, {
        "name": "导航三",
        "path": "/",
        "children": [{
            "path": "/progress",
            "name": "Progress"
        }, {
            "path": "/form",
            "name": "form"
        }]
    }]
}
menuForm.vue
<template lang="html">
  <div class="menu-form">
    <el-form :model="numberValidateForm" ref="numberValidateForm" label-width="100px" class="demo-ruleForm">
      <el-form-item label="年龄" prop="age"
      :rules="[
      { required: true, message: \'年龄不能为空\'},
      { type: \'number\', message: \'年龄必须为数字值\'}]">
      <el-input type="age" v-model.number="numberValidateForm.age" auto-complete="off" class="demo-ruleForm-input"></el-input>
    </el-form-item>
  <el-form-item>
    <el-button type="primary" @click="submitForm(\'numberValidateForm\')">提交</el-button>
    <el-button @click="resetForm(\'numberValidateForm\')">重置</el-button>
  </el-form-item>
</el-form>
  </div>
</template>

<script>
export default {
    data() {
        return {
            numberValidateForm: {
                age: \'\'
            }
        };
    },
    methods: {
        submitForm(formName) {
            this.$refs[formName].validate((valid) => {
                if (valid) {
                    alert(\'submit!\');
                } else {
                    console.log(\'error submit!!\');
                    return false;
                }
            });
        },
        resetForm(formName) {
            this.$refs[formName].resetFields();
        }
    }
}
</script>

<style lang="css">
.demo-ruleForm-input{
  width: 300px;
}
</style>
progress.vue
<template lang="html">
  <div class="progress-content">
    <el-progress type="circle" :percentage="0"></el-progress>
    <el-progress type="circle" :percentage="25"></el-progress>
    <el-progress type="circle" :percentage="100" status="success"></el-progress>
    <el-progress type="circle" :percentage="50" status="exception"></el-progress>
  </div>
</template>

<script>
export default {
}
</script>
<style lang="css">
</style>
rate.vue
<template lang="html">
  <div class="block">
    <span class="demonstration">区分颜色</span>
    <el-rate v-model="value2" :colors="[\'#99A9BF\', \'#F7BA2A\', \'#FF9900\']"></el-rate>
</div>
</template>

<script>
export default {}
</script>

<style lang="css">
</style>
datePicker.vue
<template lang="html">
  <div class="date-picker">
    <div class="block">
      <span class="demonstration">带快捷选项</span>
      <el-date-picker v-model="value2" align="right" type="date" placeholder="选择日期" :picker-options="pickerOptions1">
      </el-date-picker>
    </div>
  </div>
</template>

<script>
export default {
}
</script>

<style lang="css">
</style>
实现路由限制的代码:
1.login.vue中将原来的handleSubmit2方法进行修改,通过ajax访问本地json然后再判断当前用户是谁有什么权限,小颖这里只写了一个admin,其实真是的数据里应该会有很多个用户,然后大家再判断当前登录的用户是谁,然后获取相应的权限,这里小颖就不给大家演示了嘻嘻。
        handleSubmit2(ev) {
            var _this = this;
            _this.$refs.ruleForm2.validate((valid) => {
                if (valid) {
                    _this.logining = true;
                    var loginParams = {
                        username: this.ruleForm2.account,
                        password: this.ruleForm2.checkPass
                    };
                    _this.$http.get(\'/src/data/permissions.json\').then(response => {
                        // get body data
                        var someData = JSON.parse(response.bodyText);
                        if (loginParams.username == someData.uesername && loginParams.password == someData.password) {
                            _this.logining = false;
                            sessionStorage.setItem(\'user\', JSON.stringify(loginParams));
                            sessionStorage.setItem(\'menu\', JSON.stringify(someData.menu));
                            _this.$router.push({
                                path: someData.menu[0].children[0].path
                            });
                        } else {
                            _this.logining = false;
                            _this.$alert(\'用户名或密码错误!\', \'提示信息\', {
                                confirmButtonText: \'确定\'
                            });
                        }
                    }, response => {
                        // error callback
                    });
                } else {
                    console.log(\'error submit!!\');
                    return false;
                }
            });
        }
2.home.vue中的mounted()方法更新为:
    mounted() {
        var user = sessionStorage.getItem(\'user\');
        if (user) {
            user = JSON.parse(user);
            this.sysUserName = user.username || \'\';
        }
        var _this = this;
        _this.menuData = JSON.parse(sessionStorage.getItem("menu"));
        _this.$router.options.routes.forEach(function(item) {
            _this.menuData.forEach(function(menu) {
                if (item.name == menu.name) {
                    item.hidden = false;
                    if (menu.children && item.children) {
                        item.children.forEach(function(children1) {
                            menu.children.forEach(function(children2) {
                                if (children1.name == children2.name) {
                                    children1.hidden = false;
                                }
                            });
                        });
                    }
                }
            });
        });
    }
以上是关于vue-router如何根据不同的用户给不同的权限的主要内容,如果未能解决你的问题,请参考以下文章
