CentOS7.0-PXE批量部署
Posted
tags:
篇首语:本文由小常识网(cha138.com)小编为大家整理,主要介绍了CentOS7.0-PXE批量部署相关的知识,希望对你有一定的参考价值。
CentOS7.0-Kickstart无人值守安装
方法:FTP+TFTP+DHCP+Kickstart+PXE
PXE服务器:CentOS7.0-192.168.25.1
1.搭建yum仓库:
[[email protected]max ~]# vim /etc/yum.repos.d/serverl.repo
[base]
name=server
baseurl=file:///mnt
gnabled=1
gpgcheck=0
[[email protected]max ~]# mount /dev/cdrom /mnt
2.配置ftp:
[[email protected]max ~]# yum install vsftpd –y
[[email protected]max ~]# systemctl restart vsftpd.service ;systemctl enable vsftpd.service
3.配置tftp:
[[email protected]max ~]# yum install tftp tftp-server xinetd -y
[[email protected]max ~]# vim /etc/xinetd.d/tftp
service tftp
{
socket_type = dgram
protocol = udp
wait = yes
user = root
server = /usr/sbin/in.tftpd
server_args = -s /tftpboot
disable = no
per_source = 11
cps = 100 2
flags = IPv4
}
[[email protected]max ~]# systemctl restart xinetd.service ; systemctl restart tftp.service ; systemctl enable tftp.service
4.安装dhcp,修改配置文件及开启服务:
[[email protected]max ~]# yum install dhcp –y
[[email protected]max ~]# cp /etc/dhcp/dhcpd.conf /etc/dhcp/dhcpd.conf.bak
[[email protected]max ~]# cp /usr/share/doc/dhcp*/dhcpd.conf.example dhcpd.conf
[[email protected]max ~]# vim /etc/dhcp/dhcpd.conf
vim /etc/dhcp/dhcpd.conf
subnet 192.168.25.0 netmask 255.255.255.0 {
range 192.168.25.100 192.168.25.200;
next-server 192.168.25.1;
filename "pxelinux.0";
}
[[email protected]max ~]# systemctl restart dhcpd ;systemctl enable dhcpd
准备工作完成,我们开始配置Kickstart
[[email protected]max ~]# mkdir /tftpboot
[[email protected]max ~]# mkdir /tftpboot/pxelinux.cfg
[[email protected]max ~]# cp /usr/share/syslinux/pxelinux.0 /tftpboot/
----如果找不到syslinux目录,需要安装包syslinux
[[email protected]max ~]# cp /mnt/isolinux/isolinux.cfg /tftpboot/pxelinux.cfg/default
[[email protected]max ~]# cp /mnt/images/pxeboot/initrd.img /tftpboot/
[[email protected]max ~]# cp /mnt/images/pxeboot/vmlinuz /tftpboot/
[[email protected]max ~]# chmod 644 /tftpboot/pxelinux.cfg/default
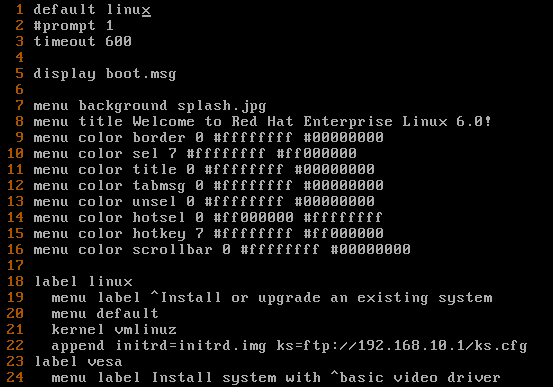
[[email protected]max ~]# vim /tftpboot/pxelinux.cfg/default
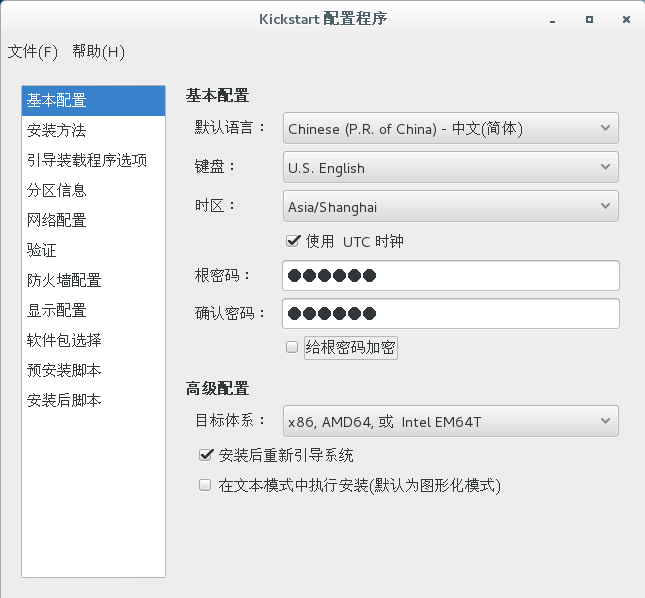
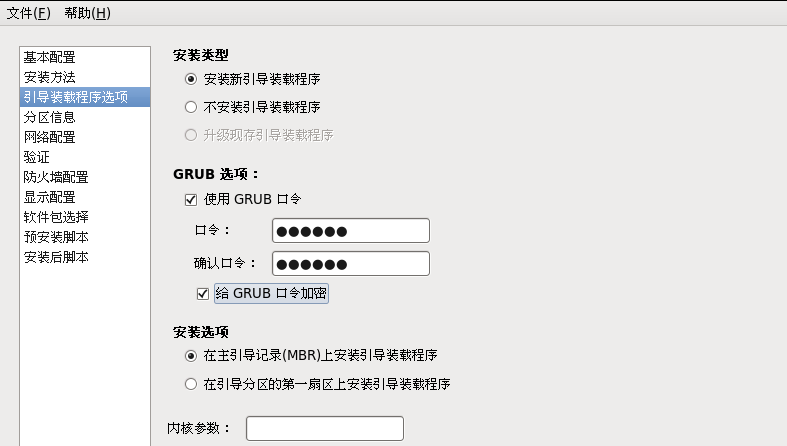
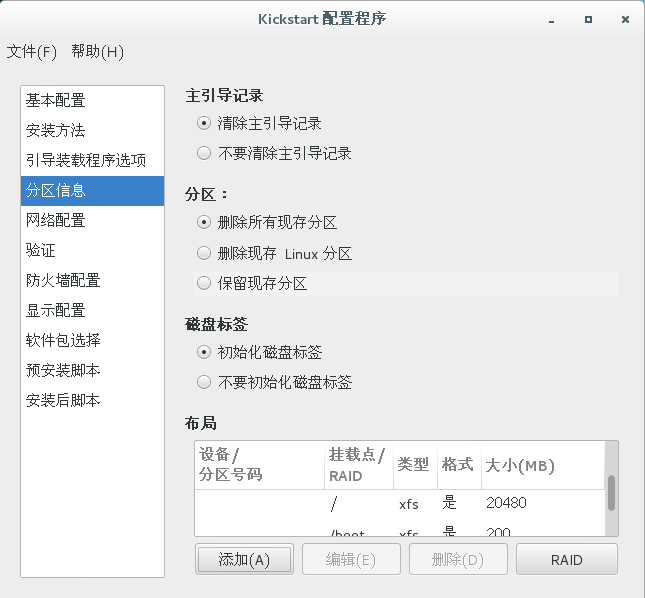
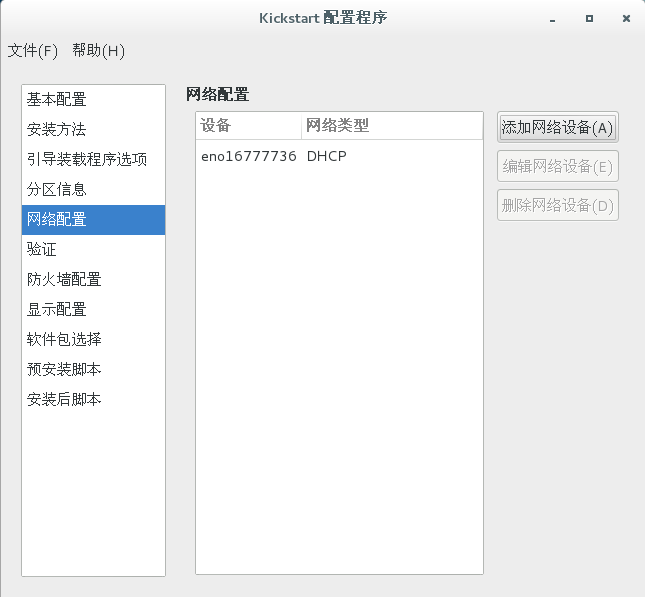
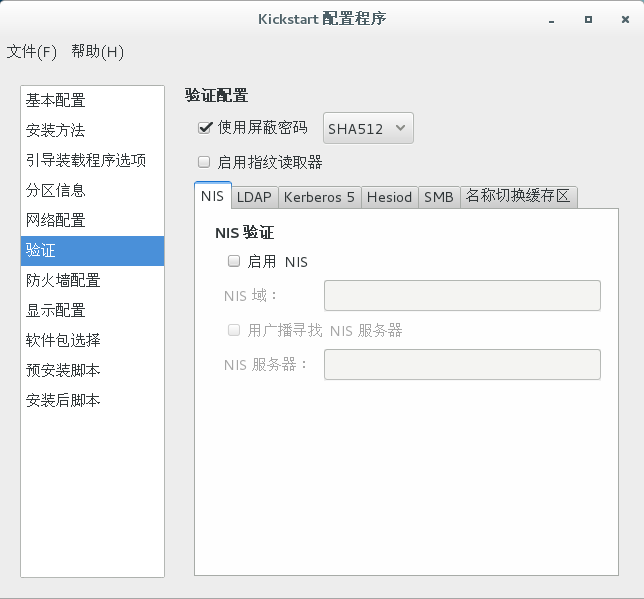
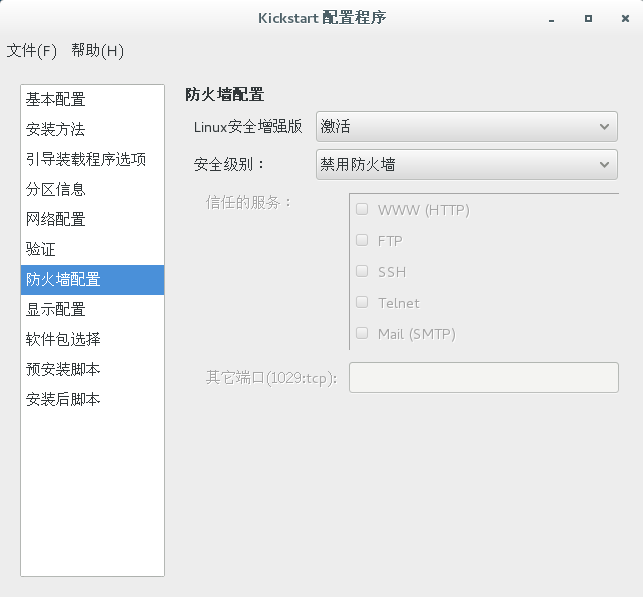
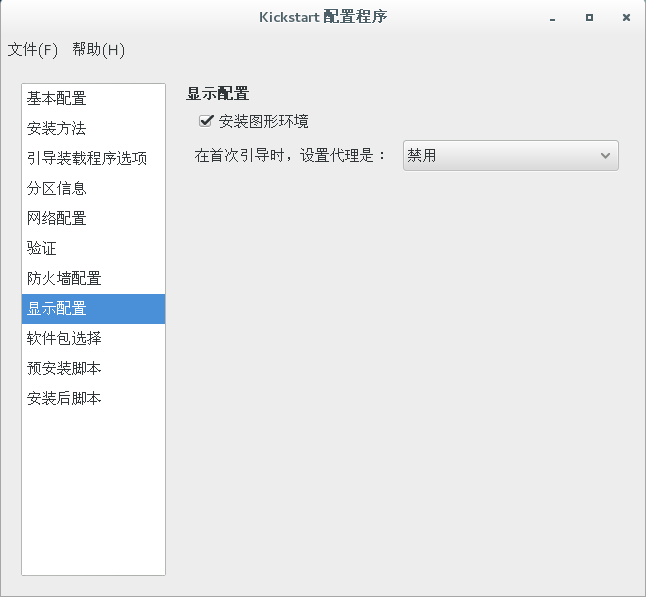
[[email protected]max ~]# yum install system-config-kickstart.noarch –y
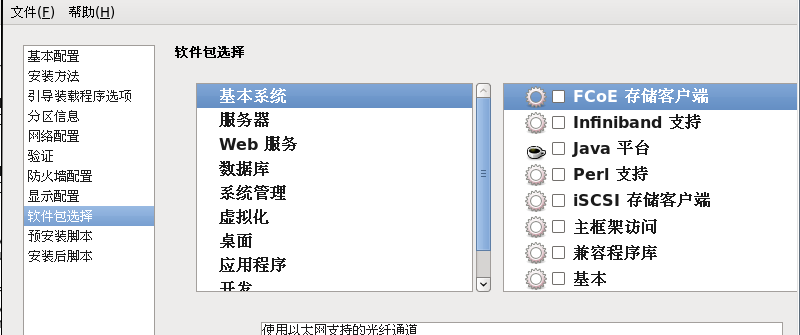
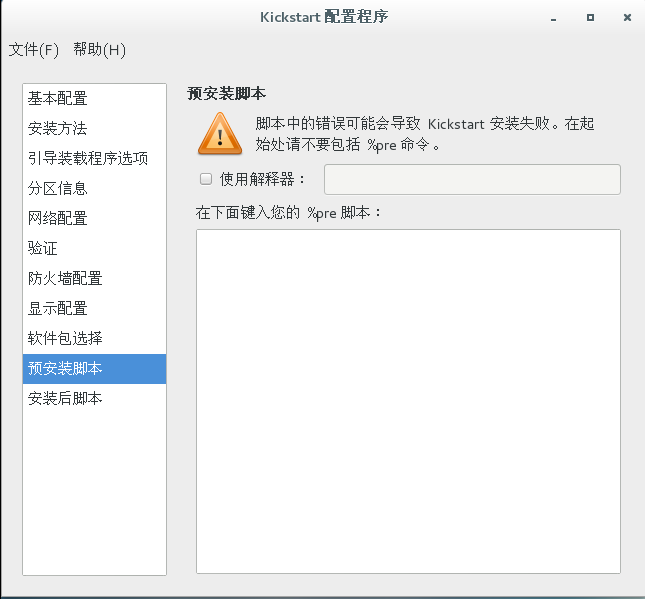
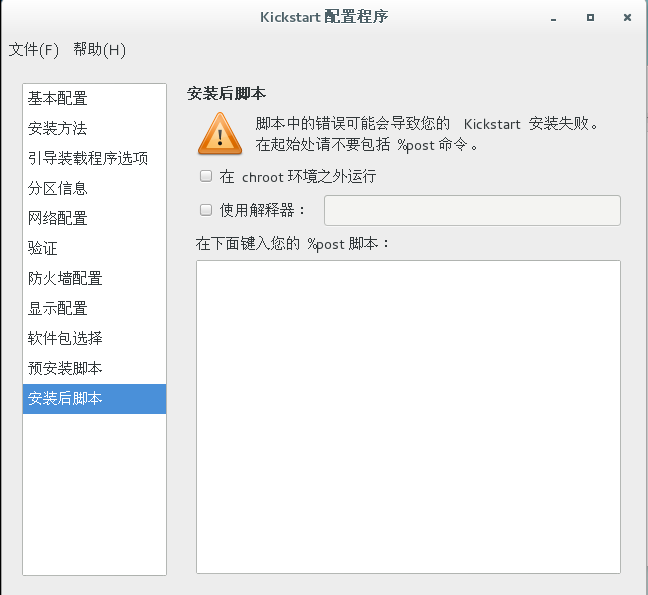
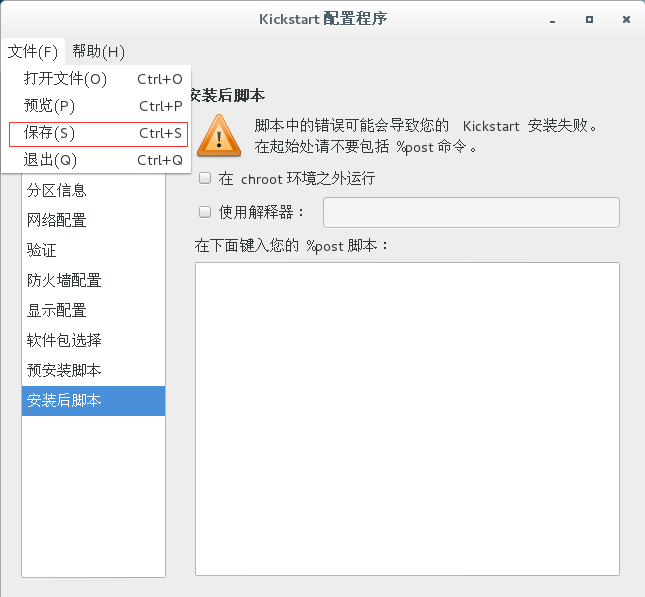
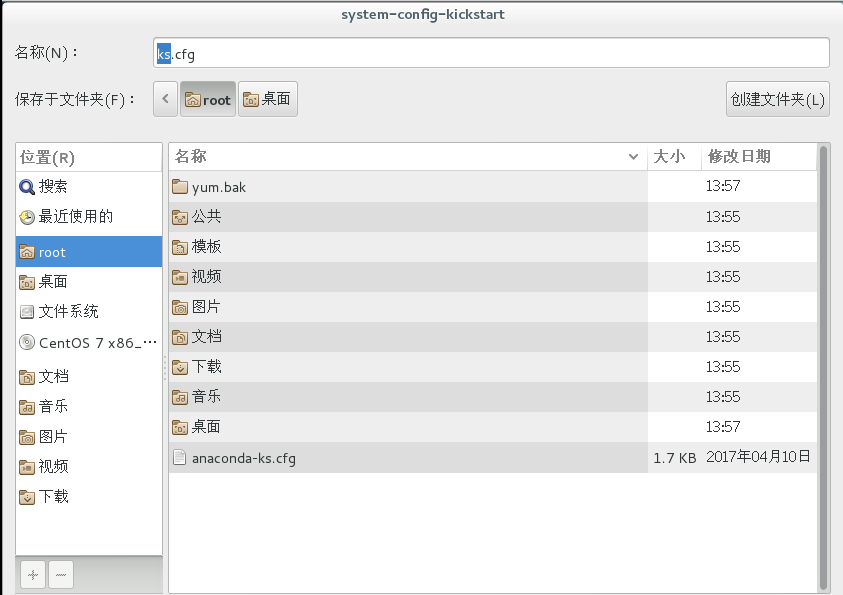
[[email protected]max ~]# system-config-kickstart
[[email protected]max ~]#cp ks.cfg /var/ftp
重新挂载CentOS7.0安装光盘到/var/ftp/pub目录下,开始执行另一台机器的无人值守安装:
[[email protected]max ~]# umount /dev/cdrom //原来挂载到/mnt下的
[[email protected]max ~]# mount /dev/cdrom /var/ftp/pub
[[email protected]max ~]# iptables -F
[[email protected]max ~]# setenforce 0
[[email protected]max ~]# systemctl stop firewall
以上是关于CentOS7.0-PXE批量部署的主要内容,如果未能解决你的问题,请参考以下文章
LINUX——关于ansible批量控制,批量命令及部署的使用
