ubuntu安装openssh 服务端
Posted
tags:
篇首语:本文由小常识网(cha138.com)小编为大家整理,主要介绍了ubuntu安装openssh 服务端相关的知识,希望对你有一定的参考价值。
参考技术A ubuntu安装openssh 服务端ubuntu安装supervisor并配置
ubuntu搭建express+node+mongodb(mongoose)
ubuntu+nodejs+express+koa
ubuntu搭建frps服务
ubuntu安装mongodb@4.0、4.2、4.4
ubuntu 配置iptables代理转发功能
ubuntu安装supervisor并配置
ubuntu搭建nginx同时支持http、https和websocket
Ubuntu 16.04升级OpenSSH
参考:Ubuntu 16.04 升级Openssh 8.8P1
Ubuntu 16 更新openssh 8.8
1. 安装Telent防止ssh出问题无法远程服务器
服务器上安装telent服务端
apt-get install openbsd-inetd telnetd telnet
/etc/init.d/openbsd-inetd restart     # 启动服务
netstat -anpt|grep 23                 # 查看telnet服务的默认端口是否启动
telnet ip                             # 测试是否成功登陆
服务器对访问主机IP开放防火墙ufw allow from 192.168.xx.xx to any port 23
主机上安装telent客户端,见上一步。
远程测试:telent 服务器ip,输入服务器账号和密码即可。
如果报错Login incorrect,修改login文件 vi /etc/pam.d/login 注释掉pam_securetty.so一行

具体参考:https://www.cnblogs.com/birdBull/p/14182884.html
2. 下载安装包
wget --no-check-certificate https://www.openssl.org/source/openssl-1.1.1l.tar.gz
wget --no-check-certificate https://fastly.cdn.openbsd.org/pub/OpenBSD/OpenSSH/portable/openssh-8.8p1.tar.gz
wget http://www.zlib.net/zlib-1.2.11.tar.gz (没有链接了,网上下载的 链接: https://pan.baidu.com/s/1tRvvdIA7u1eC8hIXYcy4mA?pwd=j62n)
下载之后挨个解压。 tar -zxvf xxx.gz
3. 安装Zlib
tar xvf zlib-1.2.11.tar.gz
cd zlib-1.2.11
./configure --prefix=/usr/local/zlib
make -j 8
make install
如果运行“./configure –prefix=/usr/local/zlib” 出现错误,请检查gcc
cc -v
#安装
sudo apt-get install gcc
4. 安装OpenSSL
tar zxvf openssl-1.1.1l.tar.gz
cd openssl-1.1.1l
./config shared zlib
make -j 8
sudo make install
如果在执行make编译命令的时候报错,zlib.h: No such file or directory,如下图。
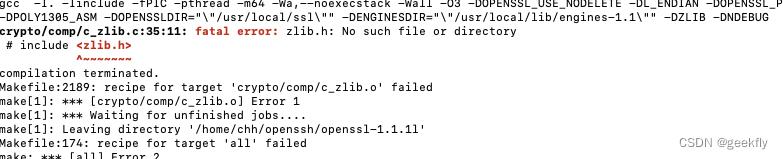
那么请回到zlib解压缩的源码目录下执行以下操作:
make clean
./configure --shared
make test
sudo make install
sudo cp zutil.h /usr/local/include
sudo cp zutil.c /usr/local/include
成功执行完以上操作后,回到openssl的源码目录下再次编译打包。
备份原来的openssl,创建软链接到系统位置
mv /usr/bin/openssl /usr/bin/openssl.bak
mv /usr/include/openssl /usr/include/openssl.bak
ln -s /usr/local/bin/openssl /usr/bin/openssl
ln -s /usr/local/include/openssl /usr/include/openssl
添加openssl的lib库到系统并使用。
echo "/usr/local/lib" > /etc/ld.so.conf.d/openssl.conf
ldconfig
#ldconfig是一个动态链接库管理命令,其目的为了让动态链接库为系统所共享。 ldconfig的主要用途: 默认搜寻/lilb和/usr/lib,以及配置文件/etc/ld.so.conf内所列的目录下的库文件。
查看新的openssl版本:
openssl version -a
#更新完成显示:OpenSSL 1.1.1l 24 Aug 2021
5. 更新 openssh
备份原openssh文件,卸载原openssh
mv /etc/init.d/ssh /etc/init.d/ssh.old
mv /etc/ssh /etc/ssh.old
apt-get remove openssh-server openssh-client -y
如果remove报错如下,执行rm /etc/rc5.d/S04ssh,再次执行apt-get remove openssh-server openssh-client -y

apt-get install libpam0g-dev -y
tar zxvf openssh-8.8p1.tar.gz
cd openssh-8.8p1
./configure --prefix=/usr --sysconfdir=/etc/ssh --with-md5-passwords --with-pam --with-zlib --with-ssl-dir=/usr/local --with-privsep-path=/var/lib/sshd
make -j 8
sudo make install
#检查新的ssh版本
ssh -V
#显示OpenSSH_8.8p1, OpenSSL 1.1.1l  24 Aug 2021
完成更新,再恢复原来备份的文件。
cd /etc/ssh
 mv sshd_config sshd_config.default
 cp ../ssh.old/sshd_config ./
 mv /etc/init.d/ssh.old /etc/init.d/ssh
 systemctl unmask ssh
 systemctl restart ssh
检查下状态:service sshd status

注:安装之后发现scp无法远程,报错:FATAL ERROR: Received unexpected end-of-file from SFTP server
vi /etc/ssh/sshd_config
修改Subsystem如下,主要是openssh sftp-serverde位置
Subsystem       sftp    /usr/local/openssh/libexec/sftp-server
重启服务:service sshd restart
备注:另一台服务器发现没有/usr/local/openssh目录,在make install中看到如下图: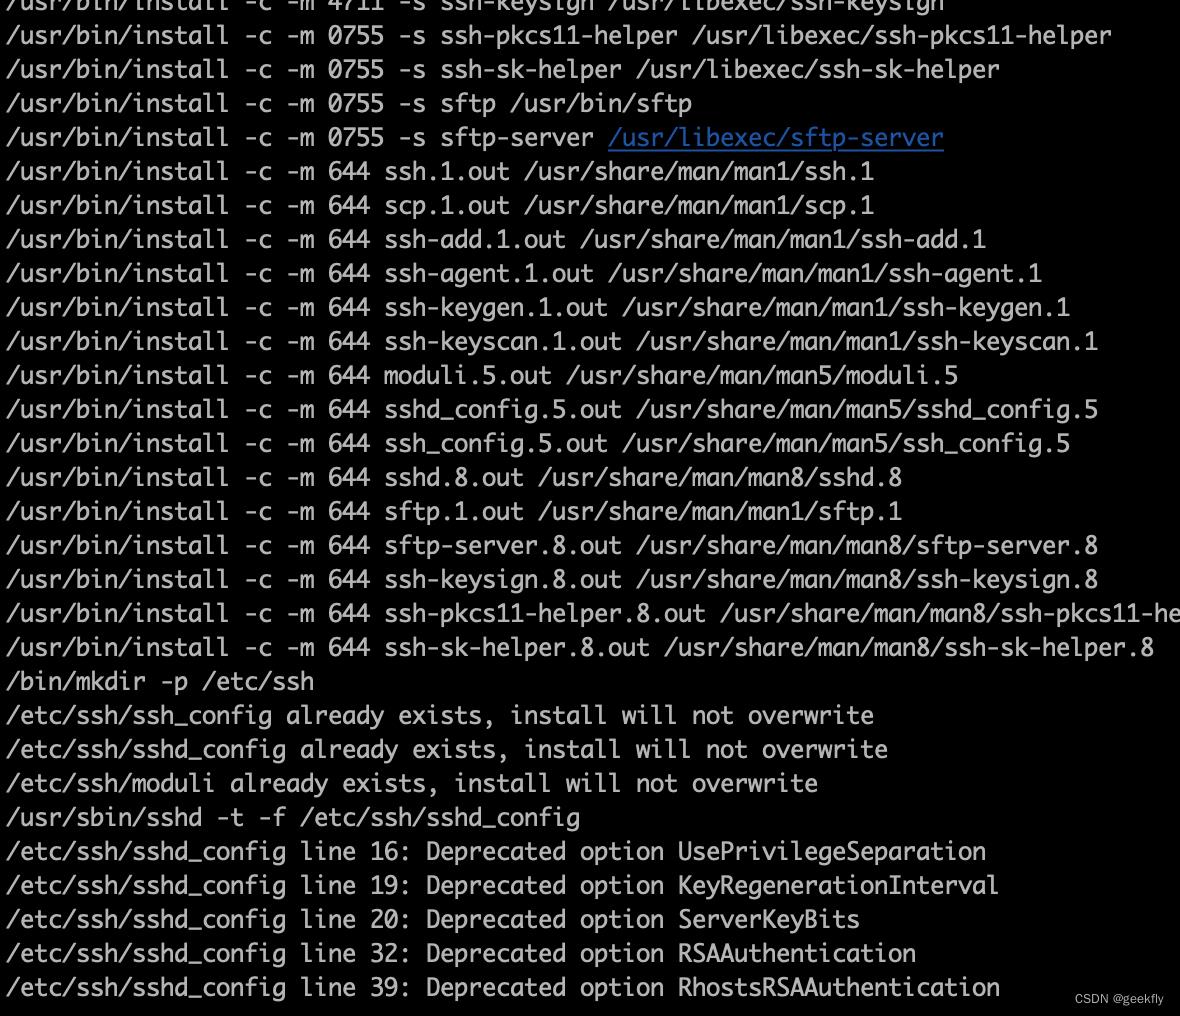
就将/usr/libexec/sftp-server配置进上述文件,scp链接正常。
然后ssh确认可以连接,重启服务器之后也正常的话,可以关闭telnet服务。
(1)关闭telnet服务(有两种方式)

a)vi /etc/xinetd.d/telnet,将disable=no改成disable=yes;

 b)chkconfig telnet off;如果需要设置telnet服务不为开机自启动,使用命令chkconfig --del telnet

(2)使用命令server xinetd restart或者/etc/init.d/xinetd restart使更改生效。
参考:Ubuntu 16.04 升级Openssh 8.8P1
Ubuntu 16 更新openssh 8.8
以上是关于ubuntu安装openssh 服务端的主要内容,如果未能解决你的问题,请参考以下文章