拉伸图片的几种方式
Posted Neo
tags:
篇首语:本文由小常识网(cha138.com)小编为大家整理,主要介绍了拉伸图片的几种方式相关的知识,希望对你有一定的参考价值。
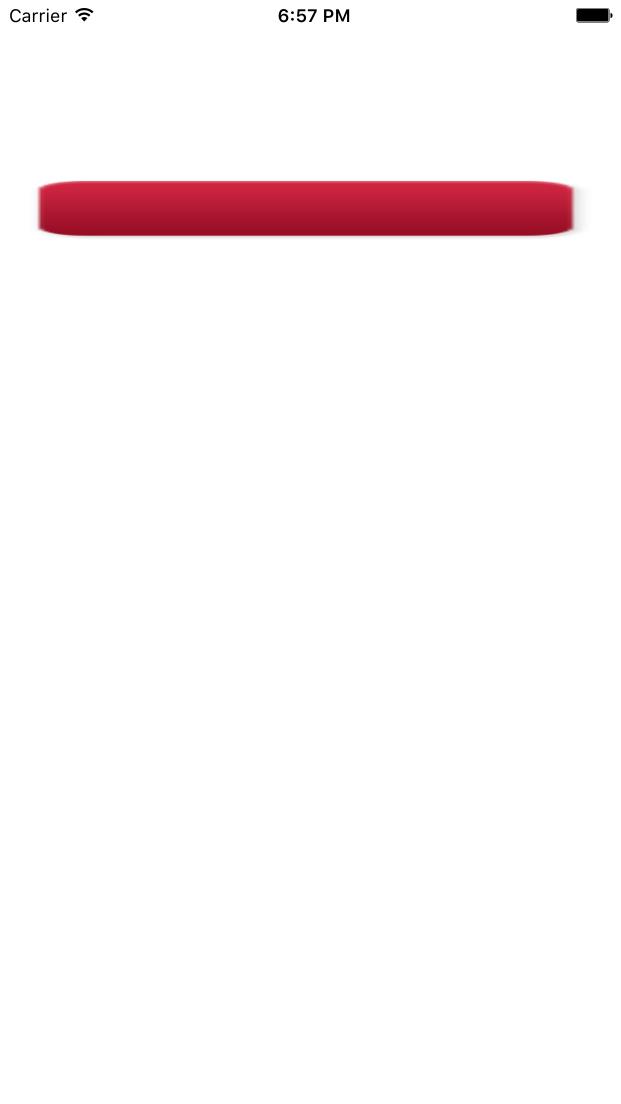
问题:当图片比较小,而图片框.或者按钮,比较大,图片填充整个按钮会导致变形,通过拉伸图片可以使得虽然拉伸而不变形.
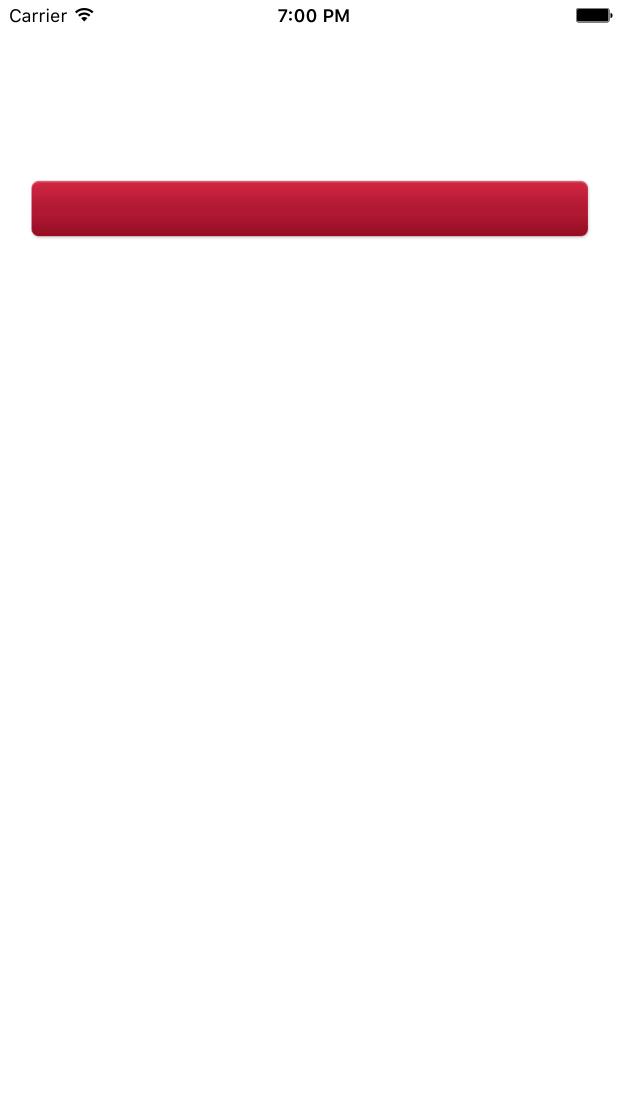
拉伸处理后:
方式1.通过resizableImageWithCapInsets:resizingMode方法.
- (UIImage *)resizableImageWithCapInsets:(UIEdgeInsets)capInsets resizingMode:(UIImageResizingMode)resizingMode NS_AVAILABLE_ios(6_0); // the interior is resized according to the resizingMode
实现代码:
    UIImage *img = [UIImage imageNamed:@"RedButton"];

    CGFloat h = img.size.height * 0.5;
    CGFloat l = img.size.height * 0.5;

    UIImage *newImg = [img resizableImageWithCapInsets:UIEdgeInsetsMake(h,l, h, l) resizingMode:UIImageResizingModeStretch];
    self.imgView.image = newImg;
参数说明:
(UIEdgeInsets)capInsets:不拉伸的部分,设置到上下左右不拉伸的距离,只拉伸中间一小块或者一个点.
(UIImageResizingMode)resizingMode:这是一个枚举值,表示以什么样的方式拉伸图片.
两种样式:
 UIImageResizingModeTile,//通过重复铺内部的一小块区域填充新图片的内部区域
//The image is tiled when it is resized. In other words, the interior region of the original image will be repeated to fill in the interior region of the newly resized image.
 UIImageResizingModeStretch,//通过缩放内部的图片内部的区域填充新图片的内部区域
//The image is stretched when it is resized. In other words, the interior region of the original image will be scaled to fill in the interior region of the newly resized imaged.
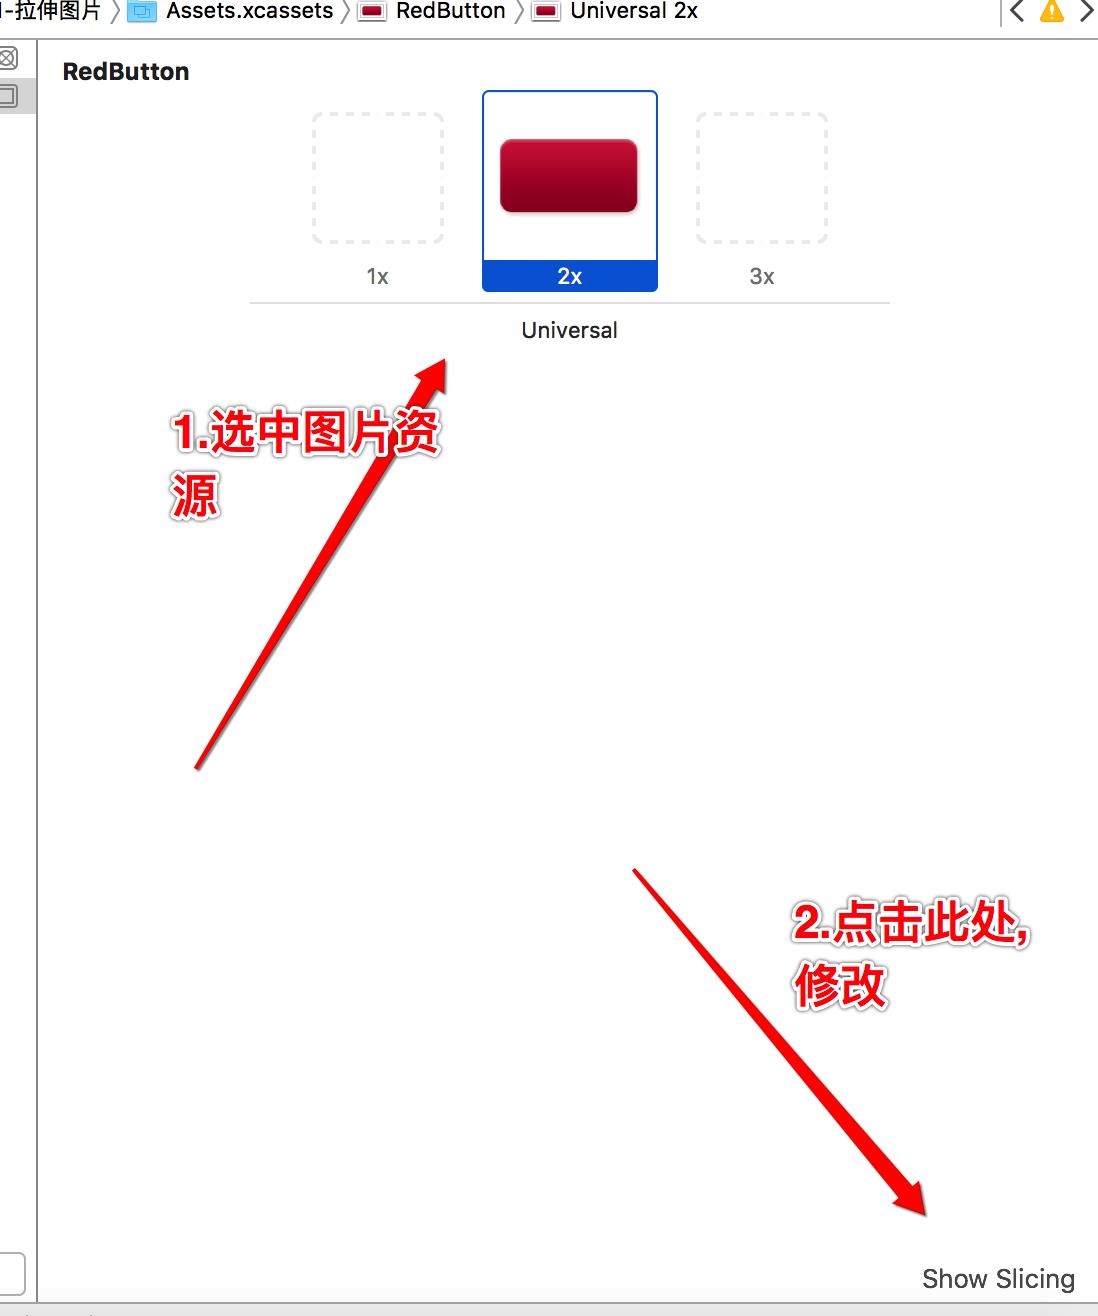
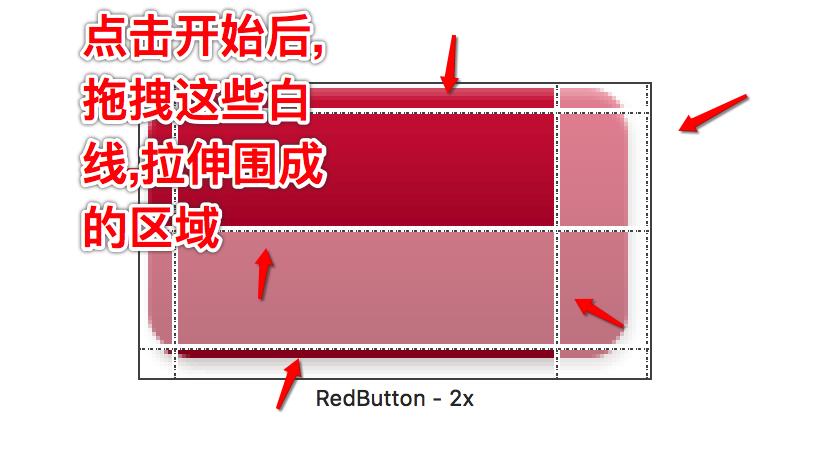
方式2:通过故事板,修改,x,y,width,height值.通过xy确定一个点,通过width,heigth确定宽高,由此获得图片中一小块内容,从而对这一小块内容进行拉伸
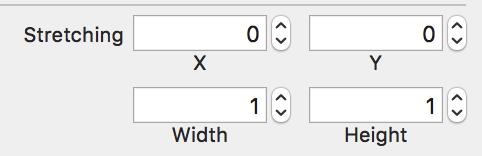
这是UIView的一个属性
@property(nonatomic) CGRect contentStretch NS_DEPRECATED_IOS(3_0,6_0) __TVOS_PROHIBITED; // animatable. default is unit rectangle {{0,0} {1,1}}. Now deprecated: please use -[UIImage resizableImageWithCapInsets:] to achieve the same effect.
这个属性已经过期了,官方建议使用方式一.
#方式3:通过方法stretchableImageWithLeftCapWidth:topCapHeight.这是UIImage的一个方法
- (UIImage *)stretchableImageWithLeftCapWidth:(NSInteger)leftCapWidth topCapHeight:(NSInteger)topCapHeight __TVOS_PROHIBITED;
方法说明:
@interface UIImage(UIImageDeprecated)//不赞成使用

// use resizableImageWithCapInsets: and capInsets.

- (UIImage *)stretchableImageWithLeftCapWidth:(NSInteger)leftCapWidth topCapHeight:(NSInteger)topCapHeight __TVOS_PROHIBITED;
@property(nonatomic,readonly) NSInteger leftCapWidth __TVOS_PROHIBITED;   // default is 0. if non-zero, horiz. stretchable. right cap is calculated as width - leftCapWidth - 1
//如果leftCapWidth不为0,可以水平拉伸,右边覆盖部分范围等于( width - leftCapWidth - 1 )
@property(nonatomic,readonly) NSInteger topCapHeight __TVOS_PROHIBITED;   // default is 0. if non-zero, vert. stretchable. bottom cap is calculated as height - topCapWidth - 1
//如果topCapHeight不为0,可以上下拉伸,下边覆盖部分范围等于(height - topCapWidth - 1)
@end
#实现代码
    UIImage *img = [UIImage imageNamed:@"RedButton"];

    CGFloat h = img.size.height * 0.5;
    CGFloat l = img.size.height * 0.5;

    UIImage *newImg = [img stretchableImageWithLeftCapWidth:h topCapHeight:l];
    self.imgView.image = newImg;
#方式4;
总结:
说是四种方式,说白了还是一种方式,按照自己的方式拉伸图片.通常,将整个图片拉伸会导致边角变形,这几种拉伸方式都是限定被拉伸区域从而实现拉伸而边角不变形.
以上是关于拉伸图片的几种方式的主要内容,如果未能解决你的问题,请参考以下文章