java环境搭建之myeclipse安装
Posted jinshiyill
tags:
篇首语:本文由小常识网(cha138.com)小编为大家整理,主要介绍了java环境搭建之myeclipse安装相关的知识,希望对你有一定的参考价值。
通过安装JAVA环境,我们可以编写和运行简单的JAVA程序,但是我们需要来回的编译、运行,特别的麻烦,影响编程的效率和速度闲话不扯,直接来讲安装MyEclipse 6.5。
我们为什么要安装MyEclipse 6.5,第一这个版本比较老,运行起来比较稳定;第二我们在学习的过程中基本上都是在网上找到的免费视频学习资源,很多视频都是在MyEclipse 6.5的基础上进行完成的,为了能够跟上视频的学习进度,能够边听课,边自己编程验证上课学习的知识;第三MyEclipse 6.5不是一个免费的软件需要破解,而这个版本破解比较简单。
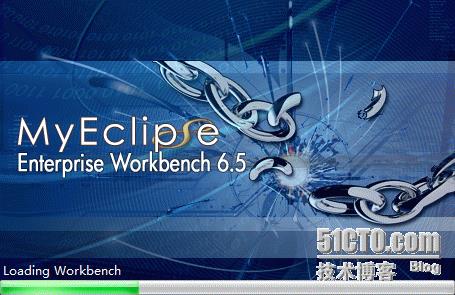
下载完成MyEclipse 6.5之后,就一步一步的安装,最好能够将安装程序安装在系统盘以外的目录。比如我就安装在D:\Program Files (x86)\MyEclipse 6.5的目录下。再按装之后还有一个工作目录D:\Program Files (x86)\workspace也要设置好了,以后所有的项目和工作都在这个目录中。安装之后启动界面如下图
安装之后MyEclipse 6.5是试用版的,需要进行破解(此破解只用于个人学习只用,若要用户商业用途请购买正版软件许可),很多java教程对这块讲的不详细,所以我写的尽量详细一些,如需破解请复制如下代码新建一个工程,然后运行
输入注册用户,回车之后就可以得到序列号如图:
import java.io.BufferedReader;
import java.io.IOException;
import java.io.InputStreamReader;
public class zhuCe{
private static final String LL = "Decompiling this copyrightedsoftware is a violation of both your license agreement and the DigitalMillenium Copyright Act of 1998(http://www.loc.gov/copyright/legislation/dmca.pdf). Under section 1204 of theDMCA, penalties range up to a $500,000 fine or up to five years imprisonmentfor a first offense. Think about it; pay for a license, avoid prosecution, andfeel better about yourself.";
public String getSerial(String userId, String licenseNum) {
java.util.Calendar cal = java.util.Calendar.getInstance();
cal.add(1, 3);
cal.add(6, -1);
java.text.NumberFormat nf = newjava.text.DecimalFormat("000");
licenseNum = nf.format(Integer.valueOf(licenseNum));
String verTime = new StringBuilder("-").append(
newjava.text.SimpleDateFormat("yyMMdd").format(cal.getTime()))
.append("0").toString();
String type = "YE3MP-";
String need = new StringBuilder(userId.substring(0, 1)).append(type)
.append("300").append(licenseNum).append(verTime).toString();
String dx = new StringBuilder(need).append(LL).append(userId)
.toString();
int suf = this.decode(dx);
String code = new StringBuilder(need).append(String.valueOf(suf))
.toString();
return this.change(code);
}
private int decode(String s) {
int i;
char[] ac;
int j;
int k;
i = 0;
ac = s.toCharArray();
j = 0;
k = ac.length;
while (j < k) {
i = (31 * i) + ac[j];
j++;
}
return Math.abs(i);
}
private String change(String s) {
byte[] abyte0;
char[] ac;
int i;
int k;
int j;
abyte0 = s.getBytes();
ac = new char[s.length()];
i = 0;
k = abyte0.length;
while (i < k) {
j = abyte0[i];
if ((j >= 48) && (j <= 57)) {
j = (((j - 48) + 5) % 10) + 48;
} else if ((j >= 65) && (j <= 90)) {
j = (((j - 65) + 13) % 26) +65;
} else if ((j >= 97) && (j <= 122)) {
j = (((j - 97) + 13) % 26) +97;
}
ac[i] = (char) j;
i++;
}
return String.valueOf(ac);
}
public zhuCe() {
super();
}
public static void main(String[] args) {
try {
System.out.println("please input register name:");
BufferedReader reader = new BufferedReader(new InputStreamReader(
System.in));
String userId = null;
userId = reader.readLine();
zhuCe myeclipsegen = new zhuCe();
String res = myeclipsegen.getSerial(userId, "5");
System.out.println("Serial:" + res);
reader.readLine();
} catch (IOException ex) {
}
}
}
启动完之后都是英文的,作为初学者来说是很不爽的事情,于是我们就要汉化MyEclipse 6.5。按照下面的步骤下载插件,选择“Help”→“ Software Updates”→“ Find and Install”如图
选择“Search for new features to Install”选择下一步
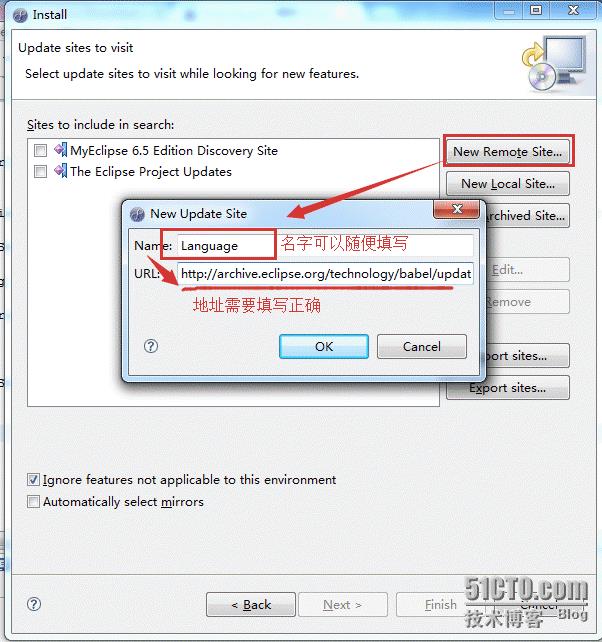
选择“New Remote Site弹出输入Name和URL地址如下图:URL地址为:“http://archive.eclipse.org/technology/babel/update-site/R0.8.1/europa”
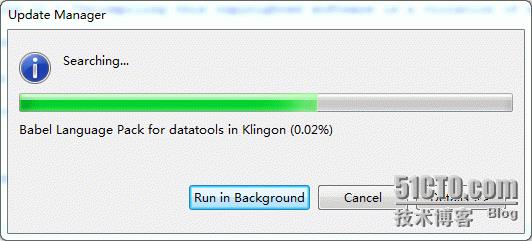
得到如下图Updates Manager对话框。
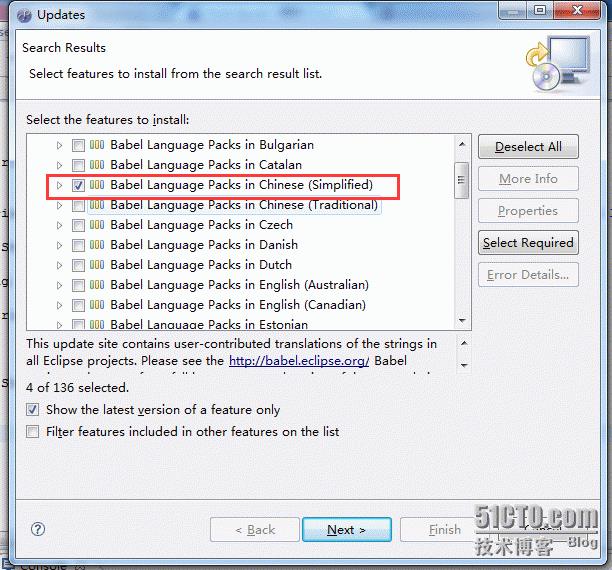
搜索完之后就可以选择babel Language Packs in Chinese(Simplified),不要多选,要不然会下载很长时间的如下图,选择“NEXT”
接下来就要安装所选的汉语言安装包,同意安装,选择“Next”
选择“Install All”
安装完成之后提示是否从重新启动软件,特别要注意修改的项目一定要保存,要不然回提示“workspace in use or cannot be created”,如果出现这样的提示请确保进程里面关于JAVA的程序一定要结束然后再自己删除workspace\.metadata\.lock的文件。
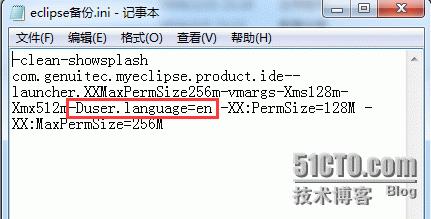
再次启动之后还是英文的这就需要删除eclipse.ini中的-Duser.language=en,
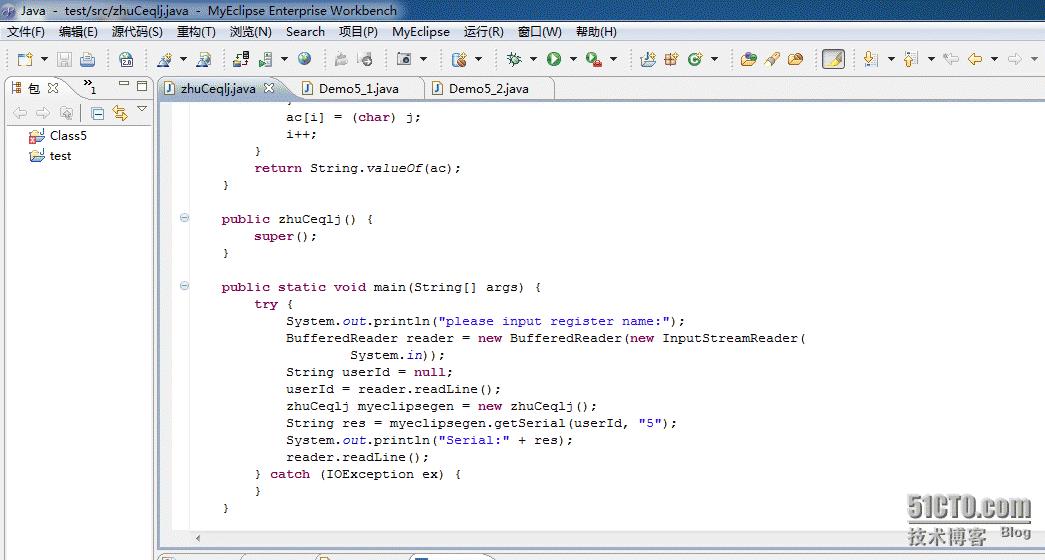
保存之后再次启动之后就是中文的,这样的界面是不是很亲切么。
以上是关于java环境搭建之myeclipse安装的主要内容,如果未能解决你的问题,请参考以下文章
