PrimeNG安装使用
Posted BH4LM
tags:
篇首语:本文由小常识网(cha138.com)小编为大家整理,主要介绍了PrimeNG安装使用相关的知识,希望对你有一定的参考价值。
PrimeNG是Angular2的一个富客户端组件,可以独立于Bootstrap单独使用,也可以结合Bootstrap共同使用。
官方上只有例子的介绍,并没找到个类似入门教程一类的资料,这里自己结合网上搜到的资料整理一份入门资料。
官网网址:https://www.primefaces.org/primeng/
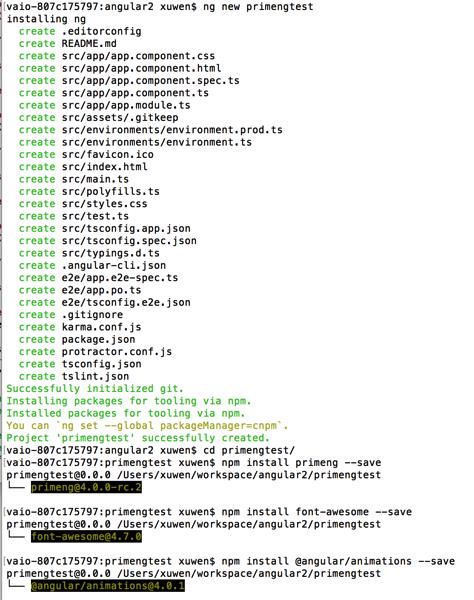
我使用angular-cli生成项目

需要安装的包有primeng、font-awesome
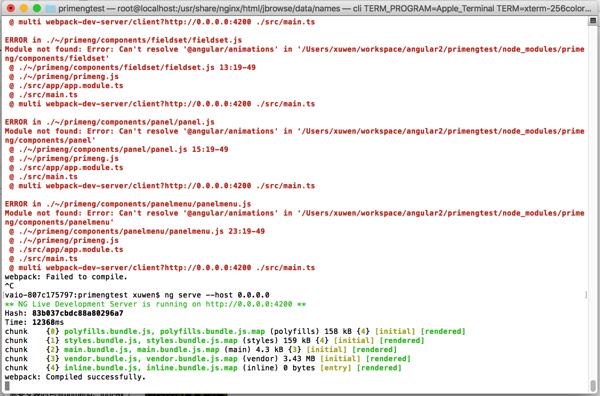
@angular/animations看你项目之前是否安装过,如果没有则需要安装,否则会报错
ERROR in ./~/primeng/components/panel/panel.js
Module not found: Error: Can\'t resolve \'@angular/animations\' in \'/Users/xuwen/workspace/angular2/primengtest/node_modules/primeng/components/panel\'
 @ ./~/primeng/components/panel/panel.js 15:19-49
 @ ./~/primeng/primeng.js
 @ ./src/app/app.module.ts
 @ ./src/main.ts
 @ multi webpack-dev-server/client?http://0.0.0.0:4200 ./src/main.ts

再接下来就可以使用PrimeNG组件了
首先来配置css文件(选择我们需要的风格bootstrap、omega等)
"styles": [
    "styles.css",
    "../node_modules/primeng/resources/themes/bootstrap/theme.css",
    "../node_modules/primeng/resources/primeng.min.css",
    "../node_modules/font-awesome/css/font-awesome.css"
],
添加所需要的模块,在app.module.ts添加
app.module.ts代码
import { BrowserModule } from \'@angular/platform-browser\';
import { BrowserAnimationsModule } from \'@angular/platform-browser/animations\';
import { NgModule } from \'@angular/core\';
import { FormsModule } from \'@angular/forms\';
import { HttpModule } from \'@angular/http\';
import { ConfirmDialogModule } from \'primeng/primeng\';
import { GrowlModule } from \'primeng/primeng\';
import { AppComponent } from \'./app.component\';
@NgModule({
declarations: [
AppComponent
],
imports: [
BrowserModule,
FormsModule,
HttpModule,
ConfirmDialogModule,
BrowserAnimationsModule,
GrowlModule
],
providers: [],
bootstrap: [AppComponent]
})
export class AppModule { }
app.component.ts代码
import { Component } from \'@angular/core\';
import { Message } from \'primeng/primeng\';
import { ConfirmationService } from \'primeng/primeng\';
@Component({
selector: \'app-root\',
templateUrl: \'./app.component.html\',
styleUrls: [\'./app.component.css\'],
providers: [ConfirmationService]
})
export class AppComponent {
msgs: Message[] = [];
constructor(private confirmationService: ConfirmationService) { }
confirm1() {
this.confirmationService.confirm({
message: \'Are you sure that you want to perform this action?\',
accept: () => {
this.msgs = [];
this.msgs.push({ severity: \'info\', summary: \'Confirmed\', detail: \'You have accepted\' });
}
});
}
confirm2() {
this.confirmationService.confirm({
message: \'Do you want to delete this record?\',
header: \'Delete Confirmation\',
icon: \'fa fa-trash\',
accept: () => {
this.msgs = [];
this.msgs.push({ severity: \'info\', summary: \'Confirmed\', detail: \'Record deleted\' });
}
});
}
}
app.component.html代码
<p-growl [value]="msgs"></p-growl>
<p-confirmDialog width="425"></p-confirmDialog>
<button type="button" (click)="confirm1()" pButton icon="fa-check" label="Confirm"></button>
<button type="button" (click)="confirm2()" pButton icon="fa-trash" label="Delete"></button>
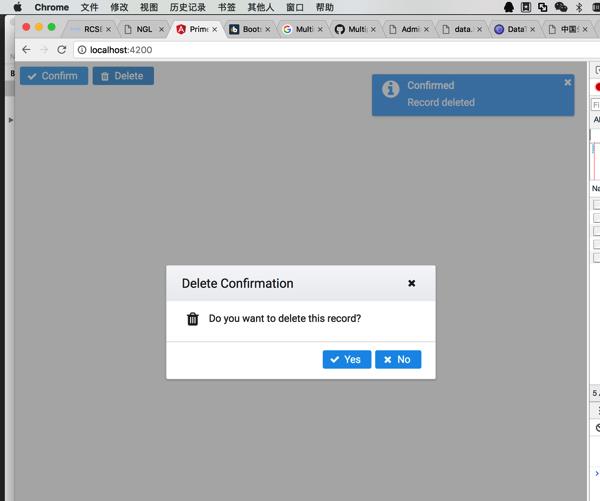
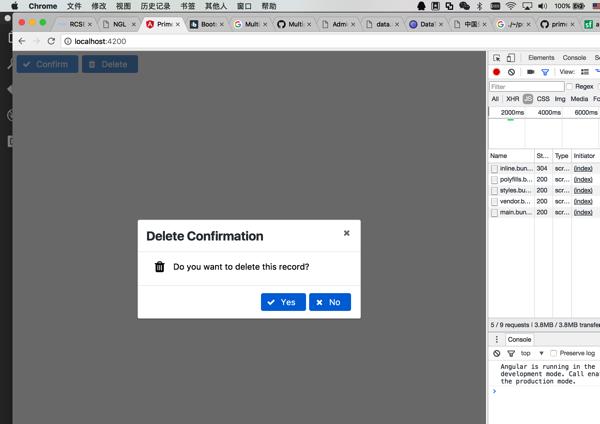
最终效果


以上是关于PrimeNG安装使用的主要内容,如果未能解决你的问题,请参考以下文章
通过 PrimeNG 从代码 Angular 2 打开上下文菜单